Setting no-go zones on a robot vacuum begins in the app, where the map controls are opened and the restricted area tool is selected. The K11+ Pro then displays a movable red frame that can be resized and positioned with care. Once saved, the zone should be tested during a cleaning run to confirm it is respected. If the boundary fails, the next steps become important.
Set Up No-Go Zones on the K11+ Pro
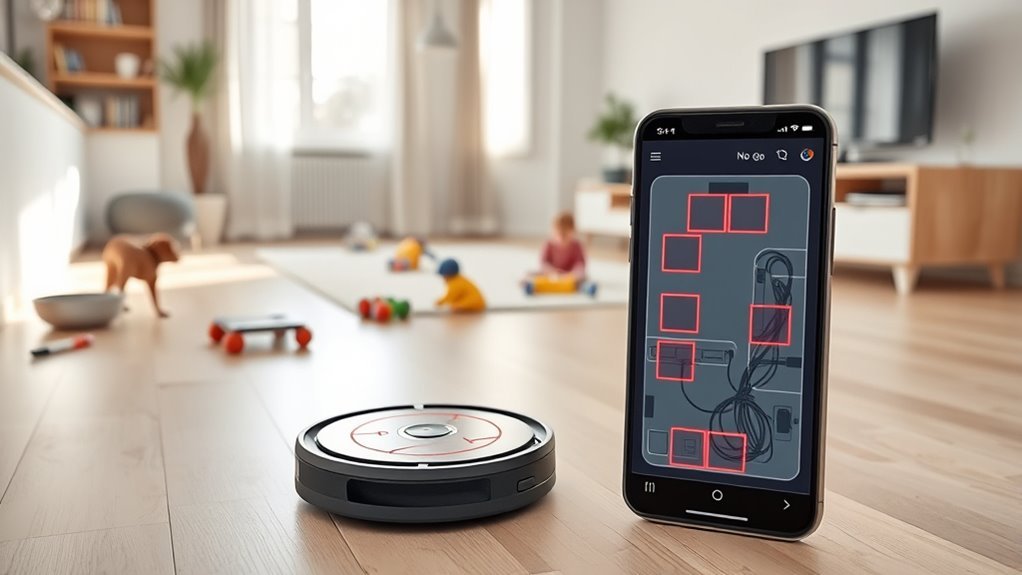
To set up No-Go Zones on the K11+ Pro, open the SwitchBot app and select the device to access its controls.
From the device interface, tap the map icon positioned at the left center of the screen. This action opens the No-Go Zones editing mode.
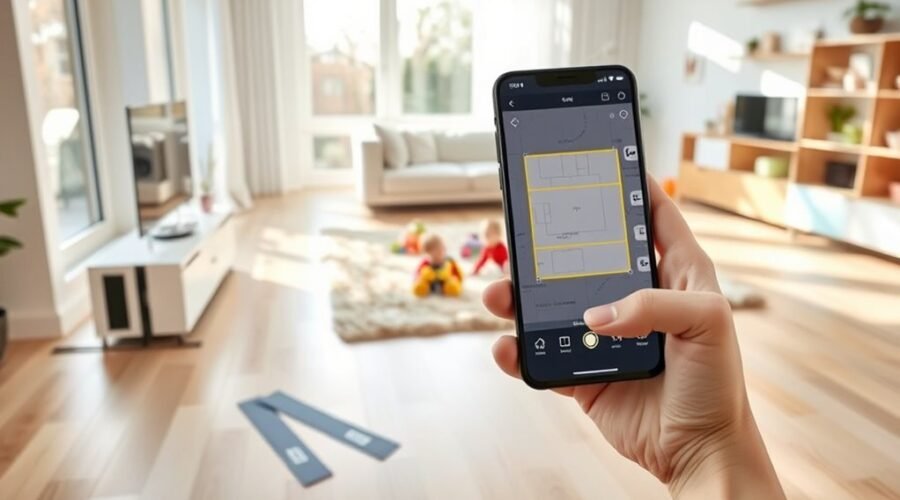
Select the No-Go Zone option, and a red frame appears on the map to indicate the editable boundary. Use the controls to move the frame to the restricted area and resize it to match the desired limits.
Precision matters: each boundary should block the vacuum from entering spaces that require protection, preserving autonomy over the environment.
Each boundary should block the vacuum from entering protected spaces, preserving autonomy over the environment.
After placement is correct, confirm the zone by tapping the check mark. The No-Go Zones setting should then be applied to both vacuum and mop modes, ensuring consistent exclusion across cleaning operations.
This configuration supports controlled movement, reduces interruption, and strengthens user-defined freedom over the robot’s path.
Open the Map in the SwitchBot App
The SwitchBot App should be opened and the user account logged in to access robot vacuum controls.
Next, the K11+ Pro should be selected from the device list to load its main interface.
The map icon, positioned in the left-center area of the screen, should then be tapped to display the home map.
Open SwitchBot App
Launch the SwitchBot App on the device and confirm the account is signed in. This access point grants control over No-Go Zones and supports a cleaner, self-directed home routine. Tap the SwitchBot Robot Vacuum K11+ Pro to load its settings. Then open the map icon at the left center to reveal the mapped area.
| Step | Action | Result |
|---|---|---|
| 1 | Open app | Account view appears |
| 2 | Select vacuum | Device settings load |
| 3 | Tap map icon | Map displays |
| 4 | Choose No-go Zone | Restricted mode opens |
| 5 | Save edits | Changes apply |
A red frame appears for boundary editing. Adjust its size and position with precision, then confirm with the check mark.
Select K11+ Pro
With the SwitchBot App open and the K11+ Pro already connected and mapped, the user taps the K11+ Pro icon to load its device controls. Then, the user selects the map icon located at the left center of the screen. This opens the mapping interface required for configuring No-Go Zones with precision.
The K11+ Pro map should display clearly before any restriction is created. The user then chooses the No-Go Zone option to begin marking an excluded area on the map. A red frame appears, indicating the editable boundary. Its size and position are adjusted to match the desired off-limits space, helping the vacuum remain free from unwanted access.
Once the placement is correct, the check mark is tapped to save the setting and apply the No-Go Zones during cleaning cycles.
Tap Map Icon
After the K11+ Pro is selected in the SwitchBot App, the next step is to tap the map icon located at the left center of the screen to open the vacuum’s mapped area. This action loads the interface required to define No-Go Zones with precision, giving the user direct control over restricted space.
- Verify that the map is fully generated before editing.
- Review the layout and identify areas that should remain untouched.
- Use the map tools to prepare for zone placement.
Once the map appears, inspect rooms, obstacles, and boundaries carefully. Accurate mapping supports liberation from unnecessary cleaning in private or sensitive areas.
If the map is incomplete, wait for completion before continuing. A complete map guarantees No-Go Zones can be set cleanly, saved correctly, and enforced consistently by the robot vacuum.
Draw and Resize the Restricted Area
To draw a No-Go Zone, the user opens the map feature in the robot vacuum app and selects the No-Go Zone option. This defines liberated cleaning boundaries, keeping the machine out of protected spaces. Using a finger, the user outlines the restricted area directly on the digital map, tracing the exact perimeter of the space to exclude. The red frame then appears, indicating the editable zone.
| Control | Action |
|---|---|
| Corner handle | Expand or shrink the boundary |
| Edge handle | Refine one side of the area |
| Red frame | Marks the active restriction |
| Map view | Confirms spatial accuracy |
| Finger input | Shapes the No-Go Zones |
To adjust size, drag any corner or edge until the boundary matches the intended area. Precision is essential; misplaced lines weaken the restriction. After resizing, the user should inspect the placement carefully and verify that the No-Go Zone blocks the unwanted area cleanly, preserving autonomy over the vacuum’s path.
Save the Zone and Run a Test Clean
After the No-Go Zone is positioned on the digital map, the user should tap the check mark to save the changes.
The zone should remain visible on the map before a cleaning cycle is initiated.
A test clean can then be started through the app’s Clean button to confirm that the robot avoids the restricted area.
Save Zone Changes
- Open the map and confirm the edited boundary is visible.
- Tap Save to store the updated No-Go Zones immediately.
- Review the map display for placement accuracy and consistency.
If the saved area looks correct, the configuration is ready for the next action.
Precise saving prevents unintended robot movement and preserves spatial control.
The operator should maintain a brief pause to confirm the map reflects the intended restriction before proceeding further.
Run Test Clean
With the No-Go Zones configured, the operator should tap the check mark in the app to save the changes. Then, verify that the robot vacuum is fully charged and connected before starting a test clean.
Next, the Clean button should be selected to begin a controlled run. During operation, the robot’s path must be observed to confirm it respects the No-Go Zones and avoids restricted areas with discipline.
If the vacuum crosses a boundary or hesitates near it, the app should be reviewed for map or boundary errors. After the run, any irregularities should be noted and the zone layout adjusted as needed.
This test validates autonomy, protects desired space, and helps keep the cleaning process precise, efficient, and under user control.
Edit or Delete a No-Go Zone
To modify a No-Go Zone, the user taps the zone on the map to open its settings, then resizes or repositions it by dragging the edges or moving the frame as needed. This direct control over No-Go Zones lets the operator refine boundaries and reclaim cleaner movement paths.
- Tap the existing zone to enter its settings panel.
- Adjust the boundary by dragging corners, edges, or the full frame on the map.
- Confirm the edit by selecting the check mark to save the update.
If the area must be removed entirely, the user selects the same zone and chooses the delete option in the settings menu. The map then reflects the revised restrictions immediately.
For stable operation, the app should remain updated to the latest version, since updates can add improved No-Go Zone tools and system fixes. This keeps the vacuum aligned with current instructions and supports a freer, more deliberate cleaning routine.
Fix Common No-Go Zone Problems
When a robot vacuum ignores no-go zones, the map should be verified first to guarantee it is current and that the boundary settings are configured correctly in the app.
If the No-Go Zones still fail, inspect the sensors and clean any dust or debris that could impair navigation. Confirm that app software is updated, since outdated versions can misread boundaries.
If recognition remains poor, reinstall the saved map to clear possible glitches and rebuild the room layout. Adjust each No-Go Zone to match furniture placement and high-traffic obstacles, keeping edges clear and proportions realistic.
During a cleaning run, monitor the robot’s path and note any boundary breaches. Small corrections made after observing behavior often restore compliance.
This approach reduces dependence on trial and error, giving the user practical control over the machine’s movement and preserving an uncluttered, self-directed living space.
Frequently Asked Questions
Can You Tell Robot Vacuum Areas Not to Go To?
Yes; robot vacuums can be instructed to avoid specified areas through app-based No-Go Zones. This Cleaning Strategies approach uses mapped barriers, enabling precise, adjustable restrictions that protect sensitive spaces and preserve autonomous cleaning freedom.
How to Set up No Go Zone Roomba?
Straightaway, the Roomba owner opens iRobot Home, selects Maps, then Virtual Walls or No-Go Zone, traces the forbidden area, refines boundaries, and saves. This technical control frees cleaning routes while blocking sensitive spaces.
How to Set Boundaries for a Robot Vacuum?
Boundary Settings are configured in the robot vacuum app’s map tools. The user selects No Go Zone, drags the frame to size, saves changes, and tests boundaries regularly to maintain autonomous cleaning freedom.
How to Set No Go Zone in Roborock?
Open the Roborock app, select the vacuum, and enter map settings. As the adage says, “good fences make good neighbors.” Choose No-Go Zones, apply Zone Customization, draw the restriction, save, and verify during cleaning.
Conclusion
To summarize, setting no-go zones on the K11+ Pro is a simple exercise in digital containment: open the SwitchBot app, define the restricted area, save it, and verify the result with a test clean. Any robot that ignores these boundaries is not mysterious, merely uncooperative. The red frame may look modest, but it performs the grand task of keeping cleaning exactly where it is intended. Adjustments, as always, are easiest when done before chaos begins.