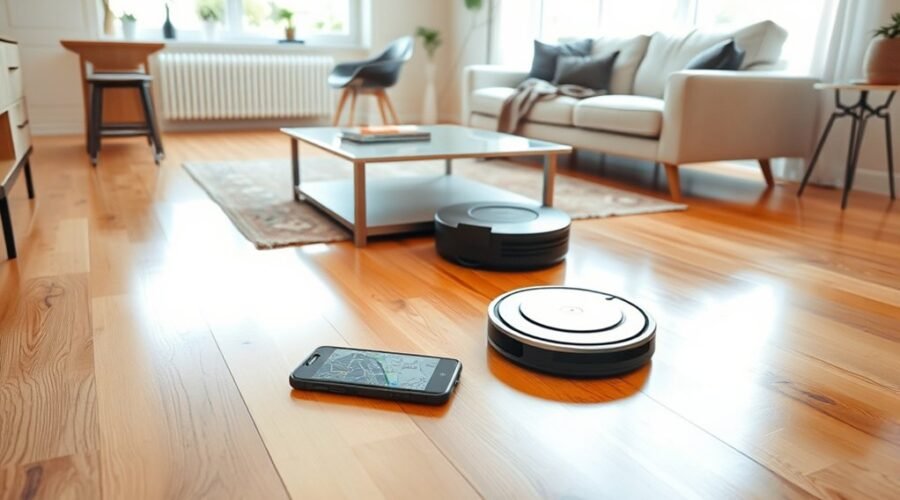
A robot vacuum map can go wrong for several practical reasons, from poor dock placement and dirty sensors to mirrors, wet floors, or sudden changes in furniture. Even small interruptions can distort the layout or send the robot off course. Some issues are easy to correct, while others require a fresh map or a full reset. Understanding which fault is at work often makes the difference between a quick fix and a persistent problem.
Why Your Robot Vacuum Map Goes Wrong
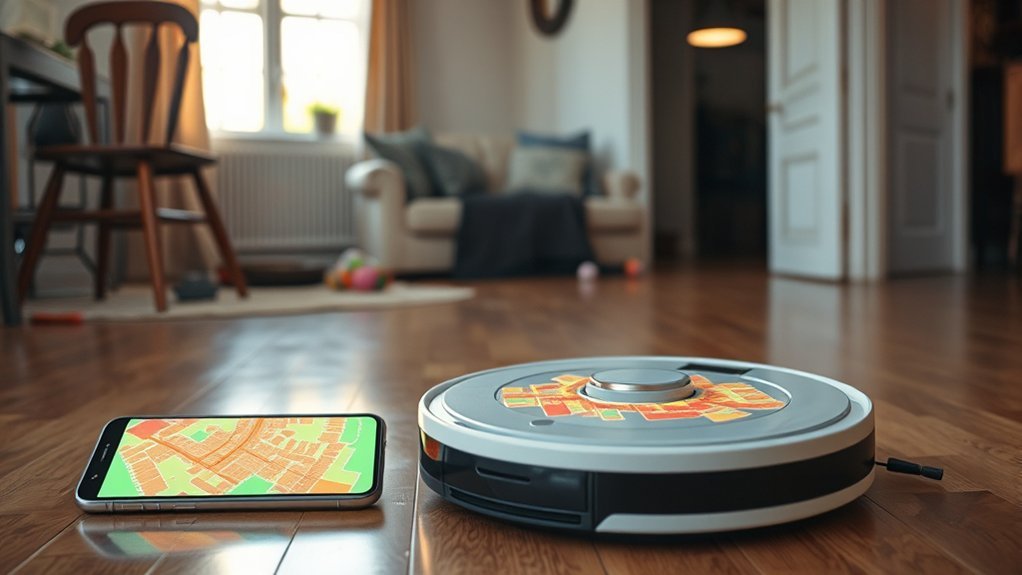
Robot vacuum maps go wrong when the machine’s sensors or pathing are thrown off by the environment or by changes during cleaning.
In robot vacuum mapping, reflective floors, mirrored furniture, and other bright surfaces can confuse sensors and distort room outlines. Obstacles that appear mid-cycle may block routes and force the machine into incomplete scans.
Dirty LiDAR lenses or other clogged sensors reduce the vacuum’s ability to read distance accurately, so regular cleaning matters. If the unit is moved by hand while operating, or if furniture is relocated, it may record ghost maps or overlapping paths.
Damp flooring can also cause slipping, which disrupts navigation and produces incorrect location data. These failures are not random; they reflect a system trying to organize a space while that space shifts under it.
Accurate mapping depends on stable conditions, clear sensors, and a floor the machine can travel without losing traction or orientation.
Check the Charging Dock Placement
Another common source of mapping trouble is the charging dock’s placement. The charging dock should sit flush against a straight wall, because angled or recessed positions can distort how the robot reads its starting point.
Adequate open space matters as well: keep at least 20 inches, or 50 cm, on each side so the robot can approach without confusion, and leave about 40 inches, or 1 m, in front for reliable docking and undocking.
Narrow niches, tight corners, and skewed placements can interrupt alignment and cause the map to drift or shift. A clear, stable docking area supports more accurate navigation and reduces avoidable errors.
It is also wise to check the charging dock regularly, since furniture movement or household changes can block access or alter the setup. Small adjustments here can restore order and give the robot the freedom to operate with greater consistency and less wasted effort.
Clean the Sensors and LiDAR Lens
Regular cleaning of the sensors is important because dust can interfere with navigation and mapping accuracy, causing incorrect routes.
The LiDAR lens, usually on top of the vacuum, should be wiped with a soft, lint-free cloth every few weeks, and more often in dusty areas.
Compressed air can also help clear debris without scratching the surface, reducing the risk of lost or repetitive movement.
Clean Sensors Regularly
Keeping the sensors and LiDAR lens clean is essential for reliable robot vacuum navigation and accurate map creation. Dust buildup can quietly distort readings, reduce autonomy, and leave the machine trapped in avoidable errors.
Practical cleaning tips support freedom from repeated manual resets and map corrections.
- Clean sensors every 3-5 days in high-traffic areas.
- Use a soft, dry cloth or compressed air.
- Avoid harsh cleaning agents that may damage components.
When sensors stay dirty, the vacuum may miss obstacles, get stuck, or generate inaccurate maps.
Regular maintenance preserves consistent performance and helps the device last longer. A simple, scheduled wipe is often enough to keep mapping dependable and reduce friction in daily cleaning routines.
Wipe LiDAR Lens
A clean sensor routine should include the LiDAR lens, since dust on that surface can distort navigation and reduce map accuracy. To wipe the LiDAR lens safely, use a soft, lint-free cloth and move gently across the cover, avoiding pressure that could scratch the sensor.
Regular attention helps keep the vacuum free from obstructions, improving obstacle detection and steadier route planning. In homes with heavy foot traffic, cleaning every 3 to 5 days may preserve reliable mapping and reduce operational faults.
When the lens stays clear, the machine is less likely to get lost, repeat paths, or miss sections of a room. This small maintenance step supports more accurate maps and gives the device greater freedom to work without unnecessary confusion.
Stop Stuck Runs and Manual Lifting
When a robot vacuum gets stuck during a cleaning run, its map can quickly become inaccurate if the unit is lifted and moved without pausing or powering it off first. This is especially true when a vacuum gets trapped near a threshold, rug edge, or hanging fabric. The navigation system may register impossible paths, causing distorted or overlapping rooms later.
Practical prevention reduces the need for correction:
- Pause the vacuum before any manual lift or relocation.
- Power it off if it must be carried to a new area.
- Watch early runs to spot repeat trouble points and clear them.
Environmental changes matter too. Removing loose obstacles and adding ramps at high junctures can keep the robot moving freely instead of getting trapped.
Careful observation during the first few sessions helps identify conditions that interfere with clean mapping. Protecting those runs supports accurate maps and less repeated labor for the user.
Block Mirrors, Windows, and Other Reflective Surfaces
Reflective surfaces can create a separate mapping problem even in rooms that are otherwise free of obstacles. Mirrors, large windows, and similar reflective surfaces can mislead a robot vacuum’s LiDAR sensors, which may register them as extra rooms or open passages.
Reflective surfaces can confuse a robot vacuum’s LiDAR, making mirrors and windows seem like extra rooms or passages.
The result can be inaccurate room layouts, distorted boundaries, and inefficient cleaning routes that waste time and battery. A practical fix is to reduce the laser’s access to these surfaces. Frosted film or decorative vinyl can block laser beams enough to prevent false readings without changing the room’s function.
During first cleaning runs, the vacuum should be observed to identify any area where reflections appear to confuse navigation. Once reflective surfaces are accounted for, the machine can build a more reliable map and move with greater precision.
This small adjustment supports cleaner coverage and a less constrained cleaning routine.
Fix Overlapping or Slanted Maps
Overlapping or slanted robot vacuum maps often stem from environmental disruptions such as obstacles, wet floors, or dust on the LiDAR sensor, all of which can distort navigation data.
If the vacuum is lifted during a run or the dock is poorly positioned, the map can become further skewed, so the dock should have clear space and the robot should be paused before being moved.
When distortion persists, users can rebuild the map in the app and restore a saved version if needed.
Common Map Distortion Causes
Map distortions often stem from environmental interference that disrupts a robot vacuum’s navigation sensors, leading to slanted paths or duplicated sections on the floor plan. This map distortion can arise when obstacles, damp floors, or sudden movement interrupt scanning and positioning.
Practical checks help restore control:
- Keep the charging dock centered with 20 inches of side clearance and 40 inches ahead.
- Clean LiDAR and other sensors regularly to reduce navigation errors.
- Avoid moving furniture or lifting the robot during active cleaning.
A stable layout supports cleaner mapping and fewer overlapping areas. When the environment stays consistent, the robot can trace rooms more accurately and maintain a usable floor plan without unnecessary confusion.
Rebuild And Restore Maps
A fresh rebuild can often correct slanted or overlapping floor plans by generating a new layout from the robot vacuum’s latest cleaning run through Map Management in the app. Before a rebuild, sensors should be cleaned and the room cleared so debris and obstacles do not distort the map.
| Action | Purpose | Result |
|---|---|---|
| rebuild | Create a fresh map | Improved alignment |
| restore | Return to saved map | Backup option |
| lock map | Preserve layout | Stable navigation |
If the new map remains inaccurate, the Restore Map option can return the system to a previously saved version. After a successful rebuild, locking the map helps maintain consistent routes and supports more reliable cleaning freedom.
Restore an Older Robot Vacuum Map
When a robot vacuum’s saved layout becomes inaccurate, older maps can usually be restored through the app’s Map Management settings, where a previously backed-up configuration may be selected and reactivated. This restore an older robot vacuum map process is practical for users who want cleaner navigation without repeating setup.
Models such as the Tapo RV30 series include Map Backup & Restore options, making earlier layouts easier to recover after a change in furniture or floor plan.
- Open Map Management and choose the saved map version.
- Check multi-story settings if the home has separate levels.
- Back up maps regularly after major room changes.
A restored map can reduce overlap, limit distorted boundaries, and improve route accuracy. For households with multiple floors, selecting the correct stored map keeps cleaning consistent while preserving control over each level.
Regular backups support autonomy by reducing dependence on repeated remapping and allowing a quicker return to a reliable, usable layout.
Create a Fresh Map If Needed
If restoring an older layout does not resolve navigation errors, a fresh map can be created through the robot vacuum’s app, typically under Map Management.
To create a fresh map, the mapping feature is selected and the robot is sent through a complete cleaning cycle in an uncluttered space. This gives the system a clear view of walls, furniture, and open areas, helping it build a more accurate layout.
Run the robot through a full cleaning cycle in an uncluttered space to create a more accurate map.
Once the new map is saved, many apps allow it to be locked, which can reduce accidental changes during future runs.
If the map still appears wrong, the LiDAR sensor should be cleaned and nearby obstacles checked for interference.
Software updates also deserve attention, since improved firmware can strengthen mapping performance and support more reliable navigation.
Such steps help users regain control over a device that should serve efficiently.
Keep Your Map Accurate Over Time
Keeping a robot vacuum map accurate over time requires routine maintenance and consistent room conditions. Clean sensors regularly so dust does not distort navigation or degrade mapping features. A stable layout also matters: keep at least 0.5 meters of open space around the charging dock so docking and undocking remain reliable, preserving map integrity.
During cleaning, large furniture should stay in place; moving objects can trigger ghost maps and misaligned rooms, reducing the vacuum’s freedom to navigate confidently.
- Wipe cameras, LiDAR windows, and cliff sensors on a set schedule.
- Leave the dock area clear to support precise returns.
- Use the app’s rebuild map option if the layout becomes distorted.
Software updates should be checked often, since improved mapping algorithms may refine accuracy over time. Together, these habits reduce errors, maintain a usable reference, and keep the system adaptable without unnecessary intervention.
Frequently Asked Questions
Why Is My Roomba Not Mapping Correctly?
The Roomba often maps incorrectly because dirty sensors, poor lighting, reflective surfaces, interruptions, dock placement, or outdated firmware reduce Mapping Accuracy. Regular cleaning, stable runs, and software updates usually restore reliable navigation and freer movement.
My Roborock Map Is Messed Up. How Can I Fix It?
He should first clean the LiDAR sensor, then run Map Calibration in the app. Reflective clutter, poor dock placement, and stale firmware can mock autonomy; rebuilding and locking the map usually restores orderly navigation.
What Are the Most Common Problems With Robot Vacuums?
Common problems include obstacle recognition failures, Mapping Errors, repeated cleaning, docking trouble, getting stuck, and sensor-related navigation issues. Dirty sensors, clutter, and reflective or dark surfaces often disrupt performance, reducing autonomy and effective household maintenance.
Why Is My Shark Robot Vacuum Not Mapping Properly?
Shark robot vacuums often fail mapping when sensors are dirty, docks sit awkwardly, or clutter and reflections confuse navigation. One study found 70% of smart-home errors are setup-related. Mapping Accuracy improves with firmware updates and map rebuilds.
Conclusion
Like a cartographer in a storm, the robot vacuum can draw a crooked shoreline when mirrors glint, furniture shifts, or dust clouds its sight. Yet the map is not doomed. A steady dock, clean sensors, a rebuilt chart, and a calm, unchanged room can return order to the route. With regular care and updated software, the machine learns the house again, tracing its paths with greater accuracy and fewer detours.