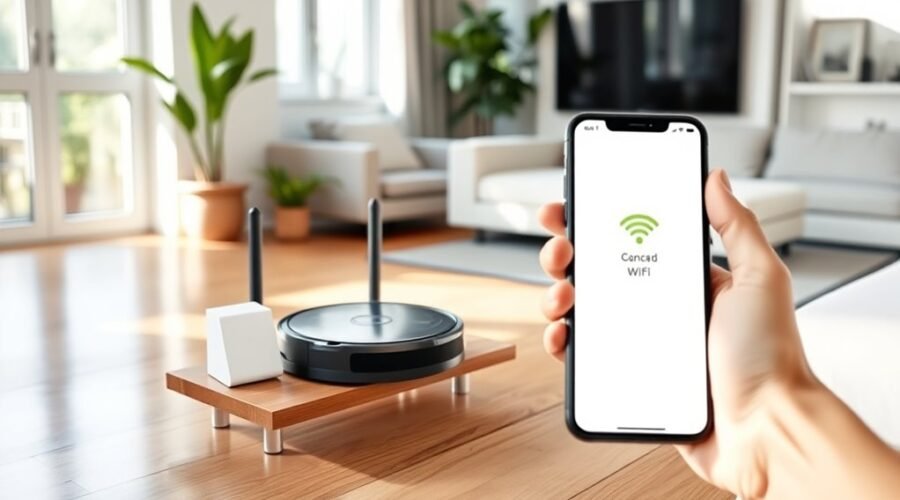
Connecting a robot vacuum to Wi‑Fi starts with the right network and device setup. It must support 2.4GHz, the phone should be updated, and Bluetooth plus location services need to be enabled. Pairing usually begins by holding the Wi‑Fi button until the light blinks, then following the app prompts. Small setup errors often cause later disconnects, so the next step matters more than most users expect.
How to Connect Your Robot Vacuum to Wi-Fi
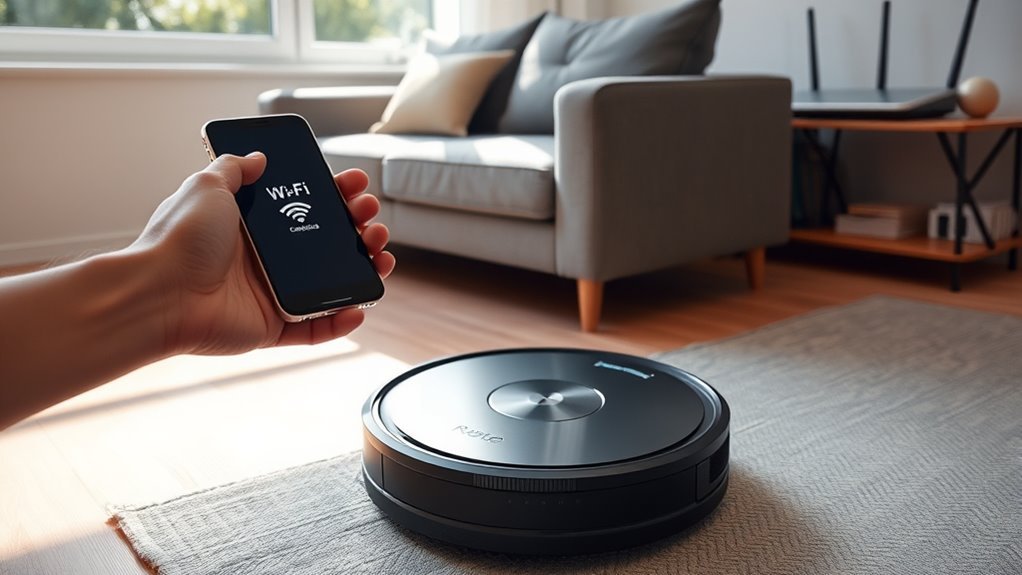
To connect a robot vacuum to Wi‑Fi, the device should first be confirmed as compatible with a 2.4GHz network, since most models do not support 5GHz.
The official app should then be installed, and Bluetooth and Location services enabled for the setup. During this process, the robot vacuum must remain within about 10 feet of the router to preserve signal strength.
The app instructions should be followed exactly, with the correct Wi‑Fi network selected when prompted. The password should be entered carefully, because errors or special characters can trigger connection issues.
The vacuum should also be verified to be in pairing mode before submission. If the connection fails, the device, router, and mobile device should be rebooted.
Temporary disabling of VPNs or restrictive network settings can remove barriers and restore the connection, allowing the user to connect with minimal friction and regain control quickly.
What You Need for Robot Vacuum Wi-Fi Setup
Before setup begins, the required items should be prepared to avoid connection errors and delays.
The Robot should be placed near the home router, ideally within 10 feet, so the Wi-Fi network delivers a strong signal during the setup process. The network must operate on 2.4GHz, because many units reject 5GHz and create compatibility issues.
The Wi-Fi password should be ready and checked for unsupported special characters. The official app must be installed, and the smartphone operating system should be current to support device connection.
Bluetooth settings and location permissions should be enabled, since app instructions often depend on them for discovery and authorization. The Robot should also be fully charged before any attempt is made.
With these items prepared, the user gains a smoother, more independent path to successful wireless control, without unnecessary interruption or repeated retries.
How to Put the Robot in Pairing Mode
Locate the robot vacuum’s Wi-Fi, reset, or power button and press and hold it until the Wi-Fi light begins blinking, confirming that pairing mode is active. Keep the robot vacuum close to the router to improve connectivity chances and support a clean connect to Wi-Fi process. If the model requires a different sequence, such as holding the home and spot clean buttons together, follow the setup guide or user manual exactly.
| Action | Result | Note |
|---|---|---|
| Hold button | Pairing mode starts | Watch the Wi-Fi light |
| Move closer to router | Better signal | Improves connectivity chances |
| Check manual | Model-specific steps | Some models vary |
Once the light blinks, follow app instructions on the phone to add the device and complete setup. This method keeps the process direct, controlled, and accessible.
How to Choose the Right Wi-Fi Network
The robot vacuum should be connected to a 2.4GHz Wi-Fi network, since most models are not compatible with 5GHz bands.
Network compatibility should be verified before setup, including SSID and password requirements.
A stable, standard home network configuration reduces the likelihood of pairing failures.
Choose 2.4GHz Network
Most robot vacuums connect only to 2.4GHz Wi‑Fi, so the app should be set to that band rather than 5GHz during setup. The robot vacuum must join the 2.4GHz network on the router, because the connection may fail if the wrong band is chosen.
If the router broadcasts both bands under one name, a separate 2.4GHz SSID can reduce confusion and speed a clean setup. Enter the Wi‑Fi password carefully and avoid special characters that the device may not support.
For a strong signal, place the robot within 10 feet of the router during setup. This keeps the network handshake stable and helps the system complete binding without repeated retries, giving the user a more autonomous start.
Check Network Compatibility
A compatible network is essential before pairing the robot vacuum, since many models connect only to 2.4GHz Wi‑Fi and may fail on 5GHz.
Verify network compatibility by confirming the robot vacuum can use a 2.4GHz Wi‑Fi network; some users label this a 4GHz Wi-Fi network by mistake.
Check router settings and security settings so WPA2 is enabled, not WEP or older modes.
Confirm the Wi-Fi name and password contain no unsupported special characters, which can block the app when it tries to connect to my Wi-Fi.
During setup the robot, place the dock and unit within 6 feet of the router.
If a mesh network is used, force 2.4GHz access and assign a unique IP address so the connection remains stable and independent.
How to Fix Robot Vacuum Wi-Fi Problems
When a robot vacuum fails to join Wi‑Fi, the first check should be the network band: most models require a 2.4GHz connection and will not connect to 5GHz.
To Connect Your Robot Vacuum, verify the setup steps exactly and compare them with the app; many Wi-Fi issues begin when users do not follow the instructions. If the robot vacuum won’t connect, re-enter the network password carefully and remove unsupported special characters.
To Connect Your Robot Vacuum, follow the setup steps exactly and recheck the password for unsupported characters.
Confirm the phone is on a general Wi-Fi network, not mobile data, and check whether the app can’t discover the device because Bluetooth and location services are disabled.
Next, reboot both the vacuum and the router to clear temporary faults. If the link still fails, power-cycle the phone as well.
Persistent failures may require a factory reset, which can remove deeper pairing errors. This process restores access without surrendering control to technical friction.
How to Prevent Future Disconnects
To reduce future disconnects, the robot vacuum should remain on a 2.4GHz Wi‑Fi network, since many models do not maintain stable operation on 5GHz. The network name and password should be verified after each router change, because a minor configuration error can trigger a connection issue.
The charging dock should be placed within 10 feet of the router to preserve a strong signal across cleaning cycles. Firmware for the robot vacuum and its app should be updated regularly; these updates often correct bugs and improve reliability.
Router settings should also be checked for MAC address binding, and this restriction should be disabled if it blocks new device registration. In the mobile app, Bluetooth and app permissions, including Location, should stay enabled so discovery and control remain seamless.
With these controls in place, the system can operate with greater autonomy and fewer interruptions, supporting a more liberated, low-friction cleaning routine.
Frequently Asked Questions
How Do I Connect My Robot Vacuum to New Wi-Fi?
He would open the app, start robot vacuum setup, choose 2.4GHz WiFi, and complete device pairing. Then he would verify app compatibility, network security, signal strength, and firmware updates; consult the user manual for troubleshooting tips and smart home integration.
Will My Robot Vacuum Work Without Wi-Fi?
Yes. A robot vacuum works offline for cleaning efficiency, obstacle detection, and battery life. Wi‑Fi mainly enables robot vacuum features: scheduling options, app functionalities, voice control, smart home integration, maintenance tips, and cost comparison.
How to Reconnect iRobot Vacuum to Wi-Fi?
Reconnect the iRobot vacuum through the iRobot app, then complete Wi Fi setup on 2.4GHz. If network issues persist, follow reset instructions and troubleshooting tips; verify device compatibility, firmware updates, mobile notifications, cleaning schedules, connectivity problems.
Does My Roomba Have to Be Connected to Wi-Fi?
No; basic cleaning works offline. Wi‑Fi enables robot vacuum features, smart home integration, vacuum scheduling options, app functionalities, and troubleshooting connectivity. Model differences affect requirements; user reviews note cleaning modes comparison, maintenance tips, battery life management.
Conclusion
In the end, connecting a robot vacuum to Wi-Fi depends on a few precise steps: confirm 2.4GHz support, enable Bluetooth and Location, place the unit close to the router, and complete pairing through the app. When problems appear, the usual fixes are simple—check the network, reset pairing, and update firmware. Like a well-tuned circuit, the connection stays steady when the robot, dock, and router remain in proper alignment.