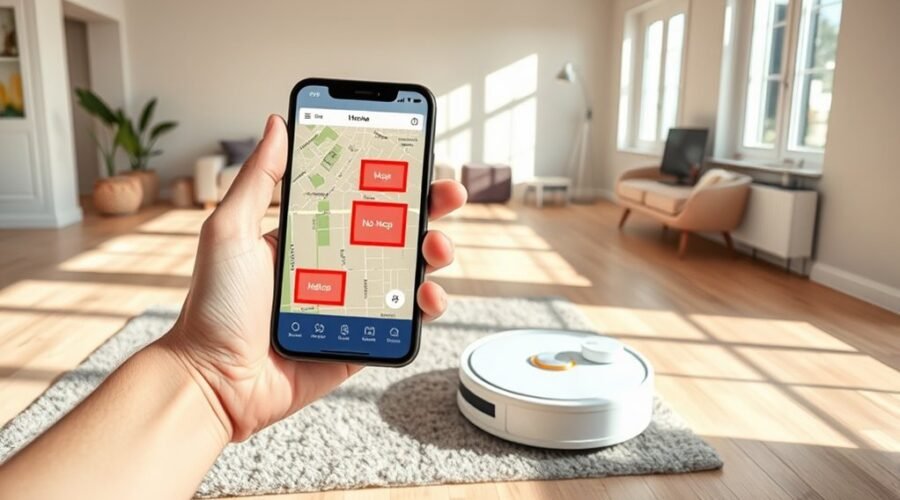
Setting no-mop zones on a robot vacuum begins with a complete home map and a compatible app. The user then opens the map editor, selects the no-go or no-mop tool, and places virtual boundaries over floors that should stay dry. After saving, the zone should be tested during a cleaning run. Some systems require adjustments, especially after remapping, and that detail can determine whether the boundary actually holds.
What Are No-Mop Zones?
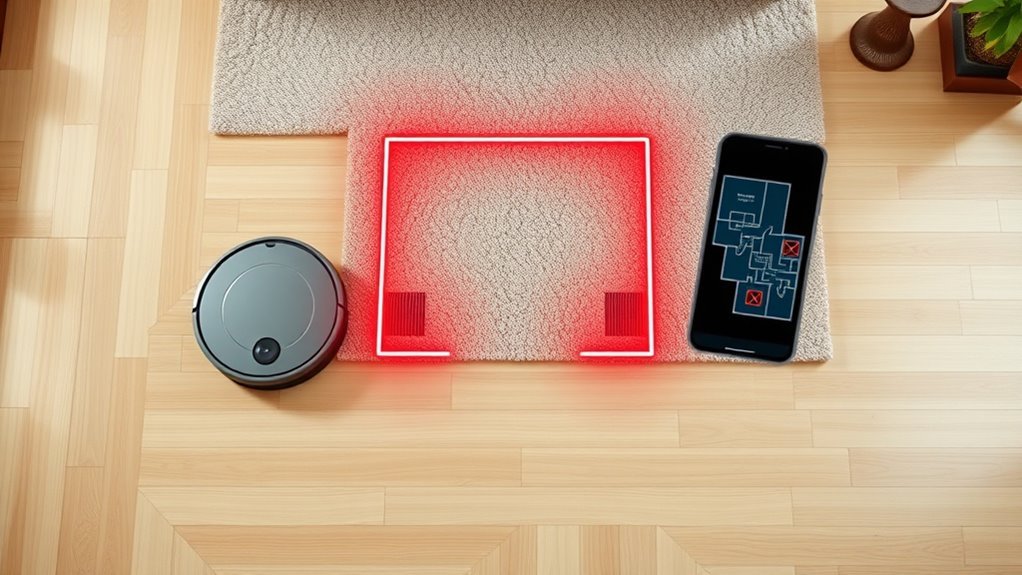
No-mop zones are predefined areas in a robot vacuum’s map where mopping is disabled so sensitive surfaces remain dry and protected. These boundaries function as precise exclusions, often called no-go zones, and they direct the machine to vacuum past them without releasing water.
In practice, they are created in the mobile app by drawing virtual lines around carpets, hardwood sections, or other vulnerable surfaces. This gives the user deliberate control over where moisture is permitted and where it is withheld. The result is cleaner operation with less risk of damage to delicate flooring.
Most modern robot vacuums with mopping support allow these restrictions to be adjusted quickly, so the cleaning routine can be tailored to the home’s needs. By defining no-mop zones, the robot performs with greater efficiency and the user gains freedom from unnecessary supervision, while sensitive areas remain intentionally untouched by the mop.
Make Sure Your Robot Has a Map
Before no-mop zones can be assigned, the robot vacuum must first complete a full map of the home so the app can accurately define room boundaries and restricted areas.
The floor should be cleared of loose objects, cords, and temporary obstacles so the machine can move freely and produce a reliable digital layout. During this mapping run, it should enter each room and document walls, openings, and furniture placement.
That map becomes the framework used to set no-go zones and protect floors that should remain dry. Once the layout is stored, the app can present virtual boundary tools for precise zone placement.
After defining each restricted area, the settings should be saved so the vacuum honors them in future cleaning cycles. If furniture is moved or the home layout changes considerably, the space should be remapped to preserve accuracy and keep autonomy intact.
Open the App and Edit the Map
Open the eufy Clean app and verify that the robot vacuum remains connected to the home Wi-Fi network, since map editing functions depend on a stable connection.
To open the app, the user should go to the main screen and select the Edit button. This action enters the map editing interface, where boundaries can be adjusted without compromising autonomy or control.
On the lower right, the red No-go icon should be tapped to begin the no-mop zone workflow. The system then presents tools for marking restricted areas on the map.
At this stage, the user can prepare the layout for cleaner, more self-directed operation. After the desired zones have been identified, the changes should be confirmed by selecting Save in the upper right corner.
Saving preserves the edited map and guarantees the vacuum follows the updated mowing and mopping limits consistently.
Draw Your No-Mop Zone
The mapped floor plan should be displayed in the app before a No-Mop Zone is drawn.
Red squares or rectangles can then be placed directly on the map to define the restricted area.
Once the boundary is correct, the changes should be saved using the Save button.
Draw Zone On Map
To draw a no-mop zone on the map, the user should first access the mapping tools in the eufy Clean app by selecting Edit. This action opens the controls needed to set restricted areas with precision.
Next, the red No-Go icon at the bottom right should be tapped to begin defining the boundary. Using a finger, the user can draw red squares or rectangles directly on the map, shaping the exclusion zone around the desired area. Each line should be placed carefully so the robot vacuum can be liberated from unnecessary contact with sensitive surfaces.
A completed home map is required before any zone can be set, so the map must already exist before this step is attempted.
Save Boundary Changes
With the No-Mop Zone outlined on the map, the user should save the boundary changes by selecting save in the top right corner of the eufy Clean app. This action commits the drawn red squares or rectangles to the map and preserves the restricted area.
Before saving, the user should confirm the boundary is precise, since the robot vacuum will respect only the stored layout. If adjustment is needed, the Edit interface can be reopened, the red No-Go icon selected, and the zone redrawn.
No-Mop Zones are available only after the robot has completed initial mapping of the home. Once saved, the app records the boundary changes, giving the user controlled, liberated operation without unwanted mopping in protected spaces.
Save and Test the Boundary
- Confirm the boundary lines appear exactly where the wet-cleaning exclusion is needed.
- Select Save to register the changes in the app.
- Start a cleaning cycle and observe whether the vacuum avoids the marked area.
- Review the result and monitor subsequent runs for consistent boundary recognition.
A successful test indicates the robot has accepted the saved configuration and can operate independently within the defined limits.
If the route remains correct, the user gains dependable, hands-free protection for floors and furniture.
Regular checks help maintain precise coverage, especially after app updates or layout changes.
Fix No-Mop Zones That Won’t Save
If a No-Mop Zone will not save after testing, the app configuration should be rechecked for retention issues. The floor setting should then be changed and saved again, because some robot vacuum systems retain No-Mop Zones only after a surface update.
The app must also be current; outdated software can block storage or recognition of these boundaries. Permissions and account settings should be reviewed next, since restrictions may prevent No-Mop Zones from persisting.
The app must be current; outdated software can block storage or recognition of these boundaries.
If the map remains unreliable, remapping the entire area can restore correct zone recognition and save behavior. This step is often necessary when prior layouts have become corrupted or incomplete.
For persistent faults, customer support should be contacted for deeper troubleshooting and possible software correction. A stable setup restores control, reduces wasted cleaning passes, and preserves the user’s freedom to define protected spaces without repeated manual intervention.
Choose Between No-Go Zones and Strips
No-Go Zones are app-based map regions that prevent the robot vacuum from entering specified areas during cleaning.
Boundary Strips are physical floor barriers used to block access where mapping is unavailable or unreliable.
The best option depends on the home layout, with mapped spaces favoring No-Go Zones and less accurate areas benefiting from Strips.
No-Go Zones Defined
Once a home map has been created, the robot vacuum can be assigned No-Go Zones, which are custom-marked areas on the digital layout that the device will actively avoid during cleaning.
These zones remain visible in the app and can be edited quickly, giving the household precise control without physical intervention. They are established only after mapping is complete, so the robot knows the room boundaries before restrictions are applied.
- Open the mobile app.
- Select the saved map.
- Mark sensitive areas, such as pet stations.
- Save the zone for future runs.
For users seeking cleaner, freer routines, No-Go Zones protect delicate furniture and high-risk areas while preserving efficient, automated coverage elsewhere.
Boundary Strips Explained
Boundary strips offer a physical way to block a robot vacuum from entering specific areas, while No-Go Zones create the same restriction through a mapped app setting.
Boundary Strips provide a direct, hardware-based method that does not depend on mapping technology, making them suitable for quick deployment and immediate control. They are installed along thresholds or around restricted spaces to guide the robot away from those areas.
However, placement must be accurate; if obstacles disrupt the line, the vacuum may still attempt entry.
No-Go Zones remain easier to edit or remove in software. Both methods support cleaner, more autonomous operation by preserving access to chosen spaces.
The better option depends on the layout and the level of control desired.
Best Use Cases
Selecting between No-Go Zones and boundary strips depends on how much precision, flexibility, and temporary control the cleaning setup requires.
No-Go Zones are best when the user needs digital, map-based freedom over delicate areas, pet stations, or fragile furniture. Boundary strips suit environments needing a physical barrier when app access is limited.
- Use No-Go Zones for custom shapes.
- Use strips for temporary exclusion.
- Choose No-Go Zones when frequent edits matter.
- Combine both for broad and detailed control.
No-Go Zones allow multiple unique shapes, supporting exact room management without blocking the entire floor.
Boundary strips remain useful for fast, non-digital deployment. Together, they preserve coverage while preventing damage, giving the user controlled autonomy over cleaning boundaries.
Update Boundaries After Remapping
After a home is remapped, the eufy Clean app should be opened to revise No-Mop Zones so they match any changes in room layout or furniture placement. From there, users can update boundaries with precision, preserving clean floors and freeing sensitive areas from unnecessary moisture.
The robot vacuum should already be fully charged and connected to the app before remapping, since accurate maps support reliable zone definition. Within the app, the Edit feature is used to redraw each No-Mop Zone according to the new floor plan.
Fully charge and connect the robot first, then use Edit to redraw No-Mop Zones after remapping.
Every boundary should be reviewed for shifts caused by moved furniture, altered pathways, or renovated spaces. Once the changes are confirmed, they must be saved so the robot follows the revised limits during the next cleaning cycle.
Regular updates are essential after significant home changes, because maintained boundaries protect autonomy, improve cleaning efficiency, and prevent unwanted mopping in restricted zones.
Frequently Asked Questions
How Do I Skip an Area on My Roborock Cleaning Robot?
He should open the Roborock app, access the map, and use Boundary Settings to mark the area to skip. After saving, he should run a test cycle, confirming the robot avoids that liberated zone.
How Do I Add a No-Go Zone on My Roborock?
He opens the Roborock app, selects the mapped home, taps No-Go Zone for Zone Customization, draws the restricted boundary, and saves. This grants clean autonomy, preserving liberated spaces while the robot avoids the designated area.
Which Robot Vacuum Has the Best No-Go Zones?
The Narwal Freo Z Ultra appears to have the best no-go zones, thanks to precise Zone Configuration, dual AI chips, and RGB cameras. Its obstacle detection and mapping deliver reliable, highly adaptable boundary control.
Can You Tell Robot Vacuum Areas Not to Go To?
Yes; robot vacuum systems can be assigned Area Restrictions through app-based maps or virtual walls, preventing entry into specified zones. This gives users precise control, preserving open movement while protecting sensitive spaces and cluttered regions.
Conclusion
In conclusion, setting no-mop zones depends on a completed map, accurate app-based boundary drawing, and a final test run. When saved correctly, these virtual limits help protect delicate flooring and reduce cleaning errors. One useful statistic is that many robots can store multiple map edits, but even one incorrect boundary can affect coverage. Regular updates after layout changes keep the system reliable, precise, and responsive to the home environment.