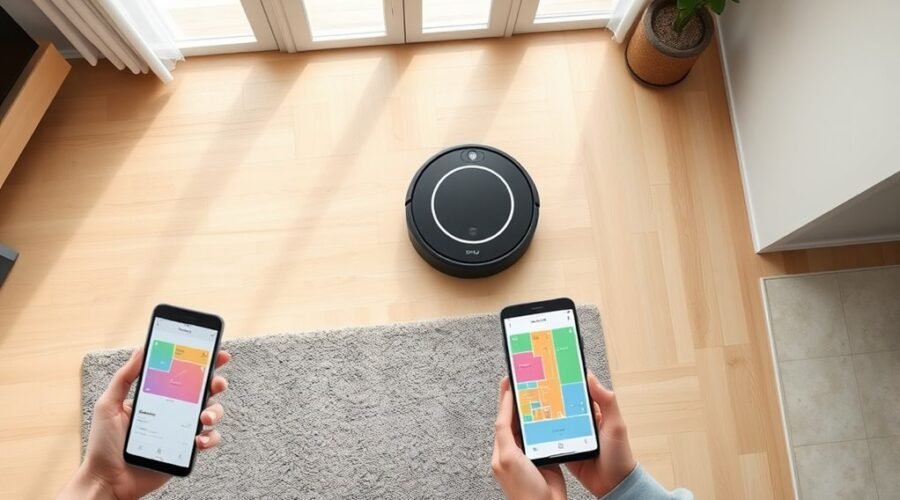
A robot vacuum can do more than roam at random. With the right app settings, it can target specific areas, skip problem spots, and follow a cleaner routine. The process starts with a mapped home, then moves to drawing zones, saving them, and adjusting boundaries as needed. A few simple steps can make the difference between partial cleaning and a far more controlled result.
What Is a Clean Zone on a Robot Vacuum?
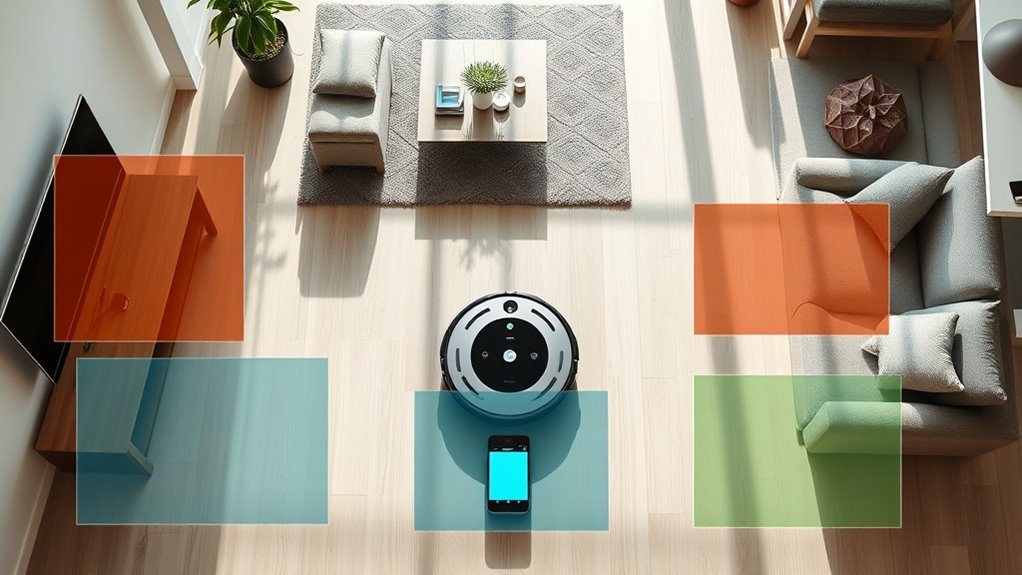
A Clean Zone on a robot vacuum is a designated area set aside for focused cleaning, usually in places that see heavy foot traffic or collect messes more often than others.
It gives robot vacuums a clear task: prioritize high-traffic areas without wasting effort elsewhere. Using the Smart Map feature, the system lets users mark, name, and save these spots for repeated designated cleaning.
It gives robot vacuums a clear task: prioritize busy areas and save them for repeated cleaning.
This makes Clean Zones useful for homes that need more attention in certain rooms, entrances, or work areas. Models with Imprint™ Smart Maps support this feature, giving users more control over how cleaning is organized.
Through the app, it is easy to view and modify Clean Zones as needs change. The result is more efficient cleaning, since the robot spends its time where it matters most.
Clean Zones support a simpler routine and help keep priority spaces consistently maintained.
Prep Your Home and Run the First Map
Before the first mapping run, the floor should be cleared of furniture, loose items, and other obstacles so the robot has an open path.
Interior doors to the rooms being included should be opened, and the robot vacuum should be placed at the starting point, usually its dock, before mapping is started in the app.
Once the run begins, it should be left undisturbed so the resulting map is accurate enough for creating cleaning zones.
Clear The Floor
To prepare for the first mapping run, the floor should be cleared of toys, clutter, and any other obstacles that could block the robot vacuum’s path. This step helps clear the floor so the robot can move freely and scan your home without interruption.
A central starting point supports accurate mapping during the initial mapping run, giving the device space to record walls, furniture edges, and open passages. As it works, the map becomes a practical guide for future cleaning.
Afterward, the saved layout can be reviewed in the app, where No-Go Zones may be set and preferences refined. If needed, adjust the map to better match the home’s real boundaries and preserve a more independent, efficient cleaning routine.
Open Interior Doors
Open interior doors so the robot vacuum can reach every room during its first mapping run. This simple step helps robot vacuums create a map that reflects the full home, not a blocked version of it. Clear toys, cords, and other obstacles so obstacle avoidance has a clean path and the robot detects room boundaries more accurately during the initial run.
| Step | Purpose |
|---|---|
| Open doors | Access every room |
| Clear paths | Support obstacle avoidance |
| Place centrally | Improve map coverage |
| Review app map | Confirm cleaning zones |
After the scan, the map can be used to create cleaning zones that match real living patterns. Accurate access now means less constraint later, giving the household more control over where cleaning happens.
Run Initial Mapping
With the home cleared of obstacles and all relevant doors open, the robot vacuum can begin its first mapping run from the charging dock or another starting point.
To run initial mapping, the user should launch the mapping process in the app and let the robot vacuums move freely. During this pass, the machine will adjust its path as it detects walls, furniture, and room edges, building accurate mapping data for later use.
- Place the robot at the dock.
- Start mapping in the app.
- Leave it untouched until complete.
Interrupting the run can distort the map and weaken cleaning zones later.
Afterward, the app should be checked for room boundaries, missing areas, or errors. Small corrections now support a cleaner, more liberated routine afterward.
Create a Clean Zone in the App
The robot vacuum’s app should be opened to the Smart Map view, where the current floor layout can be seen and a Clean Zones option selected. From there, a user can create a clean zone by choosing specific areas on the map in the robot’s app. This lets the machine serve only the spaces that need attention, reducing wasted passes and restoring control over cleaning tasks.
If the app allows it, cleaning frequency or mode can be adjusted to fit the room’s needs. After the boundary is placed, the next step is to save the changes so the zone becomes part of the routine. The Clean Zones feature should then be confirmed, and the robot can be monitored during its next run to verify it follows the designated area.
Clear setup supports more intentional cleaning and greater freedom from unnecessary labor.
Name and Save Your Clean Zones
After a Clean Zone has been placed on the Smart Map, the next step is to name it for easier use later. The app usually provides an Add Zone option, where a unique label can be entered for each area. Clear names help distinguish Clean Zones for high-traffic spots, bedrooms, or other spaces with specific cleaning needs.
Name each Clean Zone with a clear, unique label to make future cleaning easier and more efficient.
- Open the Smart Map and tap the chosen area.
- Select Add Zone, then enter a simple, unique name.
- Save changes so the zone becomes active in the cleaning schedule.
Multiple Clean Zones can be created, giving the user more control over routine cleaning. This makes it easier to direct the robot toward places that need attention without repeated setup.
A regular review of names and placements also helps keep the map aligned with changing room layouts and cleaning needs.
Set No-Go Zones and Virtual Walls
Set No-Go Zones and Virtual Walls help prevent the robot vacuum from entering areas that need protection. In the app, select the digital map and mark the cleaning areas that should remain untouched, such as delicate furniture or pet bowls.
Users can set No-Go Zones by drawing them directly on the map, then customize the size and shape for precise control. Virtual Walls add invisible barriers the robot vacuum cannot cross; depending on the model, they can be activated in the app or with a physical device.
Most robot vacuums support multiple No-Go Zones and Virtual Walls, giving the household more freedom to manage different spaces at once.
As room layouts change, the app should be updated so boundaries stay useful and the robot continues cleaning only where desired. Clear limits reduce unwanted cleaning and support a smoother routine.
Fix Clean Zone and Map Issues
When Clean Zones are not working as intended, the first step is to review the robot’s map in the app and correct any errors that may be affecting coverage. Accurate mapping helps robot vacuums clean with purpose, rather than wandering where they are not needed.
If the layout has shifted, regenerate the map so the system can rebuild a more reliable view of the home. This often restores proper Clean Zones behavior and improves control over movement.
- Verify each Clean Zone is named clearly in the Smart Map for easy management.
- Add No-Go Zones and Virtual Walls where cleaning is unnecessary or disruptive.
- Check and clean sensor technology regularly so mapping stays precise.
These steps support a more accurate map and reduce missed areas. When the app, map, and sensors work together, the vacuum can follow liberation-friendly boundaries and deliver focused cleaning without constant correction.
Frequently Asked Questions
How to Create Keep Out Zones for Roomba?
To create keep out zones for Roomba, one selects the map in iRobot Home, opens Clean Zones, then No-Go Zones. This improves cleaning efficiency, zone customization, pet areas, furniture placement, hard floors, carpet zones, device compatibility.
How to Set Boundaries for a Robot Vacuum?
Boundaries are set through boundary settings in the app, using virtual walls, no go zones, and map adjustments to reflect user preferences. Cleaning schedules should be checked for device compatibility, ensuring flexible, liberated control.
How Do I Add a New Area to My Roomba Map?
He would open the app, choose the Roomba mapping, tap Clean Zones, add the new area, name it, and save. This smart technology improves cleaning efficiency, zone customization, app connectivity, maintenance tips, and user experiences.
How to Do Mapping for Robot Vacuum?
Mapping begins by clearing obstacles, opening doors, and launching the app. The robot uses mapping techniques, sensors, and app integration to improve mapping accuracy, support robot navigation, shape cleaning paths, and enable virtual barriers and zone management.
Conclusion
In the end, creating cleaning zones on a robot vacuum is less a tech trick than a tiny act of household wizardry. With a mapped home, a few taps in the app, and carefully placed zones, chaos turns into order almost like magic. Clean Zones, No-Go Zones, and map fixes give the robot a sharper sense of purpose. When maintained regularly, these settings can make everyday cleaning feel dramatically simpler, smarter, and surprisingly effortless.