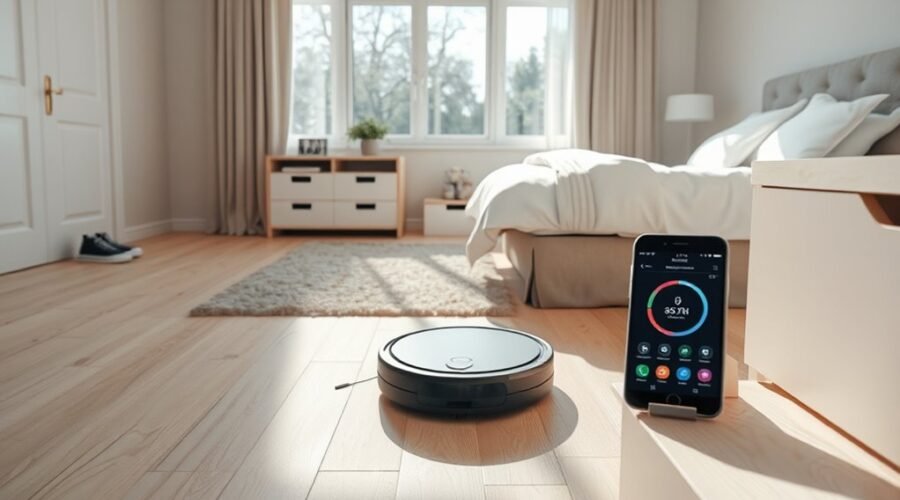
Cleaning one room with a robot vacuum works best when the space is ready before the device starts. The room should be cleared of loose items, cords, and small obstacles, while the app map is checked for the correct area and any no-go zones. After that, the right mode can be selected for the floor type and dirt level. The next step often determines whether the job is done well or only partly finished.
Prepare One Room for Cleaning
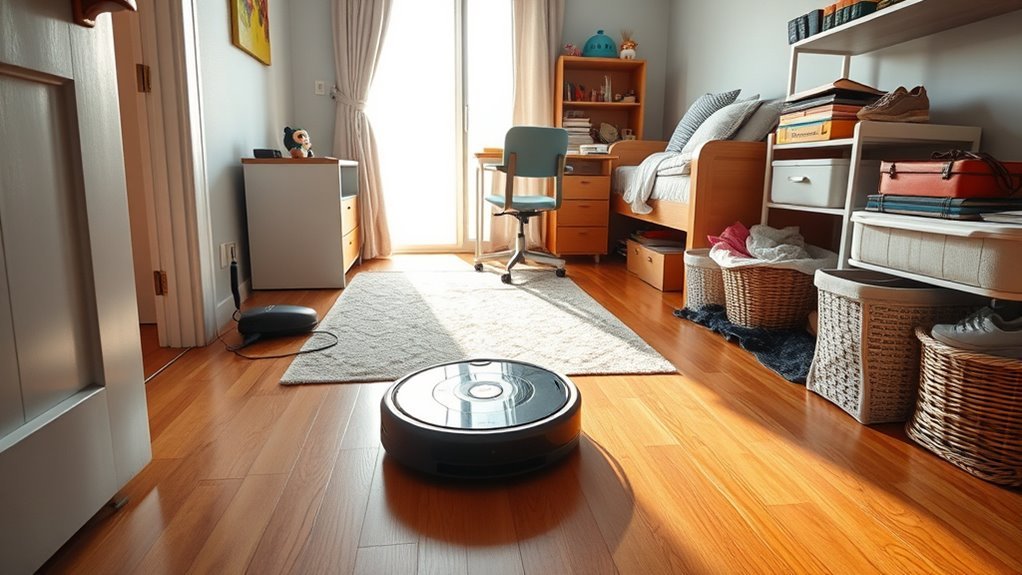
Before the robot vacuum starts, the room should be cleared of large obstacles such as furniture that can be moved and scattered toys so it can travel without interruption. This preparing step frees the floor and reduces the chance of stoppages.
Delicate items, loose cords, and charging cables should be stored away, keeping them safe from tangles and damage. If the room has pet bowls, fragile decor, or other sensitive spots, no-go areas can be marked later to preserve them, but for now the floor itself must be open.
Store delicate items and loose cords away, keeping the floor open and the vacuum free from tangles.
Doors to adjacent rooms should be closed so cleaning stays contained and focused. The robot’s dust bin should be emptied, and its filters checked for cleanliness, because strong suction depends on clear airflow.
With the space made simple and unobstructed, the vacuum can work efficiently and with less supervision, giving the occupant more time and less domestic burden.
Set Up Room Cleaning in the App
The iRobot HOME App should be opened, and the home map used to access room selection.
The desired room should be tapped so it is highlighted before cleaning begins.
The Clean button can then be pressed to start vacuuming that room immediately.
Open The App
Open the iRobot HOME App on the smartphone and confirm that the robot vacuum is connected to Wi‑Fi for remote control.
From there, the robot’s app gives direct access to the home map, where each room can be handled without wasted effort. The user should review the layout, then tap the target room so it becomes highlighted for focused cleaning.
Next, the Clean button starts the session immediately, freeing the task from manual labor. If a cleaning schedule is already set, this step can also be used for one-off room work outside routine cycles.
During operation, the app shows progress in real time, allowing adjustments or an immediate stop if the situation changes. This keeps control simple, precise, and fully in hand.
Select The Room
Within the iRobot HOME App, the home map should be opened to review the layout created during the initial cleaning run. The user can then select the room that needs attention by tapping its section on the map until it is highlighted. This confirms the app has linked the command to the correct area, keeping the process efficient and controlled.
If the robot supports Smart Mapping, it can adjust its route to the room’s shape and obstacles with minimal wasted movement. Before proceeding, no-go zones should be checked so the robot stays away from delicate spaces.
Once the chosen room is marked, the Clean button can be used in the app to set the job in motion, giving the robot a clear task and the user more freedom.
Start Vacuuming Process
After the room has been selected, the iRobot HOME App should be used to begin the cleaning cycle by confirming that the robot vacuum is connected to Wi-Fi and ready for remote control.
From the Map section, the chosen room can be tapped or the Clean button pressed to start the vacuuming process without needing to move the machine by hand.
If Smart Map features are available, the room layout should be checked for accuracy so the vacuum can travel freely and avoid obstacles.
The app then allows the user to monitor progress, pause if needed, and adjust settings as the job advances.
This method keeps control simple, preserves cleaning power, and gives the user more freedom from manual labor while the robot handles the task efficiently.
Choose the Right Cleaning Mode
Choosing the right cleaning mode helps the robot vacuum work more efficiently and match the task at hand. For maintaining clean floors, the selected cleaning mode should fit the room’s condition, surface type, and debris level. Standard Mode suits routine passes over dust and light debris. Boost or Max Mode is better for heavier dirt and carpeted sections. Edge Cleaning Mode targets corners and wall edges where buildup often hides. Custom Cleaning Mode gives direct control over high-traffic zones.
| Cleaning Mode | Best Use |
|---|---|
| Standard | Light dust, routine cleaning |
| Boost/Max | Heavy dirt, carpeted areas |
| Edge | Corners and wall edges |
| Custom | High-traffic zones |
Selecting the proper setting improves efficiency and reduces wasted effort. It also helps the machine adapt to changing floor conditions without unnecessary strain. That practical choice supports a cleaner room with less intervention, keeping maintenance simple and freeing time for other priorities.
Start a Single-Room Cleaning Run
To start a single-room cleaning run, the user opens the iRobot HOME App, selects the specific room on the smart map, and then taps the CLEAN button to begin. This direct method gives robot vacuums come closer to handling chores with less supervision and more freedom.
Before activation, the robot should be fully charged and already in its designated area so the run can proceed without interruption.
Ensure the robot is fully charged and in its designated area before starting.
- Confirm the room is selected in the app.
- Tap CLEAN, or press the physical CLEAN button if the model supports it.
- Watch the cleaning progress in the app and adjust settings as needed.
This process keeps control simple: choose, start, observe. The app provides immediate feedback, allowing the user to respond if battery level, obstacles, or performance require attention.
Target the Room From the Map
The iRobot HOME app’s smart map lets the user see each room and choose the one that needs cleaning.
By tapping the room’s marked area on the map, the user can target that space directly and then press VACUUM to begin.
Before starting, the area should be clear so the robot can clean without unnecessary interruptions.
Select Room On Map
Open the iRobot HOME app and view the map of the home so the room layout is visible. The user can then select a room on the map by tapping the exact space that needs a cleaning solution, keeping the process direct and independent. The robot should already be charged and connected to Wi‑Fi for reliable remote control.
- Confirm the map is current and the desired room is easy to identify.
- Tap the room once to highlight it, then verify the selection before moving on.
- Watch the app for progress so the targeted room remains the focus and the robot stays on course.
This method gives precise control over one room without sending the robot elsewhere, preserving time and effort.
Start Room Cleaning
With the room already selected on the map, the user should press the CLEAN button in the iRobot HOME app to begin cleaning that specific area. This step will start room cleaning without sending the robot to the entire home, saving time and restoring control over the routine.
Before the run begins, the vacuum should be connected to Wi‑Fi and fully charged so it can work without interruption. If the room choice is uncertain, the Help Me Choose tool can confirm it quickly.
Once cleaning starts, the app can be used to monitor the path, check progress, and adjust the target if needed. This focused method helps households clean more frequently and maintain cleaner rooms with less effort.
Fix Room-Selection Problems
If a robot vacuum selects the wrong room or refuses to target one at all, the first step is to verify that its initial mapping run is complete, since accurate room control depends on a reliable smart map.
In the iRobot HOME App, room selection begins by opening the map, choosing the intended room, and then pressing CLEAN. If room selection still fails, the smart map may be outdated or inaccurate.
- Confirm the robot finished mapping the home before expecting precise navigation.
- Regenerate the map in the app if a room is missing, merged, or mislabeled.
- Use Help Me Choose to review room preferences and no-go zones, then save the settings.
A clear app setup reduces friction and keeps cleaning directed with minimal effort.
Becoming familiar with the app’s controls helps a user act independently, correct errors quickly, and let the robot handle the rest.
Move Obstacles Out of the Way
Before the robot vacuum starts, the floor should be cleared of small items such as shoes, toys, and cords, since these can block its path or cause it to stop. This simple reset lets the machine move obstacles-free through the room and reduces the need for constant supervision.
Clear the floor of shoes, toys, and cords so your robot vacuum can move freely and run without interruption.
Larger objects should also be shifted out of the cleaning area, including pet beds, baskets, and loose furniture pieces that create dead ends. Rugs should lie flat, with fringes tucked away, so the vacuum does not snag or stall.
Before each run, a quick scan is useful, especially in high-traffic spots where new clutter appears. For areas that should stay untouched, No-Go Zones can be set later in the app, but the immediate task is physical clearance.
A clear room gives the robot room to work, preserves battery life, and supports a cleaner, more autonomous routine.
Use Maps and No-Go Zones
The robot vacuum’s mapping feature creates a detailed layout of the home, making it easier to clean specific rooms rather than the entire space at once. With this map, the app can guide the machine toward one room and away from unnecessary detours, giving the user more control and less manual oversight.
No-go zones should be set around delicate decor, cords, pet bowls, or crowded walkways to keep the vacuum on task and protect the space.
- Review the map after the first run and confirm room boundaries.
- Mark no-go zones where access would reduce efficiency or cause trouble.
- Update the map whenever furniture changes or new obstacles appear.
Smart room preferences also help direct attention to areas that need regular cleaning, especially high-traffic spaces.
Clean Different Floor Types
Hard floors such as wood, tile, and laminate should be cleaned first, since robot vacuums can usually adjust suction automatically and cover these surfaces efficiently.
Carpet care settings matter next: medium-pile carpets benefit from strong suction, while very thick carpets may be harder to clean because of limited ground clearance.
Rugs and thresholds also need attention, with flat rugs secured at the edges and tasselled or shag rugs marked as no-go zones to prevent snagging and bunching.
Hard Floors First
On hard floors, a robot vacuum can work especially well because it automatically adjusts suction to lift dust and debris from wood, tile, and laminate.
Before cleaning, brushes and sensors should be checked and cleared so the machine moves freely and performs at full efficiency on hard floors. A practical routine keeps the process simple and independent:
- Empty the dust bin after each session, or when it reaches two-thirds full, to preserve suction.
- In the app, set virtual no-go zones around delicate spots and tricky passages.
- Maintain the unit with weekly brush cleaning and monthly filter changes.
This disciplined approach supports consistent cleaning and reduces hands-on effort, giving the room a cleaner finish with less interruption.
Carpet Care Settings
Across mixed flooring, a robot vacuum can usually adapt its suction automatically. However, carpeted areas often benefit from manual adjustment for better pickup. In carpet care settings, Boost or Max mode gives the robot extra pull on medium-pile fibers, lifting embedded grit and debris without repeated passes.
The app should also be checked for floor-type mapping so the machine spends energy where it matters. A unit with adequate ground clearance moves more freely between surfaces and is less likely to stall on changes. No-go zones help protect delicate carpets and fringed rugs from brush tangles.
Routine brush and filter cleaning keeps airflow strong, preserves performance across surfaces, and extends service life. These settings support efficient cleaning with less oversight and more freedom.
Rug And Thresholds
Rugs and floor thresholds deserve the same careful attention as carpet settings because they can change how smoothly a robot vacuum moves from one surface to another. For rug and thresholds, the robot should match the room’s materials, freeing the user from constant intervention.
- Flat rugs without fringes are safest; tassels and long fibers can tangle the brush, so app no-go zones help.
- Suction power should rise on medium-pile carpet, then settle back on wood or tile for efficient cleaning.
- Thresholds up to 2 cm are usually manageable, but thicker edges and loose rug corners should be checked and secured.
Regular inspection prevents bunching, preserves movement, and keeps the vacuum working across mixed floors with minimal disruption.
Maintain the Robot After Cleaning
After each cleaning session, the robot vacuum should be serviced promptly to preserve suction and extend its lifespan.
First, empty the Dust Bin, keeping it clean and free of packed debris; daily emptying is ideal, though every one to three uses may suffice when dirt is light.
Next, brush the air filter with a soft-bristle brush or dry rag, since water can reduce performance and block airflow.
Brush the air filter gently with a soft brush or dry rag; avoid water to preserve airflow and performance.
The roller brush and side brushes deserve deeper care: remove them, cut away hair or string, and soak them in warm water with a mild degreaser when buildup is heavy.
Wipe the exterior and sensors with a damp cloth so paths stay clear and navigation remains precise.
Routine maintenance checks, including monthly sensor cleaning and filter changes, reduce interruptions and support dependable, hands-free cleaning.
This simple upkeep protects the machine, preserves freedom from chores, and keeps each future cleaning cycle efficient.
Frequently Asked Questions
How Do I Get My Roomba to Just Clean One Room?
Select the room in the iRobot HOME app’s Smart Map, then press VACUUM. Set virtual boundaries first, and use room scheduling for repeated runs. Update software regularly to keep the Roomba cleaning only that area.
Can I Use a Robot Vacuum on Multiple Floors, and if So, How?
Yes—contradiction meets convenience: a robot vacuum can serve multiple floors if each level is mapped first. With robot vacuum features for saved maps and multi floor navigation, one simply moves it upstairs, then updates software regularly.
Should You Run Your Robot Vacuum Every Day?
Yes—running it daily often helps. Daily cleaning reduces dust and debris, improves vacuum benefits, and suits busy or pet-heavy homes. It also keeps floors consistently clear, saving time and supporting a more liberated routine.
How to Clean Just One Room With Roborock?
He selects the room in the Roborock app, taps Vacuum, and lets the robot handle only that space. These robot vacuum tips and room cleaning strategies include charging fully, emptying the bin, and setting boundaries.
Conclusion
In the end, one room is cleaned with impressive ceremony: chairs are lifted, cords are banished, and the app is consulted like a state document. The robot is then sent forth, either in a cautious or vigorous mode, to perform its modest labor. When it finishes, the dust bin is emptied and the filters are tended, as if maintaining a tiny, tireless civil servant. Order, it turns out, requires only preparation, maps, and a little humility.