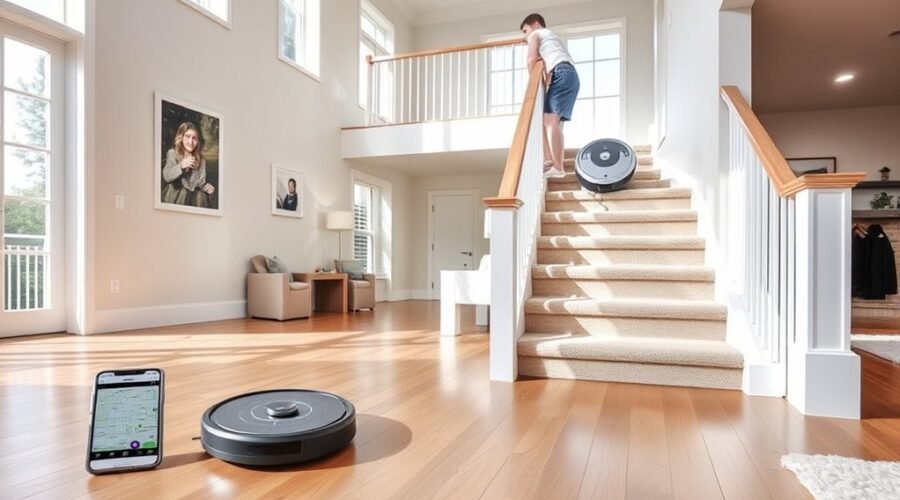
Using a robot vacuum on multiple floors requires more than moving it from one level to another. Each floor needs its own map, proper dock placement, and the correct settings in the app. If those steps are skipped, navigation errors, missed areas, and failed cleanups become common. The process is straightforward, but a few setup details determine whether multi-floor cleaning works well or becomes a recurring problem.
How Do Robot Vacuums Work on Multiple Floors?
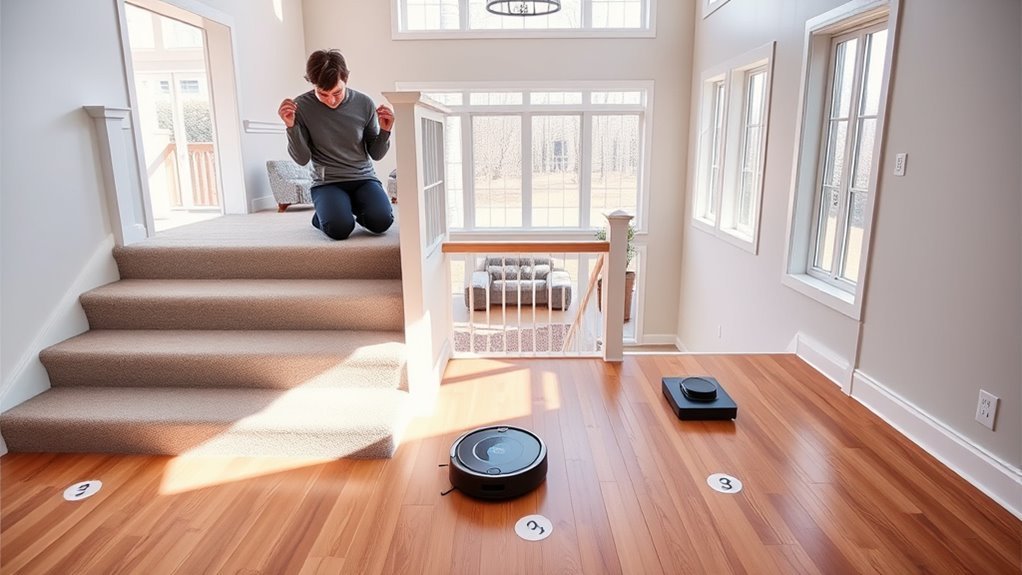
Robot vacuums work on multiple floors by using mapping technology to create and store separate floor plans for each level of a home. A Robot vacuum does not move between multiple floors on its own; it must be carried to the next level.
Once placed there, mapping scans the space and records it in memory. In app controls, the user can select the correct floor, adjust cleaning routines, and assign no-go zones that match each layout. This prevents wasted passes and supports focused cleaning.
Advanced models often store several maps, sometimes in the cloud, making floor switching faster and more reliable. The result is practical autonomy with limited user intervention, giving households more control over maintenance without surrendering time.
For people seeking liberation from repetitive chores, these systems reduce physical effort while preserving precise control across multi-level homes.
Map Each Floor Before You Clean
Before cleaning begins, each floor should be mapped separately to guarantee accurate navigation and room recognition. A robot vacuum should be moved with its dock to the new floor, then the app used to start a dedicated map. The first pass must be a full cleaning cycle so sensors capture walls, thresholds, and open areas with precision.
On a multi-floor home, this process prevents confusion and supports independent control.
- Place the robot vacuum and docking station on the new floor.
- Open the app and create a fresh map for that level.
- Run one complete cleaning cycle to build the saved map.
- Enable multi-map saving, label each saved map, and repeat for every additional floor.
Each new floor requires its own map before routine cleaning can begin. Once mapping is complete, the app can store and identify the correct layout, giving the user practical freedom to manage every level without manual guesswork.
Move the Robot and Select the Right Map
To begin cleaning on another floor, the robot vacuum should be moved manually to that level with its docking station, and the battery should be fully charged before relocation.
In the app, the saved map for the target floor should be selected before starting the cycle, with multi-map saving enabled for faster switching.
If navigation fails, the robot should be placed in an open area and restarted on the correct map for accurate positioning.
Selecting Saved Floor Maps
When moving a robot vacuum to another floor, the unit should be carried to the desired level fully charged. Then the companion app should be opened to select the saved map for that floor. This gives the robot vacuum access to accurate floor plans across multiple floors and preserves control without manual confusion.
- Open the app and verify the saved map matches the target level.
- Confirm the map reflects current room layouts before starting the cleaning cycle.
- For initial mapping, move both the robot and dock so a new floor plan can be created.
- After placement, tap Clean in the app to begin guided coverage.
Regular map updates improve navigation, reduce errors, and support efficient, liberated cleaning.
Moving Robot Between Floors
Moving a robot vacuum between floors works best as a controlled transfer: carry both the robot and its charging dock to the new level during initial setup, then open the companion app and select the correct saved map before starting a cleaning cycle.
This moving robot routine supports accurate multi-floor mapping and reduces errors during map switching. For the first pass on a new floor, run a full cycle so the unit can build and save a detailed new map.
If it becomes confused, place it in an open area and restart with the correct map selected. Regularly review saved maps in the app to keep multiple floors organized, efficient, and accessible, so hands-on supervision stays minimal and users remain free from repeated corrections.
Set No-Go Zones and Room Rules
A robot vacuum performs best on multiple floors when its app-based no-go zones and room rules are configured for each level.
App management should define no-go zones around staircases, pet zones, and delicate spaces, reducing risk and waste. Room dividers can then establish cleaning boundaries, directing multi-floor cleaning toward the correct rooms and limiting overlap.
App management defines no-go zones and room dividers, guiding multi-floor cleaning with less risk and overlap.
Edge detection should be enabled near ledges so the unit avoids falls while still covering open edges efficiently.
- Map each floor in the app and place no-go zones where access is unsafe.
- Set room dividers to separate zones and guide targeted routes.
- Adjust rules per floor for tailored cleaning based on traffic, carpet, or debris.
- Review and update settings as layouts change, keeping the system aligned with liberation from manual control.
Regular edits maintain precision and let the vacuum operate with minimal interruption.
Should You Move the Dock Too?
In most cases, the dock can stay on its original floor after the robot is mapped, and only the robot needs to be carried to the level being cleaned.
During the first mapping run on a new floor, both the dock and the robot should be moved together to build an accurate map.
If the system supports multiple saved maps, floor changes are simpler, though relocating a single dock remains an option for users who want maximum flexibility.
Moving The Dock
Whether the dock should move depends on the task: for initial mapping, both the robot vacuum and its dock must be relocated to the new floor so the unit can create an accurate map. For ongoing use across multiple levels, moving the dock is unnecessary after mapping.
- Move both dock and robot for first-time mapping.
- Use manual transport of the robot for routine cleaning.
- Premium models save floor maps, reducing dock relocation.
- One dock can streamline the cleaning process, while multiple docks add convenience.
If one dock serves multiple levels, it must be carried whenever a new cleaning cycle begins on another floor.
Where freedom and efficiency matter, multiple docks can eliminate repeated lifting and simplify access between floors.
When Dock Stays Put
Once the dock has been placed for initial mapping, it usually stays put; the robot can then be carried between floors while the charging base remains on a reliable home level.
After that first mapping pass, there is no need to move the dock every time the Robot is used on multiple floors. A fixed dock gives the unit a clear return point and keeps charging predictable.
Before relocating the robot, it should be fully charged, so cleaning is not interrupted mid-cycle.
For new levels, both robot and dock must be moved only when creating a fresh map. If saved maps are available in the app, the robot may travel freely between floors, stay charged, and clean without tethering the user to unnecessary setup.
Must-Have Features for Multi-Floor Cleaning
A robot vacuum built for multiple floors should include multi-floor mapping, allowing it to store separate floor plans and clean each level without repeated setup.
The Best Robot Vacuum for liberation from manual labor also needs Recharge and Resume Functionality, so it can return to the dock, recharge, then continue without user intervention.
Advanced Obstacle Navigation matters for thresholds, cords, and furniture; systems such as ProLeap™ can clear obstacles up to 2.4 inches.
Advanced Obstacle Navigation matters for thresholds, cords, and furniture; systems like ProLeap™ can clear obstacles up to 2.4 inches.
Custom Cleaning Settings should permit no-go zones and a floor-specific Cleaning Schedule, giving each level precise treatment.
Strong Battery Life, ideally 180-240 minutes, supports wider coverage before recharge.
- Multi-Floor Mapping
- Recharge and Resume Functionality
- Advanced Obstacle Navigation
- Custom Cleaning Settings
Top DEEBOT Models for Multiple Floors
Among DEEBOT’s multi-floor options, the X12 OmniCyclone stands out for 22,000 Pa suction, FocusJet targeted cleaning, and multi-floor mapping that supports separate floor plans for each level.
These DEEBOT models reduce manual resets and let users move through a home with more freedom.
| Model | Key advantage |
|---|---|
| X12 OmniCyclone | 22,000 Pa, advanced mapping, separate plans |
| X11 PRO OMNI | PowerBoost, AIVI 3D 3.0, strong clutter avoidance |
| T80 OMNI | 3.86-inch body, 18,000 Pa, low-clearance reach |
| Premium line | Save maps and set cleaning schedules |
| Advanced series | Recharge and resume functionality |
The X11 PRO OMNI suits homes needing clutter avoidance and quick recovery when the battery runs low. The T80 OMNI serves mixed surfaces with a slim profile. Across the range, advanced mapping helps keep cleaning schedules aligned with each floor, supporting consistent, liberated maintenance without repeated setup.
Fix Lost Robots and Bad Maps
If a robot vacuum becomes disoriented on another floor, the app should be switched to the correct saved map and a short cleaning cycle started so it can recalibrate its position.
To fix lost robots, select the corresponding map before every run and verify that the current floor is matched correctly. If mapping issues persist, manually move the unit to an open area with a clear path, then let it reorient under stable conditions.
Select the correct map before each run, then let the robot reorient in a clear open area.
Reliable performance also depends on strong Wi-Fi for accurate cloud syncing and map storage.
- Select the corresponding saved map in the app.
- Start a brief cleaning run to restore positioning.
- Manually move the robot to open space if needed.
- Clean the robot’s sensors and confirm strong Wi-Fi.
If the vacuum still misses its location, check charge level and app updates, then repeat the reset cycle.
This disciplined process preserves floor-to-floor autonomy and keeps movement unburdened.
Maintain Maps, Sensors, and Schedules
Keeping robot vacuums reliable across multiple floors depends on maintaining separate maps, clean sensors, and floor-specific schedules. Each level should have its own saved layout so the robot vacuum across multiple spaces can follow accurate paths without confusion.
Regularly maintain maps in the app after furniture changes, then confirm no-go zones around stairs, cords, and fragile areas. Sensors and brushes should be cleaned every one to two weeks to prevent drift, missed edges, and navigation faults.
Strong app connectivity on every floor supports stable multi-floor mapping and fast updates when rooms change. Distinct cleaning schedules should be assigned per floor, matching traffic patterns and room use. This lets the machine work autonomously while users reclaim time and avoid repetitive oversight.
Consistent maintenance reduces manual intervention, improves coverage, and keeps each floor’s map, routing, and protections dependable.
Frequently Asked Questions
Can You Use the Same Robot Vacuum on Multiple Floors?
Yes, a single robot vacuum can handle multiple floors if it includes robot vacuum features for multi floor cleaning, navigation technology, floor mapping, and app connectivity. Battery life and maintenance tips matter; users must move it manually.
How to Use Roomba on Multiple Floors?
Roomba can serve multiple floors. A user need not fear complexity: with mapping technology, adjusting settings, scheduling cleanings, and optimizing battery, it handles floor types, maintains carpets, and avoids traversing stairs through manual relocation.
Which Robot Vacuum Can Map Multiple Floors?
DEEBOT X12 OmniCyclone, DEEBOT X11 PRO OMNI, and Dreame X50 Ultra map multiple floors via mapping technology, floor recognition, and smart navigation. Brand comparisons and user reviews favor multi floor compatibility, with maintenance tips ensuring lasting performance.
What Are the Downsides of Using a Robotic Vacuum Cleaner?
Restrictive, rattling robot vacuums impose robot vacuum limitations: maintenance challenges, battery life limits, navigation issues, weaker carpet performance, higher noise levels, and uneven smart home compatibility. They save labor, yet still demand supervision and occasional intervention.
Conclusion
Multi-floor robot vacuum cleaning is less a convenience than a carefully staged routine. Each level should be mapped, labeled, and protected with no-go zones before regular use. The dock may travel for first-time mapping, but the saved map should guide later runs. With the right app controls, sensors kept clean, and schedules maintained, the machine avoids the maze-like confusion of a modern house and performs with quiet, dependable precision.