A robot vacuum water tank leak often traces back to a simple fault, but the exact source is not always obvious. The tank, nozzles, base station, and pump each need close inspection, along with the sealing rings and flow settings. Small cracks, clogs, or poor reinstallation can all cause water loss. The next steps show how to isolate the failure point and correct it before more damage occurs.
Check the Robot Vacuum Water Tank
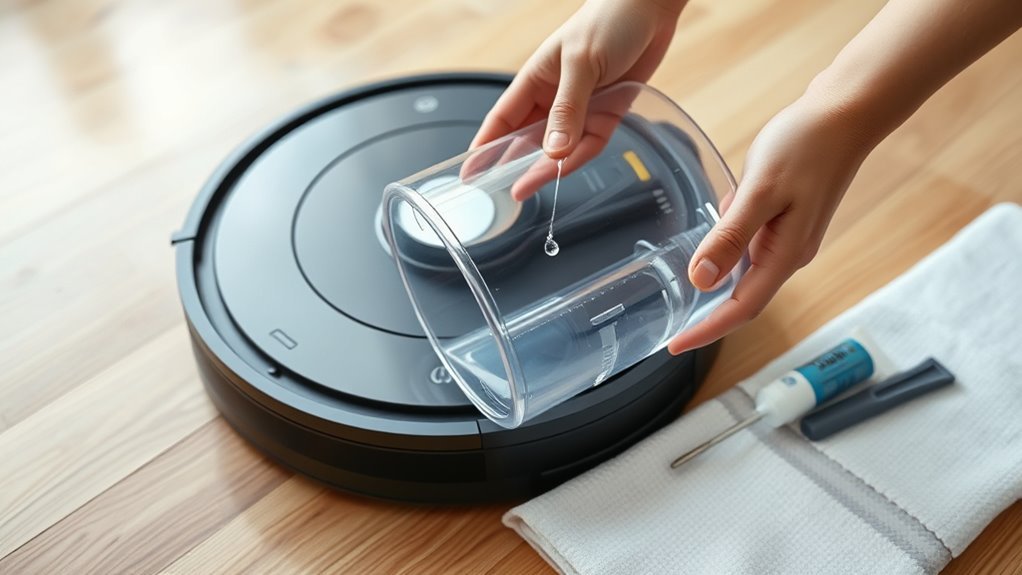
Begin by inspecting the robot vacuum’s water tank for any visible cracks, warping, or other damage that could allow water to leak. The water tank should be examined under good light, with attention to corners, seams, and the fill port. Any defect compromises containment and can produce water leakage during operation.
The sealing rings around the tank should then be checked for looseness, dirt, or distortion. If debris is present, the rings should be cleaned and reset so the fit remains snug and stable.
Check the sealing rings for looseness, dirt, or distortion, and clean them to ensure a snug, stable fit.
Next, the water tank should be removed and reinstalled with deliberate pressure until a clear click confirms proper seating. Before reinstalling, it should be completely empty; residual water can create excess pressure and provoke leakage.
This disciplined inspection supports reliable operation and preserves a user’s ability to move without preventable maintenance failures.
Clear Clogs in the Water Nozzles
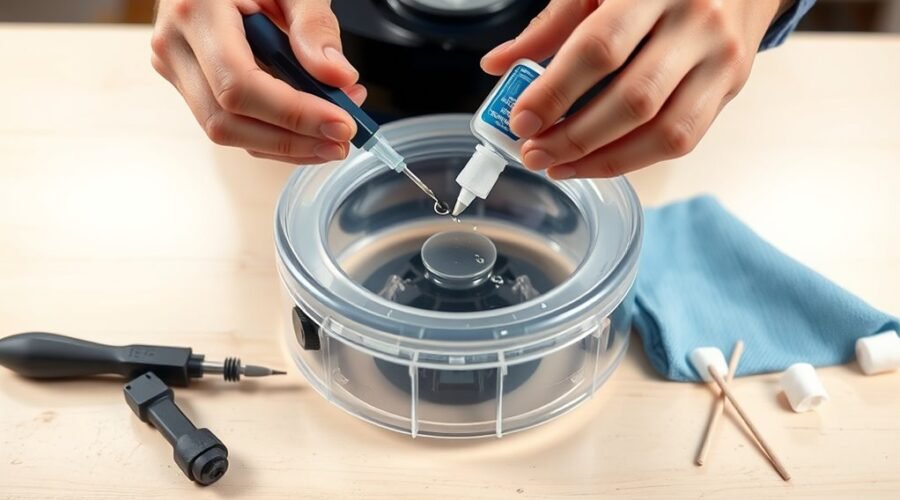
The water nozzles should be inspected for visible clogs, mineral buildup, or debris that could restrict flow and contribute to leakage during operation. A needle or toothpick may be used to dislodge blockages with controlled pressure, preserving nozzle integrity and protecting the user’s freedom to maintain equipment independently.
| Checkpoint | Action | Result |
|---|---|---|
| Nozzle opening | Inspect visually | Clear passage |
| Light debris | Lift with tool | Restored flow |
| Mineral scale | Apply cleaning solution | Loosened buildup |
| After clearing | Rinse with warm water | Removed residue |
| Routine care | Repeat regularly | Leak prevention |
If heavy buildup remains, the nozzles should be soaked in a vinegar-based cleaning solution mixed with warm water, following manufacturer guidance. After soaking, a warm water rinse should remove loosened particles and support steady discharge. Regular cleaning reduces obstruction, stabilizes water flow, and limits leak formation.
Inspect the Mop Base Station for Leaks
After clearing the water nozzles, attention should shift to the mop base station, where leaks can also originate.
The robot vacuum should be removed from the station and the base examined for visible water accumulation, especially near the dirty water tank and tray edges.
Remove the robot vacuum and inspect the base for water buildup, especially around the dirty tank and tray edges.
If the station is leaking, the sealing rings on the used water tank should be checked for dirt, distortion, or poor seating. They must be clean and fully aligned to preserve a tight seal.
The cleaning tray should then be inspected for cracks, warping, or other damage that could allow water to escape; any defective tray should be replaced.
The water-filling port must also be examined for a missing rubber plug, since its absence can cause continuous leakage. If the plug is missing, the tray should be replaced.
After corrections, the used water tank should be reinstalled securely until it clicks into place.
Check Cleaning Solution and Flow Settings
Cleaning fluid should be limited to the manufacturer-recommended solution, or plain water if specified, because unsuitable additives can leave residue that promotes leaks and nozzle buildup. The tank should then be refilled with clean water and reinstalled until a clear click confirms proper seating. Flow settings in the app should be checked next; if the level is set to minimum, it should be raised to medium or high for steadier output and better mopping performance. Nozzles should be inspected for clogs and cleared with a needle or toothpick to restore the passage. Station leaks may also appear when internal temperatures fall below 10 °C, so the robot should be operated in a warmer environment.
| Check | Action |
|---|---|
| Fluid type | Use approved solution or clean water |
| Tank fit | Confirm click on installation |
| Flow rate | Set medium or high |
| Nozzles | Remove blockage |
| Temperature | Keep above 10 °C |
Check for Cracks and Pump Failure
If leaks persist, the water tank should be inspected for visible cracks, chips, or other damage, since even minor defects can release water during operation.
The Robot Vacuum should be powered off, then the tank removed and examined under strong light. Any fracture in the shell, seal, or nozzle warrants replacement, not repair.
Remaining water should be drained before testing the pump, because trapped fluid can mask defects. After refilling, activate the system and listen for irregular noise, vibration, or silence, which may indicate pump failure.
Confirm that water moves through hoses and nozzles without interruption; blockage can mimic a failed pump. Reinstall the tank firmly until it clicks into place, since poor seating can open a leak path.
Clean residue from the tank and components to preserve flow and restore controlled operation.
Frequently Asked Questions
How to Fix a Leaking Water Tank?
A leaking water tank is fixed by inspecting cracks, cleaning and reseating seals, reinstalling until it clicks, clearing the filling port, and reducing flow settings. These vacuum maintenance troubleshooting tips restore reliable operation.
What Is the Best Sealant for a Leaking Water Tank?
Silicone sealant is usually best; if durability matters more than flexibility, epoxy suits larger leaks. Though choice varies, proper sealant types and application techniques matter most: clean, dry surfaces, correct curing, and manufacturer-approved temperatures guarantee liberation from recurring leaks.
What Chemical Can I Use to Fix a Water Tank Leakage?
Silicone-based waterproof adhesives are suitable for minor water tank leaks, while epoxy resin can repair larger cracks. Surfaces must be clean and dry first. Super glue is unsuitable. Regular inspection supports leak prevention and reliable performance.
How Do I Stop My Water Tank From Leaking?
He should reseat the tank, clean sealing rings, inspect for cracks, avoid overfilling, and verify pump function. Proper water tank maintenance and vacuum troubleshooting restore a tight seal, reduce leakage, and free operation from failure.
Conclusion
To summarize, a leaking robot vacuum water tank is usually traced to a crack, a clogged nozzle, a misaligned seal, or a faulty base station component. By inspecting each part methodically, cleaning the nozzles, confirming secure reinstallation, and verifying flow settings, the fault can often be isolated and corrected. When every seal sits true and every channel runs clear, the system functions as intended, restoring steady flow like a sealed circuit brought back to order.