Cleaning a robot vacuum’s clean water tank starts with a few simple checks. The device should be powered off, and the tank removed using the proper release method. From there, the process involves emptying leftover water, rinsing the tank, and wiping away residue without harsh cleaners. Drying and inspection come next, but a few details can affect performance in ways many owners overlook.
What You Need to Clean the Water Tank
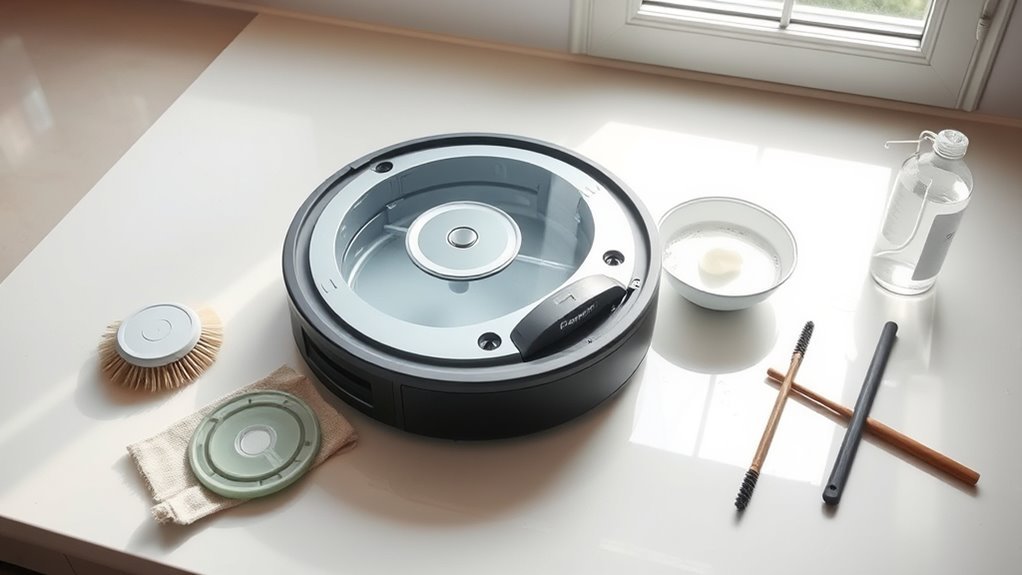
Before cleaning begins, the essentials are simple: clean water, a soft brush or cloth, and, if the manufacturer allows it, a mild detergent.
These basic tools support a careful cleaning routine for the robot vacuum water tank without unnecessary effort. Clean water is needed to rinse away residue and prevent buildup. A soft brush helps loosen dirt in corners and seams while protecting the surface from scratches. A cloth can wipe away loosened debris and dry the outside after rinsing.
Clean water, a soft brush, and a cloth keep the water tank tidy without scratches or buildup.
Mild detergent, when approved, may assist with stubborn marks, but it should be used sparingly. No abrasive pads or harsh chemicals are required. The goal is practical maintenance that preserves performance and extends the tank’s usefulness.
With these items ready, the process remains simple, efficient, and easy to repeat after each mopping session, supporting a cleaner machine and a more reliable home routine.
Remove the Water Tank Safely
With the cleaning tools ready, the next step is to remove the water tank safely. Before any cleaning session, the robot vacuum should be powered off and undocked so it cannot start unexpectedly.
The release mechanism, usually on the top or side, can then be pressed or pulled to remove the water tank without resistance. A steady lift straight upward helps prevent spills and protects nearby components. If the tank feels stuck, the user manual should be checked for model-specific guidance rather than forcing the part.
Clean hands, or disposable gloves, help keep the process hygienic and free from contamination. Once detached, the tank can be set aside for the next stage of care.
This simple step supports a reliable maintenance schedule and allows the user to clean the surface area around the dock, preparing for a more independent, orderly routine.
Clean the Tank Step by Step
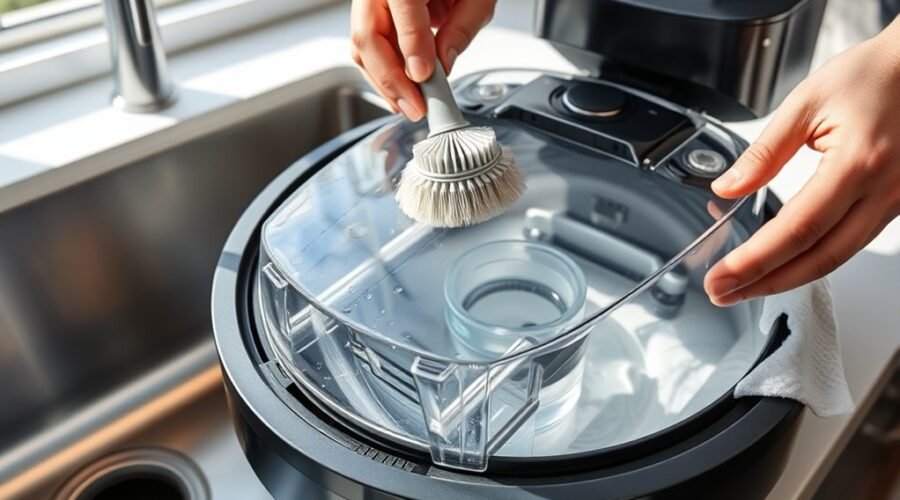
After the robot vacuum is powered off and the tank has been removed, the used water should be emptied and the tank rinsed thoroughly under clean running water to clear away residue. This cleaning step helps keep the water tank free of buildup and supports smooth operation.
A soft cloth or sponge should then be used to wipe both the interior and exterior surfaces. No detergent or abrasive cleaners should be applied, since they can damage the tank or leave unwanted traces.
Once wiped, the tank must be left to dry completely for at least 24 hours before reinstalling it. This prevents mold growth and helps preserve performance. Regular cleaning after each mopping session reduces clogs, maintains hygiene, and keeps the system ready for the next use.
Remove Stains and Residue
Any remaining water should be emptied first, and the tank should be rinsed with clean water to remove loose debris.
Stubborn stains can then be scrubbed gently with a soft brush or cloth. Harsh abrasives should be avoided so the plastic surface stays intact.
Empty And Rinse Tank
Detach the clean water tank from the robot vacuum while the unit is powered off, then empty any remaining water and debris to help prevent mold and odor buildup. The clean water tank should then be rinsed with clean, warm water to release loose residue without harsh chemicals. This simple step restores control and keeps maintenance manageable.
- Hold the tank over a sink and empty all liquid.
- Rinse the interior thoroughly with warm water.
- Check corners and seams for lingering debris.
- Wipe the surface with a soft cloth if needed.
A careful rinse protects the tank’s surface and prepares it for later drying.
Scrub Stains Gently
Use a soft brush or microfiber cloth to gently scrub the inside of the tank, paying close attention to stained or discolored spots. This method helps remove residue without stressing the water tank’s surface.
A soft brush reaches corners while preserving the finish, and it supports longer-lasting cleaning cycles by keeping buildup from returning. For stubborn stains, the tank may be soaked in warm, soapy water for a few minutes before scrubbing.
Harsh chemicals and abrasive pads should be avoided, since they can scratch the tank or weaken it over time. After scrubbing, rinse thoroughly with clean water to clear away loosened debris and soap.
The tank should then dry completely before reinstallation, helping prevent mold, odors, and any constraint on fresh, efficient operation.
Rinse Until the Tank Is Soap-Free
With the clean water tank removed and the robot vacuum powered off, it should be rinsed thoroughly under running water until no soap, dirt, or residue remains. This clean water tank step helps restore a clear path for fresh water and removes lingering debris from prior use.
A steady rinse should reach every corner, while fingers or a soft brush can dislodge any stubborn film without adding soap.
- Hold the tank under clean water and rotate it.
- Check corners, seams, and the inlet for hidden debris.
- Continue until runoff looks clear and soap-free.
- Inspect once more for any remaining residue.
The goal is simple: a tank that feels clean, looks clear, and contains no cleaning agents.
A clean tank should feel clear, look spotless, and be free of any cleaning agents.
When the rinse is complete, the tank is ready for the next stage, free from buildup and prepared for reliable service.
Dry the Tank Completely
Any remaining water should be emptied from the tank before drying begins.
It should then be placed upside down in a well-ventilated area and left to air dry completely, ideally for at least 24 hours.
Before refilling, the seal should be checked for moisture to confirm the tank is fully dry.
Empty Residual Water
The robot vacuum should be powered off and undocked before the water tank is removed. Next, it is time to empty residual water from the clean water tank so the system stays ready for use. The tank should be handled carefully, then rinsed with clean water only.
- Remove the tank without forcing any parts.
- Pour leftover water into a sink or designated drain.
- Rinse lightly to clear remaining droplets.
- Let the tank air dry fully before reassembly.
This simple process supports hygiene, prevents buildup, and protects peak performance. No detergents or abrasives should be used, since they can damage the surface.
After the tank is dry, it can be returned securely to the vacuum, helping the machine remain free and efficient for the next cleaning cycle.
Air Dry Upside Down
Once the tank has been rinsed, it should be turned upside down so any remaining moisture can drain out completely.
The water tank should then air dry for at least 24 hours in a well-ventilated area. This steady drying process helps keep the tank free from mold and bacteria, supporting cleaner operation and greater independence from avoidable upkeep.
Direct sunlight should be avoided, since extreme heat can warp the plastic. The tank must remain undisturbed until it is completely dry.
Before reinstalling it into the robot vacuum, confirm that no moisture remains inside. Careful drying protects the tank’s shape, preserves performance, and helps the device continue working with reliable freedom and efficiency.
Check Seal Before Refill
Before refilling, the tank should be completely dry to prevent contamination and support ideal performance.
Once dry, the water tank should be inspected with care. Cleaning should be done without haste, because lingering moisture or residue can weaken hygiene and invite mold.
The seal must be checked for cracks, warping, or wear, since a damaged seal can cause leaks and reduce cleaning efficiency.
For reliable use, follow this routine:
- Examine the seal edge.
- Confirm the tank interior is dry.
- Remove debris or residue.
- Refill only after inspection.
Routine maintenance helps preserve consistent water flow and peak performance. A fully dry tank and intact seal support dependable operation, freeing the device from avoidable failure.
Clean the Vent and Connections
Disconnect the clean water tank from the robot vacuum to safely reach the vent and connection points.
Using a dry microfiber cloth, wipe the vent area to remove the dust and any film that could restrict airflow. At this stage, the same careful discipline used to clean the charging contacts and wipe sensors applies: keep each surface dry, controlled, and free of residue.
Inspect the connection points closely for buildup, blockages, or dirt that could hinder performance. If stubborn particles remain, a soft brush may be used with light pressure to loosen them without scratching plastic or bending fittings. Each pass should clear debris rather than spread it.
After the vent and connections are clean, confirm that no moisture remains. Reassemble the tank securely so it can function properly and without obstruction. A clean, open pathway supports steady operation and helps the robot vacuum work with greater independence.
Prevent Buildup Between Washes
Keeping the clean water tank clear between washes helps prevent mold, bacteria, and mineral deposits from developing.
To prevent buildup, the tank should be emptied, rinsed after each use, and left open to air out. This simple routine protects the robot and keeps cleaning performance steady. Distilled water can also reduce residue, especially in areas with hard water.
Empty, rinse, and air out the clean water tank after each use to prevent buildup and keep cleaning consistent.
A weekly inspection helps catch early signs of film or sediment before they spread.
- Empty the clean water tank after every mopping session.
- Rinse after each use with plain water, no detergents.
- Dry thoroughly before reattaching the tank to the robot.
- Check weekly for residue and switch to distilled water if buildup appears.
Frequently Asked Questions
How to Clean a Robot Vacuum Dirty Water Tank?
The dirty water tank is emptied, rinsed with clean water, filters checked, then air-dried 24 hours. These robot maintenance tips and tank cleaning tools support water tank hygiene and a vacuum performance boost.
What Is the Proper Procedure for Cleaning a Water Storage Tank?
A proper water storage tank procedure includes safety precautions, draining after use, rinsing with clean water, avoiding harsh cleaning supplies, air-drying fully, and following frequency guidelines. Good water tank maintenance prevents mold, damage, and performance loss.
How Do I Clean a Dirty Water Tank?
Like a sealed spring restored, the tank should be emptied, rinsed, and brushed with gentle cleaning supplies. Water tank maintenance includes checking clogs, air drying fully, and inspecting for damage during vacuum troubleshooting of common issues.
Can I Clean My Water Tank Myself?
Yes, the water tank can be cleaned independently. Water tank maintenance benefits from DIY cleaning tips: empty it, rinse thoroughly, use effective cleaning solutions like mild soap, then air-dry. This supports better robot vacuum care.
Conclusion
A clean robot vacuum water tank helps keep cleaning cycles consistent and care simple. With careful removal, a gentle rinse, and a soft scrub, stains and sticky residue stay away. Thorough rinsing leaves no soap behind, while complete drying protects seals and surfaces. Regular attention to vents and connections prevents buildup between washes. By following these steady steps, the tank stays fresh, functional, and ready for reliable, repeated performance.