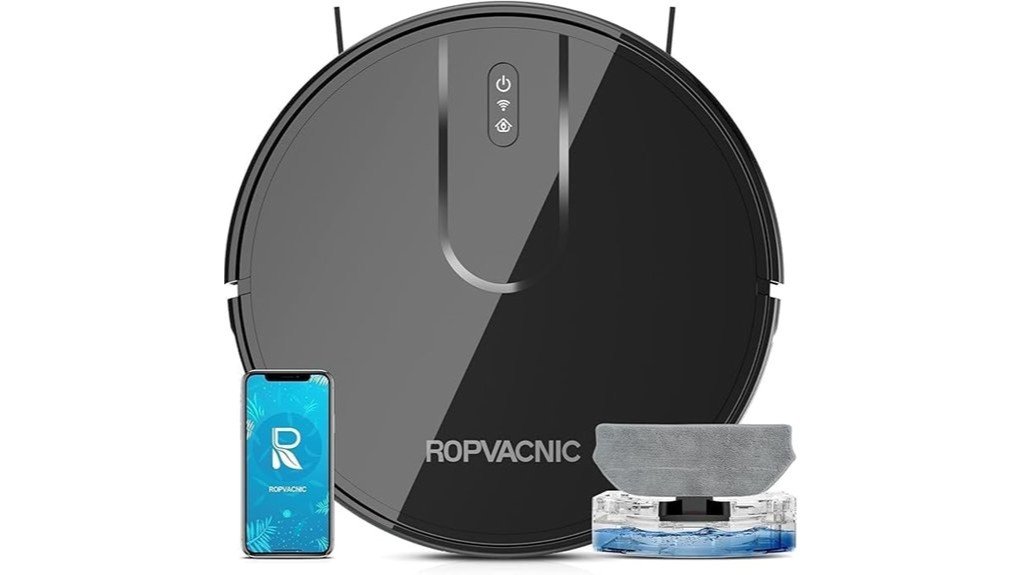
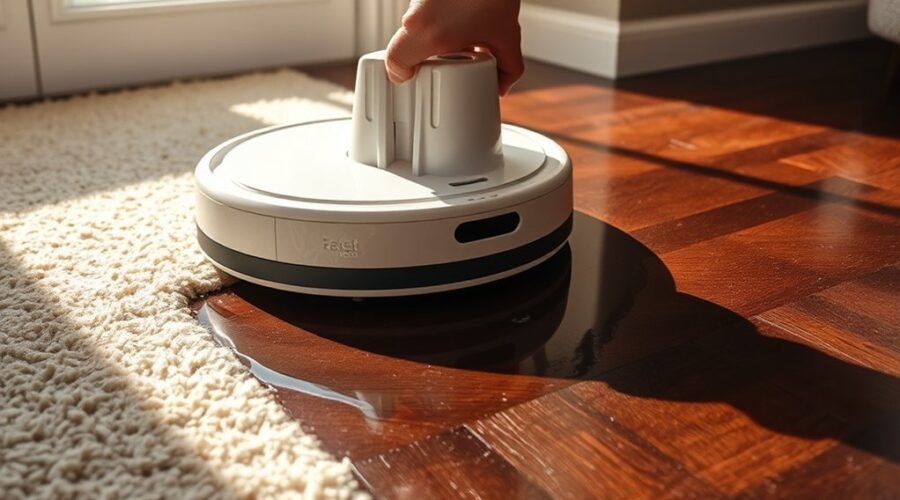
If your robot vacuum mop is not dispensing water, the problem may involve the tank, outlet, mop pad, or cleaning settings. But if the robot stops releasing water only on carpet, it may be working as designed. This guide helps you identify the cause, restore water flow, and avoid unnecessary repairs.
Quick Answer
First, test your robot mop on a hard floor. Some robots stop releasing water when they detect carpet. If the pad stays dry on hard flooring, check the water level, tank connection, mop attachment, outlet, and app settings. Clean any blockages, dampen the pad, and run another mopping cycle.
Last checked: October 28, 2026. Dates and figures were verified against official sources.
At a Glance
| Difficulty | Beginner for basic cleaning and troubleshooting |
| Tools Needed | Clean water, a soft cloth, and a small soft brush for accessible outlets |
Why Is Your Robot Vacuum Mop Not Dispensing Water?
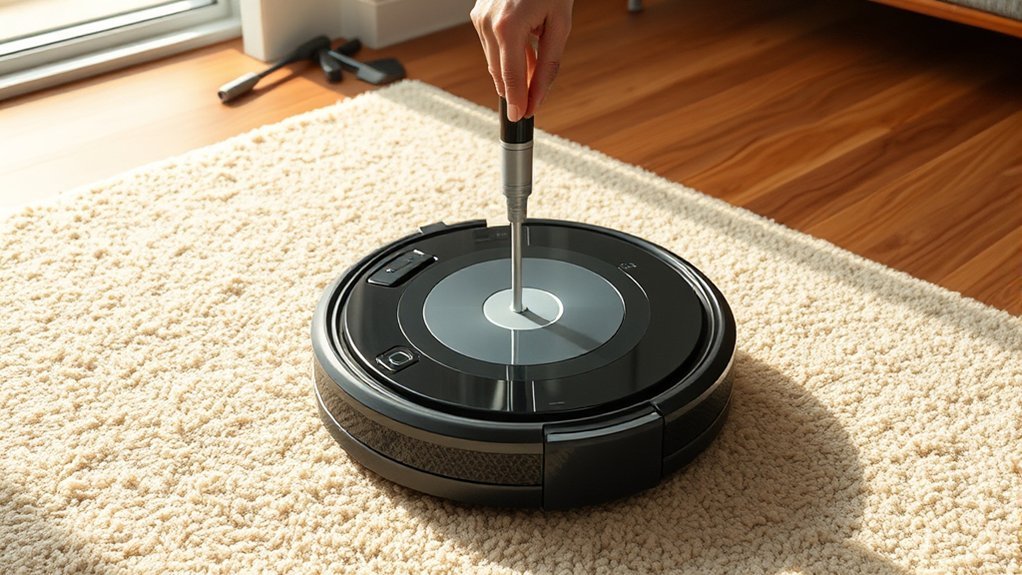
A robot vacuum mop usually stops dispensing water because of an empty tank, blocked outlet, loose attachment, dirty pad, or incorrect setting. Air trapped inside the water system can also interrupt delivery. Before cleaning anything, determine whether the robot is failing to release water or intentionally keeping a carpet dry.
Some models automatically lift the mop and stop water flow when they detect carpet. For example, Roborock’s carpet avoidance modes include a Rise setting that stops water delivery while the robot vacuums carpet.
Test the robot on a suitable hard floor. If it still leaves the mop dry, look for these symptoms:
- No water anywhere: The tank may be empty, incorrectly installed, or unable to supply water.
- Weak or uneven moisture: Dirt, minerals, or cleaning solution residue may restrict the outlet.
- No water after refilling: Air trapped in the water path may prevent normal flow.
- Wet pad but nearly dry floor: Water delivery may be low, or the pad may not transfer moisture evenly.
- No water during dock cleaning: The station may have a loose tank, blocked filter, or water-supply problem.
A nearly dry-looking floor does not always indicate a failure. Some systems release small amounts of water and leave only a light dampness behind.
The manufacturer’s ECOVACS water-dispensing troubleshooting guide also identifies incorrect installation, dirty pads, trapped air, and unsuitable cleaning liquids as common causes.
How the Robot Mop Water System Works
A robot mop moves water from a reservoir to the mop pad or roller through a controlled delivery system. Depending on the model, the system uses valves, channels, and a pump to regulate moisture. The pad then transfers that moisture to the floor while the robot cleans.
Understanding this path helps you identify where water stops moving.
- Water storage: A removable tank or docking station holds the clean water needed for mopping.
- Water regulation: Valves and flow controls determine when and how much water enters the dispensing system.
- Water delivery: Internal channels carry water toward the mop pad or roller, often with help from a pump.
- Floor contact: The pad absorbs water and spreads moisture across the hard floor.
Some models offer detailed control over water output. For example, the DEEBOT X9 PRO OMNI specifications confirm 50 water-adjustment levels. These settings allow users to change how much moisture reaches the mop.
Not every robot uses the same design. Some receive water from a station and refill an internal reservoir automatically. Others carry a removable tank that you refill by hand.
This difference matters during troubleshooting. A dock that cannot supply water needs different checks from a robot with a blocked nozzle.
What’s Blocking the Water Outlet?
The most common physical obstruction is dirt, mineral buildup, or residue inside the water outlet. These deposits narrow the opening and reduce the amount of water reaching the mop pad. The result may be weak, uneven, or completely stopped water flow.
Dirt and Mineral Deposits
Small particles can collect around the dispensing nozzle. Hard water can also leave mineral deposits as moisture evaporates.
Over time, these deposits may restrict the opening. The robot may release water unevenly, even when the tank is full.
Cleaning Solution Residue
Household detergents and incompatible cleaning products may leave residue inside the tank or channels. Some products also create foam that affects water delivery.
Only use cleaning liquids specifically approved for your robot. If the manufacturer requires plain water, do not add detergent.
Blocked Filters or Tank Vents
Some water tanks and docking stations have filters or small air vents. These parts help maintain a reliable water supply.
If a filter becomes dirty or a vent is obstructed, water may not move normally. Inspect these parts only where your manufacturer’s instructions allow access.
Incorrectly Installed Components
A loose water tank or misplaced mop assembly can interrupt water delivery without an actual clog.
The tank may not engage its valve correctly. A poorly fitted mop attachment can also prevent the robot from detecting that the mopping system is ready.
Air trapped in the pump is another possible cause, especially after refilling or extended storage. Unlike a physical blockage, trapped air may clear after the system completes its approved priming or washing routine.
How to Fix a Robot Mop That Won’t Dispense Water
Start with the easiest checks before attempting deeper maintenance. In many cases, correcting the cleaning mode, reinstalling the tank, or clearing an outlet restores water delivery. Follow these eight steps in order, testing the mop after each relevant fix.
Warning: Turn off the robot before removing parts or cleaning its outlets. Do not force sharp objects into nozzles, dismantle sealed pumps, or add vinegar, descaler, or household cleaners unless your manufacturer’s instructions specifically allow them. These actions may damage internal components.
Step 1: Check the Cleaning Mode
Open the robot’s app and confirm that a mopping mode is selected. A vacuum-only setting may prevent water dispensing entirely.
If the model has adjustable water output, increase it from the lowest setting to a suitable mopping level for your floor.
Also check carpet avoidance settings. If the robot lifts its mop when it encounters carpet, that behavior may be normal.
Step 2: Inspect and Reinstall the Water Tank
Remove the water tank and check its fill level. Refill it with the water recommended by the manufacturer.
Inspect the tank opening, seal, and accessible valve for visible dirt or damage. Reinstall the tank until it sits firmly in its proper position.
If your robot uses a docking station, make sure the station’s clean-water tank is also correctly fitted.
Step 3: Clean the Water Outlet
Locate the water outlet using your robot’s instructions. Look for debris or mineral deposits around the opening.
Use a soft brush or cloth to remove visible buildup. If your manufacturer permits a specific nozzle-cleaning tool, follow those instructions carefully.
Avoid pushing dirt deeper into the opening. After cleaning, reassemble the parts and run another test on a hard floor.
Step 4: Wash and Reinstall the Mop Pad
Remove the mop pad and check for dirt, detergent residue, stiffness, or damage.
Wash reusable pads according to their care instructions. Replace pads that no longer absorb water properly or cannot be cleaned.
Reattach the pad flat against its holder. Make sure the entire mop assembly is locked into position.
Step 5: Dampen the Mop Pad and Prime the System
A completely dry pad may need time to absorb water, especially after cleaning or storage.
Lightly dampen the pad if your manufacturer recommends this step. Then run a short mopping cycle on a suitable hard floor.
If trapped air is affecting water movement, the robot’s normal priming or mop-washing routine may restore flow. Avoid manually squeezing internal pumps unless your model’s instructions specifically permit it.
Step 6: Inspect the Docking Station
If your robot has an automatic mop-cleaning station, check whether the station supplies water during its washing cycle.
Confirm that the clean-water tank is seated flat and its sealing plug is secure. Check any accessible filter for dirt.
For supported ECOVACS stations, the official clean-water dispensing instructions recommend checking tank placement, seals, and the water filter.
If the dock cannot wash the mop, the problem may involve the station rather than the robot’s dispensing outlet.
Step 7: Restart the Robot
Restart your robot using its normal power controls. This may clear a temporary software or communication problem.
Check for app error messages and confirm that the robot recognizes the water tank and mop attachment.
If an update is available, follow the manufacturer’s normal software update procedure. Do not assume a restart will repair a physically blocked water line.
Step 8: Test Water Delivery on a Hard Floor
Run a short mopping cycle on a small area of suitable hard flooring. Observe whether the pad becomes damp and whether the floor receives moisture.
Look for these signs:
- The mop pad receives water consistently.
- The floor becomes lightly damp without excessive pooling.
- The robot completes its cleaning cycle without water-related errors.
- The docking station washes or refills the mop normally, where supported.
If the robot still releases no water, the pump, an internal valve, a sensor, or a hidden channel may need professional inspection.
When Should You Contact Customer Support?
Contact the manufacturer if the tank is full, the outlet is clear, and the correct mopping mode is active, but water still does not flow.
Professional help is also appropriate when you find a damaged seal, water leaking into the robot, repeated pump errors, or a docking station that cannot move water despite basic maintenance.
Provide the model name, any error messages, and a description of the checks you completed. A short video of the failed water-flow test may help support staff identify the problem.
How to Prevent Robot Mop Water Issues
Regular maintenance helps prevent blocked outlets, dirty pads, and interrupted water flow. Keep the tank, mop, and accessible dispensing components clean. The most useful routine is simple and does not require opening the robot’s internal parts.
- Rinse the water tank: Clean removable tanks as directed to reduce residue and deposits.
- Inspect the outlet: Remove visible dirt before it hardens around the nozzle.
- Maintain the mop pad: Wash reusable pads after cleaning and replace them when worn.
- Use compatible liquids: Follow the manufacturer’s instructions for water and approved cleaning products.
- Prepare for storage: Empty and dry the tank and pads as directed before leaving the robot unused for an extended period.
- Keep the cleaning route clear: Remove obstacles that could knock the tank or mop assembly out of position.
A clean, correctly seated mop pad supports even moisture transfer. However, cleaning the pad alone cannot restore water flow through a blocked outlet.
Check the water output level whenever you change cleaning surfaces. A setting suitable for tile may provide more moisture than some moisture-sensitive floors should receive.
For models with carpet detection, make sure the robot correctly identifies areas that should remain dry. If carpets are becoming wet, use the available carpet avoidance or restricted-area controls.
After each maintenance session, run a short cleaning cycle to confirm that water reaches the pad before starting a full cleaning job.
Frequently Asked Questions
What Are the Most Common Problems With Robot Vacuums?
Common robot vacuum problems include weak suction, clogged filters, tangled brushes, reduced battery life, navigation errors, and app connection failures. Small dustbins and unusual operating noise can also cause problems. Routine cleaning of brushes, filters, sensors, and accessible components helps prevent many of these issues.
What Is the Best Robot Vacuum-Mop Combo According to Consumer Reports?
There is no permanent best robot vacuum-mop combo because Consumer Reports updates its recommendations as it tests new products. Its June 2026 recommendations did not include the Roborock S7 among its three selected models. The iRobot Braava jet m6 is a dedicated robot mop, not a vacuum-mop combination.
Why Isn’t My Robot Vacuum Mop Dispensing Water?
Your robot vacuum mop may stop dispensing water because of an empty or loose tank, blocked outlet, dirty pad, trapped air, or incorrect water settings. Sensor problems, battery issues, and scheduling conflicts can also prevent a mopping job from starting. Check the water system first if the robot moves normally but its pad stays dry.
What Is the Average Lifespan of a Robot Vacuum?
Robot vacuums typically last about 4 to 6 years, although actual lifespan varies with build quality, use, and maintenance. Some neglected machines may fail within two years, but that is not a reliable prediction for every model. Cleaning the brushes and filters, maintaining the battery, and replacing worn parts can help extend service life.
Should a Robot Vacuum Mop Dispense Water on Carpet?
A robot vacuum mop generally should not release mopping water onto ordinary carpet. Many models detect carpet and lift the mop, stop water flow, or avoid the area. If the robot works normally on hard floors but stops dispensing water on rugs, check its carpet protection settings before assuming something is broken.
Why Does My Robot Mop Stop Releasing Water After Refilling?
Air trapped in the water system can interrupt flow after you refill the tank. An incorrectly seated tank or blocked vent can cause similar symptoms. Reinstall the tank, dampen the pad if recommended, and run the manufacturer’s normal priming or mopping routine. If water remains blocked, inspect accessible outlets and filters.
Can I Use Vinegar or Cleaning Solution in My Robot Mop?
Only use liquids approved for your specific robot mop. Some models allow dedicated cleaning solutions, while others require plain water. Vinegar, household detergents, and disinfectants may damage seals or pumps and leave deposits in water channels. Follow the manufacturer’s instructions rather than using homemade cleaning mixtures.
For the product-specific details discussed above, see the Consumer Reports robotic vacuum-mop recommendations, the official Braava jet m6 product description, and ECOVACS’ robot vacuum lifespan guide.
Conclusion
If your robot vacuum mop is not dispensing water, first test it on a hard floor to rule out automatic carpet protection. Next, inspect the tank, clean the outlet, check the mop pad, and confirm the water settings.
Most simple flow problems can be addressed through routine maintenance. If water still does not reach the mop after these checks, contact the manufacturer before attempting internal repairs.
Sources
- Roborock Support: Carpet Avoidance Modes: Explains automatic mop lifting, water shutoff, and carpet avoidance settings.
- ECOVACS: Robot Vacuum Mop Water Troubleshooting: Supports common water delivery problems, maintenance, trapped air, and cleaning procedures.
- ECOVACS: DEEBOT X9 PRO OMNI Specifications: Confirms adjustable mop water settings and product features.
- ECOVACS Support: Clean Water Not Dispensing: Explains docking station tank, seal, and filter checks.
- Consumer Reports: Best Robotic Vacuum-Mop Combos: Supports the June 2026 recommendation comparison.
- iRobot: Braava jet m6 Robot Mop: Confirms that the Braava jet m6 is a dedicated mopping robot.
- ECOVACS: How Long Do Robot Vacuums Last?: Supports the typical 4-to-6-year lifespan estimate and maintenance recommendations.