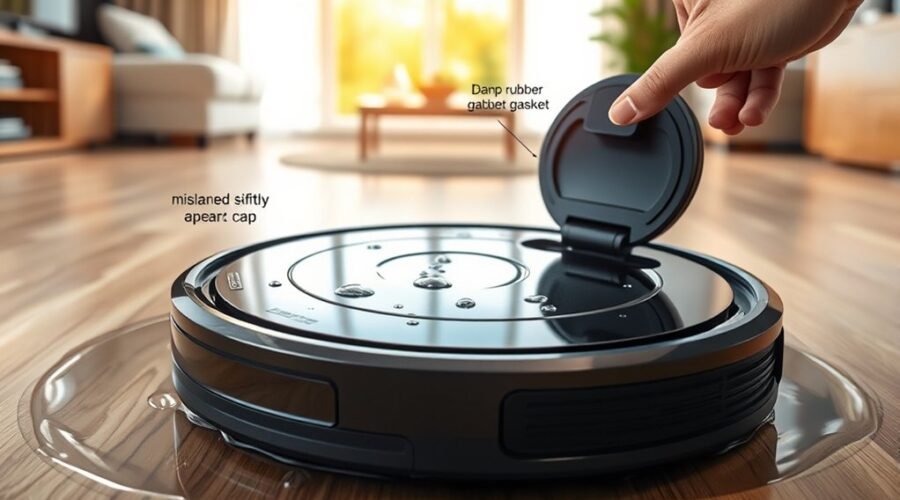
If your robot vacuum is leaking water, the problem may be in the water tank, rubber seal, mop assembly, or docking station. A puddle beneath a parked robot can have a different cause from wet streaks left during mopping. Finding where the water first appears helps you choose the right fix and avoid unnecessary repairs.
Quick Answer
To fix a robot vacuum leaking water, stop the machine and locate the leak. Check that the water tank is seated correctly, inspect its seals, and clear blocked outlets. Reduce excessive water flow and clean the mop pad. If water collects at the docking station, inspect the drainage tray and dirty-water tank before replacing parts.
At a Glance
| Difficulty | Easy for basic cleaning and inspection; professional service may be needed for internal faults. |
| Tools Needed | Dry cloth, soft cleaning brush, clean water, and model-approved nozzle cleaning tool if needed. |
Identify Where the Leak Is Coming From
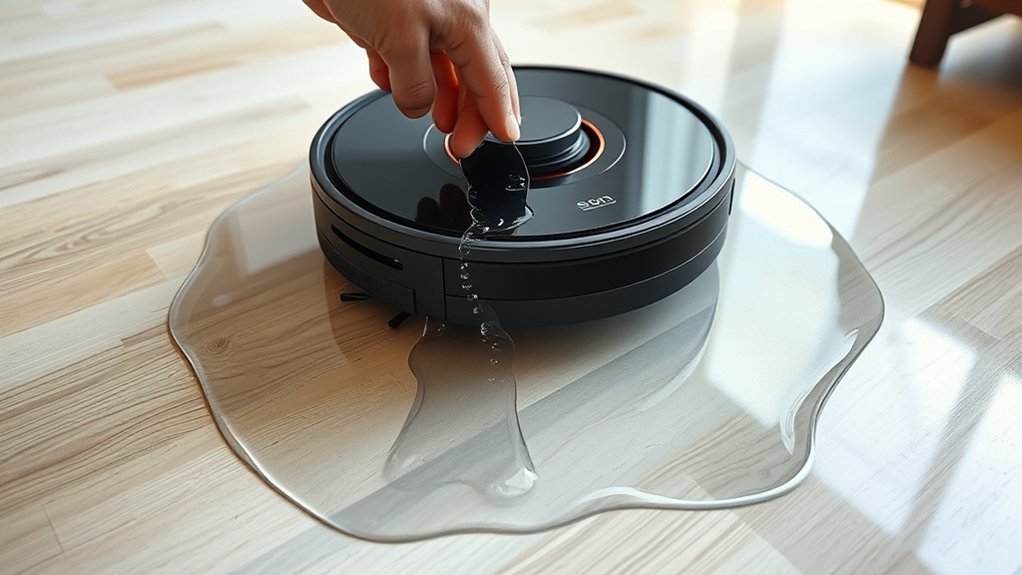
The first step is to determine whether water is escaping from the robot, its mop pad, or the docking station. Check whether the liquid is clean or dirty and whether leaking happens while the robot is running, charging, or sitting idle.
This distinction matters because clean-water leaks usually involve the supply system, while dirty-water leaks may involve the collection tank, roller mop, or drainage system.
Warning: Stop using the robot if water reaches charging contacts, electrical components, or the power connection. Disconnect the docking station from power only when it is safe to do so. Do not restart wet electrical equipment until it has been checked and is safe to use.
Use these steps to locate the source:
- Stop the robot. Pause cleaning, switch off the unit according to its instructions, and remove it from the wet area.
- Dry the outside. Wipe the tank housing, mop attachment, and surrounding floor with a clean cloth.
- Check the water tank. Look for cracks, loose seals, moisture around the outlet, and water near the tank connection.
- Inspect the docking station. Check the washing tray and dirty-water collection area if your model has an automatic mop-washing dock.
- Observe a controlled test. Once everything is safe and dry, run a short mopping test and note where fresh water first appears.
Use the following symptoms to narrow down the likely cause.
| What You Notice | Possible Cause | First Check |
|---|---|---|
| Clean water beneath the robot | Loose tank, damaged seal, or faulty outlet valve | Tank seating and rubber seals |
| Excessively wet floor during mopping | High water output or poorly fitted mop pad | App water level and mop attachment |
| Little water reaches the mop | Blocked nozzle, filter, or vent | Water outlets and flow setting |
| Dirty water around the dock | Blocked drain, dirty-water tank seal, or drainage fault | Washing tray and dirty-water tank |
Not every water mark means something is broken. For example, Eufy explains that a few drops of clean water near the base station can be normal residual water on certain S1 Pro units. However, its S1 Pro water leakage guidance treats continuous dirty-water dripping as a problem that needs attention.
A growing puddle, repeated dripping, or water inside the robot housing should never be dismissed as ordinary mopping moisture.
Inspect the Tank Seal and Fit
A loose tank or damaged rubber seal is one of the first things to check when a robot vacuum leaks clean water. The tank must fit correctly so its water outlet and connection remain aligned.
Follow these checks if your model has a removable tank:
- Remove the tank. Release it using the method shown in your robot’s manual.
- Inspect the housing. Look for cracks, deformation, or damaged connection points.
- Examine the rubber seal. Check for cuts, flattening, loose edges, or trapped dirt.
- Clean the seal. Wipe away residue with a soft, damp cloth and let the surfaces dry.
- Reinstall the tank. Align it properly and push until its locking mechanism engages.
- Check the fill level. Keep water within the manufacturer’s filling limit.
If the tank is overfilled, excess water may escape from the filling opening or around an imperfect seal. Always close the cap securely and confirm that the tank is made for your exact robot model.
Also inspect the water outlet valve, where accessible. A damaged or sticking valve may allow water to escape when dispensing should have stopped. Do not force the valve or dismantle a sealed tank.
Check for tank deformation. Place a removable tank on a flat surface and inspect whether it appears bent or warped. In its water tank troubleshooting guidance, Roborock recommends replacing a bent tank.
If the tank is cracked, the seal cannot sit correctly, or water escapes through the housing itself, cleaning is unlikely to solve the problem. A compatible replacement seal or tank may be necessary.
For robots with built-in water tanks, do not try to remove the tank unless the manufacturer specifically provides that procedure.
Clear the Nozzles and Water Outlets
Blocked nozzles can reduce water delivery and cause uneven mopping. Dirt, dried cleaning solution, and mineral deposits may collect around water outlets or small ventilation openings.
A clogged outlet usually causes weak or inconsistent dispensing rather than a large puddle. However, it can be part of a broader water-flow problem.
To inspect the water path:
- Remove the mopping attachment. Access the water outlets according to the manufacturer’s instructions.
- Inspect each opening. Look for dirt, white mineral buildup, or dried solution residue.
- Remove visible debris. Use a soft brush or another cleaning method approved for your model.
- Clear a blocked outlet carefully. If the manufacturer permits it, use a toothpick or fine needle gently without enlarging the opening.
- Clean removable parts. Rinse only parts that the manual identifies as washable, then dry them as instructed.
- Reassemble and test. Check whether water now reaches the mop evenly.
Some tanks also have small vent holes that allow water to dispense correctly. A blocked vent may affect water delivery even when the main outlet looks clear.
Dreame’s robot water dispensing troubleshooting guide identifies clogged outlets and vents as possible reasons for poor water delivery on models with removable tanks.
For a compatible model, a short mopping test without the mop cloth may help reveal whether droplets reach the floor. Only perform this test if the manufacturer specifically allows it.
A tank that remains completely dry at its outlets after cleaning may have a problem with its dispensing mechanism or pump. This is different from a mop pad that simply needs more time to absorb water.
Adjust Water Flow in the App
An incorrect water-flow setting can make your robot leave too much water on the floor or too little on the mop pad. Many mopping robots allow you to change the dispensing rate through their companion app.
The available settings depend on the model. Some offer low, medium, and high levels, while others provide more detailed adjustments.
Use this method to find a suitable setting:
- Open your robot’s companion app. Locate the mopping or water-output controls.
- Check the current setting. Determine whether it is set to minimum, low, medium, or high.
- Reduce flow if the floor is too wet. Choose a lower setting and test a small area.
- Increase flow if the mop stays dry. Raise the level gradually if the tank and outlets are working correctly.
- Observe the results. Look for even moisture without excessive puddles or large wet patches.
- Keep the balanced setting. Save it if your app provides that option.
For example, Eufy’s L60 Hybrid mopping troubleshooting instructions recommend checking the app’s water-output level when the robot dispenses too little water.
Water-flow settings cannot repair a cracked tank, failed seal, or leaking valve. If water continues dripping while dispensing is supposed to be off, focus on the hardware rather than increasing or decreasing the app setting.
Also check what you have added to the tank. Where the model supports it, use only clean water or an approved cleaning solution, such as compatible Eufy cleaning solution.
Household detergents, disinfectants, or incompatible cleaners can leave residue, create foam, and affect the water-delivery system. Follow your manufacturer’s liquid recommendations rather than assuming every solution is safe.
Clean the Mop Pad and Mop Plate
A dirty, worn, or incorrectly fitted mop pad may leave excess water on the floor even when the tank is working normally. The mop plate can also collect residue that affects how water reaches the cleaning cloth.
Start by removing the mop pad and checking whether it is clogged with dirt, flattened, damaged, or unevenly attached.
- Wash the mop pad. Follow its care label or the cleaning instructions for your robot model.
- Check the washing temperature. Some washable pads permit 60 °C, but this is not a universal requirement. Never exceed the temperature allowed for your pad.
- Avoid unsuitable laundry products. Do not use fabric softener when the manufacturer advises against it, as residue can affect the fibers.
- Dry the pad properly. Let it dry as instructed before storage or reinstallation.
- Clean the mop plate. Remove dirt and mineral residue from the mounting surface and accessible water passages.
- Reattach the pad. Make sure it lies flat and sits securely on the plate.
The iRobot Roomba Combo i Series and j5 maintenance guide provides an example of model-specific pad care. It permits washing its compatible pad in cold, warm, or hot water and instructs owners to air-dry it.
Replace the mop pad if its fibers are badly worn, it no longer absorbs water properly, or it repeatedly falls out of position.
Also inspect the mop plate for damaged clips or blocked outlets. If your robot uses rotating pads or a roller mop, check for trapped debris that could stop the assembly from moving correctly.
If the pad and plate are clean but water still escapes excessively, the problem may be in the tank’s dispensing system rather than the mop itself.
Check the Docking Station and Dirty-Water Tank
If water pools around your robot’s self-cleaning dock, the problem may be in its drainage system rather than the robot’s clean-water tank. Automatic mop-washing stations collect used water and transfer it into a dirty-water tank.
When that transfer fails, water can collect in the washing tray and eventually overflow.
Clean the Washing Tray and Drainage Outlet
Begin by removing the robot and inspecting the dock’s washing tray or washboard. Look for standing water, dirt buildup, blocked drain openings, and residue around the water collection area.
After safely disconnecting the dock from power, follow the manufacturer-approved cleaning procedure:
- Remove the washing tray if the design allows it.
- Clear hair, dirt, and other debris from the drainage opening.
- Clean the tray and any removable filter according to the manual.
- Wipe accessible overflow sensors with a suitable clean cloth.
- Reinstall the tray securely before testing the dock again.
Dreame’s washboard water-level troubleshooting guide recommends checking the sewage outlet, overflow sensors, and water-tank seals when water accumulates abnormally. That particular procedure does not apply to its Aqua or Master series.
Inspect the Dirty-Water Tank and Seals
A dirty-water tank with a loose lid, damaged sealing ring, or poor fit may prevent the docking station from collecting wastewater correctly.
Empty the tank and inspect its lid, locking clips, and rubber seals. Remove any dirt from the sealing surfaces, then close and reinstall the tank firmly.
If the tank or dock uses a check valve or rubber drainage plug, inspect it only as directed by the manufacturer. A displaced or damaged part may allow wastewater to escape.
Some self-cleaning stations can also leak from a damaged tray or missing plug. Eufy’s Auto-Clean Station troubleshooting guide explains how to distinguish tray overflow from leakage beneath the tray on applicable models.
If the tray repeatedly fills despite being clean, the drainage pump, tank connection, or wastewater extraction system may require service.
When Should You Replace a Part or Contact Support?
Replace a removable component when it has visible damage that cleaning cannot fix. Continued leaking after basic maintenance may indicate a defective outlet valve, internal water line, pump, or sensor.
Use these signs to decide your next step:
- Cracked or warped tank: Replace the tank with a part approved for your exact model.
- Torn or deformed seal: Replace the seal or its complete assembly if the manufacturer provides one.
- Persistent dripping with dispensing disabled: Request diagnosis of the water-control mechanism.
- Repeated dock overflow: Seek service if cleaning the drain and checking the dirty-water tank do not help.
- Water inside the robot or electrical housing: Stop using the machine and request professional inspection.
Some models can detect certain leakage problems automatically. For example, iRobot’s Roomba Combo Error 1013 guidance identifies a leaking tank on applicable j7+, j9+, and 10 Max models.
Do not open the robot’s sealed electronics or attempt internal pump repairs unless you are qualified and the manufacturer provides an approved repair procedure.
When contacting support, provide your model number, a description of where the water appears, and photos or a short video of the leak. Also explain which cleaning and inspection steps you have already completed.
This information can help determine whether a replacement tank, seal, or professional repair is needed. Check warranty coverage before purchasing parts or attempting repairs that could affect it.
Frequently Asked Questions
My Roomba Is Leaking Water. What Should I Do?
Stop the Roomba and dry the floor. Remove the Combo tank, inspect it for cracks, and make sure its seal and wick cap fit correctly. On some Roomba Combo i and j5 models, leaving the Combo bin installed while parked can keep wetting the pad. Contact iRobot if leaking continues.
My Roborock Is Leaking Water. What Should I Do?
Check whether the water tank is seated correctly and lies flat without bending. If mopping is unusually dry, clean the water outlet and inspect the mop cloth and water filter. Roborock advises replacing a deformed tank. Persistent puddles despite these checks warrant service.
What Are the Most Common Problems With Robot Vacuums?
Robot vacuums commonly develop weak suction, tangled brushes, clogged filters, short run time, mapping errors, or Wi-Fi connection problems. Mopping models may also suffer from blocked outlets, worn pads, and leaking tanks. Regular cleaning prevents some faults, but broken seals and pumps may need replacement.
My Dreame Robot Is Leaking Water. What Could Be Causing This?
A Dreame robot may leak because its tank or seal is loose, the outlet is blocked, or its dock cannot drain dirty water. Clean the washboard drain and inspect the used-water tank seal if the puddle is at the base. Follow the guide for your exact model before inspecting internal parts.
Conclusion
A robot vacuum leaking water does not always need an expensive repair. Start by identifying whether the problem comes from the clean-water tank, mop attachment, or docking station.
Check tank seating, seals, nozzles, water-flow settings, and mop condition before replacing anything. If the leak involves a cracked part, repeated dock overflow, or water entering the robot’s electronics, stop using the machine and seek qualified support. Regular cleaning and proper tank installation can help prevent many common water leaks.
Sources
- iRobot Support, Error 1013: Tank leakage diagnosis and replacement guidance for applicable Roomba Combo models.
- Roborock Support, Water Tank Troubleshooting: Water outlets, filters, mop cloth maintenance, and deformed tank replacement.
- Dreame Support, No Water Comes From Water Tank: Water outlet and vent cleaning, removable and built-in tank troubleshooting.
- Eufy Support, L60 Hybrid Mopping Troubleshooting: Water output settings, blocked outlets, and mop module checks.
- iRobot Support, Roomba Combo Mopping Guide: Mop pad care, wick cap maintenance, and water leakage during storage.
- Dreame Support, Abnormal Washboard Water Level: Dock drainage, overflow sensors, tank seals, and wastewater troubleshooting.
- Eufy Support, Auto-Clean Station Water Leakage: Washing tray overflow, drainage problems, and damaged tray components.
- Eufy Support, S1 Pro Water Leakage: Distinguishing residual clean-water drops from continuous dirty-water leakage.