Roborock side brush replacement is a simple maintenance task that can restore edge and corner cleaning. A worn brush, trapped hair, or loose mounting screw can reduce performance or stop the brush from spinning. Before replacing it, check the maintenance reminder and inspect the brush for damage. This guide explains how to replace it safely, test the fit, and reset the app counter.
Quick Answer
To replace a screw-mounted Roborock side brush, turn off the robot, loosen the retaining screw, and lift away the old brush. Remove trapped debris, align a compatible replacement with the mounting hub, and tighten the screw. Check for smooth movement, then reset the side brush maintenance counter in the app.
At a Glance
| Difficulty | Easy for screw-mounted models |
| Tools Needed | Compatible replacement side brush, correctly sized Phillips screwdriver, and soft cleaning cloth |
Check the Roborock Side Brush Alert
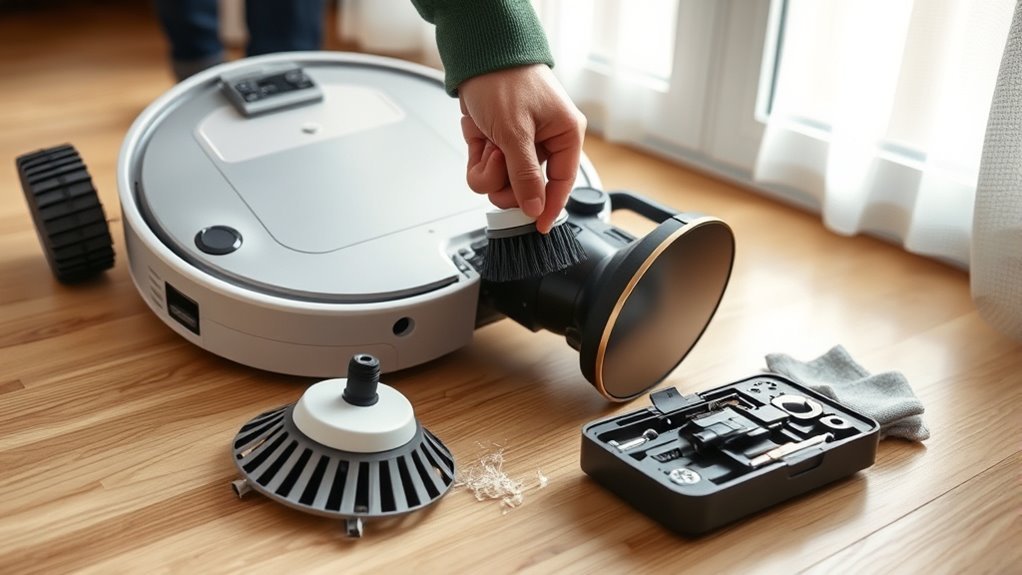
Start by checking the side brush maintenance status in your Roborock app. A replacement reminder means the estimated service interval has ended. However, 0% remaining does not automatically mean the brush or its motor is broken.
Open your robot’s settings and look for Care, Maintenance, or a similarly named section. On older S5 models using Mi Home, Roborock’s official app maintenance guide describes opening the three-dot menu on the map screen and selecting Care. The exact layout varies by model and app version.
Next, inspect the physical brush. Look for bent or missing spokes, split silicone, heavy hair buildup, and a loose attachment. If the brush remains intact and cleans well, the reminder alone does not prove that immediate replacement is necessary.
A maintenance reminder tells you when to inspect the brush. Its physical condition determines whether it needs replacing.
If the brush is visibly damaged or no longer reaches debris along walls, replace it before your next cleaning cycle.
Choose the Right Phillips Screwdriver
Most screw-mounted Roborock side brushes need a Phillips screwdriver. However, the correct screwdriver size depends on the model. Using a tip that fits properly prevents damage to the screw head.
For example, the Roborock Q5 replacement guide specifies a Phillips #2 screwdriver. The Q5 Max Plus guide specifies a Phillips #1 screwdriver.
Before beginning, gather:
- A Phillips screwdriver that fits the retaining screw.
- A replacement side brush compatible with your exact Roborock model.
- A soft cloth for protecting the robot while it is upside down.
- A small container for any removable screw.
Some brushes use a captive screw, meaning the screw stays attached to the brush when loosened. Other versions use removable hardware. Check your replacement before taking anything apart.
A worn screwdriver tip can slip and strip the screw. If the screwdriver does not sit securely, choose a better-fitting size rather than applying extra force.
Inspect the Replacement Side Brush
Check your new side brush before installation. It should match the original brush’s mounting design, spoke arrangement, and overall shape. A replacement that looks similar may still have the wrong connection.
Compare the new and old parts for these features:
- Spoke shape: The replacement spokes should have a consistent shape without obvious deformation.
- Spoke height: The brush should match the original part’s intended reach and profile.
- Flexibility: New spokes should flex without cracking or showing damage.
- Mounting hub: The center opening must match the robot’s drive connection.
- Screw arrangement: Confirm whether the replacement includes a captive screw or requires existing hardware.
New silicone spokes may feel firmer than worn ones. However, stiffness alone does not prove that a replacement is compatible or better.
Roborock offers different brush designs for different models. Its official accessories collection lists compatible models and includes genuine two-piece side brush packs.
If the new brush has a different mounting shape, do not force it onto the robot. Confirm the model compatibility first.
Remove the Worn Side Brush
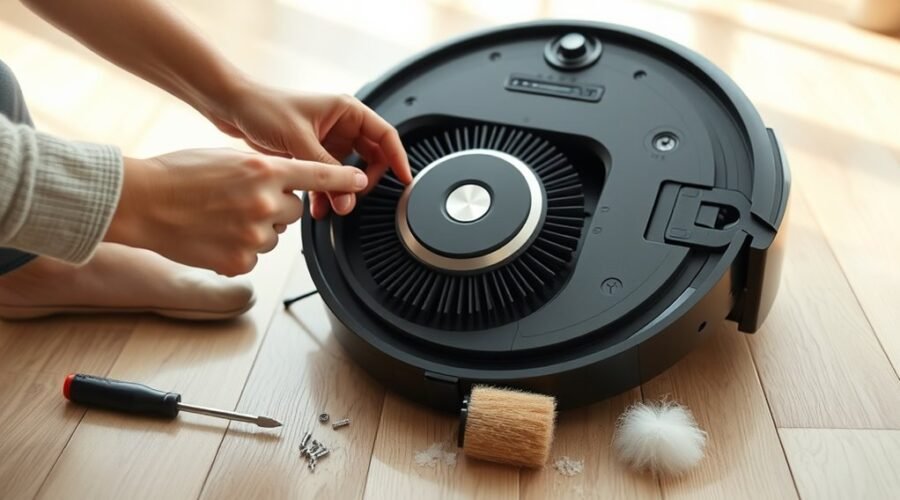
To remove a screw-mounted Roborock side brush, switch off the vacuum and carefully turn it upside down. Place it on a soft, stable surface to protect the top housing and sensors. Then loosen the retaining screw.
Warning: Turn off the robot and remove it from the charging dock before maintenance. Never work on the side brush while the robot is operating. Avoid forcing the screw or prying against the plastic housing.
- Power off the robot. Follow your model’s shutdown instructions.
- Turn it over. Keep the side brush accessible and support the robot on a soft cloth.
- Hold the brush steady. This prevents it from rotating while you loosen the screw.
- Loosen the retaining screw. Turn the correctly fitted screwdriver counterclockwise without excessive pressure.
- Lift away the brush. Pull it straight off the mounting hub once the screw is released.
- Clear trapped debris. Remove hair, thread, and dust around the exposed hub.
If the screw is captive, leave it attached to the removed brush. If it comes out completely, place it in a secure container.
| Check | Purpose |
|---|---|
| Screw retention | Prevent lost or damaged hardware |
| Spoke curvature | Identify bending and wear |
| Brush detachment | Expose the hub for cleaning and inspection |
Examine the removed brush for curled spokes, cracks, or excessive wear. If it is still usable and the only problem was tangled hair, cleaning and reinstalling it may resolve the issue.
Align the Mount and Install the New Side Brush
Position the replacement side brush over the robot’s mounting hub. On models with a hexagonal drive, line up both hexagon shapes before pressing the brush into place. Other models may use a different keyed connection.
The brush should sit securely without rocking or requiring excessive force. If it does not fit, remove it and check the alignment and compatibility.
Hex Mount Alignment
A hexagonal mount transfers rotation from the side brush drive to the brush itself. Correct alignment helps prevent wobbling and reduces unnecessary wear on the connection.
Inspect both mounting surfaces for dust or trapped hair. Then center the replacement over the drive and press it straight down.
| Check | Purpose | Result |
|---|---|---|
| Hex alignment | Match the drive connection | Brush fits without force |
| Spoke condition | Check replacement quality | No damaged or distorted spokes |
| Brush seating | Prevent an uneven fit | Hub sits level and centered |
Do not mistake normal flexibility in the spokes for damage. The important checks are correct shape, secure attachment, and enough clearance for rotation.
Secure the Captive Screw
Once the brush is seated, engage the retaining screw. If your replacement has a captive screw, it should already be attached to the brush. Otherwise, use the correct screw supplied or specified for your model.
Hold the brush in position and turn the screwdriver clockwise. Tighten until the screw is snug and the brush is secure.
Avoid overtightening. Excessive force can damage the screw head, plastic mount, or threads. You should not need to force the screw beyond its normal stopping point.
Hold the Brush and Tighten the Screw
Keep the side brush steady while tightening the screw. This helps prevent the brush from shifting away from the mounting hub. A secure installation should remain centered without visible wobble.
Use moderate pressure and check the brush after tightening. The central hub should sit evenly against its mounting surface, while the sweeping spokes remain free to flex.
If the screw keeps turning without tightening, stop. The threads may be damaged, the hardware may be incompatible, or the brush may not be properly seated.
Likewise, if the screw will not engage, remove the brush and check the connection. Never force a misaligned fastener into place.
Spin the Brush to Check the Fit
After tightening the screw, gently move the side brush by hand with the robot switched off. Check for scraping, wobbling, or an obvious obstruction. Some resistance from the drive mechanism can be normal, so the brush does not necessarily freewheel.
Look at the spokes as you rotate the brush. They should clear the housing without catching on surrounding parts.
| Check | Good sign | Fault sign |
|---|---|---|
| Rotation | Smooth movement without catching | Jamming or scraping |
| Alignment | Centered, secure mounting | Loose or off-center fit |
| Spokes | Even shape and clear movement | Bent, trapped, or damaged spokes |
If the brush catches, check the hub for tangled debris and confirm that the replacement is compatible. Reinstall the part if necessary.
Once everything is secure, return the robot to its normal position and run a short cleaning test. Watch whether the brush sweeps debris toward the main cleaning path.
If the brush remains stationary, check for an error message. For example, the Roborock S7 MaxV manual identifies Error 6 as a side brush jam and recommends removing and cleaning the brush. It identifies Error 17 as a side brush error and recommends a system reset.
These are different from a routine maintenance reminder. Use the troubleshooting instructions for your particular model if a fault persists.
Reset the Side Brush in the Roborock App
After replacing the side brush, reset its maintenance counter in the app. This tells the app to begin tracking the replacement’s estimated service interval. It does not physically inspect the brush or test the motor.
- Open the app. Select your Roborock vacuum.
- Find the maintenance section. Open Care, Maintenance, or the equivalent settings page.
- Select Side Brush. Review the displayed remaining life or usage hours.
- Choose Reset. Use the available reset control for the side brush.
- Confirm the action. Return to the maintenance screen and check the updated reading.
The exact menu labels depend on the model and app version. If the maintenance section is missing, verify that you selected the correct device and that its app connection is working.
Resetting the side brush counter updates the maintenance record. It does not confirm that the new brush is installed correctly.
Do not confuse this maintenance reset with resetting the entire robot. A system reset is a separate troubleshooting procedure and may affect device settings.
Confirm 100% Side Brush Life Left
After resetting the maintenance counter, check whether the app displays 100% remaining life. This indicates that the counter has restarted. It does not prove the physical brush is new or that the motor is working.
Some supported Roborock models use an estimated 200-hour side brush replacement interval. The Home Assistant Roborock integration documentation also identifies a 200-hour replacement interval for its side brush maintenance counter.
If your model uses this interval, resetting the counter may restore approximately 200 hours of remaining use. The displayed figure can differ by device.
If the app still shows 0% after replacement, first confirm that the counter reset was completed. The brush itself does not automatically update the maintenance reading when installed.
Next, run a short cleaning cycle and check the actual brush movement. A 100% reading with a stationary brush means the maintenance record is reset, but the mechanical or electrical problem remains unresolved.
Replace the Side Brush Again When Needed
Roborock recommends cleaning many of its side brushes monthly and replacing them every 3 to 6 months. The actual replacement interval depends on usage, floor conditions, and physical wear.
Homes with pets, long hair, or frequent debris buildup may require more regular inspection. Replace the brush sooner if the spokes are torn, badly bent, or no longer sweep effectively.
Genuine Roborock replacement brushes are a practical choice because their compatibility is specified by the manufacturer. Some official replacement options come in packs of two, allowing you to keep a spare.
Choose a replacement brush by your exact Roborock model. Similar-looking side brushes are not necessarily interchangeable.
For ongoing maintenance, follow these habits:
- Inspect the side brush during routine cleaning.
- Remove hair and thread wrapped around its base.
- Check that the mounting screw remains secure.
- Watch for bent spokes and weaker edge cleaning.
- Reset the maintenance counter after installing a replacement.
If a correctly installed brush still refuses to spin after cleaning and model-appropriate troubleshooting, the problem may involve the drive motor or its connection. The Roborock Q5 motor replacement guide illustrates how this type of internal repair differs from replacing the external brush.
Contact Roborock support or a qualified repair technician if the motor appears faulty. Do not keep replacing brushes when the underlying drive mechanism is the problem.
Key Takeaways
- A maintenance alert is based on estimated usage, not a direct measurement of brush wear.
- Phillips screwdriver sizes and mounting arrangements vary by Roborock model.
- A captive screw stays attached to the brush and should not be forced out.
- Resetting the app counter cannot repair a jammed brush or faulty motor.
- Inspect the brush regularly and replace it sooner if physical damage affects cleaning.
Frequently Asked Questions
What Should Be Done if the Side Brush Function Fails?
Turn off the Roborock and inspect the side brush for tangled hair, damage, or loose mounting hardware. Clean and reinstall the brush before testing it again. If the motor still does not turn, follow the model’s error instructions and contact support if necessary.
How to Fix Roborock Side Brush Not Spinning?
Remove trapped hair and check whether the side brush is seated correctly. Replace it if its spokes or mounting hub are damaged. Test the vacuum after reinstallation. If the brush remains stationary, investigate the drive motor or follow any error message shown by the robot.
What Are the Most Common Problems With Robot Vacuums?
Common robot vacuum problems include tangled brushes, clogged filters, dirty sensors, charging failures, and software errors. Many problems improve with regular cleaning and correct part installation. Persistent motor faults or electrical problems may require professional repair or replacement components.
Why Is My Roomba Side Brush Module Not Spinning?
A Roomba side brush may stop because of tangled debris, worn parts, a loose attachment, or a faulty motor. Turn off the robot and inspect the brush assembly. Roomba and Roborock use different parts and repair procedures, so follow the instructions for your specific Roomba model.
Does 0% Side Brush Life Mean My Roborock Is Broken?
No. A 0% side brush life reading usually means the estimated maintenance interval has ended. It does not directly measure physical damage or confirm motor failure. Inspect the brush, replace it if needed, and reset the maintenance counter to record the service.
Conclusion
Replacing a Roborock side brush is straightforward when you use the correct part, align the mount, and tighten the screw carefully. After installation, reset the maintenance counter and run a short cleaning test. If the brush moves correctly and collects debris along edges, the replacement is complete. If it still jams or fails to rotate, investigate the drive mechanism instead of repeatedly replacing the brush.
Sources
- Roborock: 5 Tips for Roborock S5 in the Mi Home App: Maintenance navigation and consumable information.
- iFixit: Roborock Q5 Side Brush Replacement: Screw removal, captive screw design, and screwdriver requirements.
- iFixit: Roborock Q5 Max Plus Side Brush Replacement: Model-specific screwdriver size and brush removal.
- Roborock Official Accessories: Replacement brush compatibility and two-piece packs.
- Roborock S7 MaxV User Manual: Maintenance instructions, replacement intervals, and side brush error codes.
- Home Assistant: Roborock Integration: Side brush maintenance counter and 200-hour interval.
- iFixit: Roborock Q5 Side Brush Motor Replacement: Motor troubleshooting and internal repair considerations.