A loose robot vacuum brush often points to simple issues that can be checked safely first. Hair, debris, or a misaligned roll can keep the brush from seating correctly, while worn bearings or a damaged mount may cause play. A careful inspection, cleaning, and proper reseating may restore normal function. If the brush still shifts, the next step is to identify whether the fault lies in the brush assembly itself.
Check for Hair and Debris on the Robot Vacuum Brush
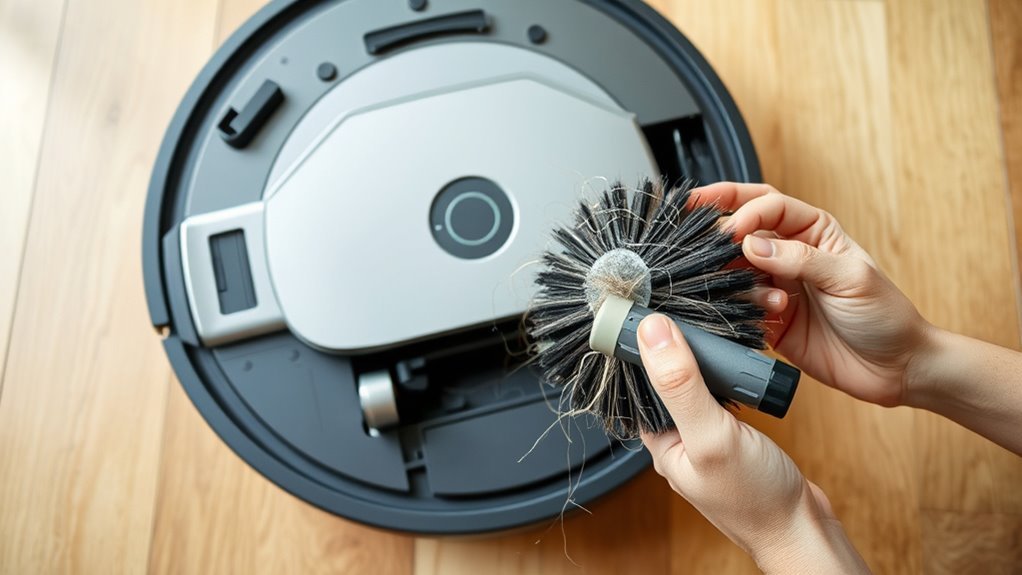
Begin by inspecting the robot vacuum brush for hair, string, and other debris buildup, since tangled material can restrict rotation and reduce cleaning performance.
A careful check should focus on the brush roll, because hair and lint can wrap around it and load the brush motor. If tangled hair is present, trim it with scissors or a seam ripper, taking care not to damage bristles.
Focus on the brush roll, where hair and lint can wrap around and strain the motor.
The ends of the brush should also be examined, because debris can wrap there and prevent the brush from turning freely. If needed, remove the brush to clear accumulated material and wipe the bearings clean of dirt or gunk.
This basic maintenance helps clean the brush roll safely and preserve smooth operation. In homes with pets, it is prudent to regularly inspect the robot vacuum every 1 to 2 weeks.
Routine attention can prevent the brush from binding, reduce wear, and support reliable, autonomous cleaning.
Remove and Clean the Brush Roll
Power off the robot vacuum and remove the brush roll according to the manufacturer’s instructions to avoid damage during service.
With the component out, inspect the brush roll for tangles, debris, and other blockages that can restrict movement. Use scissors or a seam ripper to carefully cut away wrapped hair without nicking the bristles or shaft.
Next, clean the brush roll bearings and end caps with a soft cloth to remove built-up dirt and restore low-friction rotation. If residue remains, wipe again until the surfaces are clear and dry.
After cleaning, reinstall the brush roll securely in its housing so it sits flush and does not shift during operation. A loose fit can reintroduce vibration and poor pickup.
Finish with a test run to confirm the brush roll spins freely and consistently. If noise, drag, or intermittent rotation persists, further inspection of the housing or drive path is warranted.
Reseat the Brush Until It Clicks Into Place
With the robot vacuum powered off and unplugged, the brush should be aligned with its designated slots and any tabs or clips positioned correctly.
To reseat the brush, confirm that no obstructions or debris remain in the housing, then install it along the guide points without forcing it.
Apply steady pressure until it should click into place, which indicates the component is fully secured. A loose fit can prevent proper engagement, so the brush must sit flush and stable before use.
If resistance is felt, stop and recheck alignment rather than pressing harder.
Once seated, rotate the brush by hand to confirm it moves without binding.
Then perform a test run under normal conditions and observe whether the brush spins freely and remains secured during operation.
A correct reinstall restores control, reduces friction, and supports safe, reliable cleaning performance without unnecessary strain on the robot vacuum or its drive system.
Inspect the Brush Mount, Bearings, and Contacts
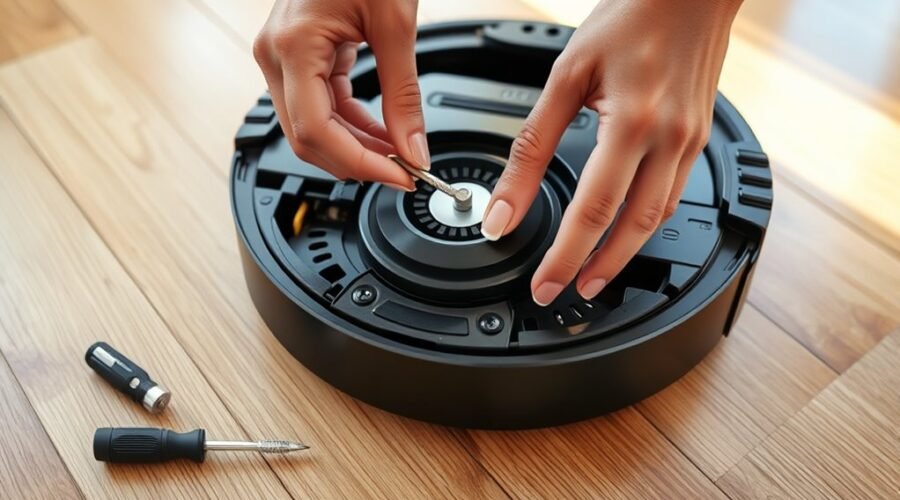
Inspect the brush mount for secure attachment and correct alignment, since a loose or shifted connection can prevent the brush roll from rotating properly and reduce cleaning performance.
The technician should inspect the brush mount for cracks, warped tabs, or any loose connection that disrupts proper alignment. The brush roll should sit fully in the mount and turn without rubbing or wobble.
Next, the bearings should be checked for wear, stiffness, or debris buildup, because restricted movement can block effective rotation and increase strain on the drive system.
The electrical contacts should also be clean, dry, and free of corrosion so power transfer remains stable.
It is prudent to clean the brush area, removing hair and packed debris that can interfere with seating and movement.
These basic checks help restore safe operation while preserving user autonomy over routine maintenance.
Replace a Broken Robot Vacuum Brush or Mount
When the brush mount is cracked, warped, or otherwise damaged, replacement is often the only reliable way to restore secure brush support and normal rotation. To replace a broken robot vacuum brush, inspect the brush and brush mount for fractures, wear, or distortion before fitting new parts.
Use compatible replacement brushes matched to the model, because mismatched components can create misalignment, wobble, and poor pickup. A cleaning brush should also be used to clear debris buildup from the mounting channel, since contamination can prevent full seating and reduce ideal performance.
Manufacturer-approved parts are preferred when possible, as they better preserve warranty coverage and maintain the design tolerances of the vacuum. Installation should be checked for snug engagement without excess play, and the assembly should rotate freely by hand before power is restored.
- verify part numbers
- inspect the brush after install
- confirm stable rotation
- test on a short run
Frequently Asked Questions
Why Does My Roomba Brush Keep Falling Off?
Roomba brush falls off from brush attachment issues, brush wear, improper installation, or compatibility concerns; debris accumulation and low cleaning frequency worsen fit. Brush motor problems, user error, and worn clips justify maintenance tips and replacement options.
What Are the Most Common Problems With Robot Vacuums?
Battery breakdowns, botched navigation, and brush blockages burden robot vacuums. Other common faults include suction power loss, charging problems, app connectivity failures, filter maintenance lapses, wheel malfunctions, sensor failures, dust bin clogs, and programming glitches.
How to Fix the Brush Roll on a Vacuum?
He verifies brush alignment, then applies brush maintenance tips and cleaning brush rollers; common brush issues often stem from debris, worn end caps, or belt slack. Safe DIY repair methods, tools for brush repair, and replacement brush options follow.
What Is the Average Lifespan of a Robot Vacuum?
Average robot vacuum lifespan is 3–5 years; lithium-ion batteries often need replacement after 2–3. Robot maintenance tips, vacuum battery care, cleaning frequency guidelines, brush replacement schedule, troubleshooting guide essentials, performance improvement hacks, brand comparison insights, advanced features overview, cost analysis breakdown, user experience reviews.
Conclusion
In the end, a loose robot vacuum brush is often “fixed” by the least glamorous maintenance possible: powering the unit off, clearing hair and debris, cleaning the roll, and reseating the brush until it clicks. If the mount, bearings, or contacts are damaged, replacement becomes the safer choice. A brush that spins freely by hand is a good sign; a brush that refuses basic alignment is, ironically, the clearest warning that something is still wrong.