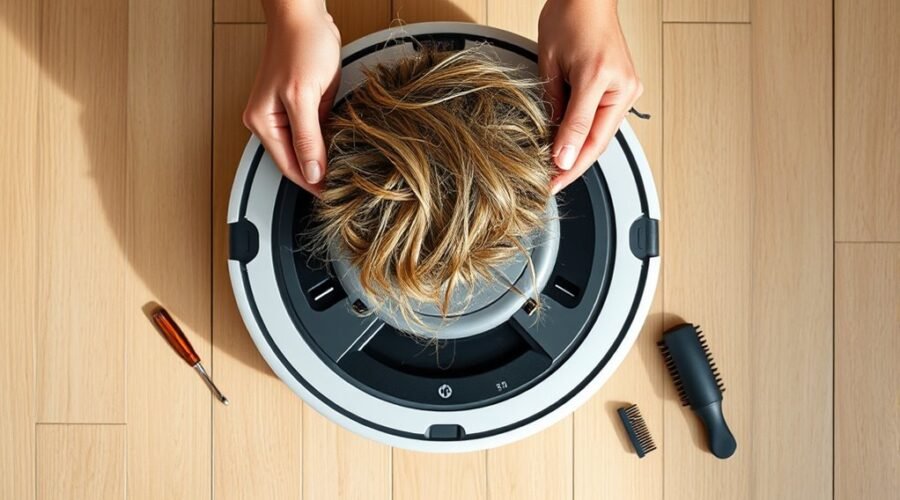
A robot vacuum brush can stop turning when hair, dust, or a worn part blocks the mechanism. The fix usually begins with safe shutdown, followed by a careful inspection of the brush, axle, and cover. Some problems are minor and easy to clear. Others point to hidden debris or a damaged belt. The next steps show how to isolate the cause and restore smooth movement.
Fix a Robot Vacuum Brush That’s Stuck
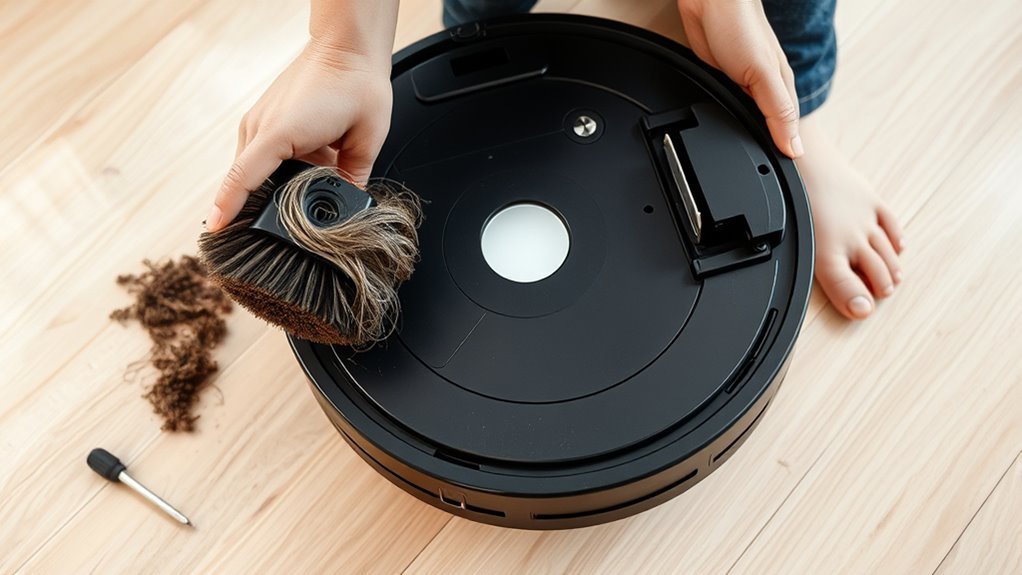
Begin by turning off and unplugging the robot vacuum to eliminate any risk while inspecting the brush assembly.
The cover should then be unlatched, and the main brush removed with care. If pet hair is wrapped around the roller, scissors or tweezers may be used to sever it without nicking the bristles.
Next, check the brush compartment, axle, and side brushes for dirt buildup or small foreign objects that can restrict motion. A flashlight improves visibility in tight areas and helps reveal blockages that limit free rotation.
Every component should be cleared, aligned, and allowed to spin without resistance. After cleaning, the brush and cover must be reinstalled securely.
The assembly should then be tested by hand to confirm smooth movement before the robot vacuum is returned to service. This disciplined procedure restores function and reduces dependence on a stalled machine.
Check the Brush for Hair and Debris
The main brush should be inspected for hair, threads, and compacted debris that can restrict rotation and reduce cleaning efficiency. A brush stuck condition often begins with visible hair or wrapped hair binding the axle. A flashlight helps reveal hidden debris around the mount. Any loose fibers should be cut away with scissors or tweezers, taking care not to nick bristles.
| Check point | Action |
|---|---|
| Main brush | Remove visible hair and threads |
| Brush ends | Inspect for compacted debris |
| Mount area | Use light to find obstructions |
The vacuum cleaner should be turned by hand to confirm smooth movement after each removal. Side brushes should also be checked for blockage because they can add drag if neglected. Regular cleaning every 1–2 weeks preserves rotation, protects bearings, and restores the machine’s capacity to work without restraint. Clear inspection and removal grant the robot vacuum cleaner freer motion and more reliable service.
Remove the Robot Vacuum Brush and Clean It
Release the brush cover latch and lift out the main brush assembly, including the end caps, for cleaning.
The operator should remove the brush carefully, keeping the bristles aligned and avoiding flex that could distort the component. Hair and debris should be cut away with scissors or lifted with tweezers, working methodically across the full length of the brush.
The end caps should also be cleaned, since trapped strands can restrict rotation and increase friction. All visible debris should be cleared from the bearings and surrounding surfaces so the brush can move without resistance.
After cleaning, the assembly should be reinstalled until it clicks securely into place. A manual spin test should then confirm that the brush rotates freely.
This maintenance step supports reliable operation and preserves the vacuum’s working freedom. Regular cleaning after each use reduces buildup, prevents recurring jams, and extends service life.
Inspect the Belt, Axle, and Brush Mount
Inspect the drive belt for wear, slippage, or tears, since any damage can prevent the brush from spinning effectively. A careful inspect the belt step should include the brush motor interface and any visible tension loss.
Next, examine the axle for debris, trapped hair, or rough rotation. The axle should turn freely; resistance indicates blockage or contamination. The brush mount must also be checked for alignment, because a shifted mount can stop the brush from engaging correctly.
Look around the brush for small objects, thread, or compacted dust that may impede movement. If the brush mount appears offset, note the position before proceeding further.
After these checks, spin the brush by hand to confirm smooth motion. Any binding, scraping, or intermittent drag suggests unresolved obstruction within the drive path.
Systematic inspection restores control, reduces forced wear, and supports free operation of the vacuum mechanism.
Reinstall the Robot Vacuum Brush Correctly
Once the belt, axle, and mount have been checked for obstruction and free rotation, the brush should be reinstalled with careful alignment to the grooves and slots in the housing.
The vacuum roller brush and other main brushes must be properly aligned before insertion, so the assembly can seat without resistance. After positioning, press the unit until a distinct click confirms that it is locked in place. This sound indicates secure engagement and helps guarantee the component will remain fixed during operation.
Align the brush carefully before insertion, then press until a click confirms secure, fixed placement.
Next, rotate the brush by hand to verify that it spins freely and does not bind against the casing or adjacent parts. If end caps or covers are present, reattach them firmly so the brush cannot shift or dislodge under load.
A final inspection of the reinstall process should confirm even seating, correct orientation, and unobstructed movement. Regular checks support reliable performance and preserve the user’s freedom from avoidable interruptions.
Prevent Future Robot Vacuum Brush Jams
Regular maintenance reduces the likelihood of robot vacuum brush jams by preventing hair, dust, and debris from accumulating around the main brush and side brushes.
After each use, inspect both brush assemblies and remove hair or threads before they wrap tightly. Every 1-2 weeks, schedule a deeper service check to clear dirt from the brush housings, bearings, and drive components, which helps prevent progressive wear.
A flashlight should be used to inspect the brush mount and nearby recesses for hidden foreign objects that can obstruct rotation.
After cleaning, confirm that the brushes are installed correctly and aligned with their drive points, because misalignment can inhibit spinning and create repeat jams.
For long-term relief from constant cleaning demands, consider tangle-free brush designs or self-cleaning models. These options reduce hair accumulation and mechanical resistance, preserving performance and granting the user more freedom from repeated manual intervention.
Frequently Asked Questions
Why Isn’t My Robot Vacuum Brush Spinning?
The robot vacuum brush is not spinning because debris, misalignment, sensor issues, or a worn drive belt interrupt motion; effective troubleshooting techniques, debris removal, brush maintenance tips, cleaning routines, and brush replacement restore liberation.
How Do I Fix My Vacuum Brush Not Spinning?
They should clear debris, cleaning brush bristles, verify brush alignment, and apply brush maintenance tips. Robot vacuum troubleshooting may include replacing brush parts, adjusting brush height, and improving suction power for restored rotation and autonomy.
What Are the Most Common Problems With Robot Vacuums?
Robot vacuums commonly suffer brush blockages, clogged hoses, worn belts, foreign-object jams, sensor faults, and degraded battery lifespan. Regular robot vacuum maintenance, cleaning schedules, troubleshooting tips, and common repairs reduce performance issues and restore autonomy.
My Robot Vacuum’s Main Brush Is Stuck. What Should I Do?
Remove the brush, then inspect for hair, debris, and misalignment; use brush removal tips, cleaning techniques, and troubleshooting guides. Check belt wear, consider brush replacements, avoid common mistakes, and follow maintenance schedules.
Conclusion
In many cases, a stuck robot vacuum brush is cleared by removing tangled hair and compacted debris, then reseating the brush assembly correctly. One technician compared the process to freeing a jammed gear in a watch: a small obstruction can stop the entire mechanism. After cleaning the bearings, checking the belt and axle, and confirming a smooth manual spin, the brush usually returns to normal operation. Regular inspection helps prevent repeat jams and preserves suction performance.