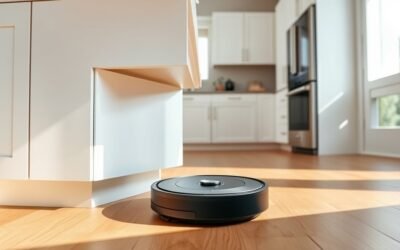
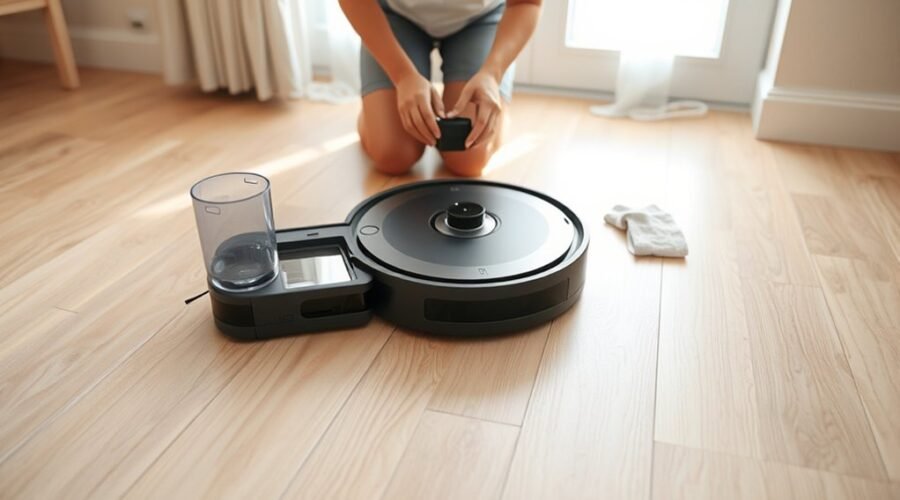
If your robot vacuum mop is not dispensing water, you may not need a new machine. A blocked outlet, loose water tank, dirty mop pad, or incorrect setting can stop water from reaching the floor. The key is to find out whether the robot is failing to release water or the mop pad simply isn’t absorbing it.
Quick Answer
To fix a robot vacuum mop that isn’t dispensing water, refill and correctly install the tank, clean blocked water outlets, and wash the mop pad. Confirm that mopping mode is active and adjust the water setting if supported. If water still won’t flow, check for trapped air, docking station faults, or a damaged pump.
At a Glance
| Difficulty | Easy for basic cleaning and checks; professional help for internal pump repairs |
| Tools Needed | Clean water, soft brush, clean cloth, and a toothpick if the manufacturer permits |
| Cost | Basic checks are free; replacement parts or professional repairs cost extra |
Why Your Robot Mop Isn’t Dispensing Water
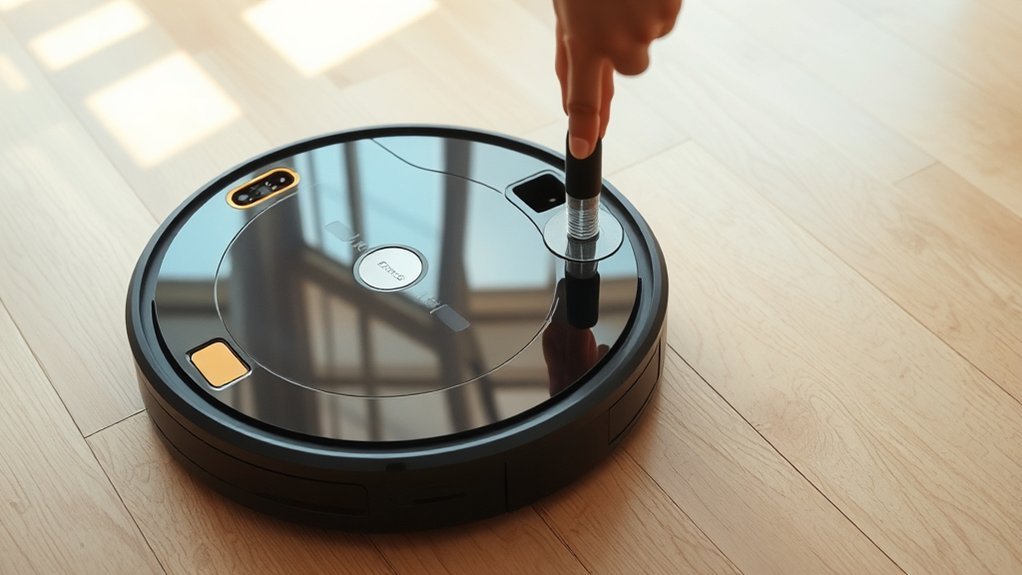
A robot mop usually stops dispensing water because something interrupts the flow between the reservoir and the mop pad. The problem may be a clogged nozzle, an incorrectly fitted tank, a blocked filter, or trapped air inside the system.
However, not every dry-looking floor indicates a broken water pump. Some models dispense small amounts of water, and a dry mop pad may take time to absorb moisture.
The ECOVACS troubleshooting guide identifies blocked outlets, installation problems, dirty pads, trapped air, and low water settings as common causes.
Start by identifying what the robot actually does during a mopping cycle.
| Symptom | Possible Cause | First Check |
|---|---|---|
| Mop pad stays completely dry | Empty tank, blocked outlet, or inactive mopping function | Tank installation and mopping mode |
| Pad starts wet but becomes dry | Low water output or interrupted replenishment | Water level setting and remaining water |
| Water flows unevenly | Partial blockage or dirty mop pad | Nozzles and pad condition |
| Dock cannot wash the mop | Station tank, filter, or water connection | Docking station water supply |
This comparison helps you check the most likely cause before taking anything apart.
Check the Robot Mop Water Tank
An empty or poorly installed water tank is one of the first things to check. If the reservoir cannot connect properly to the dispensing system, the mop may remain dry even when the robot moves normally.
Follow these steps before cleaning other components:
- Turn off or pause the robot. Remove the tank using the release mechanism described in your manual.
- Check the water level. Refill with the type of water your manufacturer recommends, without exceeding the maximum mark.
- Inspect the tank. Look for cracks, damaged rubber seals, bent edges, and sediment.
- Check the outlet and filter. Remove visible dirt without forcing anything into the opening.
- Reinstall the tank. Push it into the correct position until its latch engages, if your model uses one.
- Confirm compatibility. If you recently replaced the reservoir, check that the part matches your exact robot model.
A tank that appears properly installed may still have a warped fitting or damaged seal.
For example, Roborock’s support instructions recommend checking the water filters, cleaning the outlet, and placing the tank on a flat surface to identify bending.
If the tank is visibly warped, replacing it may be more effective than repeated cleaning.
Clean the Nozzles and Water Channels
Clogged water nozzles can stop a robot mop from releasing water even when its tank is full. Dirt, dried cleaning solution, and mineral deposits may block the small openings that carry water toward the mop pad.
These blockages are especially worth checking if water output became weaker over time rather than stopping suddenly.
- Turn off the robot and remove the water tank.
- Locate the visible water outlets using the product manual.
- Inspect the openings for dirt, white deposits, or dried residue.
- Use a soft brush to remove loose material.
- If your manufacturer permits it, gently clear a blocked opening with a toothpick or fine needle.
- Rinse removable, water-safe parts with clean water and reinstall them.
- Run a short mopping test to check whether dispensing improves.
Warning: Never force a needle into a nozzle or internal tube. You could enlarge the opening, damage a valve, or push debris deeper into the system. Do not pour hot water into the robot or flush its internal water lines unless the manufacturer specifically instructs you to do so.
Some robots have a removable inlet filter that also needs cleaning. Check whether your model allows the filter to be removed before trying to access it.
If you can see water coming through one outlet but not another, a local blockage is more likely than a complete pump failure.
Make Sure the Mop Pad Is Installed Correctly
A robot can dispense water normally while leaving the floor nearly dry if its mop pad is dirty, incorrectly positioned, or unable to absorb moisture. The pad must sit against the intended water delivery area.
Check both the cloth and the mounting plate.
- Remove the mop pad from its holder.
- Wash away dirt, dried detergent, and visible residue according to its care instructions.
- Inspect the material for fraying, compression, tears, or excessive wear.
- Lightly dampen the cloth and wring out excess water if your manufacturer recommends pre-wetting.
- Attach the pad evenly without folds or loose edges.
- Reinstall the mop plate and confirm that the robot recognizes it when supported.
A dry pad may need time to absorb the first water released by the system. Pre-wetting can help prevent this delay.
Some models also use a magnet or sensor to recognize the mop module. In its L60 Hybrid troubleshooting instructions, eufy recommends checking the module installation and recognition prompt if water dispensing fails.
If the pad remains stiff, heavily stained, or damaged after washing, replace it with a compatible one.
Check for Airlocks or Pump Failure
When the tank, outlets, and mop pad are in good condition, the next possible causes include trapped air or a faulty water pump. An airlock is a pocket of air that interrupts the movement of water through a pump or tube.
A pump problem is more likely when the water supply is available, the outlets are clear, and the robot still produces no water during a proper test.
Listen for Pump Clicks
Some robot mop pumps produce a repeating clicking or ticking sound when operating. On those models, a familiar click-click-click rhythm can indicate that the pump is being activated.
However, not every robot uses an audible solenoid pump. Some systems operate quietly, so silence alone does not prove a pump has failed.
To check for unusual behavior:
- Start a normal mopping cycle with the tank correctly installed.
- Listen for sounds that are different from the robot’s usual operation.
- Check whether water output starts and then stops.
- Look for any pump-related error message in the app.
- Compare the behavior with the instructions for your exact model.
A pump that makes noise but delivers no water may be struggling with a blockage, trapped air, or a mechanical fault.
If the robot remains silent and does not release water, continue with the noninvasive checks before assuming the pump needs replacement.
Clear Trapped Air
Trapped air can interrupt water flow after refilling the tank, cleaning the system, or leaving the robot unused for a long period.
Some models can recover after a short mopping cycle. Others may need a manufacturer-approved priming procedure.
Try these checks in order:
- Make sure the water reservoir is filled and installed correctly.
- Inspect the accessible pump inlet or tank outlet for visible debris.
- Lightly dampen the mop pad if the manual recommends it.
- Run a short mopping cycle on a suitable sealed hard floor.
- Check whether the mop begins receiving water.
For models where the manufacturer specifically recommends it, a slight tilt may help release trapped air.
Do not shake the robot, tip it sharply, or allow water to reach electrical components.
If the robot starts dispensing water again, the problem may have been a temporary airlock. If the same fault returns after each refill, check for a blocked inlet, leaking seal, or internal component problem.
Test the Pump Directly
Direct pump testing is a repair procedure used to determine whether a pump can operate independently of the robot’s control system. It should only be performed by a qualified technician who has the correct service information.
For routine home troubleshooting, a water-flow test is a safer starting point.
Some Dreame models allow a simple test that separates the water dispensing function from the mop pad’s absorption.
- Wash the mop pads using the normal procedure.
- Remove the cloth pads while leaving the mop holders installed.
- Start a supported mopping task.
- Wait approximately five minutes.
- Inspect the floor for small water droplets.
These steps come from Dreame’s water-flow testing instructions. Follow them only on models for which the manufacturer approves this test.
If droplets appear, the dispensing system is delivering water. If no droplets appear, an outlet blockage or internal water delivery problem may remain.
Note: A technician may disconnect and bench-test a pump using its specified rated voltage and the appropriate equipment. Do not connect an unknown pump directly to a battery or external power supply. Incorrect voltage, polarity, or connections can damage electronics and create safety risks.
A technician can also inspect electrical connections, tubing, valves, and the control board before deciding whether the pump needs replacement.
Adjust Water Output in the App
If your robot supports electronic water control, an incorrect app setting can make the mop appear dry. Many models offer different water output levels for different floor surfaces and cleaning needs.
First, confirm that the robot is actually using a mopping function instead of vacuum-only mode.
Check the Water Level Settings
Open your robot’s companion app and locate the available mopping controls. Depending on the model, you may see low, medium, high, or more detailed water output settings.
Check the following:
- Confirm that mopping or vacuum-and-mop mode is enabled.
- Make sure water output is not set to its minimum.
- Check whether the selected room or cleaning zone has a separate water setting.
- Review the settings after a software update or reset.
- Restart the robot if the app appears to be displaying incorrect information.
Some advanced models provide finer control. For example, the ECOVACS DEEBOT X9 PRO OMNI supports up to 50 water adjustment levels through its companion app.
However, app-based control is not universal.
The eufy X8 Hybrid mopping instructions explain that its physical water tank dispenses at a fixed rate that cannot be adjusted.
If your model uses fixed water flow, focus on the tank, filter, and pad rather than looking for a setting that does not exist.
Test Medium Water Output
On models with adjustable settings, medium water output provides a useful starting point for testing. It helps you determine whether the minimum setting is simply delivering too little moisture.
Use this approach:
- Select mopping mode in the app.
- Choose the medium water level if available.
- Start a short cleaning task on a suitable sealed hard floor.
- Check whether the pad becomes evenly damp.
- Increase the setting only if the floor and manufacturer instructions allow it.
Higher output may help with a larger cleaning area or more difficult dirt, but it is not suitable for every surface.
For moisture-sensitive floors, use the lowest effective setting. Excess water can damage flooring even when the robot itself works correctly.
If the mop remains completely dry at every output level, the issue is more likely related to the water supply, an outlet blockage, or a dispensing component.
Check for Bad Cleaning Solution or Limescale
Using an unsuitable cleaning solution can leave deposits inside a robot mop’s tank, filters, and water channels. Hard-water minerals may also build up around small outlets and reduce dispensing.
Different manufacturers have different rules about what liquids their machines can safely use.
To prevent further problems:
- Check whether your model permits cleaning solution in the tank.
- Stop using detergents, disinfectants, or additives that are not approved.
- Empty the tank if it contains an unsuitable solution.
- Rinse the removable tank with clean water, following the product manual.
- Inspect the outlets for cloudy deposits, white scale, or sediment.
- Clean accessible water-safe components without using harsh chemicals.
Do not assume that vinegar or a household descaler is safe for your robot. Such liquids may affect seals, valves, pumps, or internal materials.
Some manufacturers permit their own approved cleaning products, while others recommend water only.
After removing visible residue, refill the tank with the approved fluid and test the system again.
If heavy mineral deposits remain inside inaccessible tubing, manufacturer service is safer than forcing a cleaning chemical through the pump.
Prime the Mop System
Priming the mop system means helping water reach the dispensing components after air has interrupted the flow. It can be useful when a robot stops releasing water after a tank refill or a period of inactivity.
A simple priming attempt does not require opening the machine.
- Turn off the robot before handling the tank or mop assembly.
- Fill the reservoir with the approved water or cleaning fluid.
- Reinstall the tank and ensure it is securely seated.
- Lightly dampen the mop pad if recommended.
- Start the robot in its normal mopping mode.
- Observe whether fresh water reaches the pad during the test.
Pre-wetting helps the cloth begin cleaning, but it does not prove that the pump is working. The pad should continue receiving moisture after its initial dampness begins to fade.
If the system only works after repeated priming, there may be air entering through a damaged seal or a restriction inside the water path.
Repeated priming should not become part of your normal cleaning routine. Investigate the underlying cause if the problem keeps returning.
Check the Docking Station Water Supply
If your robot has an automatic mop-washing or water-refilling dock, the problem may come from the station rather than the robot.
A full-looking water tank does not guarantee that water is reaching the washing tray or the robot’s internal reservoir.
Check these components:
- Clean water tank: Make sure it contains enough water and sits level in the station.
- Tank seal: Look for damaged, loose, or incorrectly fitted sealing plugs.
- Water filter: Inspect and clean the accessible filter according to the manual.
- Connection points: Remove visible debris where the tank connects to the station.
- Washing tray: Check for dirt or obstructions that interfere with the normal wash cycle.
- Dirty water tank: Empty it and make sure it is installed correctly when required by the station.
The ECOVACS station troubleshooting instructions specifically recommend checking tank placement, the sealing plug, and the clean-water filter when a station stops supplying water.
After checking these parts, run the station’s normal mop-washing function and observe the result.
If the station washes the mop correctly but the pad becomes dry while cleaning, the problem may be in the robot’s water replenishment system instead.
If the station itself cannot deliver water, focus on its tank connection, filter, seals, and internal water supply components.
Replace Worn Parts or Contact Service
If water still fails to reach the mop after cleaning, checking settings, and performing the supported water-flow tests, a damaged component may need replacement.
Possible failure points include the water pump, seals, filters, valves, tubing, and tank assembly.
Start with parts that you can inspect without opening the robot.
- Replace a cracked or warped water tank.
- Replace damaged seals if the manufacturer supplies them separately.
- Change clogged water filters that cannot be cleaned effectively.
- Replace worn or damaged mop pads and holders.
- Use replacement parts designed for your exact robot model.
A solenoid pump can fail, but not every robot uses the same pump design. Some models use different pumping or water delivery mechanisms.
Therefore, a replacement pump should be selected using the exact model and part specification, not by appearance alone.
Warning: Disconnect the robot from power before permitted maintenance. Do not open the battery compartment, expose the circuit board, or perform live electrical tests without the proper training and equipment. Internal repairs may also affect warranty coverage.
Contact manufacturer support when:
- No water appears during the manufacturer’s approved flow test.
- The pump has been professionally diagnosed as faulty.
- The robot reports a persistent water system error.
- The docking station cannot deliver water after basic maintenance.
- The tank or internal tubing leaks.
- The robot is still covered by warranty.
Before contacting support, record the model number, error messages, and troubleshooting steps already completed.
Photos or a short video of the failed water-flow test can help a technician understand the symptoms.
Keep the purchase receipt and warranty details available. If a pump needs replacement, request a model-specific parts and labor estimate rather than assuming every pump costs the same amount.
After the repair, test the water outlet and mop pad again before returning the robot to its normal cleaning schedule.
Key Takeaways
- A slightly damp floor does not always mean the robot is malfunctioning. Check whether the dispensing system is actually releasing water.
- Some models require the mop pad or tank module to be recognized before water delivery works.
- Not every robot has adjustable app settings or an audible pump. Troubleshooting should match the exact model.
- Automatic docking stations have their own filters, seals, and water connections that can cause dispensing problems.
- Frequent airlocks, persistent dry pads, and failed water-flow tests are signs that professional diagnosis may be necessary.
Frequently Asked Questions
What Are the Most Common Problems With Robot Vacuums?
Common robot vacuum problems include blocked brushes, dirty sensors, clogged filters, charging faults, and reduced battery performance. For robot vacuum mops, water outlet blockages, dirty mop pads, incorrect tank installation, and dispensing problems are also common. Regular cleaning and timely replacement of worn parts can prevent many of these issues.
What Is the Average Lifespan of a Robot Vacuum?
A robot vacuum typically lasts around four to six years, although individual models may last longer with proper maintenance. Battery performance often declines after two to four years, depending on usage and operating conditions. Cleaning the machine regularly and replacing worn consumable parts can help extend its useful life.
My Roborock Mop Isn’t Getting Wet. What Can I Do to Fix It?
If your Roborock mop isn’t getting wet, check the water tank, outlet, filter, and mop cloth first. Make sure the tank sits correctly and the pad is installed as instructed. Clean visible outlet blockages carefully and check water settings if your model supports them. Contact Roborock support if water still does not flow.
Why Isn’t My Roomba Mop Getting Wet?
A Roomba Combo mop may stay dry if its water tank is empty, the mopping pad is incorrectly installed, or the water delivery system is blocked. On models that require it, lightly dampen the pad before attaching it. Make sure the correct mopping components are installed and follow the instructions for your specific Roomba model.
Why Does My Robot Mop Start Wet but Become Dry?
A robot mop may start wet because the pad was pre-dampened or washed at the docking station. If it becomes completely dry during cleaning, the water replenishment system may not be supplying enough moisture. Check the water level, dispensing settings, and outlets. Remember that some models regulate moisture differently during a cleaning cycle.
Can I Put Vinegar in My Robot Mop Water Tank?
Do not put vinegar in your robot mop water tank unless the manufacturer specifically approves it. Vinegar and other household cleaning products may affect internal components or seals. Use the recommended water or cleaning solution instead. If mineral buildup is severe, follow the approved cleaning procedure or contact the manufacturer for service advice.
How Can I Tell Whether My Robot Mop Is Actually Dispensing Water?
You can check water dispensing by running the manufacturer’s approved mopping test and observing whether fresh moisture reaches the pad or floor. Some Dreame models allow a test with the mop holders installed but the cloth pads removed. If no water appears during the specified test, an outlet blockage or internal dispensing problem may remain.
Conclusion
A robot vacuum mop not dispensing water usually needs basic troubleshooting before expensive repairs. Check the tank, water outlets, mop pad, and settings first. Then test for trapped air or docking station problems if your model supports those checks.
If the robot still cannot release water, contact the manufacturer or a qualified repair technician. Identifying the failed component before replacing parts can save money and prevent unnecessary damage.
Sources
- ECOVACS: Robot Vacuum Mop Water Dispensing Troubleshooting: Common causes, dispensing system operation, trapped air, and water output settings.
- Roborock Support: Low Water Output: Mop cloth, water filter, outlet cleaning, and tank inspection.
- Dreame Support: No Water Comes From the Robot Tank: Model-specific water-flow tests, outlet cleaning, and troubleshooting.
- eufy Support: L60 Hybrid Water Dispensing: Mop module recognition, water output adjustment, and outlet inspection.
- eufy Support: X8 Hybrid Mopping Function: Fixed water flow, approved fluids, tank installation, and mop pad preparation.
- iRobot: Roomba Combo 100/1000 Mopping Instructions: Mop pad installation, tank filling, and approved cleaning liquids.
- ECOVACS Support: Clean Water Tank Not Dispensing: Station tank placement, sealing plug, and water filter maintenance.
- Dyson: How Long Do Robot Vacuums Last?: Robot vacuum lifespan, battery performance, and maintenance considerations.