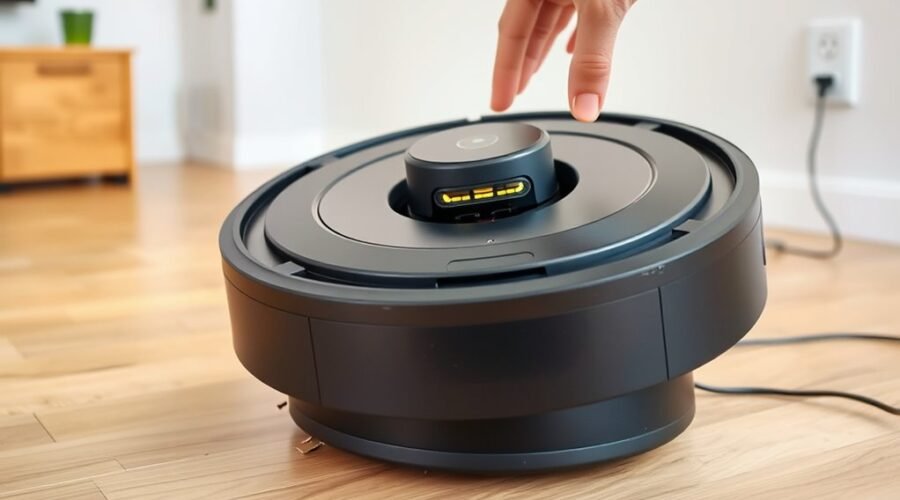
A robot vacuum that will not charge often points to a small set of faults, not a major failure. Dirty contacts, poor dock alignment, worn batteries, or heat and moisture can all interrupt charging. A quick check can rule out simple problems before parts are replaced. The key is to isolate the cause methodically, because the fix may be easier than expected, or it may signal a deeper issue.
Why Your Robot Vacuum Isn’t Charging
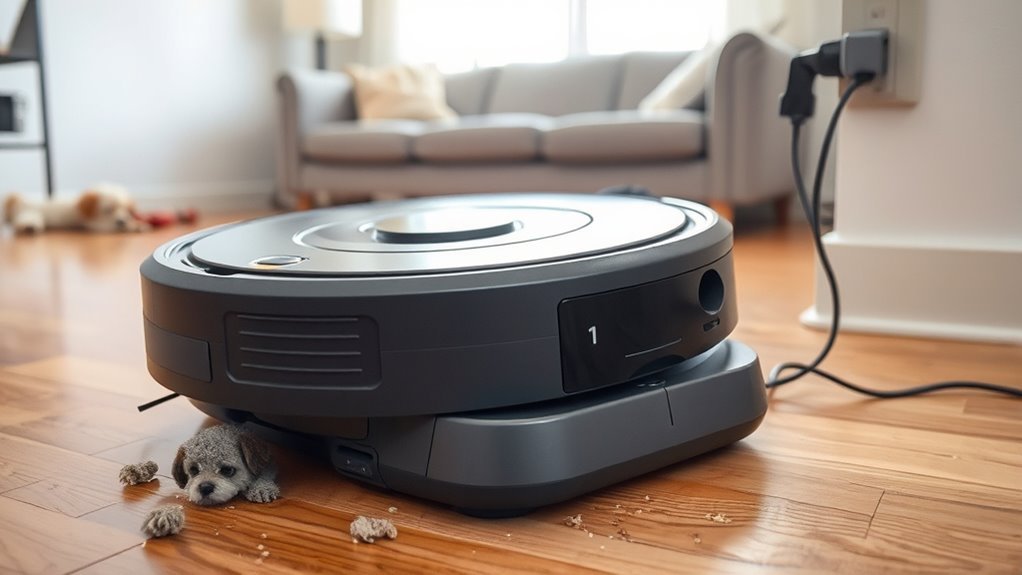
A robot vacuum that refuses to charge is usually affected by one of a few common faults: dirty charging contacts, battery degradation, or improper docking.
Among common charging issues, contamination on the charging contacts is the most frequent. Dust and grime interrupt electrical flow, so routine cleaning of the metal pads on both the robot and dock can restore function and resolve many failures.
If the unit begins with shorter runtime, then stops accepting power, battery degradation is likely. After 300-800 cycles, capacity falls, and replacement is often required after 2-4 years.
Improper docking can also prevent contact, even when the charger works. A dark dock indicator may signal a power adapter fault.
Extreme heat, cold, or humidity can further reduce charging efficiency. Stable storage and operation support reliable recovery and reduce dependence on fragile maintenance cycles.
Run the 60-Second Charging Check
Once dirty contacts, battery wear, and docking alignment have been considered, a fast 60-second charging check can isolate the basic power path.
First, verify the charging dock is firmly plugged into a functional outlet; if needed, test that outlet with another device.
Verify the charging dock is firmly plugged into a working outlet; test the outlet with another device if needed.
Next, inspect the dock’s indicator light: a lit light shows power is reaching the dock, while no light points to a supply fault.
Then confirm the robot vacuum sits flush on the dock with no gaps, because poor seating breaks the electrical path.
Also check for obstructions within 1.5 feet on the sides and 5 feet in front of the dock so docking remains clear.
If charging problems come from dust on the metal pads, note that cleaning the contacts may be required.
This quick sequence separates power, placement, and clearance issues before deeper repair.
Clean the Robot Vacuum Charging Contacts
Dirty charging contacts on both the robot vacuum and the dock can interrupt the electrical connection and prevent charging. To clean the charging contacts, power off the unit and inspect both sets of metal pads for dust, oxidation, or residue. Use a dry microfiber cloth first; this removes loose debris without abrasion.
| Action | Purpose |
|---|---|
| Wipe contacts | Remove surface dust |
| Check residue | Spot dirty charging contacts |
| Use alcohol on swab | Break down stubborn grime |
| Dry fully | Prevent short circuits |
| Repeat routinely | Support regular maintenance |
If buildup remains, apply a small amount of isopropyl alcohol to a cotton swab and clean the pads with light pressure. Wait until every contact is completely dry before docking again. This step restores reliable current flow and can extend battery and device life. Treated as regular maintenance every few weeks, it helps keep the machine charging efficiently and reduces avoidable failures.
Fix Dock Placement Problems
The charging dock should sit in an open area with at least 1.5 feet of clearance on both sides and 5 feet in front to support reliable alignment and contact.
Walls, furniture, reflective surfaces, and direct sunlight should be avoided because they can block the path, interfere with infrared signals, and affect charging performance.
If docking fails, the dock position should be checked and adjusted for obstructions or slight misalignment.
Dock Clearance Requirements
Adequate dock clearance is essential for reliable charging, with the station placed in an open area that provides at least 1.5 feet of space on each side and 5 feet in front. These dock clearance requirements let the robot approach the charging dock without correction loops or missed contacts.
| Check | Target | Result |
|---|---|---|
| Side space | 1.5 ft | Open |
| Front space | 5 ft | Clear |
| Surface | Flat | Stable |
| Surroundings | Free of obstacles | Uncluttered |
If walls, furniture, or clutter crowd the dock, alignment degrades and charging may fail. A level surface reduces misalignment during docking. Direct sunlight should also be avoided near the dock, since bright conditions can confuse infrared sensing and reduce charging efficiency.
Avoid Signal Interference
If docking errors persist, signal interference around the charging station is a likely cause.
The charging dock should sit in an open area with at least 1.5 feet of clearance on each side and 5 feet in front, so the robot can approach without obstruction. Reflective surfaces near the dock can distort infrared guidance and disrupt alignment. Direct sunlight may also reduce the vacuum’s ability to identify the dock reliably.
All obstacles, including cables, bins, and loose items, should be removed from the path and docking zone. The dock must remain level and stable; even slight tilt can weaken contact and stop charging.
A precise setup restores control, reduces docking failures, and supports dependable, maintenance-free operation.
Check for Battery Degradation
Battery wear often appears after 300–800 charge cycles, with symptoms such as shorter cleaning runs and charging that seems unusually fast or unstable.
A clear sign is runtime decline, for example a vacuum dropping from about 90 minutes to 30 minutes per charge, or failing to hold a full overnight charge.
If a full discharge and uninterrupted recharge do not restore normal behavior, the battery may need replacement, especially in units older than two years.
Battery Wear Signs
A worn battery often shows itself through reduced runtime, sudden shutdowns, or abnormal charging behavior.
After roughly 300 to 800 charge cycles, battery degradation can lower capacity enough to cause obvious signs of battery wear. A robot vacuum that once cleaned for 90 minutes may now last only 30, even after a full charge.
Another red flag is charging too fast; reaching full charge in about 45 minutes instead of the usual 3 to 4 hours suggests internal failure. Sudden power loss while the indicator still shows charge also points to battery wear.
For units older than 2 to 4 years with heavy use, battery replacement becomes the practical fix if reset methods do not restore normal charging.
Runtime Decline Patterns
Runtime decline is one of the clearest indicators of battery degradation in a robot vacuum. After roughly 300 to 800 charging cycles, units aged 2 to 4 years often lose capacity.
A machine that once cleaned for 90 minutes but now stops at 30 minutes shows a measurable runtime decline. This pattern usually reflects battery degradation rather than a charging fault alone.
Another warning sign is unusually fast charging, such as reaching full power in about 45 minutes instead of 3 to 4 hours. Sudden shutdowns while the display still shows charge reinforce the diagnosis.
Tracking runtime across charging cycles gives users a practical way to detect loss of autonomy and preserve control over maintenance decisions.
Battery Reset Or Replace
When runtime keeps dropping and shutdowns occur despite a full charge, the next step is to rule out battery degradation.
Lithium-ion packs in robot vacuums usually last 300 to 800 charge cycles, and heavy use can reduce battery life after 2 to 4 years.
A battery reset may recover weak calibration: let the vacuum run until it fully dies, leave it powered on until it will not restart, then charge it uninterrupted to 100%.
If performance still collapses, and the unit is over two years old, it is often wiser to replace the battery. New packs typically cost $30 to $80.
To preserve battery life, keep charge above 20% and avoid heat or cold extremes.
Test the Power Adapter and Cable
Inspect the power adapter and charging cable for visible damage, including fraying, kinks, or other wear that could interrupt power flow to the dock. A damaged power adapter can break the electrical connection and leave the vacuum stranded. The cable should sit firmly at both ends, with no looseness or exposed conductors.
Next, confirm the wall outlet works by plugging in another device. If the outlet fails, restore power there before blaming the charger. Check the dock’s indicator light as well; an off or erratic light can point to adapter or dock power failure.
If a multimeter is available, measure adapter output and compare it with the label specifications. A mismatch suggests internal fault and replacement may be required. If the adapter feels unusually hot or gives off a burning smell, stop use immediately. That condition signals unsafe failure and possible fire risk.
Inspect Dock Contacts for Damage
The dock contacts should be inspected for bent pins, broken parts, or misalignment that could prevent a solid electrical connection.
Any visible corrosion, dust, or oxidation on the contacts should be cleaned because it can interrupt charging current.
The contacts should also move freely and spring back when pressed, indicating they are not stuck or damaged.
Check For Bent Pins
A quick check of the dock contacts can reveal bent pins, corrosion, or wear that may prevent the robot vacuum from charging properly.
Bent pins on the dock contacts can disrupt the electrical connection, so alignment should be examined closely. When docking is correct, charging should start within 1 to 2 seconds; a delay suggests the pins are damaged or misshaped.
If a pin is bent, it can be carefully straightened with tweezers or pliers to restore contact. The area should also be inspected for wear that reduces current transfer.
Regular checks help maintain reliable performance and prevent avoidable failure. Dirt and grime can worsen misalignment, so consistent inspection supports a cleaner, more independent charging routine.
Clean Corroded Contacts
After checking for bent pins, the dock contacts and matching contacts on the robot vacuum should be examined for corrosion, discoloration, or buildup that can interrupt charging.
Corroded contacts on either surface can break the electrical path and stop the charging system from working as intended. Regular inspection reduces wasted cleaning time and helps keep the unit ready for use.
If buildup is present, power down the dock, then clean the corroded contacts with isopropyl alcohol and a cotton swab. Light pressure is usually enough to remove oxidation without harming the finish.
Before re-docking, confirm the contacts are completely dry. If the pads are damaged, pitted, or misaligned, they may need straightening or replacement.
Reliable charging depends on clean, aligned metal surfaces and consistent contact.
Restart the Vacuum or Update the Firmware
Restarting the vacuum can clear temporary software glitches that interfere with charging, making a simple power cycle or soft reset through the power button a useful first step.
This approach lets users restart the vacuum without altering saved maps or schedules, preserving control while removing minor faults. If the unit supports it, a soft reset can resolve charging issues that stem from transient software errors.
Next, firmware updates should be checked in the manufacturer’s app. Outdated software can create compatibility problems with the dock, reduce charging efficiency, or leave bugs unresolved.
Check the manufacturer’s app for firmware updates, since outdated software can disrupt docking and charging performance.
During firmware updates, keeping the vacuum on the dock helps guarantee enough battery power, since the process may consume charge. Installing the latest version can improve stability, optimize power management, and restore normal docking behavior.
When combined, a reset and current software give the machine a cleaner path back to reliable charging performance.
Check Heat and Moisture Problems
If a reboot and firmware update do not restore normal charging, the vacuum’s environment should be checked for heat and moisture problems.
Extreme heat or cold can reduce lithium-ion efficiency, and cold air especially slows charging performance. The dock and robot should remain in a stable range, ideally 50°F to 86°F, to preserve battery health and charging speed.
Direct sunlight can raise temperature enough to disrupt normal operation, so the unit should be kept away from windows and other hot surfaces.
Moisture is equally restrictive. High humidity can leave condensation on charging contacts, breaking the electrical path and stopping power transfer.
The vacuum and dock should stay in a dry area, with no damp floors or nearby water sources. Regular inspection of the surrounding space helps prevent hidden heat and moisture stress, keeping the charging system free to function without avoidable interference.
When to Repair or Replace Your Vacuum
When a robot vacuum continues to show charging faults despite multiple troubleshooting attempts, the next step is often a cost check rather than further repair. If the unit is over four years old and charging issues recur, replacement may be the smarter move when repair costs reach 40-50% of its current value.
A battery replacement is reasonable when the machine loses power quickly or cannot hold a charge; lithium-ion packs usually last 300-800 cycles, about 1-2 years in normal service.
Electrical damage signs, including burn marks or strong smells, call for professional repair to reduce hazard. Warranty coverage should be reviewed first, since many manufacturers provide 12-24 months and may discount parts.
If repeated troubleshooting fails and the vacuum still underperforms, a newer model with stronger navigation and battery life can restore control and efficiency.
Frequently Asked Questions
How Many Years Does a Robot Vacuum Battery Last?
Typically, a robot vacuum battery lasts 2 to 4 years. Battery maintenance tips, ideal charging practices, and replacement options available can extend service life, limit degradation, and preserve runtime through informed, user-controlled care.
How Do I Reset a Robotic Vacuum Cleaner?
Like rebooting a silent sentinel, he resets it by holding the power button 5–10 seconds, then restarting. For robot maintenance tips, smart home integration, and cleaning efficiency techniques, he should follow model-specific soft or factory reset instructions.
Why Is My Battery Suddenly Not Charging?
The battery likely suffers degraded battery health, preventing proper charging. A faulty charging dock or power issues may also interrupt the cycle. A reset may help, but persistent failure usually requires battery replacement.
What Causes a Roomba Not to Charge?
A Roomba fails to charge because of dirty contacts, charging dock issues, battery wear, misalignment, firmware faults, or power source problems. Regular battery maintenance tips, cleaned connectors, and verified outlets restore reliable charging.
Conclusion
A robot vacuum that will not charge usually points to a simple fault, a worn battery, or a docking issue. Clean the contacts, confirm dock placement, and verify the power supply. Check firmware, restart the unit, and rule out heat or moisture problems. If charging still fails, test the battery and inspect the dock for damage. If repair costs exceed the vacuum’s value, replacement is often the most practical choice.