Do you need a dehumidifier in an RV? Often yes, if a hygrometer keeps reading above about 60% relative humidity, windows fog up every morning, or the cabin smells musty. In a dry climate, or when air conditioning already holds humidity in range, ventilation alone may be enough. Measure first, fix leaks, then decide.
Quick Answer
An RV needs a dehumidifier when ventilation or air conditioning cannot keep relative humidity below about 50% to 60%. Use a hygrometer first. In humid weather, winter camping, or damp storage, an electric unit can help; in dry climates or small closed compartments, ventilation or passive absorbers may be enough.
Key Takeaways
- Measure humidity before buying anything. Aim for roughly 40% to 50% when practical, and act if it stays above 60% or condensation appears.
- Fix leaks and vent cooking and shower steam first. A dehumidifier controls airborne moisture but cannot repair water intrusion.
- Compressor units provide stronger control in warm, humid conditions; passive absorbers work best in closets, cabinets, and unpowered storage.
- Choose by real humidity load, operating temperature, space, electrical capacity, noise, and drainage rather than RV square footage alone.
- Check the filter, bucket, airflow, drain, and product-recall status before leaving a unit running for long periods.
Do You Need a Dehumidifier in an RV?
Not every RV needs a dehumidifier all the time. Start with a digital hygrometer and check the reading at different times of day. The U.S. Environmental Protection Agency recommends keeping indoor relative humidity below 60%, ideally between 30% and 50%. For an occupied RV, a practical target is often around 40% to 50% without making the air uncomfortably dry.
A dehumidifier becomes useful when humidity remains high after you run the roof vent, exhaust fans, or air conditioner. It is especially helpful during wet-weather camping, cold-weather condensation, full-time occupancy, or storage in a damp climate. You may not need one when the air conditioner already holds humidity in range, the climate is dry, or the RV is opened and aired out regularly.
Keep indoor relative humidity below 60%, and ideally between 30% and 50%, to reduce condensation and mold risk.
How RV Humidity Causes Damage
High humidity is most damaging when it causes condensation or keeps materials damp. Water can collect on windows, exterior walls, roof vents, metal frames, and poorly insulated corners. If those areas stay wet, the RV may develop mold, staining, corrosion, swollen panels, loose finishes, or hidden damage around seams and openings.
Mold and Mildew Growth
Cooking, showering, breathing, wet clothing, pets, and outdoor air can all add moisture inside a small RV. Mold spores are always present, but they need moisture to grow. The EPA advises drying wet materials within 24 to 48 hours because prompt drying often prevents mold growth.
Look behind cushions, inside cabinets, under mattresses, around slide-outs, and near window frames. These areas may stay cooler and receive less airflow than the center of the RV. A dehumidifier can lower airborne moisture, but you must also clean existing growth and correct the leak, condensation, or ventilation problem that caused it.
Wood Rot and Decay
Humidity percentage and wood moisture content are not the same measurement. Research from the U.S. Forest Service reports that wood decay does not occur below about 20% moisture content, is clearly supported above about 30%, and has a gray risk zone between those levels. A reading above 20% is therefore a warning to investigate, not proof that rot has already begun.
- Check under beds, inside cabinets, around roof penetrations, and beside windows for dampness or softness.
- Repair roof, plumbing, seal, and window leaks before relying on a dehumidifier.
- Dry wet materials quickly and improve airflow around cold exterior surfaces.
If trim, flooring, or wall panels feel soft, swollen, stained, or delaminated, inspect the area for water intrusion. Dehumidification may slow further moisture buildup, but damaged structural materials may require professional evaluation and repair.
Warning: A dehumidifier is not a leak repair. Persistent wet walls, soft flooring, ceiling stains, or water around windows and slide-outs require prompt inspection. Dry the area and correct the source before covering, sealing, or repainting it.
Why RV Moisture Problems Get Worse
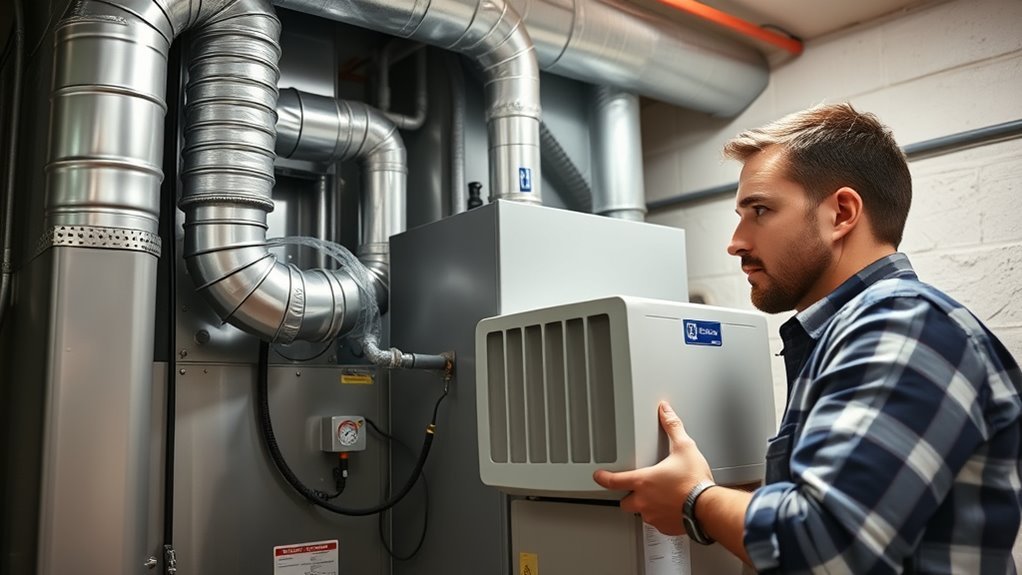
An RV has much less interior air volume than a house, so normal activities can change humidity quickly. The problem gets worse when warm, moist air touches cold windows, walls, metal frames, or roof components. Moisture then condenses on the surface even when the average cabin reading does not seem extreme.
Moisture Sources Inside RVs
Common indoor moisture sources include cooking, showering, breathing, wet towels, drying clothes, pets, open windows during humid weather, and plumbing or exterior leaks. Winnebago’s condensation guidance recommends monitoring relative humidity and emphasizes ventilation as the most effective first response.
- Run the bathroom fan during a shower and for several minutes afterward.
- Use the range hood or open a nearby vent while cooking.
- Dry wet clothing and towels outside when possible.
- Open cabinet and closet doors periodically so air reaches cold surfaces.
- Close windows when outdoor air is more humid than the cabin.
A hygrometer helps you judge whether each change works. Place it away from the stove, shower, direct sunlight, an open window, and the dehumidifier’s outlet so the reading reflects the cabin rather than one local hot or damp spot.
Humidity Damage Over Time
Repeated condensation can wet the same hidden areas day after day. Over time, that moisture can cause odors, mold, stains, corrosion, adhesive failure, swollen panels, and decay in wood-based components.
| Sign | What It May Mean | First Action |
|---|---|---|
| Window condensation | High moisture, cold glass, or poor airflow | Ventilate, wipe dry, and check humidity |
| Musty odor or spots | Persistent dampness or mold growth | Find the moisture source and clean safely |
| Soft or swollen material | Possible water intrusion or material damage | Inspect the roof, seals, plumbing, and structure |
| Rust or corroded hardware | Long-term condensation | Dry the area and improve circulation |
During storage, remove wet items, clean the refrigerator, dry sinks and showers, and inspect the RV periodically. Passive absorbers or an electric unit may help, but only if the storage conditions, temperature, drainage, and available power suit that method.
What Are the Signs of Excess Humidity?
Excess humidity usually shows up as condensation, a persistent musty smell, damp upholstery, sticky-feeling air, mold spots, water stains, swollen trim, or soft flooring. Condensation may appear first on windows, metal frames, roof vents, or exterior corners because those surfaces become colder than the surrounding air.
- Check glass, vents, corners, and the area behind cushions for water droplets.
- Smell cabinets, under-bed storage, and closed closets after the RV has been shut.
- Look for spotting, stains, peeling finishes, or warped material.
- Use a hygrometer instead of relying only on how the air feels.
Damp conditions can also support dust mites and pests such as cockroaches, but pest activity alone does not prove that cabin humidity is high. Confirm the problem with a humidity reading and a careful leak inspection.
How to Control Humidity in an RV
At a Glance
| Time Required | About 10 to 15 minutes for setup, plus brief daily checks |
| Difficulty | Easy |
| Tools Needed | Hygrometer, exhaust fans or roof vent, cleaning cloth, and a suitable dehumidifier or absorber if needed |
| Cost | Low for monitoring and ventilation; varies by dehumidifier type and capacity |
- Measure first. Record humidity in the morning, after cooking or showering, and at night. Check more than one location if the RV has closed bedrooms or large storage areas.
- Stop liquid water. Repair plumbing, roof, window, slide-out, and seal leaks. Dry wet surfaces immediately.
- Vent moisture at the source. Use the bathroom fan, range hood, and roof vents when conditions allow. Ventilation works best when outdoor air is drier than indoor air.
- Improve circulation. Move furniture and bedding slightly away from exterior walls, open cabinet doors, and use a small fan to reach cold corners.
- Use air conditioning or a dehumidifier as needed. Set the dehumidifier near 45% to 50%, allow clearance around the intake and outlet, and keep it on a stable, level surface.
- Recheck the result. If humidity remains above 60%, inspect for hidden water, reduce moisture-generating activities, or use a stronger unit that fits the RV’s temperature and power limits.
Pro Tip: Compare indoor and outdoor humidity before opening windows. Venting a steamy shower helps, but leaving windows open during muggy weather can increase the RV’s moisture load.
Which Type of RV Dehumidifier Works Best?
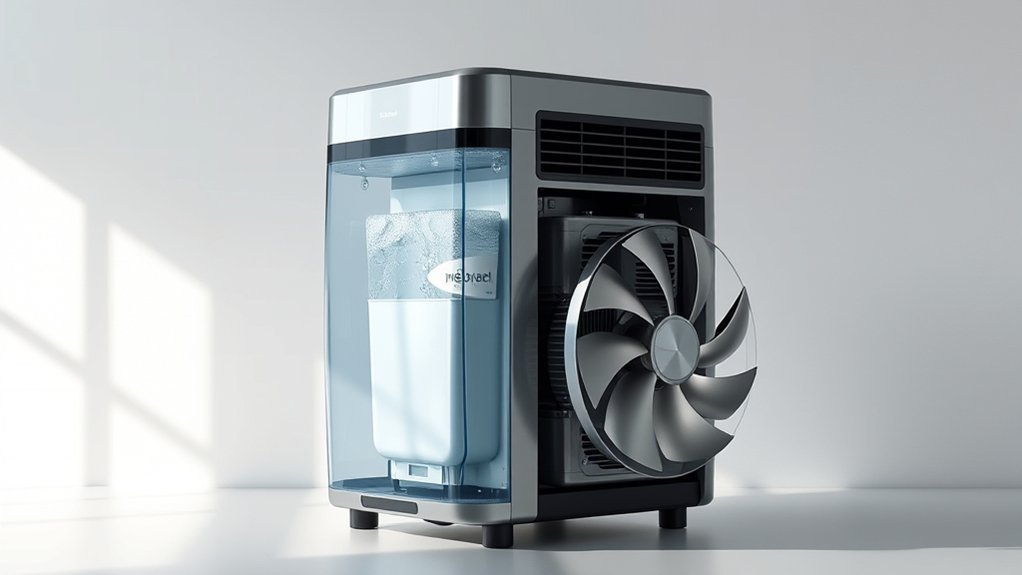
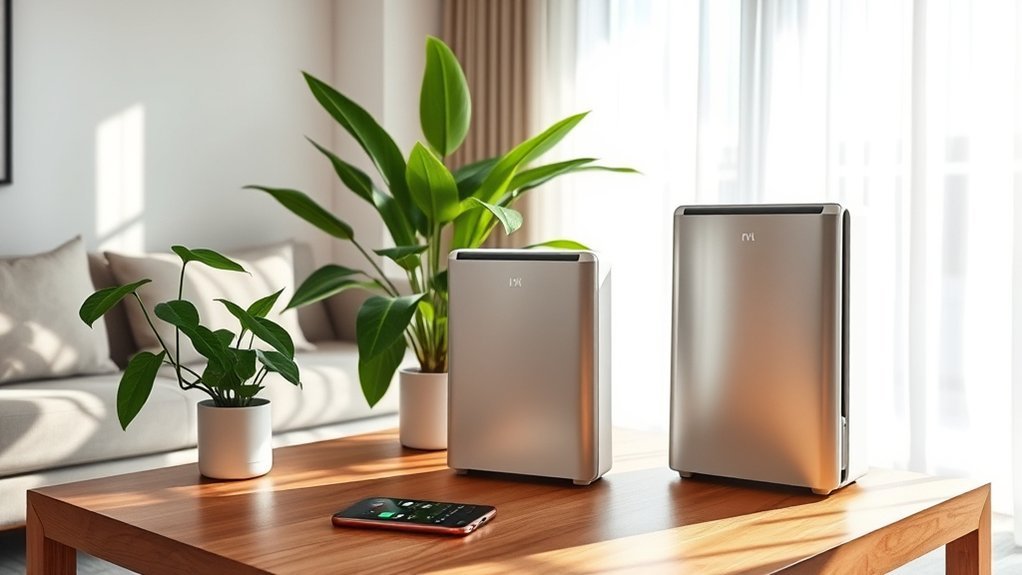
Common choices for RVs are compressor dehumidifiers, compact thermoelectric units, electric desiccant models, or passive moisture absorbers. Each option has a different balance of water-removal ability, size, noise, temperature range, and power demand.
| Type | Best Use | Main Limits |
|---|---|---|
| Compressor | Occupied RVs in warm, humid weather or persistent dampness | Larger, noisier, and dependent on adequate temperature and 120-volt power |
| Thermoelectric | Small campers or mild moisture problems | Low water-removal capacity in very humid conditions |
| Electric desiccant | Cooler spaces where the model is rated to operate | May use more energy and add noticeable heat |
| Passive absorber | Closets, cabinets, small compartments, or storage without power | Slow, limited, and unable to control a heavily occupied RV |
Whichever type you choose, use a model with automatic shutoff for a full bucket. A built-in humidistat and continuous-drain option can reduce daily work, but the drain must flow downhill to a safe destination that will not freeze, overflow, or back up.
DampRid or an RV Dehumidifier?
DampRid and similar calcium-chloride products passively absorb water vapor, while an electric dehumidifier moves air through the unit and removes moisture continuously when conditions allow. Passive products are useful in closets, cabinets, bathrooms, and storage compartments. They are not a substitute for ventilation or an electric unit when people are cooking, showering, and sleeping in a humid RV.
- Use passive absorbers for small, enclosed areas or storage without electricity.
- Use an electric dehumidifier for ongoing cabin-wide control when humidity remains high.
- Place passive containers where spilled liquid cannot damage flooring, fabric, metal, pets, or children.
- Check both passive containers and electric buckets regularly; either can require frequent service in damp weather.
If you are unsure whether absorber bags are worth it, read our review of whether dehumidifier bags work. For a larger or occupied RV in a humid climate, an electric model usually provides more dependable control. Passive products can still support the main system in closed cabinets and compartments with weak airflow.
Recommended Products

Semiconductor dehumidifiers use thermoelectric cooling to remove moisture from the air. They create a drier, more comfortable environment by reducing humidity and improving air quality.

Powerful Moistue Absorption: Camco’s RV Moisture Absorber Bucket effortlessly absorbs 3x its weight in moisture, making it perfect for tackling humidity and creating a comfortable environment.

The air dryer warms and dries gently the surrounding air to reduces the relative humidity and prevent condensation and dampness from occurring in Boats, RVs, Cabins etc enclosed spaces
How to Size an RV Dehumidifier
\n
For a capacity-focused walkthrough, see our guide on what size dehumidifier you need for an RV.
Do not size an RV dehumidifier by square footage alone. Residential capacity charts cover much larger rooms and do not account for an RV’s limited electrical service, cold surfaces, open roof vents, frequent door use, or rapidly changing outdoor weather. ENERGY STAR explains that capacity is measured in pints removed per 24 hours under specified test conditions and depends on both space size and dampness.
Modern capacity labels also differ from many older models because federal test conditions changed. A unit sold today may show a lower pint rating than an older dehumidifier with similar real-world performance. Compare current ratings rather than assuming an old “30-pint” recommendation means the same thing today.
Use this process instead:
- Define the problem. Note the highest humidity reading, visible condensation, climate, occupancy, and whether the RV is heated or air-conditioned.
- Check the operating range. Confirm that the model is rated for the temperatures expected inside the RV.
- Check electrical capacity. Compare the unit’s nameplate current or wattage with the loads already using the RV’s circuit or campground service.
- Choose practical features. Look for a humidistat, full-bucket shutoff, washable filter, auto-restart if needed, and a drain option that suits the RV.
- Test performance. The right unit should bring humidity toward 40% to 50% and cycle off. If it runs continuously while humidity stays above 60%, reduce the moisture source or move to a stronger unit.
Two small units are not automatically better than one larger model. They may improve coverage in a divided floor plan, but they also use more outlets, take more floor space, and create more buckets or drains to manage.
Note: Secure and unplug portable appliances before driving. After parking, place the dehumidifier level, leave the manufacturer’s required airflow clearance, and do not use a damaged cord or an electrical setup the manual does not permit.
Recommended Products

High-Efficiency Dehumidifier for Home:This small dehumidifier is also equipped with a compressor that can dehumidify 20 pints per day and can efficiently dehumidify an area of 1500sq ft continuously. Keep your space as comfortable and dry as possible with a small footprint
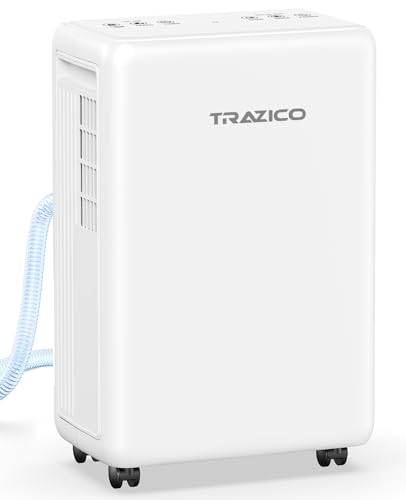
【Powerful Moisture Control — Covers Up to 2,000 Sq. Ft.】Eliminate stubborn dampness and cut down on energy bills year-round! This high-efficiency basement dehumidifier extracts up to 30 pints of moisture daily (under 95°F, 90% RH) to maintain a healthy 35%-55% humidity level effortlessly. It’s the ultimate climate-control solution for basements, living rooms, crawl spaces, and RVs, tackling excess moisture at the source to protect your home from structural water damage during humid summers or rainy seasons

High-Efficiency Dehumidifier for Home: Still annoyed about the muggy weather? Just Take it easy! Have a try at our 35OZ Peltier dehumidifier, in a closed small room with humid environment of 86°F and 80% RH, it can collect a max of 16oz(450ml) of water in 24 hours, and with very low energy consumption (no more than1 kWh per day).
Troubleshooting an RV Dehumidifier
The Unit Runs but Humidity Stays High
- Close windows and doors when outdoor air is humid.
- Vent cooking and shower steam directly outside.
- Clean the filter and clear blocked air inlets or outlets.
- Move the unit away from a wall, curtain, or cabinet that restricts circulation.
- Check for roof, plumbing, window, or slide-out leaks.
- Confirm that the RV temperature is within the model’s rated operating range.
The Unit Collects Little or No Water
The air may already be near the set humidity, the RV may be too cold for the model, or the bucket switch may not be engaged. Check the display, setpoint, bucket position, filter, coils, and drain hose. Frost on the coil, repeated stopping, unusual heat, smoke, or a burning smell means you should turn the unit off and follow the manufacturer’s service guidance.
Windows Still Fog After Dehumidifying
Condensation can remain on very cold glass or metal even when average cabin humidity is reasonable. Wipe the surface dry, improve airflow across the window, use appropriate insulated window coverings, and check seals. Do not block required emergency exits, combustion-air openings, or appliance ventilation.
Best Humidity Control Setup for an RV
The most dependable setup combines a hygrometer, leak prevention, source ventilation, air movement, and dehumidification only when the readings show it is needed. A compact electric unit can be valuable in humid climates and during cold-weather camping, while passive absorbers are better suited to small compartments or storage without power.
- Keep humidity near 40% to 50% when practical and below 60%.
- Run exhaust fans while cooking and showering.
- Open cabinets and move bedding away from cold exterior walls.
- Empty the tank, clean the filter, and inspect the drain regularly.
- Check the U.S. Consumer Product Safety Commission’s dehumidifier recall page before using an older or secondhand unit.
These steps protect comfort and materials without drying the air more than necessary or treating the dehumidifier as a cure for every moisture problem.
Frequently Asked Questions
Should I put a dehumidifier in my RV?
Use one when a hygrometer shows persistent humidity above about 50% to 60%, when condensation keeps returning, or when ventilation and air conditioning cannot keep up. You may not need one in a dry climate or when the RV already stays within the target range.
Which type of dehumidifier works best in an RV?
A compressor dehumidifier usually removes the most water in warm, humid conditions, while thermoelectric models suit small campers with mild moisture. Check that the unit is rated for your cabin temperature and that your RV’s power supply can handle it.
Is DampRid enough for an RV?
Passive calcium-chloride absorbers suit closets, cabinets, and storage without power. They are slow and limited, so they will not control moisture in an occupied RV where people cook and shower.
Can I run an RV dehumidifier overnight?
Yes, if the manufacturer allows unattended operation, the unit is not recalled, airflow is clear, the cord and outlet are in good condition, and the bucket shutoff or drain works correctly. Keep smoke and carbon-monoxide alarms operational and follow the appliance manual.
What humidity should an RV have in storage?
Try to keep storage humidity below 60%, with roughly 40% to 50% as a useful target when conditions allow. Inspect the RV periodically because temperature swings can create condensation even when one humidity reading looks acceptable.
How do I stop condensation in an RV in winter?
Vent cooking and shower steam, run a small fan for circulation, and keep cabinet doors open so air reaches cold exterior walls. Winnebago calls ventilation the most effective response, and a small mechanical dehumidifier can help on top of that.
Conclusion
A dehumidifier can make an RV drier and more comfortable, but it should be one part of a complete moisture-control plan. Measure humidity, repair leaks, vent cooking and shower steam, circulate air through cabinets and cold corners, and choose a unit that fits the RV’s temperature, power, space, and drainage limits. Keep relative humidity below 60%, ideally near 40% to 50%, without over-drying the cabin. Prompt action matters because wet materials should be dried within 24 to 48 hours to reduce mold risk.
Sources
- U.S. Environmental Protection Agency: A Brief Guide to Mold, Moisture and Your Home — indoor humidity targets, condensation control, and drying wet materials.
- Winnebago: How to Monitor and Prevent Condensation in Your RV — RV-specific moisture sources, monitoring, ventilation, and damage prevention.
- ENERGY STAR: Dehumidifiers — capacity ratings, efficiency, drainage, and buying guidance.
- U.S. Forest Service: Limiting Conditions for Decay in Wood Systems — wood moisture-content thresholds and decay risk.
- U.S. Consumer Product Safety Commission: Dehumidifier Recalls — current recall and fire-hazard information.