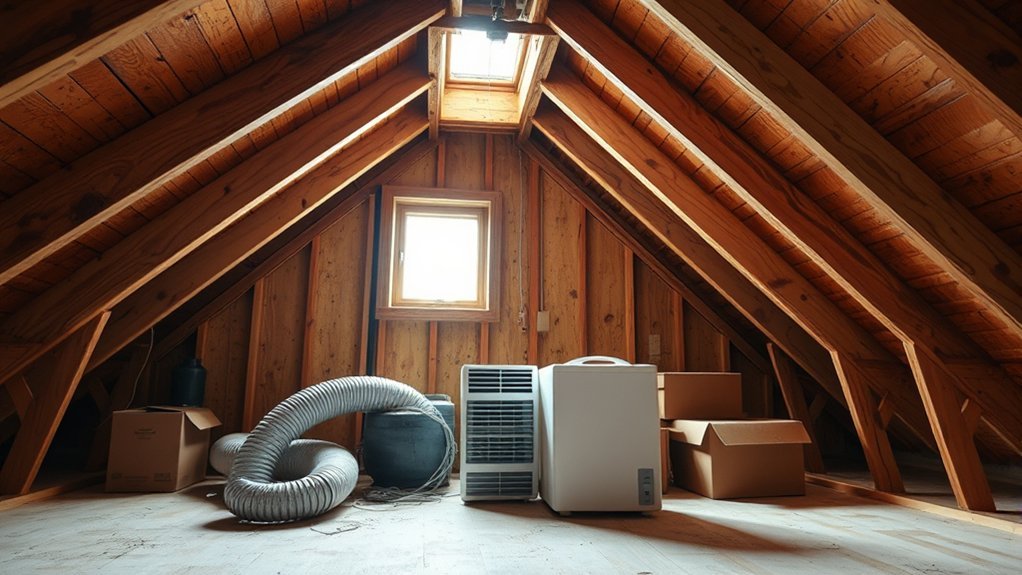
Can You Put a Dehumidifier in an Attic?
Yes, you can put a dehumidifier in the attic when the attic is sealed, semi-conditioned, or otherwise enclosed enough for the unit to control the same air instead of fighting outdoor humidity. Before you buy one, confirm four things: the moisture source is fixed, the attic stays within the unit’s rated temperature range, the outlet is safe, and the drain can run continuously.
Quick Answer
Yes, you can put a dehumidifier in an attic if the space is sealed or semi-conditioned, has safe power, has reliable drainage, and stays within the unit’s temperature range. Do not use one as a bandage for roof leaks, blocked ventilation, bathroom fans venting into the attic, dryer exhaust leaks, or major air leaks from the living space.
Key Takeaways
- An attic dehumidifier works best in a sealed, insulated, or encapsulated attic where outside air is not constantly entering.
- For mold prevention, keep attic humidity controlled without over-drying the space. A practical target is often around 45% to 50% RH, while avoiding levels below about 30%.
- Air sealing, insulation, roof leak repair, and proper bathroom, kitchen, or dryer venting should come before equipment.
- Plan drainage before installation. A full bucket in a hot attic is easy to forget and can stop the unit from working.
- If the attic is vented to outdoor air, a dehumidifier usually wastes energy until the moisture source is isolated and corrected.
Quick Decision Guide
| Attic condition | Best next step |
|---|---|
| Sealed or encapsulated attic with humidity above 55% to 60% | A dehumidifier can make sense after you confirm safe drainage, power, airflow, and operating temperature. |
| Traditional vented attic open to soffit, ridge, gable, or roof vents | Fix air leaks, roof leaks, exhaust venting, insulation, and blocked vents first. A portable unit may run constantly. |
| Visible water stains, wet insulation, active leaks, or fans venting into the attic | Repair the moisture source before using equipment. Dehumidification cannot solve active water entry. |
| Stored items or HVAC equipment in a damp sealed attic | Use humidity readings, not guesswork. Protect boxes, ducts, and equipment only after sealing and drainage are handled. |
At a Glance
| Time Required | 30 minutes to inspect humidity and leaks; several hours or more if sealing, drainage, or electrical work is needed |
| Difficulty | Moderate for inspection and setup; professional help recommended for wiring, ducted units, roof leaks, mold cleanup, or insulation changes |
| Tools Needed | Hygrometer, thermometer, flashlight, moisture meter if available, drain hose or condensate pump, safe outlet, filter access, and manufacturer manual |
| Cost | Varies by portable vs whole-home unit, capacity, drain setup, electrical access, and whether air sealing or insulation work is needed |
How an Attic Dehumidifier Helps
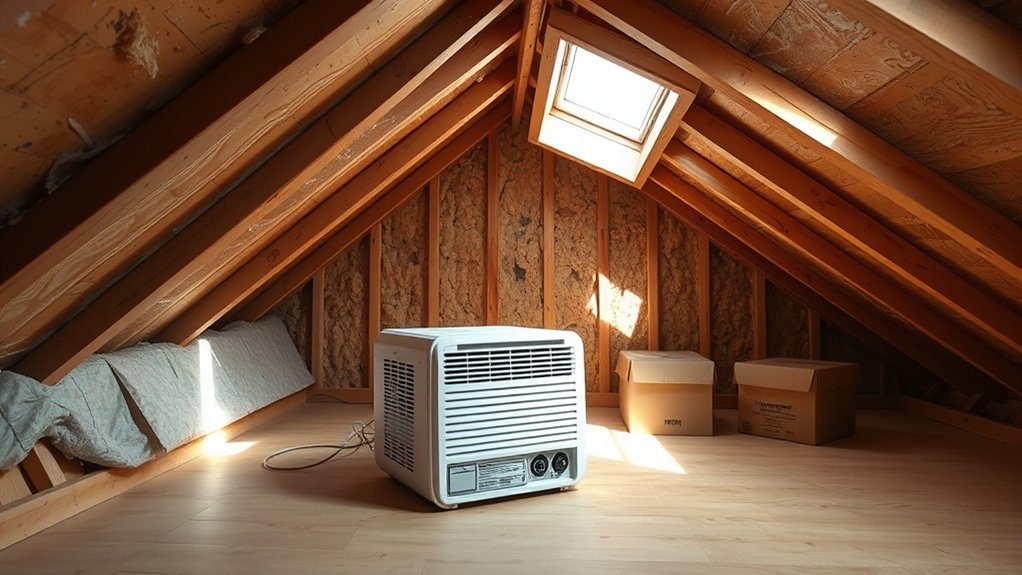
A dehumidifier can help protect wood framing, roof sheathing, stored items, and HVAC equipment when the attic traps damp air. The best results come in a sealed, encapsulated, or semi-conditioned attic where the unit treats a controlled air volume instead of outdoor air constantly moving through vents.
The goal is not to make the attic bone dry. The goal is to keep moisture low enough to reduce mold risk while avoiding over-drying wood, stored items, or indoor air. The EPA recommends keeping indoor humidity below 60% and ideally between 30% and 50%, while the CDC recommends keeping home humidity no higher than 50% to help prevent mold.
In most homes, a good target is around 45% to 50% relative humidity during damp seasons. Use a hygrometer instead of guessing. If your attic stays above 55% to 60% for long periods, smells musty, shows condensation, or has dark staining on sheathing, treat that as a moisture warning.
Warning: A dehumidifier does not fix a roof leak, plumbing leak, bathroom fan dumping air into the attic, blocked soffit vents, or missing air sealing. Fix the moisture source first, or the unit may run constantly while the real problem keeps getting worse.
Sealed vs Vented Attics: The First Decision
Before you install anything, decide what type of attic you have. This matters more than the brand or size of the dehumidifier.
Sealed or Encapsulated Attic
A sealed attic has the roofline insulated and air sealed, often with spray foam or another system that brings the attic closer to the home’s conditioned space. In this setup, a dehumidifier can work well because it treats a controlled air volume instead of fighting outdoor air all day.
Building Science Corporation explains that both vented and unvented roof assemblies can work when designed correctly, but the key moisture strategy is controlling air movement. That means the roof deck, ceiling plane, ducts, and penetrations must be handled as a system, not as separate pieces.
Traditional Vented Attic
A traditional vented attic is intentionally connected to outdoor air through soffit, ridge, gable, or roof vents. In that kind of attic, a portable dehumidifier often struggles because new humid outdoor air keeps entering. If the vented attic has moisture problems, the better first steps are usually air sealing the ceiling plane, fixing roof or duct leaks, correcting exhaust fans, and making sure vents are not blocked.
Semi-Conditioned Attic
Some attics are in between. They may have HVAC equipment, partial insulation, leaky ducts, or imperfect air sealing. A dehumidifier may help, but only after you reduce obvious moisture paths. If you are not sure which type you have, an energy auditor, insulation contractor, or HVAC professional can help identify the air boundary and moisture sources.
When an Attic Dehumidifier Makes Sense
You’ll get the most value from an attic dehumidifier when the space is enclosed enough for the unit to make a measurable difference. It should lower humidity, shut off through its humidistat, and maintain the target range without running nonstop.
Sealed Attic Spaces
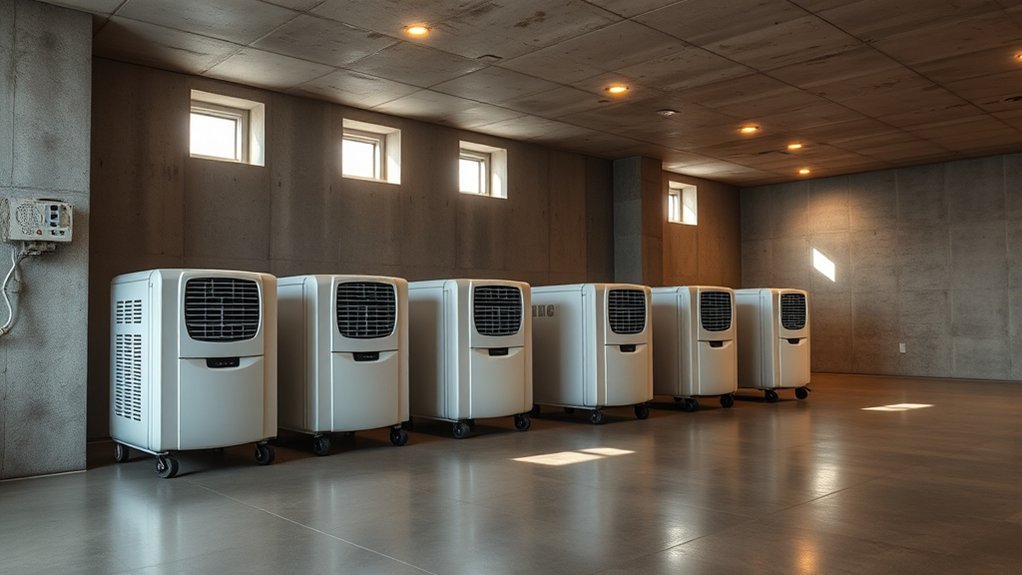
In a sealed attic, a dehumidifier can help control moisture that would otherwise linger around framing, roof sheathing, stored boxes, and mechanical equipment. Pair it with tight air sealing and proper insulation so humid outdoor air and indoor air leaks do not keep refilling the space with moisture.
Set the humidistat based on actual readings, not guesswork. Start around 50% RH, then adjust if the attic stays musty, feels damp, or drops too dry in colder seasons. Check the manufacturer’s manual for the unit’s operating temperature range because attic conditions can fall outside what a household dehumidifier is designed to handle.
Moisture-Prone Climate Control
In humid regions, attic moisture can stay high during long wet seasons, especially when air leaks pull humid air through ceiling gaps or duct leaks. If the attic is sealed, a properly sized unit can stabilize conditions and reduce the chance of mold, mildew, and wood damage.
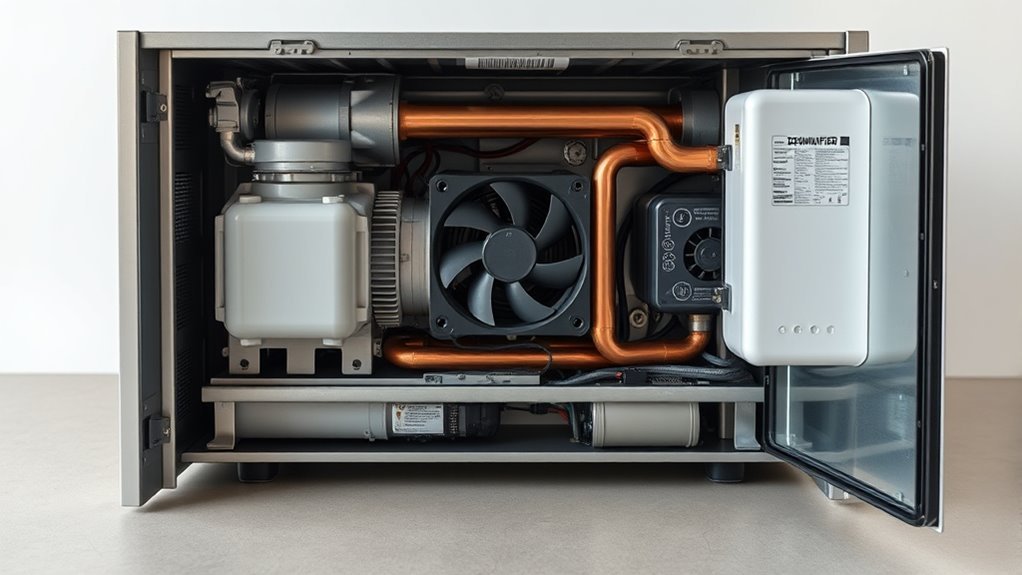
For sizing, use capacity ratings in pints per 24 hours. ENERGY STAR explains that dehumidifier capacity depends on the size of the space and how damp it is. A small, slightly damp attic needs much less capacity than a large attic with persistent musty odor, condensation, or wet materials.
Stored Items or HVAC Equipment Need Protection
If you store holiday decorations, papers, fabric, furniture, or tools in the attic, steady humidity control can help reduce mildew, rust, warping, and musty odors. If your air handler or ducts are in the attic, moisture control can also reduce condensation risk around cold surfaces. Still, duct leaks and missing insulation should be corrected first because they can create the same moisture problem you are trying to remove.
Benefits of Attic Humidity Control
Controlling attic humidity with a dehumidifier can help protect the structure and the rooms below when the attic is sealed and the moisture source is under control. You may see these benefits:
- Lower mold risk: Mold needs moisture. Lowering damp conditions makes it harder for mold to keep growing on wood, dust, cardboard, and insulation facing.
- Better protection for roof framing: Stable humidity helps reduce the risk of sheathing decay, musty odors, and moisture-related staining.
- Safer storage: Boxes, fabrics, papers, wood furniture, and seasonal items hold up better when humidity is controlled.
- Improved indoor air quality support: A damp attic can contribute musty odors and spores to living spaces if air paths connect the attic and the home.
- Less wasted runtime: When air leaks are sealed, the dehumidifier can cycle on and off instead of running constantly.
Choose an efficient unit when possible. ENERGY STAR certified dehumidifiers use more efficient refrigeration coils, compressors, and fans than comparable conventional models, and certified models are available as portable and whole-home units.
When an Attic Dehumidifier Falls Short
An attic dehumidifier can help in many homes, but it is not a cure-all. If the attic keeps receiving new moisture, the unit may run constantly and still fail to control humidity.
- Roof leaks: A dehumidifier cannot solve rainwater entering through flashing, shingles, vents, or roof penetrations.
- Bathroom fans venting into the attic: Shower moisture must vent outdoors, not into insulation or roof framing.
- Dryer vents leaking into the attic: Dryer exhaust carries moisture and lint, both of which can create serious problems.
- Open air leaks from the house: Gaps around lights, ducts, wiring, plumbing, attic hatches, and top plates can move humid indoor air into the attic.
- Blocked or unbalanced ventilation: In a vented attic, blocked soffits or poor airflow can trap moisture instead of clearing it.
- Extreme attic temperatures: Hot or cold conditions can reduce dehumidifier performance or exceed the unit’s rated operating range.
- Poor drainage: If the bucket fills or the drain line clogs, the unit stops removing moisture.
For real control, treat attic dehumidifiers as one tool, not the whole plan. The moisture source, building envelope, ventilation design, drainage, and electrical safety all matter.
Why Sealing and Insulation Come First
You need to seal the attic first because air leaks carry moisture. Then you need proper insulation because insulation helps stabilize temperature and reduce condensation risk. A dehumidifier works best after those basics are handled.
Sealing Stops Moisture Infiltration
The Department of Energy says air leakage can contribute to moisture problems, and it recommends reducing air leakage while providing controlled ventilation as needed. In attic work, that means sealing the ceiling plane and other air paths before expecting equipment to solve the problem.
- Seal around wiring, plumbing, duct chases, bath fan housings, recessed lights, top plates, and attic hatches.
- Use fire-rated materials where required near chimneys, flues, and heat-producing fixtures.
- Check dirty insulation spots, which often show where air is moving through the attic floor.
- Correct bathroom, kitchen, and dryer exhaust so they vent outdoors.
Insulation Makes Dehumidifying Effective
Insulation helps attic dehumidifying because it reduces temperature swings and limits surfaces where moisture can condense. The Department of Energy explains that R-value measures resistance to heat flow, and the amount of insulation you need depends on climate, location, and the part of the home being insulated.
Do not guess at insulation levels. In a traditional vented attic, the attic floor usually needs strong air sealing and enough insulation while vents stay open. In a sealed attic, the roofline assembly must be designed correctly so the roof deck stays protected from condensation. If spray foam or roofline insulation is involved, follow local code and manufacturer requirements.
Pro Tip: Put a small digital hygrometer in the attic for one to two weeks before buying a dehumidifier. Track the highest humidity, lowest humidity, and hottest attic temperature. Those readings tell you more than a quick one-time inspection.
How to Check Your Attic Before You Buy
Use this checklist before installing a dehumidifier in the attic:
- Look for roof leaks: Check around chimneys, skylights, plumbing vents, roof vents, valleys, and dark sheathing stains.
- Check exhaust fans: Bathroom and kitchen fans should vent outdoors, not into the attic.
- Inspect dryer ducts: Dryer vents should be sealed, clear, and exhausted outside.
- Measure humidity: Use a hygrometer for several days, especially after rain or humid weather.
- Measure temperature: Confirm the attic stays within the dehumidifier’s rated operating range.
- Check insulation: Look for thin, compressed, dirty, wet, or missing insulation.
- Check ventilation: In a vented attic, make sure soffit, ridge, gable, or roof vents are not blocked.
- Plan drainage: Decide whether you can use gravity drainage or need a condensate pump.
- Check power: Use a safe, properly rated outlet. Do not rely on a long extension cord in a hot attic.
- Plan service access: You need room to clean filters, inspect the drain line, and reset the unit.
Recommended Products

PRO-GRADE 70-PINT PERFORMANCE – This AlorAir Crawl Space Dehumidifier removes up to 70 pints per day under saturated conditions (35 pints per day under AHAM standards). The advanced R32 system efficiently controls humidity in areas up to 1,000 sq. ft. Ideal for crawl spaces, basements, garages, attics, commercial and industrial environments. Serious performance meets modern efficiency.

Remove Moisture Across Up to 3,000 Sq. Ft.: This compact 35 pint dehumidifier covers large spaces efficiently, delivering whole-home humidity control in a portable, easy-to-manage design

Tackle Whole-Home Humidity on Your Terms: Three modes — Auto, Continuous, and Manual — give you precise control over moisture removal to match the exact needs of your space
How to Size and Install an Attic Dehumidifier
Sizing an attic dehumidifier starts with the attic’s square footage, humidity level, temperature range, and air leakage. Do not size by attic floor area alone. A small but leaky attic can need more work than a larger sealed attic because the moisture load keeps returning.
Recommended Products

[Commercial Grade Dehumidifier] This Airzentti crawl space dehumidifier with large capacity removes moisture from basement, attic, large room and small rooms efficiently up to 155 pints per day under nearly saturated condition (70 PPD in AHAM), with 220 CFM airflow, it is ideal for space up to 7,500 square feet.

70-Pint Crawl Space Dehumidifier - This powerful 70-pint commercial dehumidifier features a high-efficiency motor with up to 158 CFM rated circulation, capable of extracting up to 70 pints of water per day (95°F, 90% RH). It effectively reduces humidity in spaces up to 5,000 sq. ft. The adjustable humidity range of 10%-90% RH provides greater control than most models (20%-80% RH). Well-suited for commercial and crawlspaces, storage rooms, garages, living areas, and offices
1. Measure Humidity and Temperature
Place a hygrometer in the attic and track humidity across several days. If readings stay above 55% to 60%, or if you see condensation, musty odor, or damp materials, you have a real moisture issue. Also track attic temperature because some dehumidifiers are not built for very hot or very cold attic conditions.
2. Match Capacity to the Space
Look at the manufacturer’s capacity rating in pints per 24 hours. ENERGY STAR notes that the capacity you need depends on both space size and dampness level. If the attic is very damp, smells musty, or has visible moisture, do not choose the smallest unit just because the floor area looks modest.
3. Place the Unit Correctly
Place the dehumidifier where air can circulate around it. Do not bury it behind boxes, insulation, or framing. Many portable units need clearance around the intake and discharge. If the attic is long or broken into sections, one central location may not dry the whole space evenly.
4. Plan a Continuous Drain
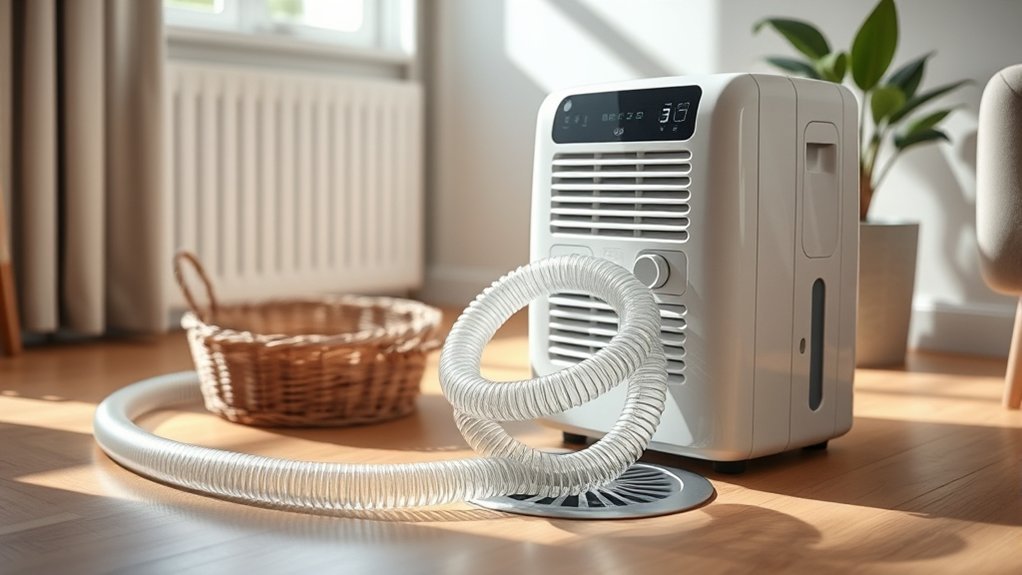
A bucket is a poor long-term plan in an attic. Use a gravity drain to an approved location when possible. If gravity drainage is not available, use a condensate pump with overflow protection. Keep the line pitched, protected from freezing where needed, and accessible for cleaning.
5. Use a Humidistat
Choose a unit with a built-in humidistat or connect it to a reliable humidity controller. Set it around 45% to 50% RH to start. If the unit runs nonstop, do not just lower the setting. Look for air leaks, water entry, poor drainage, or undersizing.
6. Protect Electrical Safety
Use a properly installed outlet that can handle the unit’s load. Avoid extension cords, overloaded circuits, loose plugs, and locations where condensate can spill onto wiring. If you need a new outlet, hire a qualified electrician.
Note: If the attic already has visible mold covering a large area, do not disturb it casually. Fix the moisture source and consider a qualified remediation professional, especially if anyone in the home has asthma, allergies, immune concerns, or chronic lung disease.
Better Alternatives for Attic Moisture Problems
If an attic dehumidifier is not solving the problem on its own, you may need a broader moisture-control strategy. In many homes, the best fix is not more dehumidification. It is stopping the moisture before it gets there.
- Air seal the ceiling plane: Seal gaps between the living space and attic so warm, humid air cannot leak upward.
- Repair roof leaks: Fix flashing, shingles, vents, and roof penetrations before running equipment.
- Vent exhaust outdoors: Bathroom fans, kitchen fans, and dryer vents should not dump moisture into the attic.
- Correct insulation: Add or repair insulation based on climate and attic design.
- Balance ventilation: In a vented attic, maintain clear intake and exhaust paths.
- Seal ducts: Leaky supply or return ducts in an attic can create comfort, energy, and moisture problems.
- Consider a whole-home dehumidifier: In a humid climate with central air and a well-sealed home, a whole-home system may manage humidity better than a standalone attic unit.
Whole-home dehumidifiers can be the better fit when humidity is a house-wide problem instead of an attic-only problem. ENERGY STAR notes that properly sized and installed whole-home dehumidifiers can help humid-climate homes with central air, especially when humidity stays high throughout the house.
Recommended Products
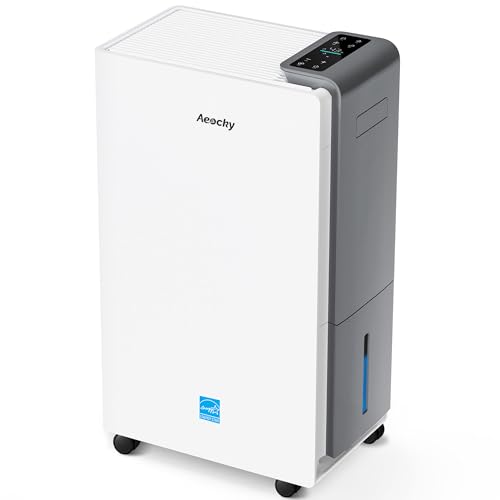
【ENERGY STAR 25 ≠ ENERGY STAR Most Efficient 2025】Don't fall for competitors' word games. With only 2.6% of ENERGY STAR models earning "Most Efficient 2025" title, these options are exceptionally rare on the market. RHEA-001 is one of the few to truly hold this top-tier certification. Many brands use misleading phrases like "Energy Star Efficient 25" or "Energy Star 25" to imply a standard they haven't met. Choosing them is a risk.With AEOCKY, you get verified performance and the peace of mind of authentic, top-tier efficiency.

【The Undisputed Champion — Industry-Leading Dehumidifier Brand】When you choose AEOCKY, you get double market validation. According to data independently verified by Stackline, a leading third-party data analytics company, AEOCKY was an industry‑leading dehumidifier brand on Amazon U.S. in 2025. This means you’re not just choosing a flagship product from a market leader, but a top-performing brand backed by independent market data and trusted by millions of real users, delivering the ultimate combination of performance, quality and trust.

2500 Sq. Ft Dehumidifier - SEMKAP dehumidifier for basement features a quiet, high-performance compressor that removes up to 32 pints of moisture per day (at 95°F, 90% RH). Ideal for basements, offices, bathrooms, bedrooms, kitchens, stockrooms, living rooms, laundry rooms, garages, crawlspaces, or RVs. It helps maintain optimal humidity between 40%–60%RH for healthier, more comfortable living
Troubleshooting an Attic Dehumidifier That Is Not Working
If your attic dehumidifier runs but humidity stays high, use this quick troubleshooting guide:
- Humidity drops, then rises fast: Air leaks or open attic vents may be bringing in new moisture.
- Unit runs nonstop: The unit may be undersized, the attic may be too leaky, or the humidity setting may be too low.
- Water stops draining: Check the drain hose, condensate pump, float switch, and bucket sensor.
- Attic still smells musty: Look for wet insulation, hidden mold, roof leaks, or stored damp items.
- Unit shuts off in hot weather: The attic may exceed the rated operating range. Check the manual and improve placement or choose equipment rated for the conditions.
- Condensation appears on ducts: Seal and insulate ducts, check airflow, and look for HVAC sizing or leakage problems.
Frequently Asked Questions
Is it safe to put a dehumidifier in an attic?
Yes, it can be safe if the unit is rated for the attic temperature, has proper clearance, drains reliably, and plugs into a safe outlet. Do not use a dehumidifier near loose insulation, water leaks, damaged wiring, or an overloaded extension cord. If electrical access is poor, hire an electrician before installation.
Where should you not put a dehumidifier?
Do not put a dehumidifier where airflow is blocked, where the unit can tip, where the drain can freeze or overflow, or where water could contact wiring. Also avoid using one as the main fix in a vented attic that is open to outdoor air unless the moisture source has been corrected.
Can you use a dehumidifier in a vented attic?
You can, but it often wastes energy because outdoor air keeps entering through attic vents. In a vented attic, first fix air leaks from the house, roof leaks, blocked ventilation, and exhaust fans that dump moist air into the attic. A dehumidifier makes more sense after those problems are controlled.
What humidity should an attic be?
A practical target is often around 45% to 50% RH. Try to keep humidity below 60% to reduce mold risk, but avoid over-drying below about 30%. Use a hygrometer because attic humidity can change after rain, during humid weather, and when the HVAC system runs.
Does an attic dehumidifier need a drain?
Yes, a continuous drain is strongly recommended. A bucket can fill quickly, shut the unit off, and leave humidity high again. Use a gravity drain where possible, or install a condensate pump with overflow protection if the drain point is higher than the unit.
Will a dehumidifier work in a hot attic?
Only if the attic stays within the unit’s rated operating range. Many household dehumidifiers are designed for indoor spaces, not extreme attic heat. Check the manual, measure attic temperature for several days, and choose equipment rated for the conditions.
Should an attic dehumidifier run all the time?
No. A properly matched unit in a controlled attic should cycle on and off through its humidistat. If it runs nonstop, check for air leaks, roof leaks, open vents, blocked airflow, a clogged drain, or an undersized unit before lowering the humidity setting.
Conclusion
So, yes, you can put a dehumidifier in your attic, but it works best after the attic is sealed enough to control, the moisture source is fixed, and the drain and electrical setup are safe. Start with humidity and temperature readings. Then seal leaks, repair roof or duct problems, vent exhaust outdoors, and size the unit for steady 45% to 50% RH control. If the attic is vented and open to outdoor air, fix the building problem before asking a dehumidifier to do the whole job.
Sources
- U.S. Environmental Protection Agency: A Brief Guide to Mold, Moisture and Your Home — supports moisture control, mold prevention, and indoor humidity guidance.
- CDC: Mold — supports mold prevention, humidity control, and chronic lung disease caution.
- ENERGY STAR: Dehumidifiers — supports dehumidifier efficiency, sizing by pints per day, humidistat use, placement, electrical safety, and whole-home dehumidifier guidance.
- Department of Energy: Air Sealing Your Home — supports air leakage, moisture control, and sealing before relying on equipment.
- Department of Energy: Insulation — supports R-value, insulation performance, and moisture-control context.
- Building Science Corporation: Understanding Attic Ventilation — supports vented vs unvented attic design and air-movement control.