
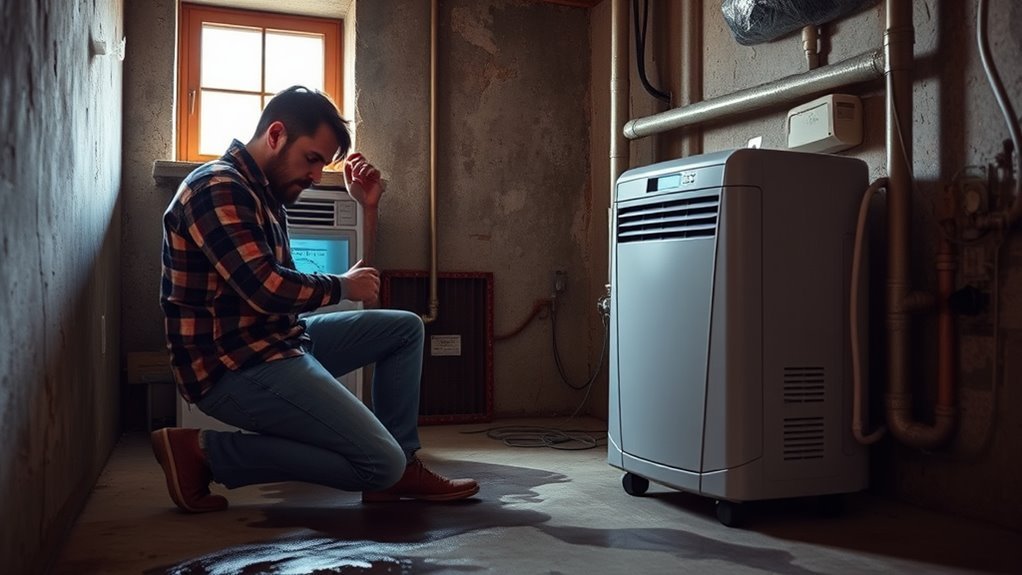
If your dehumidifier runs for hours but the humidity barely drops, do not assume the machine is broken. An undersized unit, blocked airflow, a dirty filter, the wrong humidity setting, drainage trouble, a cold room, or a continuing source of moisture can all cause the same symptom. Work through the simple checks first, then look for signs of a fan, sensor, compressor, or refrigeration-system fault.
Quick Answer
If your dehumidifier is not lowering humidity, first confirm the room RH with a separate hygrometer, check the setpoint and operating mode, empty and reseat the bucket, clear the airflow, clean the filter, inspect the drain, and look for ongoing moisture. If RH still does not fall, check for frost or an internal fault.
Key Takeaways
- Compare the dehumidifier’s reading with a separate hygrometer before assuming moisture removal has failed.
- An undersized unit can run continuously without reaching the selected humidity level.
- Dirty filters, blocked airflow, frost, a full bucket, or drainage problems can reduce or stop normal operation.
- Many compressor-style dehumidifiers lose performance in colder rooms; follow your model’s stated operating-temperature range.
- Repair leaks, seepage, unvented laundry moisture, and other water sources instead of expecting a portable dehumidifier to overcome them indefinitely.
At a Glance
| Time Required | Varies by problem; basic checks are quick, while defrosting, filter drying, or drain cleaning takes longer. |
| Difficulty | Easy for external checks and cleaning; professional service is recommended for electrical or sealed-refrigeration faults. |
| Tools Needed | Owner’s manual, separate hygrometer, flashlight, clean cloth, and a soft brush or vacuum attachment if your manual permits filter or grille cleaning. |
| Cost | Often no additional cost for basic checks if you already have cleaning supplies and a hygrometer; replacement parts and professional service vary by model and fault. |
Editorial note: This is an informational troubleshooting guide, not a product review. No product rating applies. It is best for owners of portable dehumidifiers that run but do not lower room humidity as expected.
| Troubleshooting Check | What to Look For | Why It Matters |
|---|---|---|
| Humidity level | Compare the unit with a separate hygrometer when possible | A bad reading can look like poor moisture removal |
| Capacity | Unit should match the room size and moisture load | An undersized unit may run continuously without reaching the target |
| Airflow | Intake and discharge should not be blocked | Restricted airflow reduces moisture removal |
| Filter and coils | Look for dust, debris, frost, or ice | Buildup or icing can reduce airflow and heat transfer |
| Drainage | Bucket seated correctly; hose open and routed as the manual requires | Drainage problems can interrupt normal operation |
| Room conditions | Check temperature and ongoing moisture sources | Cold conditions or constant moisture can overwhelm performance |
| Indoor RH target | About 30% to 50% for many homes | Persistently high humidity can support mold and moisture problems |
Why Your Dehumidifier Isn’t Working
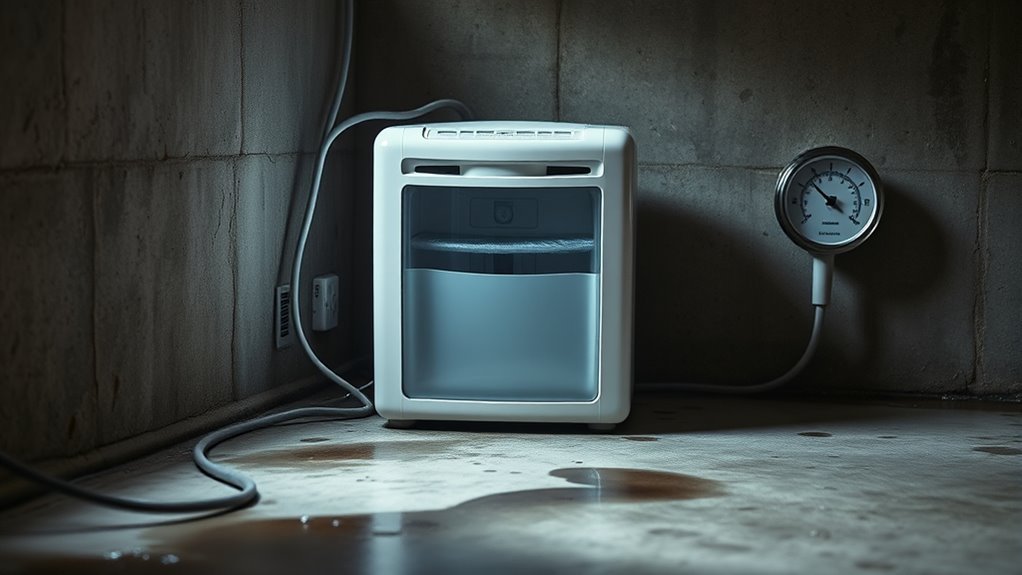
A struggling dehumidifier usually points to one of several problems rather than a single obvious failure. The first question is whether the unit can handle the room’s actual humidity load. A small unit in a large basement, laundry area, or repeatedly damp room may collect water but still fail to bring the overall humidity down.
Airflow is another major factor. Dust on the air filter, blocked intake openings, furniture too close to the cabinet, or dirty coils can reduce the amount of air moving through the machine. Less airflow means less humid air reaches the cold evaporator surface where water is removed.
Also consider temperature, drainage, settings, and the amount of moisture entering the room. An open window, foundation seepage, plumbing leak, unvented dryer, shower steam, or wet building material can add moisture as quickly as the machine removes it.
Note: The compressor, refrigerant, coil-frost, and warm-exhaust guidance in this article mainly applies to common refrigerant-style portable dehumidifiers. If you have a desiccant, thermoelectric, or specialty unit, follow that model’s manual because its operating behavior can differ.
Before You Buy: Do not replace a dehumidifier only because the room humidity remains high. First check the room size, moisture source, airflow, drainage, filter, settings, and temperature. A new unit will not fix an active leak or another major source of moisture.
Start With the Simple Checks
Before cleaning coils or worrying about the compressor, confirm that the dehumidifier is actually being asked to remove moisture and that no basic safety control has stopped it.
- Check the real room humidity. Place a separate hygrometer near the dehumidifier and let the reading stabilize. If the room is already near the selected setpoint, little water collection may be normal.
- Check the mode and setpoint. Make sure the appliance is in its normal dehumidification mode rather than fan-only or another special mode. Confirm that the target RH is below the current room RH.
- Check the bucket. Empty it and reseat it fully. Many portable units stop moisture removal when the bucket is full or incorrectly positioned.
- Look for an error code or warning light. Use the owner’s manual to identify the code instead of guessing what it means.
- Check airflow around the cabinet. Remove anything blocking the intake or discharge and follow the manufacturer’s required clearances.
Warning: Do not bypass a bucket switch, electrical safety device, overload protector, or sensor to keep the appliance running. Unplug the dehumidifier before routine cleaning unless the owner’s manual specifically requires power for a diagnostic step.
Check the Unit Size and Placement
If your dehumidifier still is not lowering humidity, confirm that its rated capacity matches both the space and the severity of the dampness. Dehumidifier capacity is based on how much moisture the machine can remove over a set period. A room with occasional mild dampness places a smaller load on the unit than a basement with seepage, wet materials, or indoor laundry.
Room area alone does not tell the whole story. Ceiling height, air exchange with adjacent rooms, water intrusion, the number of occupants, laundry, showers, and outdoor humidity can all increase the load. If the machine runs almost continuously but humidity remains well above the setpoint, insufficient capacity is one possible explanation.
Current ENERGY STAR dehumidifier guidance combines room size with dampness level when estimating useful portable-unit capacity:
| Condition Before Dehumidification | Under 2,000 sq. ft. | Over 2,000 sq. ft. |
|---|---|---|
| Slightly to moderately damp | About 20–30 pints/day | 30+ pints/day |
| Very damp | About 25–40 pints/day | 40+ pints/day |
| Wet or high moisture load | About 30–50 pints/day | 50+ pints/day |
Use those figures as general guidance rather than a substitute for your model’s specifications or a building-moisture assessment. A large active leak or continuously wet construction material can exceed what a portable dehumidifier can reasonably manage.
| Check | Good Setup | Problem |
|---|---|---|
| Size | Rated for room and moisture load | Undersized unit |
| Placement | Open area with required clearance | Blocked by walls or furniture |
| Environment | Enclosed space with moisture controlled | Open windows or continuing water source |
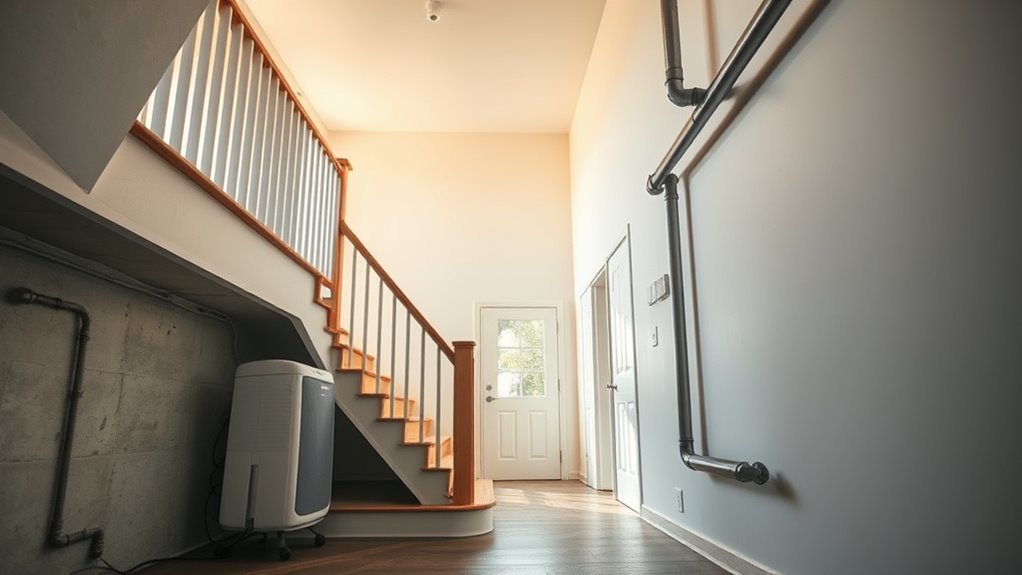
Placement also depends on the unit’s airflow design. Keep intake and discharge openings clear according to the manufacturer’s instructions. A model that requires clearance around its sides or rear should not be pushed tightly against a wall or hidden behind furniture.
Close exterior doors and windows while the machine is operating unless ventilation is being used intentionally because the outdoor air is drier. ENERGY STAR likewise recommends closing doors and windows to the space being dehumidified so the appliance is not continuously processing humid outdoor air.
Confirm that the water tank is seated correctly. Many portable units stop automatically when the bucket is full or not positioned correctly. If you use continuous drainage, make sure the hose follows the manufacturer’s required routing.
Recommended Products

【Waykar Dehumidifier For Spaces Up To 7,000 Sq. Ft.】Our dehumidifier are able to remove up to 150 pints (under 95°F, 90%RH condition) of moisture per day, which cover areas up to 7,000 Sq. Ft. and adjust humidity from 30% to 80%. It is a dehumidifier ideal for home, basement, wine cellars, garages, supermarkets, concourses, and other indoor/outdoor places,cellars, crawlspace, large spaces, etc.
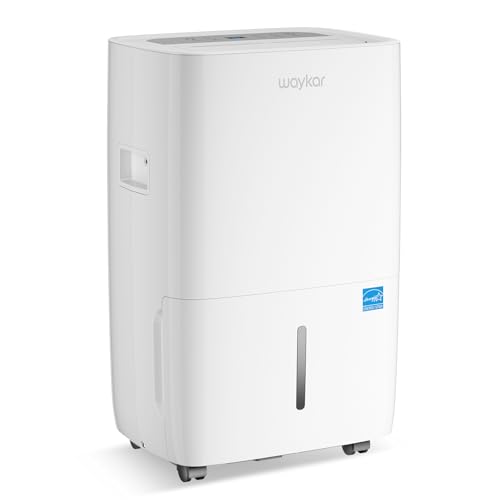
【80 Pint Capacity for Up to 5,000 Sq.Ft Spaces】Quickly removes excess moisture from basements, bathrooms, bedrooms, RVs, and other large living areas, delivering 80 pints per day (95°F, 90% RH).conditions. Designed as a powerful dehumidifier for basement, home, and large spaces, it helps eliminate damp air, condensation—and pet-related odors caused by excess humidity. Even during humid seasons, it works continuously to maintain a dry, comfortable, and healthier indoor environment.

【The Undisputed Champion — Industry-Leading Dehumidifier Brand】When you choose AEOCKY, you get double market validation. According to data independently verified by Stackline, a leading third-party data analytics company, AEOCKY was an industry‑leading dehumidifier brand on Amazon U.S. in 2025. This means you’re not just choosing a flagship product from a market leader, but a top-performing brand backed by independent market data and trusted by millions of real users, delivering the ultimate combination of performance, quality and trust.
Gravity Drain vs. Built-In Pump
For a gravity-drain connection, the hose normally needs a continuous downhill path without kinks, high spots, or blockages. Official Frigidaire drainage guidance, for example, advises keeping a gravity hose below the unit’s drain connection and as straight as practical.
A model with a built-in pump may be able to move water upward, so do not apply gravity-drain routing rules to every unit. Follow the pump-height, hose, and installation limits in your specific owner’s manual.
Pro Tip: Use a separate digital hygrometer a short distance from the dehumidifier. Comparing it with the machine’s humidistat can help you tell the difference between a real moisture problem and an inaccurate built-in reading.
Check the Humidity Setting and Room Conditions
A dehumidifier cannot lower humidity properly if its control setting tells it to stop too early. Check the target relative humidity and make sure the unit is operating in a normal dehumidification mode rather than fan-only or another special mode.
For many homes, an indoor relative humidity range around 30% to 50% is a practical target. The U.S. Environmental Protection Agency recommends keeping indoor humidity in that range. Trying to force a room much lower can make the appliance run considerably longer, especially when outdoor air is humid or the building has a continuing moisture source.
EPA guidance recommends keeping indoor relative humidity around 30% to 50%; sustained high humidity also increases the conditions that support mold and moisture problems.
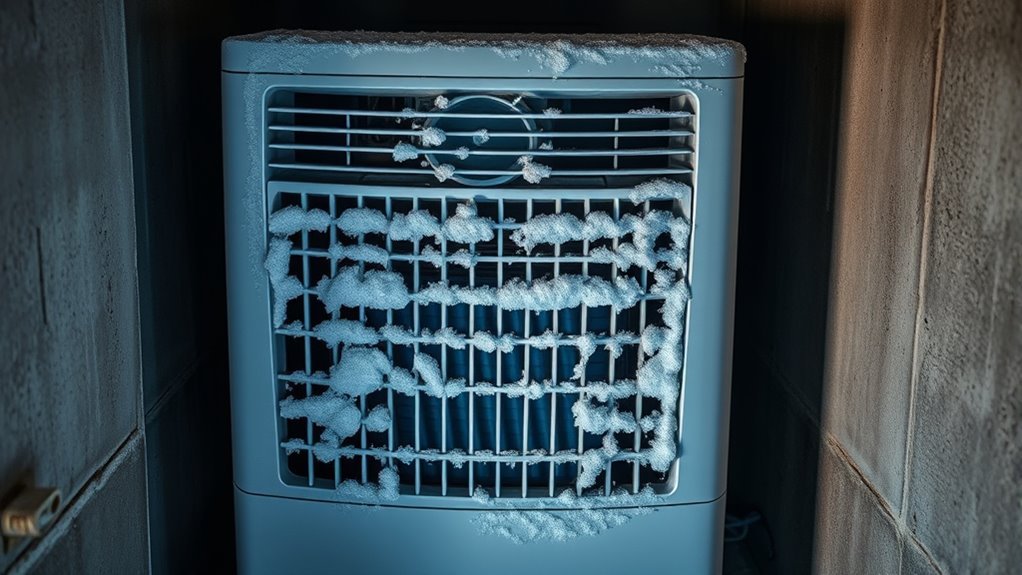
Temperature also matters. Refrigerant-style portable dehumidifiers rely on a cold evaporator surface to condense water from the air. ENERGY STAR notes that frost can form on the coils when air temperature drops below about 65°F on many units, reducing moisture-removal performance. Some models include automatic defrost or are specifically designed for lower-temperature operation, so always follow the operating range in your model’s manual.
Recommended Products

The humidity controller ranges from 5 to 99.99% RH

High-precision Swiss-imported humidity sensor: Our humidity controller features a high accuracy sensor that can regulate and maintain humidity levels within a range of 5% to 99% RH. The digital signal chip used ensures accuracy to within ±3%RH

Dual Relay Outputs: This humidity controller features dual relay outputs for simultaneous connection to both a humidifier and dehumidifier; It controls humidity by setting target and differential values, automatically switching between humidification and dehumidification modes to maintain optimal humidity levels
If You See Frost or Ice on the Coils
- Check the room temperature against the model’s minimum operating temperature.
- Make sure the filter, intake, and outlet are not restricting airflow.
- If the manual instructs you to stop the machine and allow it to defrost, do so before restarting it.
- Do not chip ice from delicate coil fins with a knife, screwdriver, or other sharp tool.
- If heavy icing repeatedly returns under normal operating conditions, contact qualified service.
Clean the Filter, Coil, and Drain Line
Start with the filter because a clogged filter restricts airflow. When less humid air reaches the coil, moisture removal falls and the fan and refrigeration system may need to run longer. Remove and clean the filter only as directed in your owner’s manual.
Next, inspect accessible air openings and the evaporator coil for dust. Do not bend the thin metal fins, soak electrical parts, or dismantle sealed refrigeration components. If the coil needs more than light surface cleaning, follow the manufacturer’s maintenance instructions or use qualified service.
Then inspect the drain line. A kinked hose, clogged fitting, incorrect gravity-drain slope, full bucket, or poorly seated reservoir can interrupt drainage. Some units stop automatically when they detect a full tank, so a drainage problem can look like a dehumidification problem.
Clean the filter, keep airflow openings clear, and make sure the bucket or drain system can remove collected water normally.
- Restore unrestricted airflow
- Reduce dust buildup
- Keep the drainage path open
- Prevent unnecessary shutdowns
- Follow the manufacturer’s maintenance schedule
Regular maintenance will not fix a failed compressor or damaged sensor, but it removes several common causes of weak performance before you move on to more expensive diagnostics.
Recommended Products

COMPATIBILITY: Our DH02 HEPA filter compatible with Afloia (AQ8/Q8)/ Honati/ Hysure Q7/ Tenergy Sorbi 2-in-1 Air Purifier/Dehumidifier(1000ML) or please double check before order
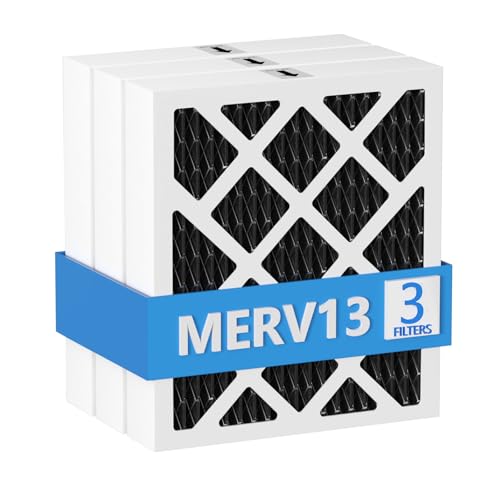
【Compatibility】 Our MERV 13 PN07126 Replacement Carbon Dehumidifier Filter Media is Compatible with Sanidry Sedona Dehumidifier PN07126 Replacement Filter.
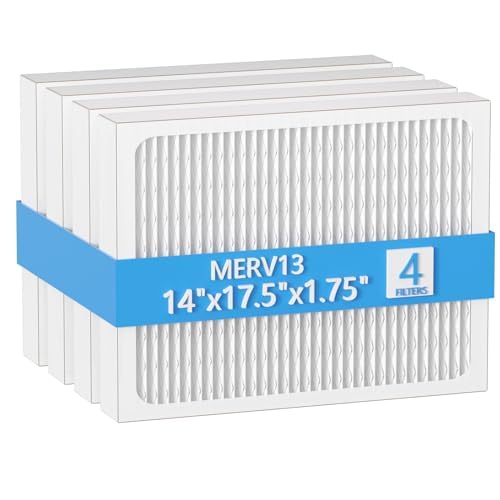
【Compatibility】 Our 14 x 17.5 x1.75 MERV 13 Replacement Dehumidifier Filter Media is Compatible with Honeywell DR90 & DR120 dehumidifier models.
Check for Compressor, Fan, or Sensor Problems
After the basic checks, observe how the machine operates. You should normally have noticeable airflow when the fan is operating. A refrigerant dehumidifier may also change sound when its compressor cycles, but compressor noise varies widely between designs, so sound alone cannot confirm whether the refrigeration system is healthy.
| Check | Normal Sign | Possible Fault Sign |
|---|---|---|
| Fan | Steady airflow when called for | Weak or no airflow |
| Water collection | Water accumulates under humid conditions | Little or none despite high RH and suitable temperature |
| Runtime | Cycles as target RH is reached | Stops unexpectedly or never responds to RH |
| Sensor reading | Reasonably close to separate hygrometer | Stays unusually high or low |
| Humidity trend | RH gradually falls | No meaningful change |
Do not use warm discharge air as proof of failure. A working refrigerant dehumidifier normally releases some heat into the room. ENERGY STAR notes that it is normal for the area around a working unit to become slightly warmer.
A faulty humidity sensor can cause the machine to stop before the room reaches the desired level or continue running when the room is already dry enough. Compare the display with a separate hygrometer after both devices have had time to stabilize in the same general area.
If the fan runs and airflow is clear but the unit collects little or no water in genuinely humid conditions, with the room inside the manufacturer’s operating-temperature range, an internal refrigeration-system, compressor, fan, sensor, or control problem may be present. Those repairs often involve electrical or sealed refrigeration components and are better left to qualified service technicians.
Note: Water collection normally falls as the room dries. A bucket that filled quickly on the first day but fills more slowly after the RH reaches the target does not automatically indicate declining performance.
How It Performs in Real-World Troubleshooting
In a Damp Basement
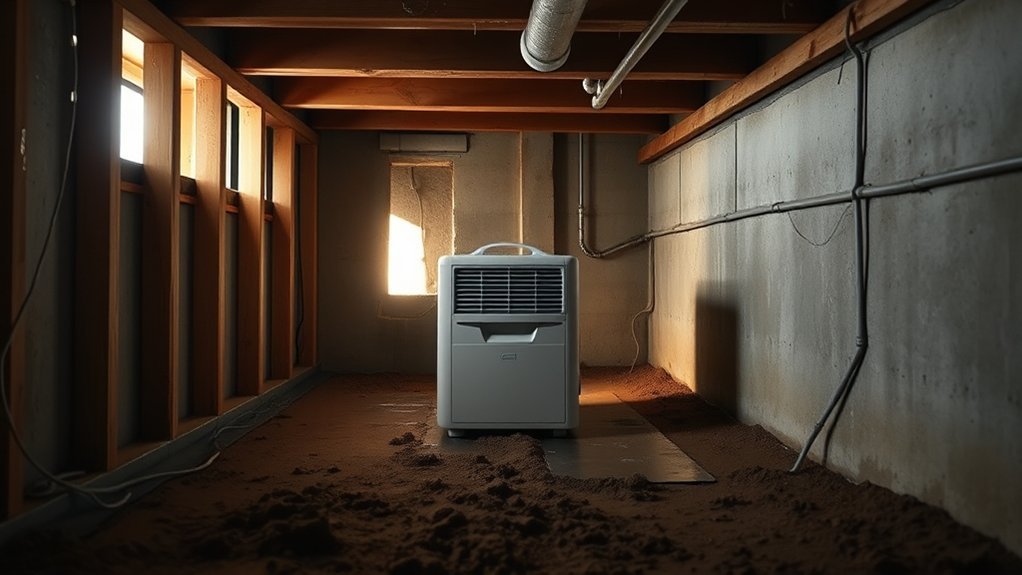
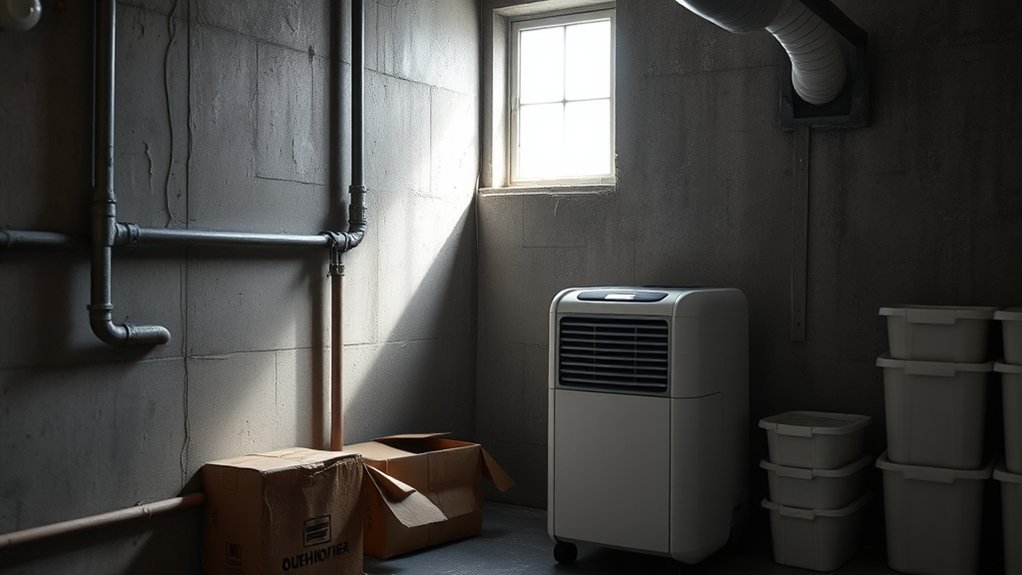
A basement can overwhelm a portable dehumidifier when moisture is entering through foundation walls, floors, plumbing leaks, or humid outdoor air. If RH stays high despite long runtime, inspect the building for moisture entry instead of assuming that more operating time will solve the problem.
In a Bedroom or Living Area
In a normal living space, blocked airflow and an unrealistic humidity setting are common things to check. Make sure furniture, curtains, or walls do not block the required clearances and compare the machine’s reading with a separate hygrometer.
Near a Laundry Area
Indoor clothes drying and poorly vented dryers can create a large moisture load. A working dehumidifier may collect plenty of water while still struggling to lower the room’s RH because new moisture is continuously entering the air.
After a Water Leak
A portable dehumidifier can help remove moisture from the air, but it does not replace repairing the leak and drying wet materials. Address the water source first. If walls, flooring, insulation, or other building materials remain wet, additional drying or professional remediation may be needed.
Cut Indoor Moisture at the Source
Reduce indoor moisture at the source or your dehumidifier may never catch up. Cooking, showers, indoor laundry, plumbing leaks, foundation seepage, and humid outdoor air can all add moisture faster than a portable unit removes it.
Use kitchen and bathroom exhaust fans that vent outdoors when you are producing steam. Make sure clothes dryers vent to the outside. Repair plumbing, roof, foundation, or drainage problems instead of relying on the dehumidifier to manage a continuous supply of water. The EPA’s moisture-control guidance likewise emphasizes controlling the water source as the key to preventing ongoing dampness and mold problems.
- Run the bathroom exhaust fan during showers
- Vent cooking moisture outdoors
- Make sure the clothes dryer vents outside
- Repair leaks and water intrusion
- Keep exterior doors and windows closed when outdoor air is more humid
- Dry wet materials as promptly as practical
When you control these moisture sources, the dehumidifier has a much better chance of reaching and maintaining your selected humidity level.
Common Mistakes to Avoid
- Setting the humidity target extremely low: This can make the unit run continuously without providing a useful benefit.
- Leaving windows open on humid days: The machine may spend its time removing moisture that is continuously entering from outdoors.
- Ignoring the filter: Restricted airflow can reduce moisture-removal performance.
- Assuming a full bucket means poor performance: A full bucket actually shows that the unit has removed moisture, but the machine may stop until the bucket is emptied or seated correctly.
- Assuming a nearly empty bucket always means failure: Once room humidity falls near the setpoint, the machine may collect much less water than it did at startup.
- Using the dehumidifier instead of repairing a leak: Mechanical dehumidification does not eliminate the source of water intrusion.
- Comparing readings taken in different locations: Humidity can vary across a large basement or home. Compare instruments in the same general area.
- Using gravity-drain rules on a pump-equipped model: Follow the drainage instructions for the exact system fitted to your unit.
- Opening the sealed refrigeration system yourself: Internal refrigerant and electrical repairs require appropriate tools, training, and safety procedures.
When to Call for Professional Service
Professional diagnosis makes sense when the basic checks do not restore normal operation. Examples include a fan that will not run, repeated electrical trips, unusual burning smells, obvious damage, persistent icing outside expected defrost behavior, or little water collection despite clearly humid conditions, suitable room temperature, and unrestricted airflow.
Unplug the appliance before cleaning or inspecting accessible components unless the manufacturer’s instructions specifically require power for a diagnostic step. Do not open sealed refrigeration components or bypass electrical safety devices.
Before You Service It: Check the warranty and owner’s manual before opening the cabinet. Some repairs involve line voltage, capacitors, or a sealed refrigerant circuit and should not be treated as routine DIY maintenance.
Repair or Replace?
If the problem appears internal, check the warranty first. A covered repair may make the decision simple. Outside warranty, compare the service estimate with the cost and condition of the appliance. A minor external-control or replaceable-part problem may justify repair, while a costly sealed-refrigeration failure on an older or heavily used unit may make replacement more practical.
Do not make the decision based only on runtime. A correctly sized dehumidifier can run for long periods in a very damp room, especially while moisture is still leaving walls, floors, furniture, and other materials.
Frequently Asked Questions
Why Is the Humidity Level Not Going Down in My Dehumidifier?
Your dehumidifier may be undersized, blocked by poor airflow, dirty, operating outside its intended temperature range, set incorrectly, or competing with a large moisture source. Check the actual room RH, filter, placement, bucket or drain, settings, temperature, and moisture sources before assuming an internal failure.
Is 70% Humidity Too High for a Basement?
Yes. Sustained 70% RH is above the commonly recommended indoor range. EPA guidance recommends keeping indoor humidity below 60% and ideally around 30% to 50%, while also repairing leaks, seepage, drainage problems, and other sources that keep the basement damp.
Why Is My Room Still Humid With a Dehumidifier?
The unit may not have enough capacity for the room, or the room may be gaining moisture continuously. Open doors or windows, indoor laundry, shower steam, plumbing leaks, water intrusion, blocked airflow, a dirty filter, or cold operating conditions can all prevent RH from falling as expected.
How Long Should It Take a Dehumidifier to Lower Humidity?
There is no single correct time because results depend on starting RH, room volume, moisture load, temperature, airflow, dehumidifier capacity, and moisture stored in furnishings and building materials. Watch the trend over several hours and longer in very damp spaces rather than expecting the display to fall immediately after startup.
Why Is My Dehumidifier Running but Not Collecting Water?
First confirm that the room is humid enough to require moisture removal. If RH is high, check the filter, airflow, room temperature, bucket, drainage setup, and settings. A unit that still collects no water under genuinely humid, suitable operating conditions may have an internal refrigeration, fan, sensor, compressor, or control problem.
Should the Air Coming From a Dehumidifier Feel Cold?
Not necessarily. A refrigerant dehumidifier cools air internally to condense moisture but also releases heat while operating. The air returned to the room can therefore feel slightly warmer than the surrounding air, which is normal for many units.
How Can I Tell If the Humidity Sensor Is Wrong?
Place a separate hygrometer near the dehumidifier and allow both readings time to stabilize. Small differences are normal, but a large, persistent difference or a display that barely reacts to changing room conditions can point to a sensor-location issue, calibration difference, or possible control fault.
Should You Use a Dehumidifier if You Have COPD?
A dehumidifier can help control excessive indoor moisture, but it is not a COPD treatment. Research suggests that temperature and humidity extremes can affect respiratory symptoms in some people with COPD. Individual responses vary, so follow your healthcare provider’s advice about humidity, temperature, ventilation, medications, and personal symptom triggers.
Why Won’t My Dehumidifier Go Below 50% Humidity?
The room may be gaining moisture as quickly as the unit removes it, the machine may be undersized, or the built-in sensor may read differently from another part of the room. Check the setpoint, compare it with a nearby hygrometer, close humid outdoor air sources, and look for leaks or other continuing moisture loads.
What Temperature Is Too Cold for a Dehumidifier?
It depends on the model. ENERGY STAR notes that frost can form on the coils below about 65°F on many conventional refrigerant dehumidifiers, although some models are designed for lower-temperature operation. Use the minimum operating temperature stated in your owner’s manual as the final rule for your appliance.
The Bottom Line
If your dehumidifier still is not lowering humidity, work through the problem in order: confirm the room is genuinely humid, compare the reading with a separate hygrometer, check the target setting and operating mode, verify capacity, clear airflow, clean the filter, inspect the bucket and drainage system, consider room temperature, and reduce incoming moisture. Those checks solve or explain many performance complaints without immediately assuming a major mechanical failure.
If the machine still runs without collecting water or lowering RH under appropriate conditions, the remaining problem may involve the sensor, controls, fan, compressor, or sealed refrigeration system. At that point, check the warranty and compare professional diagnosis or repair with replacement rather than continuing potentially unsafe trial and error.
Sources
- ENERGY STAR — Dehumidifiers — capacity guidance, placement, operating temperature, humidity targets, drainage, and normal heat output.
- U.S. EPA — Care for Your Air — recommended indoor relative-humidity range.
- U.S. EPA — Mold and Your Home — moisture-source control, leaks, dampness, and mold prevention.
- Frigidaire — Dehumidifier Not Collecting Water — airflow, bucket, settings, filter, and operating checks.
- Frigidaire — Dehumidifier Not Draining — gravity drain hose routing, kinks, and blockages.
- Peer-reviewed COPD temperature and humidity study — evidence that temperature and humidity extremes can affect symptoms in people with chronic respiratory disease.

[…] humidity stays high, use this […]