Choosing the right dehumidifier starts with three measurements: the room’s square footage, the current relative humidity, and how much moisture keeps entering the space. Once you know those numbers, match the unit’s pint-per-day capacity to the room size and dampness level instead of buying by room name alone.
Quick Answer
For most rooms under 2,000 square feet, start with 20–30 pints per day if the space is only slightly damp, 25–40 pints if it is very damp, and 30–50 pints if walls or floors feel wet. For spaces over 2,000 square feet, start around 30+ to 50+ pints per day, then size up for recurring moisture.
Key Takeaways
- Measure length × width first; square footage is the baseline for dehumidifier size.
- Use a hygrometer and aim to keep indoor humidity below 60%, ideally around 30–50% RH.
- Size by moisture level, not just room type. A wet 500-square-foot basement may need more capacity than a mildly damp 1,200-square-foot living area.
- Choose continuous drainage or a pump if the unit will run often or sit far from a floor drain.
- Fix leaks, seepage, and ventilation problems first; a dehumidifier controls moisture, but it does not solve the water source.
At a Glance
| Time Required | 10–20 minutes to measure the room and check humidity |
| Difficulty | Easy |
| Tools Needed | Tape measure, hygrometer or humidity meter, and a notepad or phone calculator |
| Cost | Often $10–$50 for a humidity meter; dehumidifier cost depends on capacity and features |
What Size Dehumidifier Do You Need?
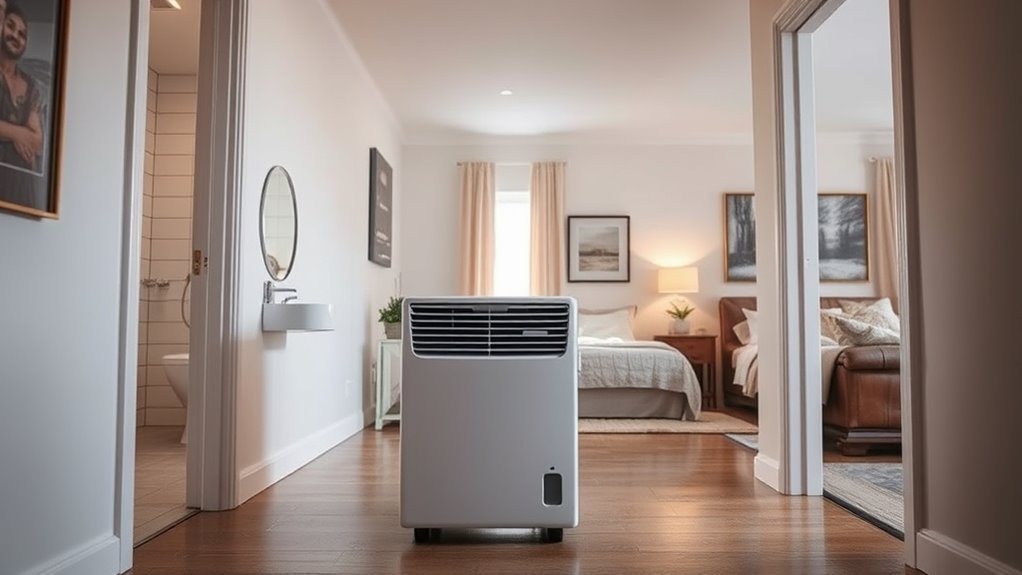
To size a dehumidifier correctly, first calculate the room’s square footage, then check how damp the room is without a dehumidifier. A unit’s capacity is listed in pints per 24 hours, which means how much water it can remove from the air under standardized test conditions.
For current portable dehumidifiers, ENERGY STAR sizing guidance recommends using both room size and dampness level:
| Room Condition Without Dehumidification | Typical Signs | Small–Medium Room (<2,000 sq. ft.) |
Large Room (>2,000 sq. ft.) |
|---|---|---|---|
| Slightly to moderately damp | Feels damp; musty odor comes and goes; about 50–75% RH | 20–30 pints/day | 30+ pints/day |
| Very damp | Always feels or smells damp; damp spots on walls or floors; about 75–90% RH | 25–40 pints/day | 40+ pints/day |
| Wet | Walls or floors sweat, seepage is present, or laundry drying adds moisture; about 90–100% RH | 30–50 pints/day | 50+ pints/day |
Note: If you owned an older “70-pint” dehumidifier, do not compare that number directly with every current label. ENERGY STAR explains that DOE’s post-2019 test procedure rates portable units at 65°F instead of 80°F, so many current pint ratings look lower even when the real-world class is similar.
Measure Your Room Footage
Start by measuring the room’s length and width in feet, then multiply them to get square footage. For example, a 20-foot by 15-foot basement room is 300 square feet.
| Measurement | Why It Matters |
|---|---|
| Length × width | Gives the square footage used for the capacity baseline. |
| Ceiling height | Tall rooms hold more air, so they may need extra capacity. |
| Open doors or connected rooms | A dehumidifier may end up treating the connected air volume, not just one room. |
| Moisture sources | Showers, laundry, foundation seepage, wet materials, and indoor plant rooms increase the load. |
If the space has an open floor plan, measure the full area that shares air with the dehumidifier. Closing a door can make a smaller unit work better because it limits the amount of new humid air entering the space.
Check Humidity With a Hygrometer
A hygrometer tells you the room’s relative humidity, or RH. The U.S. Environmental Protection Agency recommends keeping indoor humidity below 60% and ideally between 30% and 50% where possible. That range helps reduce condensation, musty odors, mold pressure, and dust mite habitat.
Place the hygrometer away from windows, vents, sinks, showers, and cold corners. Let it sit for at least 20–30 minutes before you trust the reading. For problem rooms, check it at different times of day because humidity often rises after showers, cooking, laundry, rain, or watering plants.
Warning: If you see active leaks, standing water, sewage backup, or widespread visible mold, do not rely on a dehumidifier alone. Stop the water source, dry wet materials quickly, and call a qualified professional when the problem is large or recurring.
Match Pint Capacity to Moisture Load
Square footage gives you the starting point, but moisture load tells you whether to move up. A bathroom, laundry room, basement, crawl-space-adjacent room, or legal indoor plant room can need more capacity than a dry bedroom of the same size.
Use this practical method:
- Find the room size: length × width.
- Measure RH: use a hygrometer before turning on the dehumidifier.
- Classify the dampness: slightly damp, very damp, or wet.
- Pick the ENERGY STAR capacity range: use the table above.
- Add headroom: choose the next size up if moisture returns quickly, the room is cold, the ceiling is high, or the unit will dry laundry or other wet materials.
A dehumidifier’s pint rating is a 24-hour moisture-removal rating under test conditions. Your actual results depend on temperature, airflow, room leakage, and how much moisture keeps entering the space.
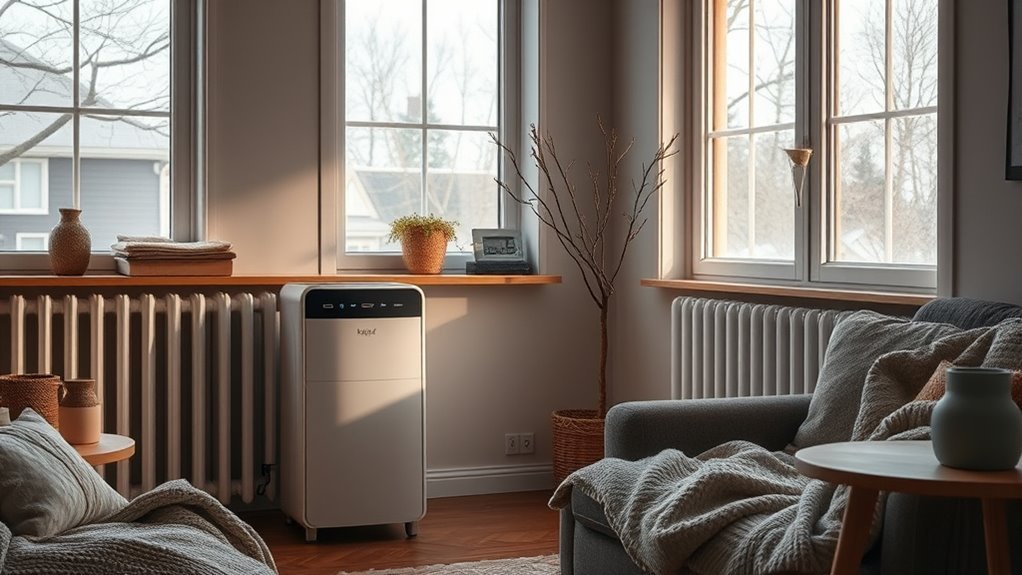
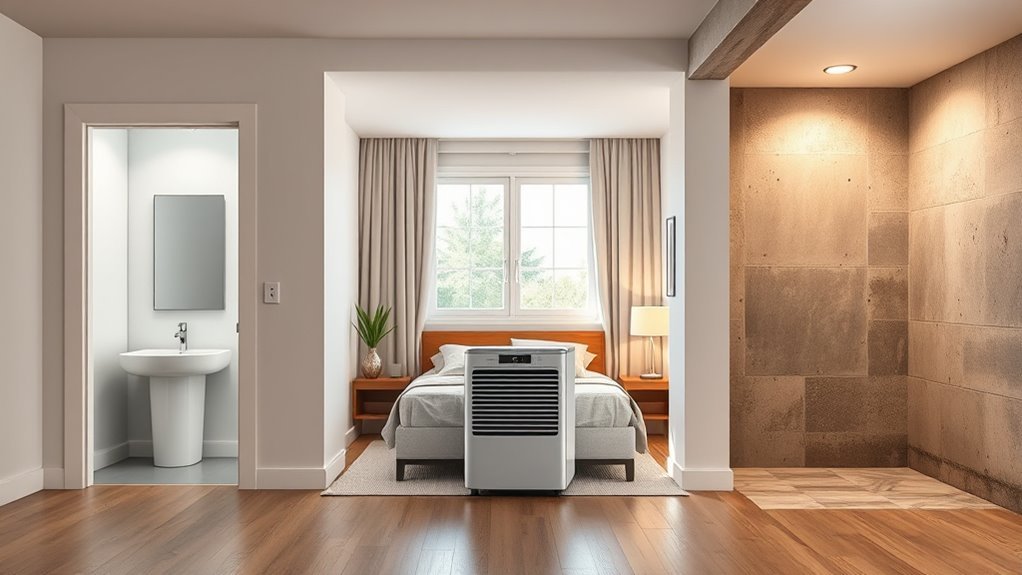
For Bedrooms, Bathrooms, and Living Rooms
For a mildly damp bedroom, bathroom, den, or living room under 2,000 square feet, a 20–30 pint unit is often a sensible starting point. Move toward 25–40 pints if the room smells musty, has condensation, or regularly sits above 70% RH. For a wet room or a room used for drying laundry, 30–50 pints is usually safer.
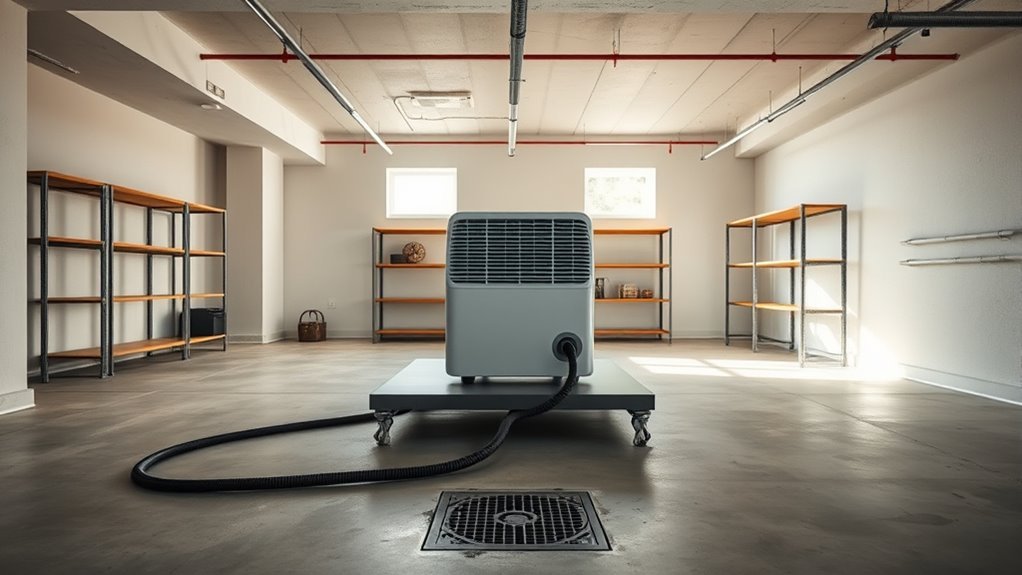
For Basements and Crawl-Space-Adjacent Rooms
Basements often need more capacity because concrete, foundation walls, floor cracks, poor grading, and limited ventilation can keep adding moisture. For a small-to-medium basement that is very damp, start around 25–40 pints per day. If it is wet, has seepage, or is larger than 2,000 square feet, look at 50+ pints per day or consider a whole-home system.
For Legal Indoor Plant Rooms, Drying Areas, and Laundry
Indoor plant rooms, drying rooms for lawful materials, and laundry areas create extra moisture because water is added to the space and then released into the air. If you know how much water evaporates in a day, convert that amount into pints: 1 gallon of water equals 8 pints. Then choose a dehumidifier with enough capacity to remove that moisture, plus a practical buffer for peak humidity.
| Moisture Source | Sizing Tip |
|---|---|
| Watering legal indoor plants | Estimate how much water evaporates into the room, then add capacity if RH spikes after watering. |
| Drying wet laundry indoors | Use a closed room, good airflow, and a unit with continuous drainage if laundry is frequent. |
| Drying herbs, produce, or wet materials | Follow the product’s safety or food-handling guidance, then size the dehumidifier for the daily moisture release. |
| High-occupancy rooms | People, pets, and frequent door opening add humidity, so a slightly larger unit may run more steadily. |
Pro Tip: If your calculated capacity falls between two sizes, choose the larger unit with a built-in humidistat. It can shut off when the target RH is reached, while an undersized unit may run constantly and still leave the room damp.
Choose the Right Pint Capacity
The best pint capacity is the smallest unit that can hold your target humidity without running nonstop. Bigger is not always better, but slightly oversized is usually better than undersized when the room has recurring dampness.
Room Size Matters
Larger rooms hold more air and usually need more moisture removal. Still, room size alone is not enough. A 300-square-foot room with wet walls can need more capacity than a 900-square-foot room that is only slightly humid.
Match Moisture Levels
Use your hygrometer reading and the room’s symptoms together. If the room is under 60% RH and only feels slightly sticky, start low. If it smells musty, shows condensation, or has damp spots, move up. If walls or floors sweat, treat it as a wet space and look for higher capacity plus continuous drainage.
Pick Extra Capacity When Conditions Change
Add extra capacity when the room has high ceilings, poor air sealing, frequent door opening, laundry drying, wet concrete, a sump area, or humidity that quickly returns after the unit shuts off. Extra capacity also helps during humid weather, but use the humidistat so the room does not get overly dry.
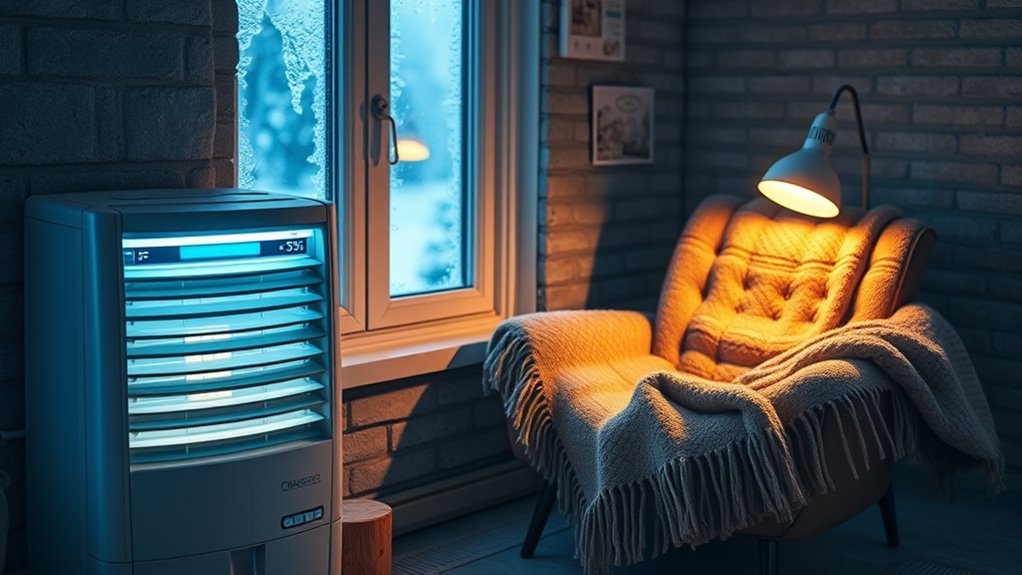
Pick a Dehumidifier for Cold Rooms
Cold rooms need extra care because many compressor-style dehumidifiers remove less water as temperatures fall, and coils can frost if the room gets too cold. Always check the operating temperature range in the manual before buying. For example, a Midea dehumidifier manual tells users to place the unit where the temperature will not fall below 41°F and warns that frost can reduce performance.
If the room is an unheated garage, basement, shed, or storage room, look for one of these options:
- Low-temperature compressor model: best when the room is cool but stays within the manual’s operating range.
- Auto-defrost feature: helpful in basements where coils may frost during cold weather.
- Desiccant dehumidifier: often useful in colder spaces, but it may use more energy and add heat to the room.
- Whole-home or ducted dehumidifier: best when humidity affects multiple rooms or the portable unit cannot stabilize the space.
When a Large Unit Makes Sense
A large-capacity unit makes sense when the room is wet, larger than 2,000 square feet, used for laundry drying, connected to a damp crawl space, or located in a humid climate. It also makes sense when a smaller dehumidifier runs all day but the RH stays above the target.
Choose a large unit with continuous drainage if you expect daily operation. A high-capacity bucket can still fill quickly in a wet basement, and many portable units shut off automatically when the bucket is full. Once the unit shuts off, moisture control stops.
Avoid Common Sizing Mistakes
Most sizing problems come from guessing, ignoring the water source, or installing the unit where airflow is blocked. Avoid these mistakes:
- Buying by room name only: “bedroom,” “bathroom,” and “basement” are not enough. Measure square footage and RH.
- Ignoring leaks: a dehumidifier cannot overcome a roof leak, plumbing leak, foundation seepage, or poor exterior drainage forever.
- Blocking airflow: leave clearance around the intake and exhaust. Some manufacturer manuals call for at least 8 inches on all sides and more at the outlet.
- Using the wrong drain setup: a full bucket stops the unit. Use a hose, floor drain, sump, or pump when daily moisture removal is high.
- Setting RH too low: very dry air can feel uncomfortable and waste energy. For most homes, aim for the EPA’s 30–50% ideal range while staying below 60%.
- Forgetting the filter: a clogged filter reduces airflow and can make the unit less effective.
Choose Features That Save Time
The right features can matter as much as pint capacity because they determine how often you need to empty, reset, or clean the unit.
Auto Drain Options
Choose continuous drainage when the dehumidifier will run in a basement, laundry area, plant room, or any high-moisture space. A gravity drain works when the hose can slope downward into a floor drain, sump, or safe drain point. A built-in pump is useful when the water must move upward to a sink, window, or higher drain.
Built-In Convenience Features
Look for a built-in humidistat, auto-restart, washable filter, full-bucket shutoff, hose connection, and ENERGY STAR certification. ENERGY STAR certified dehumidifiers are independently certified for efficiency, and current ENERGY STAR criteria use Integrated Energy Factor, or IEF, to compare moisture removal with energy use.
Setup and Maintenance Checklist
- Place the dehumidifier on a level surface.
- Keep windows and exterior doors closed while the unit runs.
- Leave open interior doors only if you want to dry connected rooms.
- Keep the intake and exhaust clear.
- Clean or rinse the filter as the manual recommends.
- Check the drain hose for kinks, clogs, or poor slope.
- Use a separate hygrometer to confirm the built-in humidistat is reading accurately.
When to Upgrade to a Ducted System
Upgrade to a ducted or whole-home dehumidifier when moisture affects several rooms, a portable unit cannot hold the target RH, or you want quieter centralized control. Whole-home units connect to ductwork or dedicated air paths and should be sized and installed by a qualified HVAC professional.
A whole-home system may be the better choice when:
- Several rooms stay above 60% RH.
- Portable units fill buckets too quickly.
- The basement is dry but the upstairs still feels sticky.
- You need humidity control without visible machines in living areas.
- Your HVAC contractor confirms that your existing system can support the installation.
Troubleshooting After You Size the Unit
If the dehumidifier is the right size on paper but the room still feels damp, check the setup before replacing it.
| Problem | Likely Cause | Fix |
|---|---|---|
| Unit runs nonstop | Too much moisture entering the room or capacity is too low | Fix leaks, close outside air paths, clean the filter, or size up. |
| Bucket fills quickly | Room is very damp or wet | Use continuous drainage or a pump. |
| RH reading does not drop | Poor airflow, open windows, or inaccurate built-in sensor | Move the unit, close openings, and compare with a separate hygrometer. |
| Coils frost | Room may be below the operating temperature range | Warm the room, use auto-defrost, or choose a low-temperature model. |
| Musty smell returns | Hidden moisture source or mold-contaminated material | Inspect for leaks, wet carpet, damp drywall, and poor drainage. |
Frequently Asked Questions
Is it better to oversize or undersize a dehumidifier?
It is usually better to slightly oversize than undersize, especially in damp or wet rooms. An undersized unit may run constantly and still fail to lower humidity. A slightly larger unit with a humidistat can shut off when the target RH is reached.
Should you use a dehumidifier if you have COPD?
A dehumidifier may help if high humidity, musty odors, dust mites, or mold make breathing less comfortable, but COPD care should be guided by your clinician. Avoid both extremes: damp air can encourage mold, while overly dry air may irritate some people. Use a hygrometer and ask your healthcare provider what range is best for you.
How big of a dehumidifier do I need for 1,200 square feet?
For 1,200 square feet, start with the moisture level. If the space is slightly to moderately damp, 20–30 pints per day may work. If it is very damp, choose 25–40 pints. If it is wet, has seepage, or is used for drying laundry, choose 30–50 pints and consider continuous drainage.
Will a dehumidifier help with gnats?
It can help if gnats are breeding in damp soil, drains, or humid corners, because lower humidity makes the room less favorable. It will not solve the problem by itself. Let plant soil dry appropriately, clean drains, remove decaying organic matter, and avoid overwatering.
What humidity setting should I use on a dehumidifier?
For most homes, set the humidistat around 45–50% RH. That keeps the room within the EPA’s ideal 30–50% range without over-drying the air. In very cold weather, you may need a slightly lower setting to prevent window condensation.
What size dehumidifier do I need for a basement?
A small-to-medium basement that is slightly damp may need 20–30 pints per day. A very damp basement usually needs 25–40 pints, while a wet basement may need 30–50 pints or more. If the basement is larger than 2,000 square feet or moisture affects the whole house, consider a 50+ pint unit or a whole-home system.
Why are newer dehumidifier pint ratings lower than older ones?
Current ratings follow newer DOE test conditions that better reflect cooler basement use. Because portable units are now tested at 65°F instead of 80°F, the labeled pint capacity may look lower than older ratings even when the unit is in a similar performance class.
Conclusion
To choose the right dehumidifier, measure the room, check actual humidity, and match pint capacity to both square footage and dampness level. Use 20–30 pints for slightly damp small-to-medium spaces, 25–40 pints for very damp spaces, and 30–50 pints or more for wet spaces or larger rooms. If humidity keeps returning, fix the water source, improve drainage or ventilation, and consider a larger unit or a whole-home system.
Sources
- U.S. EPA — A Brief Guide to Mold, Moisture and Your Home — backs indoor humidity targets, hygrometer use, and moisture-control guidance.
- ENERGY STAR — Dehumidifiers — backs capacity ranges by room size and dampness level, plus drainage guidance.
- ENERGY STAR — Dehumidifier Testing and Capacity — backs DOE rating changes, 2019 standards, and current capacity-label context.
- ENERGY STAR — Dehumidifiers Key Efficiency Criteria — backs current IEF efficiency criteria and product-capacity definitions.
- Midea MAD50S1QWT Dehumidifier Manual — backs setup, clearance, and low-temperature frost cautions.