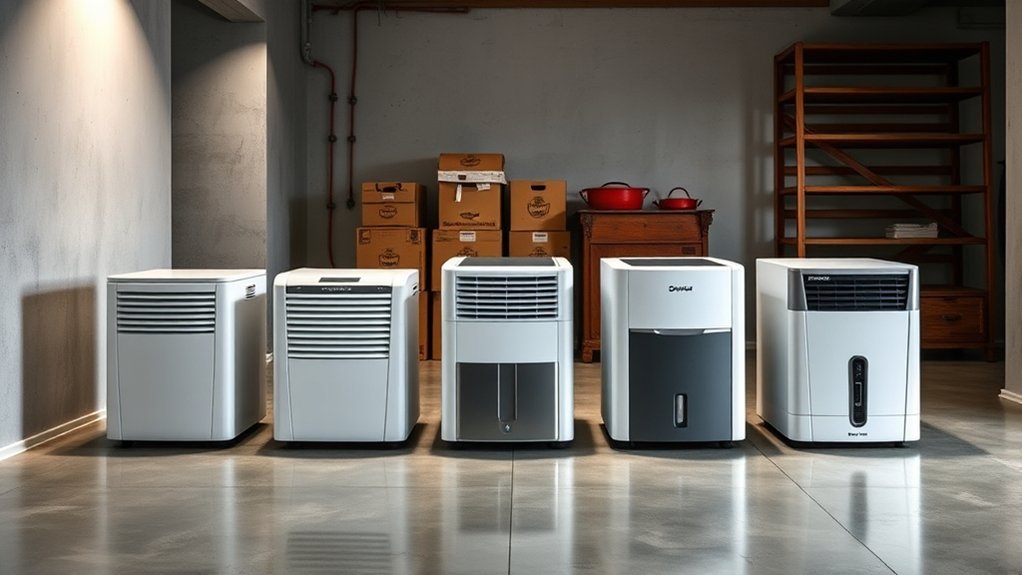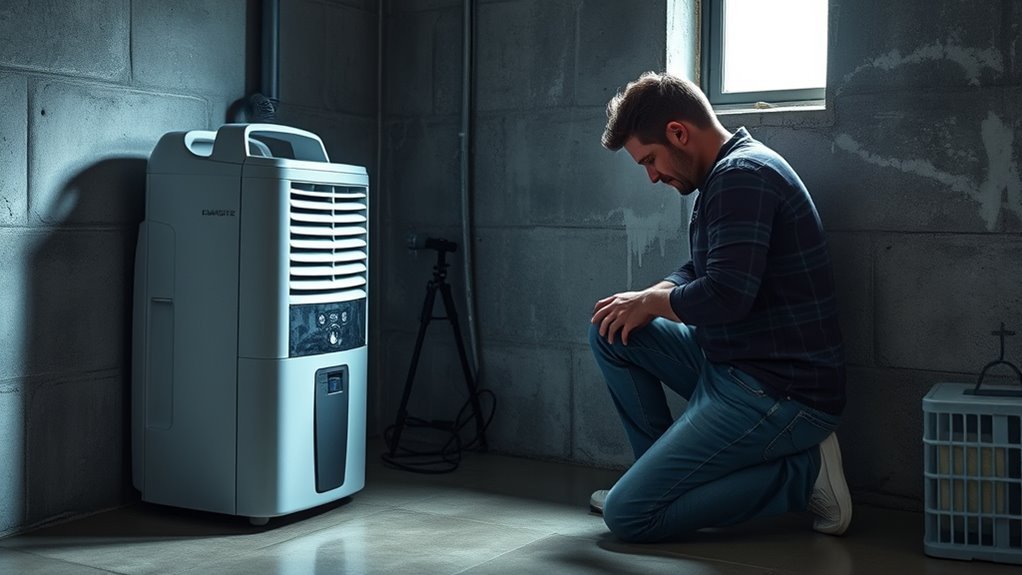
An empty dehumidifier bucket does not always mean the appliance is broken. The room may already be dry enough, water may be leaving through a continuous drain, the bucket may not be seated correctly, airflow may be restricted, or cold conditions may be causing frost. Start with the simple checks before assuming the compressor or sealed refrigeration system has failed.
Quick Answer
If your dehumidifier is not collecting water, first compare the room humidity with its setpoint. Then check the bucket, drain setup, filter, airflow, room temperature, and frost. If the room is humid but the compressor never cools the coil after these checks, the unit may need professional service or replacement.
Key Takeaways
- A nearly empty bucket can be normal when the room has already reached the selected humidity level.
- If a gravity drain or pump is working correctly, condensate may leave through the hose instead of collecting in the bucket.
- Dirty filters, blocked vents, low room temperature, and frozen coils can sharply reduce moisture removal.
- A running fan does not prove that the compressor or refrigeration system is working.
- Persistent compressor, sensor, electrical, or sealed-system faults are better handled through the manufacturer or a qualified service professional.
At a Glance
| Time Required | About 10–20 minutes for basic checks, plus defrosting time if the coil is iced |
| Difficulty | Easy for basic troubleshooting; professional service for internal electrical or refrigeration faults |
| Tools Needed | Hygrometer, flashlight, clean cloth, and the model’s owner’s manual |
| Cost | Usually $0 for basic checks; an optional hygrometer or replacement filter may add cost |
Warning: Unplug the dehumidifier before removing the filter, inspecting accessible internal areas, or cleaning it. Never bypass the bucket safety switch or open the sealed refrigeration system. If you smell burning, see melted plastic, or own a model covered by a recall, stop using it.
Fastest Checks
Check First: Room humidity, selected setpoint, bucket position, drain mode, filter airflow, room temperature, and visible frost.
Bottom Line: Many no-water problems come from normal operating conditions or simple maintenance issues. If the room remains humid and the compressor never appears to cool the coil after basic troubleshooting, service or replacement may be the better next step.
| What You Notice | Likely Cause | First Check |
|---|---|---|
| Unit runs but bucket stays dry | Room may already be below the setpoint, or water may be leaving through a drain hose | Compare room RH with the setpoint and inspect the drain setup |
| Unit will not run normally | Power problem, full bucket, or misaligned bucket | Check power, empty the bucket, and firmly reseat it |
| Weak moisture removal | Dirty filter, poor airflow, low temperature, or undersized unit | Clean the filter and check room conditions |
| Ice or frost on coils | Low temperature, restricted airflow, or a defrost cycle | Let the unit defrost and check the filter and temperature |
| Water collects but will not drain | Kinked, blocked, loose, or incorrectly routed hose | Inspect the complete drain path |
| Fan runs but no cooling or water removal occurs | Compressor delay, defrost cycle, sensor/control problem, compressor fault, or sealed-system fault | Check settings, temperature, error codes, and the manual before considering service |
Why Is My Dehumidifier Not Collecting Water?
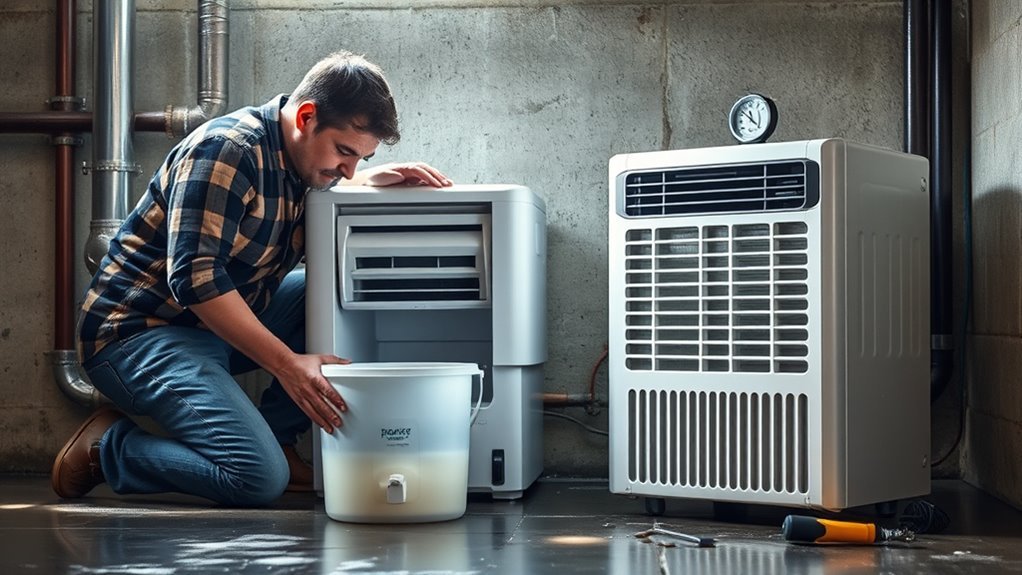
A compressor-based dehumidifier pulls humid room air across a cold evaporator coil. Water vapor condenses on that cold surface, drips into a collection system, and then reaches either the bucket, a gravity-drain hose, or a pump system. If any part of that process is interrupted, water collection can slow or stop.
A dehumidifier only has water to collect when the surrounding air contains enough moisture and the controls call for dehumidification. If the room’s relative humidity is already below the target level, little or no water in the bucket can be completely normal. ENERGY STAR explains that units with humidistats cycle as needed once the selected RH is reached.
When the room is still damp but the bucket stays dry, work through the controls and maintenance items first. Check the humidity setpoint, bucket position, drainage mode, air filter, intake and exhaust clearance, room temperature, and any visible frost. These are easier and safer to correct than an internal electrical or refrigeration fault.
If the fan operates but the refrigeration system never becomes cold enough to condense moisture, or the compressor never appears to start after the controls call for dehumidification, the problem may be internal. Sensor failures, control faults, compressor problems, and sealed-system faults require model-specific diagnosis.
Pro Tip: Place a separate hygrometer near the dehumidifier for several hours. If the room is already close to your selected target, a nearly empty bucket can mean the unit is doing exactly what its humidity control is supposed to do.
Is the Humidity Setting Too High?
The humidity setpoint is one of the first things to check. A dehumidifier normally cycles according to the difference between measured room humidity and your selected target. If you set the target above the room’s current RH, the unit may correctly decide that additional moisture removal is unnecessary.
For general indoor moisture control, a target around 40% to 50% RH is a practical starting point. The U.S. Environmental Protection Agency recommends keeping indoor humidity below 60% and ideally between 30% and 50%. Comfort, climate, condensation risk, and equipment operating limits can affect the best setting for a particular home.
Check Setpoint Level
Compare the displayed humidity with the selected setpoint. For example, if the room is at 50% RH and the dehumidifier is set to 55% or 60%, the compressor may not need to run. Lowering the target below the measured room humidity gives the unit a reason to dehumidify.
- Check the room RH before changing settings.
- Set the target below the current room humidity.
- Use a separate hygrometer if the displayed reading seems inaccurate.
- Give the unit time to respond after changing the setpoint.
Lower Relative Humidity
Do not judge performance only by the amount of water in the bucket. The real goal is a reasonable indoor humidity level. A room that has reached the selected target naturally produces less condensate than a damp basement, laundry area, or other space with an ongoing moisture source.
Collection can also decrease after the first days of operation because moisture has already been removed from the air and surrounding materials. That reduction can indicate progress rather than failure.
If humidity remains high despite long operation, look beyond the setpoint. An undersized unit, open doors or windows, plumbing or foundation moisture, blocked airflow, or a drainage problem can all make humidity harder to control.
Use Continuous Mode
Continuous mode can be useful when initially drying a very damp area because it reduces normal humidity-control cycling on many models. It does not guarantee that the bucket will fill quickly. Water-removal rate still depends on temperature, relative humidity, airflow, capacity, and the unit’s design.
- Use continuous mode for a persistently damp space when the manual recommends it.
- Return to a normal humidity target once conditions stabilize.
- Do not use bucket volume alone as your measure of success.
- Check the room with a humidity gauge.
Is the Bucket Full?
A full bucket normally activates a safety control that stops further collection. The same thing can happen when an empty bucket is not fully seated because the unit may interpret its position as unsafe for operation.
Remove the bucket, empty any water, and reinstall it carefully. Make sure it sits flush and does not wobble or catch on the housing. Check the float mechanism if your model has a visible one, but do not force or bypass the bucket safety switch.
If the full-bucket indicator remains on after the container is properly installed, check the model’s manual for its reset or troubleshooting procedure.
Check Power and Basic Operation
If the dehumidifier does not start normally at all, confirm that its plug is fully inserted and that the outlet has power. Check the applicable circuit breaker or fuse if necessary. Do not continue using an outlet, plug, or cord that shows heat damage, discoloration, looseness, or another electrical problem.
Some units also pause compressor operation after being switched on, after a power interruption, or during automatic defrost. A running fan during one of these periods does not necessarily indicate a fault. Give the controls time to operate according to the owner’s manual before repeatedly unplugging or restarting the appliance.
Does Continuous Mode Explain the Empty Bucket?
Continuous mode itself does not cause a healthy dehumidifier to stop collecting water. It changes how the unit controls runtime. In a damp room, continuous operation may increase runtime, while a relatively dry room can still produce little water because there is less moisture available to condense.
Judge the dehumidifier mainly by the room’s measured relative humidity and operating condition—not by bucket-filling speed alone.
- Check the current RH with the built-in display or a separate hygrometer.
- Use a normal humidity target for everyday operation.
- Use continuous mode only when it suits the room and your model’s instructions.
- Remember that cooler or drier air naturally produces less condensate.
Is Water Going Through a Drain Hose Instead?
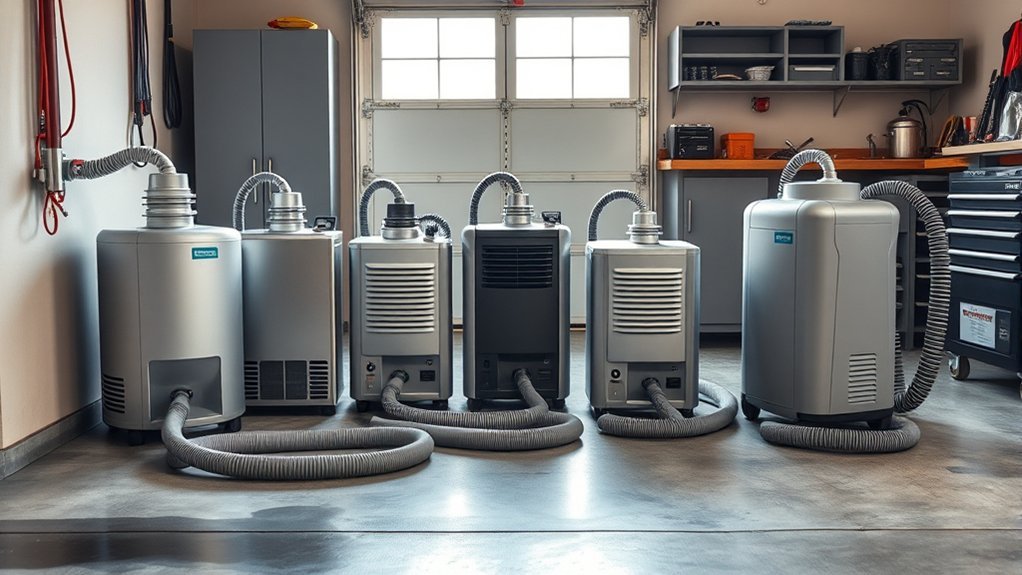
If you have connected a continuous drain hose, an empty bucket may be exactly what you should expect. Many dehumidifiers redirect condensate to a gravity drain instead of allowing the bucket to fill. Models with built-in pumps can also send water to a remote drain when their pump feature is correctly configured.
Do not assume that attaching a hose automatically activates every drainage system. Gravity drains and powered pumps work differently, and some models require a specific port, hose, control setting, or bucket position. Follow the manual for your exact model.
If the room humidity is falling and water is reaching the drain, there may be nothing to fix. If humidity remains high or the unit reports a drainage error, inspect the hose and drainage setup.
Is the Filter Clogged?
A dirty filter restricts the air that must pass across the evaporator coil. Reduced airflow can lower moisture removal and may contribute to frosting in cool conditions.
Unplug the unit before removing or cleaning the filter. Clean it using the method specified by the manufacturer. Some filters are washable while others require different care, so do not assume the same cleaning process applies to every dehumidifier.
Also check that curtains, furniture, boxes, walls, or stored items are not blocking the intake or exhaust. Proper clearance matters because even a clean filter cannot compensate for a blocked air path.
If accessible surfaces around the intake are heavily coated with dust, clean only the areas the manual identifies as user-serviceable. Do not dismantle the refrigeration system to reach internal coils.
Before You Buy or Replace Parts: Do not order a compressor, sensor, start component, or control board until you have checked the filter, bucket, humidity setting, temperature, drainage mode, error codes, warranty status, and recall status. A simple operating-condition problem can look like a major failure.
Is the Room Too Cold?
Temperature has a major effect on dehumidifier performance. As a room gets colder, compressor-based dehumidifiers can remove moisture less effectively and frost can form more easily on the evaporator coil.
ENERGY STAR advises considering a model designed for lower-temperature operation when the space routinely falls below about 65°F. It also notes that frost can form below this temperature and interfere with moisture removal.
That does not mean every dehumidifier stops working at 65°F. The exact minimum operating temperature is model-specific. Some modern portable units are rated for substantially colder conditions and use automatic defrost controls. Check the operating range in your manual instead of relying on one universal cutoff.
- Measure the room temperature.
- Inspect the accessible coil area for visible frost or ice.
- Keep the filter and airflow path clean.
- Allow a heavily frosted unit to defrost before expecting normal water collection.
- Watch for a normal automatic-defrost indicator if your model has one.
If a basement, garage, or crawl space stays cold for long periods, a dehumidifier specifically rated for that temperature range may perform better than a standard room unit.
Is the Fan Moving Air Normally?
The fan must move room air across the moisture-removing surface. If the fan is not turning, is unusually slow, repeatedly stops when it should be operating, or cannot move air through the unit, moisture removal can fall sharply.
Before suspecting a failed fan motor, check the filter, vents, bucket position, selected mode, and any automatic defrost behavior. Some units intentionally operate the fan differently depending on mode and humidity conditions.
If the fan is jammed, makes abnormal mechanical noises, or does not operate despite the manual indicating that it should, stop using the appliance and follow the manufacturer’s service guidance.
Is the Compressor Starting?
Most full-size portable dehumidifiers use both a fan and a compressor. Hearing the fan does not automatically mean the refrigeration system is removing moisture. After the controls call for dehumidification, you may notice a change in sound or vibration when the compressor starts.
Do not rely on sound alone for diagnosis. Some models delay compressor startup, cycle the compressor during defrost, or operate quietly. Check the selected RH, room conditions, indicator lights, and error codes before concluding that the compressor has failed.
Listen for Start-Up Sound
A click, deeper hum, or slight change in vibration can indicate compressor operation, but these signs vary by model. After normal operation in a humid room, a working compressor-based system should eventually cool the evaporator enough for moisture to condense.
- Fan only: the compressor may be delayed, satisfied by the setpoint, in defrost, or unable to start.
- Repeated cycling: check temperature, airflow, and error indicators.
- No response: confirm power, controls, bucket position, and humidity setting.
- Error code: follow the model-specific troubleshooting instructions.
Check Compressor Engagement
If the room is clearly humid, the setpoint is lower than the measured RH, the bucket is correctly installed, the drain setup is correct, and the airflow path is clear, yet the compressor never appears to operate, an internal problem becomes more likely.
Do not open or attempt to repair the sealed refrigeration system unless you are qualified to do so. Compressor, refrigerant, sensor, start-component, and control-system faults require model-specific diagnosis and may involve electrical or refrigerant hazards.
Note: Small thermoelectric/Peltier dehumidifiers and desiccant dehumidifiers do not use the same compressor-based refrigeration system described above. For those units, skip compressor-specific tests and follow the troubleshooting instructions for that technology.
Is the Coil Frozen Or Is the Drain Clogged?
Frost and drainage problems create different symptoms. A frozen evaporator coil reduces the system’s ability to remove moisture from the air. A clogged drain may allow condensation to occur while preventing the collected water from reaching the intended drain.
If you see heavy frost or ice, stop normal dehumidifying operation and allow the coil to defrost according to the manual. Then check room temperature, filter cleanliness, and airflow clearance before restarting.
If you use continuous drainage, inspect the entire hose. Frigidaire’s drainage guidance, for example, calls for a gravity hose to remain below the unit’s connection and run as straight as practical without kinks. Debris and sludge can also restrict flow.
- Inspect the accessible coil area for frost or heavy ice.
- Clean the air filter and clear surrounding airflow.
- Check the complete drain hose for kinks, pinching, and blockages.
- Make sure a gravity hose slopes continuously toward the drain.
- Check hose fittings for leaks or loose connections.
- Follow model-specific instructions if your dehumidifier has a built-in pump.
If heavy frost repeatedly returns while the room is within the unit’s specified operating range, or a drainage error continues after the hose is cleared and installed correctly, service may be necessary.
Recommended Products

[Convenient] This drain hose automatically drains water from the dehumidifier to the drain for uninterrupted use.
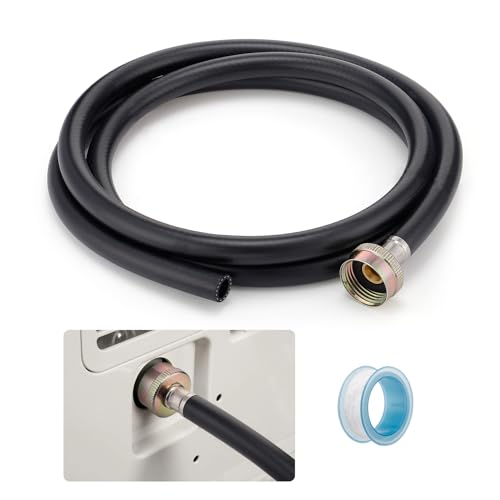
Leak-Proof Design: Our dehumidifier drain hose features sealing tape and rubber gaskets at the connector, ensuring a tight and secure connection with dehumidifier, effectively eliminating the risk of leakage. The galvanized iron connector is rust-resistant and durable, providing reliable protection for your drainage system.

Versatile Universal Hose: This 20-foot hose is designed for multiple applications, including dehumidifier drainage and a variety of gardening tasks. It can be easily cut to the desired length, offering customizable flexibility to fit your specific needs.
Is the Humidity Sensor Reading Correctly?
A built-in humidity reading does not always match a separate room hygrometer exactly. Sensor location, airflow, recent compressor operation, and normal measurement tolerance can create differences.
Place a separate hygrometer near—not directly against—the dehumidifier and compare readings after conditions have stabilized. If the dehumidifier consistently reports a much lower RH than the surrounding room and shuts off while the space remains damp, consult the manual for sensor troubleshooting or service information.
Do not intentionally add large amounts of moisture to the room simply to force the bucket to fill. Measuring actual RH is a better diagnostic test.
Check the Room, Not Just the Machine
A functioning dehumidifier can struggle when moisture is continuously entering the room. Close exterior doors and windows while testing it unless the manufacturer instructs otherwise. Check for plumbing leaks, groundwater intrusion, damp foundations, unvented moisture sources, or other conditions that can overwhelm the appliance.
The EPA emphasizes controlling the source of moisture rather than relying only on dehumidification. If walls, flooring, or building materials are repeatedly becoming wet, solve the water problem as well as controlling indoor humidity.
Also consider capacity. An undersized dehumidifier may collect water but still fail to lower room RH enough in a large or very damp space. That symptom differs from a truly dry bucket in a humid room.
Common Mistakes to Avoid
Several troubleshooting mistakes can make a working dehumidifier appear defective or can hide the real problem.
- Setting the target above room humidity: the compressor may correctly remain off.
- Judging performance only by bucket volume: a dry room naturally produces less water.
- Forgetting about continuous drainage: a correctly configured hose may keep the bucket empty by design.
- Ignoring bucket alignment: the safety switch may prevent operation.
- Running with blocked vents: poor airflow reduces effective dehumidification.
- Ignoring room temperature: cold conditions can promote frost and reduce extraction.
- Assuming continuous mode solves every problem: it cannot fix blocked drainage, restricted airflow, frozen coils, or failed components.
- Repeatedly restarting the appliance: some models intentionally delay compressor operation.
- Replacing parts before reading error codes: model-specific diagnostics can point toward the correct next step.
- Opening the sealed refrigeration system: refrigerant and compressor work is not a basic DIY troubleshooting step.
How to Test the Dehumidifier Step by Step
- Measure the room humidity. Use the display or a separate hygrometer.
- Lower the humidity target. Set it below the current measured RH.
- Check the power supply. Confirm normal power without using a damaged cord, plug, or outlet.
- Check the bucket. Empty it and reinstall it firmly.
- Check the drainage mode. If a hose or pump is connected, determine whether water is bypassing the bucket normally.
- Inspect airflow. Unplug the unit, clean the filter as directed, and clear the intake and exhaust.
- Check temperature. Confirm that the room is within the operating range listed in the manual.
- Inspect for frost. Allow a heavily frozen coil to defrost before testing again.
- Inspect drainage. Clear any kink, blockage, or incorrect slope if you use a hose or pump.
- Check the fan. Confirm that air movement appears normal for the selected operating mode.
- Watch and listen during operation. Note compressor activity, defrost behavior, fault lights, or error codes.
- Compare humidity readings. Use an independent hygrometer if the built-in sensor seems wrong.
- Check the room for ongoing moisture. Close unnecessary openings and look for leaks or water intrusion.
- Check the manual and recall status. Use model-specific troubleshooting before arranging service or replacing parts.
Recommended Products

Semiconductor dehumidifiers use thermoelectric cooling to remove moisture from the air. They create a drier, more comfortable environment by reducing humidity and improving air quality.

Face Icon Comfort Indicator: Humidity temperature gauge features face icons to indicate DRY/COMFORT/WET air conditions, quickly informs you how to adjust your humidifier or dehumidifier to achieve optimal comfort.

1-【Widely Application】The digital LCD monitor can be used in home, office, garage, schools, hotels, laboratories, kindergartens, aquaculture, instrument workshop, warehouse, reptile tank terrarium, aquarium, hermit crab habitat, and other places where temperature/humidity measurement is required.
Check for a Dehumidifier Recall
Before putting an older or secondhand dehumidifier back into continuous service, check its exact brand and model number against the U.S. Consumer Product Safety Commission’s dehumidifier recall information.
CPSC has warned consumers about recalled dehumidifiers that can overheat, smoke, or catch fire. A recalled product should be handled according to the recall instructions rather than repaired and returned to normal service.
Warning: Stop using a dehumidifier immediately if its model is covered by a stop-use recall, or if you notice burning odors, smoke, melted plastic, excessive electrical heat, or visible cord damage.
Should You Repair Or Replace Your Dehumidifier?
Repair makes the most sense when the unit is relatively new, still covered by warranty, or has a correctable problem that the manufacturer supports servicing.
Replacement becomes more reasonable when the dehumidifier repeatedly fails, has a major compressor or sealed-system problem, lacks practical parts or service support, is subject to a stop-use recall, or the cost of diagnosis and repair approaches the cost of a suitable replacement.
Before replacing it, confirm that the room itself is not the root problem. Ongoing water intrusion, plumbing leaks, open exterior doors or windows, or excessive moisture generation can overwhelm even a properly functioning dehumidifier.
Recommended Products
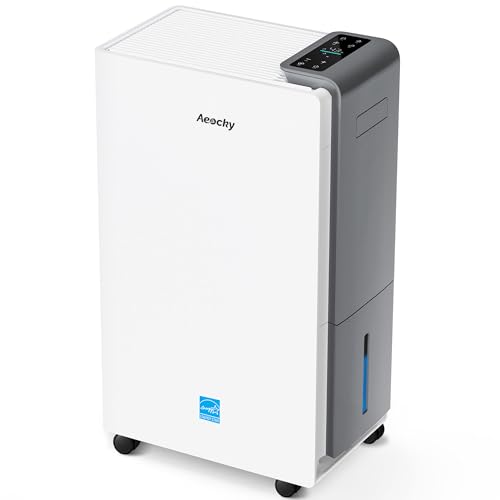
【ENERGY STAR 25 ≠ ENERGY STAR Most Efficient 2025】Don't fall for competitors' word games. With only 2.6% of ENERGY STAR models earning "Most Efficient 2025" title, these options are exceptionally rare on the market. RHEA-001 is one of the few to truly hold this top-tier certification. Many brands use misleading phrases like "Energy Star Efficient 25" or "Energy Star 25" to imply a standard they haven't met. Choosing them is a risk.With AEOCKY, you get verified performance and the peace of mind of authentic, top-tier efficiency.

【The Undisputed Champion — Industry-Leading Dehumidifier Brand】When you choose AEOCKY, you get double market validation. According to data independently verified by Stackline, a leading third-party data analytics company, AEOCKY was an industry‑leading dehumidifier brand on Amazon U.S. in 2025. This means you’re not just choosing a flagship product from a market leader, but a top-performing brand backed by independent market data and trusted by millions of real users, delivering the ultimate combination of performance, quality and trust.

2500 Sq. Ft Dehumidifier - SEMKAP dehumidifier for basement features a quiet, high-performance compressor that removes up to 32 pints of moisture per day (at 95°F, 90% RH). Ideal for basements, offices, bathrooms, bedrooms, kitchens, stockrooms, living rooms, laundry rooms, garages, crawlspaces, or RVs. It helps maintain optimal humidity between 40%–60%RH for healthier, more comfortable living
Related Guides
Frequently Asked Questions
How do you fix a dehumidifier that won’t collect water?
Start by measuring room humidity and setting the target below the current RH. Then check power, bucket position, drainage mode, filter, airflow, room temperature, frost, and error codes before suspecting an internal compressor or control fault.
Why is my dehumidifier running but collecting no water?
The room may already be below your selected humidity setting, water may be leaving through a continuous drain, or the fan may be running while the compressor is delayed or off. Low temperature, restricted airflow, frosting, sensor problems, or an internal fault can also reduce water removal.
What humidity should I set my dehumidifier to?
A setting around 40% to 50% RH is a practical starting point for many homes. EPA guidance recommends keeping indoor humidity below 60% and ideally between 30% and 50%, while climate, comfort, and condensation conditions may affect the best target.
Can a room be too cold for a dehumidifier?
Yes. Cooler conditions can reduce moisture-removal performance and promote frost on compressor-based units. ENERGY STAR advises considering equipment designed for lower-temperature operation when a space commonly falls below about 65°F, but the exact minimum temperature depends on the model.
Why does my dehumidifier collect less water than before?
The room may simply be drier or cooler than it was before, especially after the dehumidifier has already removed moisture from the air and surrounding materials. If RH remains high, check the filter, vents, frost, drainage, settings, and compressor operation.
How often should a dehumidifier collect water?
There is no fixed collection schedule. A warm, damp room can produce water much faster than a cool room already near its humidity target. Measured RH is therefore a better performance indicator than bucket-filling speed alone.
Can a clogged drain hose stop normal drainage?
Yes. Kinks, debris, sludge, incorrect gravity-drain slope, or a loose connection can interfere with drainage. Inspect and clean the hose according to the manufacturer’s instructions.
Why is the bucket empty when a drain hose is connected?
That can be normal. A properly configured continuous-drain system redirects collected condensate through the hose instead of storing it in the bucket. Check whether water is reaching the drain and whether room humidity is falling before assuming the appliance has failed.
Should I check whether my dehumidifier has been recalled?
Yes, especially for an older or secondhand unit. Check the exact brand and model against CPSC recall information. Follow the recall remedy instead of continuing to operate a unit that is covered by a stop-use warning.
When should I call a technician?
Consider professional service when basic power, settings, bucket, drainage, airflow, temperature, frost, and sensor checks do not solve the problem, especially if the compressor will not operate, electrical symptoms appear, or the unit shows a persistent sensor, control, or sealed-system error.
Conclusion
If your dehumidifier isn’t collecting water, begin with room humidity and the selected setpoint. Then check whether water is being sent through a drain hose, confirm the bucket and power supply, clean the filter, inspect airflow, measure room temperature, look for frost, and review any error codes.
A dry bucket can be normal when the room has reached its target humidity or when continuous drainage is working properly. If humidity remains high and a compressor-based unit still cannot condense moisture after these checks, use the model-specific manual, warranty information, and professional service guidance to decide whether repair or replacement makes sense.
The Bottom Line
Most no-water complaints are worth troubleshooting before replacing a dehumidifier. Settings, drainage mode, bucket alignment, restricted airflow, low temperature, frost, and room conditions are practical first checks. Persistent compressor, electrical, sensor, or sealed-system problems are stronger reasons to stop DIY troubleshooting and consider service or replacement.
Sources
- U.S. Environmental Protection Agency — A Brief Guide to Mold, Moisture and Your Home — indoor relative-humidity and moisture-control guidance.
- ENERGY STAR — Dehumidifiers — humidistat operation, low-temperature guidance, frost, placement, and dehumidifier efficiency information.
- Frigidaire — Dehumidifier Not Collecting Water — manufacturer troubleshooting for airflow, bucket, RH settings, continuous mode, and filters.
- Frigidaire — Dehumidifier Not Draining — gravity-drain hose routing, blockage, and cleaning guidance.
- U.S. Consumer Product Safety Commission — Dehumidifier Recalls — recall and fire-safety information for affected models.