
Last updated: September 12, 2026 — shutdown, fan-delay, frost, drainage, humidity, and recall guidance rechecked against current official sources.
If your dehumidifier won’t shut off, first find out whether the compressor is still running or only the fan is on. A compressor may run for a long time when Continuous, Non-Stop, or CO mode is selected, the humidity target is too low, or moisture enters the room faster than the unit can remove it. Some Laundry or Dryer programs also run at high output, but their timing is model-specific. Fan-only operation may be a normal post-cycle delay, a defrost cycle, or a model designed to sample room air continuously. If the room is already at or below the target but the compressor keeps running, check the setting, sensor reading, filter, airflow, and frost before arranging repair.
Scope: This guide covers portable refrigerant/compressor dehumidifiers. Desiccant and thermoelectric units do not use the same compressor-and-coil cycle, and ducted whole-home systems require model-specific HVAC diagnosis.
The Setpoint-Response Test
Leave Continuous, Non-Stop, or CO mode and select the model’s normal humidity-controlled mode with a numbered RH target. Do not assume Auto, Smart, or Comfort mode uses your chosen target; check the manual. Compare room humidity with a separate hygrometer and set the target above that measured level. If the compressor stops after the model’s control delay, the humidistat is responding; the fan may stop later or keep sampling air, depending on the model.
Diagnostic Order
- Continuous, Non-Stop, or “CO” mode normally bypasses the RH target; Laundry or Dryer program timing varies by model.
- The fan may run after the compressor stops, during defrost, or continuously by design; check the exact model’s manual.
- A humidity setting near 45%–50% is a practical troubleshooting target within ENERGY STAR’s general 30%–50% range.
- Dirty filters, blocked vents, low room temperature, open doors, and active moisture sources can extend runtime.
- A blocked drain usually causes water backup, a full-bucket stop, or a pump fault rather than commanding nonstop compressor operation.
- Stop using the unit if it overheats, smells burnt, smokes, sparks, leaks onto electrical parts, or appears in a safety recall.
What the Symptom Usually Means
| What you observe | What to check next |
|---|---|
| Fan on, compressor off | Often a post-cycle delay, automatic defrost, or normal air-sampling behavior; confirm in the model manual |
| Compressor on, humidity falling | Usually a heavy moisture load, open room, low target, or undersized unit rather than a shutdown fault |
| Compressor on, humidity unchanged | Check airflow, frost, room temperature, capacity, and moisture sources; seek service if approved checks do not restore water removal |
| Power set to Off, compressor still on | Unplug the unit and arrange service; a model-defined fan cooldown may be normal, but a compressor that ignores the Power control is not |
| Full bucket, leak, or pump error | A water-handling fault, not usually the reason a compressor is commanded to run continuously |
Warning: Unplug the dehumidifier before cleaning the filter, bucket area, drain connection, or accessible coils. Stop using it immediately if you notice smoke, a burning smell, melted plastic, sparking, scorching, unusual crackling, or an excessively hot cord or plug. Search the CPSC recall database by brand and model and match any listed date code. If the unit is recalled, turn it off and unplug it, then follow the stated remedy rather than attempting a repair. Do not cut refrigerant lines or open the sealed refrigeration system.
For a broader safety check, review these dehumidifier warning signs before leaving a suspect unit in service.
How this guide was checked: The operating claims below were cross-checked against current ENERGY STAR, GE Appliances, Frigidaire, De’Longhi, and CPSC guidance. Controls and fan logic still vary by model, so the owner’s manual remains the final authority for shutdown delays, error codes, clearances, and service steps.
Why Your Dehumidifier Won’t Shut Off
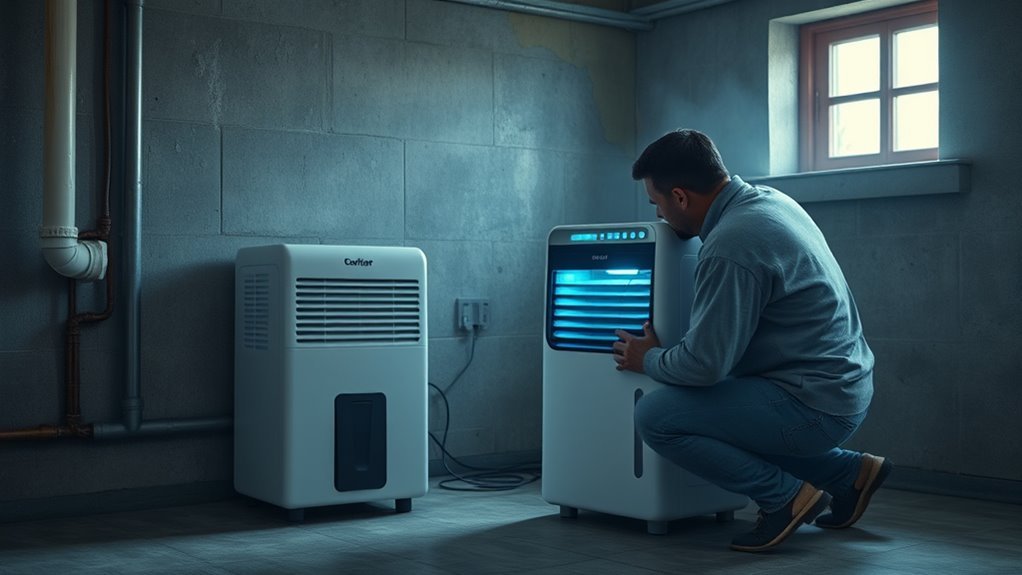
If your dehumidifier will not shut off, first determine whether both the compressor and fan are operating or whether you hear only the fan. The most common explanations are a continuous operating mode, a humidity setting below the room’s current level, a heavy moisture load, restricted airflow, frost on the coils, or an inaccurate humidity reading. Drainage faults are also important, but they usually cause water backup, a full-bucket condition, leakage, or a pump error rather than directly telling the compressor to run forever.
If the unit instead stops too soon or repeatedly cuts out before reaching the target, use the separate guide to a dehumidifier that keeps shutting off.
- Choose the model’s normal humidity-controlled setting with a numbered target; leave continuous and drying programs for this test.
- Place a separate hygrometer away from the intake, exhaust, wet walls, and open windows.
- Set the dehumidifier’s target above the independently measured room humidity.
- Allow the model’s stated control delay, then listen for the deeper compressor sound to stop.
- If only the fan remains on, check the manual before treating that behavior as a fault.
Check for Continuous or Non-Stop Mode
Continuous, Non-Stop, and CO modes generally bypass the user humidity setpoint. GE’s shutdown guidance confirms that its Continuous and Non-Stop modes run continuously. Laundry or Dryer programs may also use high output, but some end automatically; Smart, Comfort, and Auto modes may use a manufacturer-selected target. Check the exact manual.
- Select the model’s normal humidity-controlled mode and a numbered RH target.
- Set the target to approximately 45%–50% for the initial test.
- Cancel any timer, drying, or laundry program.
- Allow the unit enough time to respond to the new setting.
Tell the Fan From the Compressor
A running fan does not always mean the dehumidifier is still removing moisture. During normal compressor operation, you will usually hear a deeper hum or vibration, feel slightly warmer discharge air, and see condensate form when the room is humid enough. GE’s dehumidifier operating guidance says the fan on its covered models should stop about three minutes after the compressor cycles off and may stay on during defrost. By contrast, De’Longhi explains that some models run the fan continuously to monitor room humidity. Use the timing and behavior stated for your exact model.
- Fan only: Air moves, but the deeper compressor sound is absent and little or no new water appears.
- Fan and compressor: The unit vibrates more, exhaust air feels warmer, and condensate normally forms.
- Defrost operation: The compressor stops while the fan continues to move room air across icy coils.
Check the Room’s Moisture Load
The unit can operate for long periods when the room is genuinely damp. This is common during initial drying in a wet basement, after a leak, while drying laundry, or when doors and windows remain open. The dehumidifier may also be too small for the space or for the amount of moisture entering it.
- Close exterior doors and windows while the unit is running.
- Repair plumbing, roof, foundation, or groundwater leaks.
- Use bathroom and kitchen exhaust fans where moisture is produced.
- Avoid drying wet laundry in the room during the test.
- Check that the unit’s rated capacity suits the room and moisture level.
If the independent humidity reading is still falling, long runtime may be normal. Official guidance shows why several hours is not a universal pass/fail test: Frigidaire advises allowing 24 hours, while GE says a newly installed unit may need three to four days in a very humid room. Track the RH trend in a closed room within the model’s operating range and follow the exact manual.
Check the Humidity Setting First
A low target can make the compressor run continuously because the room never reaches the requested level. ENERGY STAR states that indoor relative humidity is generally best kept between 30% and 50%. For troubleshooting, start near 45%–50%. You can lower the setting later if the room requires more moisture control.
Verify Humidity Target
Confirm that the number on the display is the target humidity rather than the current room humidity. Many dehumidifiers show the measured room level normally and show the setpoint only while you press the adjustment buttons.
Do not expect every model to switch at the exact displayed percentage. Controls may use a response delay or a cycling band to avoid rapid compressor starts. Check the manual for that behavior, allow the stated delay, and avoid repeatedly power-cycling the unit while you wait.
- Press the humidity controls and identify the selected target.
- Raise the target above the currently displayed humidity.
- Confirm that Continuous or Non-Stop mode is not selected.
- Wait for the compressor to stop; the fan may continue briefly.
- Compare the result with the instructions for your exact model.
If the compressor stops after you raise the target, the control system is responding. The previous setting was probably too low for the room’s moisture load.
Adjust Settings Gradually
Change the target in small steps instead of jumping directly to the lowest possible setting. Start around 50%, allow the room reading to stabilize, and then lower it by a few percentage points if needed. A basement may benefit from a setting near 40%–50%, but the best target depends on temperature, condensation risk, and the moisture entering the space. See the site’s guide to dehumidifier RH settings for a fuller explanation of the display and target.
Make one adjustment at a time and monitor a full operating cycle. This makes it easier to tell whether the setting, room conditions, or the appliance is responsible for the long runtime.
Test Sensor Response
Use a separate hygrometer to check whether the dehumidifier’s displayed humidity is reasonably close to the room’s actual level. Place it in the same room but outside the intake and exhaust airstream, away from a wet wall, open window, or heat source. Let both displays stabilize for the time specified by their manuals, then repeat the comparison in a second neutral location.
- Let the separate hygrometer stabilize in the room.
- Compare its reading with the dehumidifier display.
- Raise the setpoint above the measured room humidity.
- Listen for the compressor to stop after the unit responds.
- Repeat the comparison after moving the hygrometer to another suitable spot.
Compare the readings using the published accuracy or tolerance of both instruments. If either manufacturer gives no tolerance, record both readings and ask the dehumidifier manufacturer or a technician to interpret the difference rather than guessing that the sensor has failed. Do not replace the sensor solely because the fan continues to run.
Pro Tip: Raise the setpoint above the room’s independently measured humidity. If the compressor stops but the fan runs for a few more minutes, the humidistat is probably responding normally.
Can a Dirty Filter or Sensor Air Path Extend Runtime?
The humidistat is the humidity-control function; many current units use an electronic relative-humidity sensor. A clogged filter or grille can reduce moisture removal and extend runtime. Contamination may also bias some sensors, but sensor access and cleaning are model-specific. Unplug the dehumidifier, remove and clean the dehumidifier filter according to the manual, and gently vacuum only user-accessible grilles. Wash the filter only if the manufacturer labels it washable.
Do not spray cleaner, water, or compressed air directly into an electronic humidity sensor. Do not force the sensor element or open the control housing unless the manufacturer provides a user-service procedure. After cleaning the accessible airflow path, reinstall the filter, reconnect power, and compare the display with a separate hygrometer.
If the reading remains far from the independent measurement, perform the manufacturer’s reset procedure and check for a sensor-related error code. Persistent incorrect readings may require professional diagnosis or a replacement sensor.
Rule Out Airflow Problems and Frozen Coils
A clogged filter, blocked intake, obstructed exhaust, or tight placement reduces airflow across the coils. The unit then removes less moisture and may run much longer to reach the target.
- Unplug the unit and clean or replace the filter as directed in the manual.
- Remove dust from accessible intake and exhaust grilles.
- Move curtains, boxes, furniture, and walls away from the airflow openings.
- Use the clearance specified for your exact model rather than assuming one universal distance.
- Inspect the accessible coil surface for frost or solid ice.
ENERGY STAR explains that frost may form when room temperature falls below 65°F (18°C), although the actual operating limit varies by model. Some machines are designed for lower temperatures and some use automatic defrost. When frost forms, the compressor may stop while the fan continues running.
If the coils are heavily iced, switch the unit off, unplug it, and allow the ice to melt naturally. Protect the floor from water. Do not chip the ice with a knife, screwdriver, or other sharp tool because the coil and refrigerant tubing can be damaged. Clean the filter, improve airflow, and operate the unit in a warmer location if the manual requires it.
Note: During automatic defrost, fan-only operation is normal. Diagnose a nonstop problem based on compressor operation and humidity change, not fan noise alone.
Recommended Products
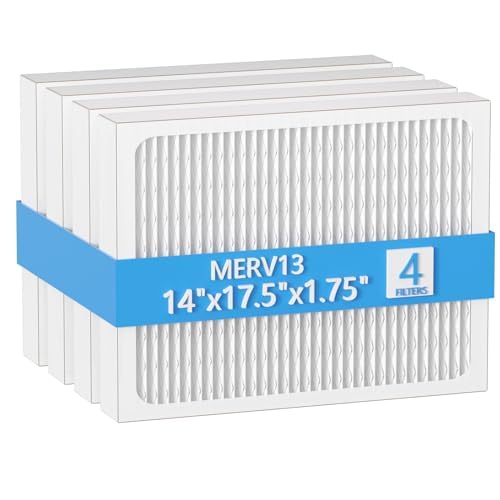
【Compatibility】 Our 14 x 17.5 x1.75 MERV 13 Replacement Dehumidifier Filter Media is Compatible with Honeywell DR90 & DR120 dehumidifier models.

COMPATIBILITY: Our DH02 HEPA filter compatible with Afloia (AQ8/Q8)/ Honati/ Hysure Q7/ Tenergy Sorbi 2-in-1 Air Purifier/Dehumidifier(1000ML) or please double check before order
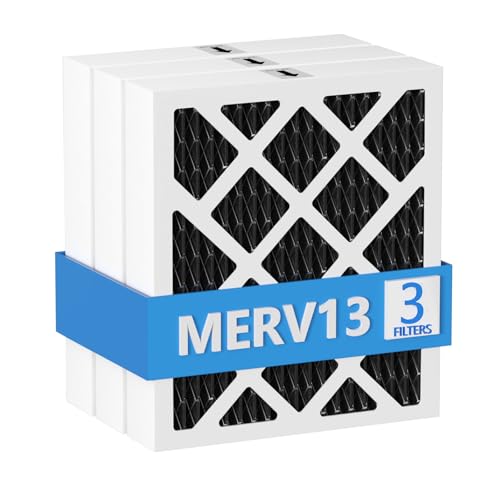
【Compatibility】 Our MERV 13 PN07126 Replacement Carbon Dehumidifier Filter Media is Compatible with Sanidry Sedona Dehumidifier PN07126 Replacement Filter.
Why the Bucket Still Fills Up
The bucket normally fills when you are not using continuous drainage. Fresh condensate shows that the unit has removed moisture, but short-term dripping after shutdown or defrost does not prove the compressor is currently operating. When the bucket reaches its full mark, the float and bucket switch should stop dehumidification and normally illuminate a full-bucket indicator.
If the bucket fills sooner than expected, the room may simply be very humid. If you expected water to leave through a hose, check the drain connection and hose route. If the bucket overflows, the behavior is not normal. The site’s guide to when to empty a dehumidifier covers normal bucket intervals in more detail.
- Unplug the dehumidifier.
- Empty and reinstall the bucket so it sits squarely in its guides.
- Check that the float moves freely and is not jammed by dirt or the bucket handle.
- Inspect the bucket for cracks and the drain connection for leakage.
- Resume normal use only while staying nearby. If the full indicator fails to appear at the marked level, water overflows, or the compressor continues, unplug the unit and contact the manufacturer. Do not manipulate or bypass the switch.
Do not leave a unit unattended if the bucket switch fails or water reaches electrical parts. A dehumidifier that continues extracting water after the bucket is full needs service or replacement.
Fix Hose Kinks, Sags, and Clogs
A kinked, rising, sagging, or clogged gravity-drain hose prevents water from leaving freely. The water may return to the bucket, activate the full-bucket switch, or leak around an incorrect connection. It does not normally force the compressor to keep running after a full-bucket condition.
- Unplug the appliance before disconnecting the hose.
- Confirm that the hose matches the size and connection specified by the manufacturer.
- Run the hose continuously downhill from the appliance to the drain.
- Remove bends, pinches, loops, and low spots that trap water.
- Flush the hose with clean water to remove sludge and debris.
- Check that the floor drain or other outlet is open and able to accept water.
- Reconnect the hose securely and watch for steady drainage during a test.
Frigidaire’s drainage guidance notes that a blocked hose can cause water to back up into the bucket and trigger a full-bucket stop. Always follow your own model’s drain instructions because adapter, hose, and slope requirements differ.
For a hose-specific diagnosis, see why a dehumidifier may not drain through the hose.
Why Auto Mode Won’t Turn Off
In Auto mode, the compressor should cycle according to the model’s measured humidity, response delay, and cycling band. If it does not stop, repeat the setpoint-response test above. Most apparent Auto-mode faults come down to the sensor reading, an unreachable target, or weak moisture removal.
Auto Mode Sensor Issues
The unit’s display may not represent room-average RH if the sensor-air path is dusty, the unit sits beside a damp wall, or discharge air recirculates into the intake. Clean only the user-accessible air path, move the unit to a neutral location, compare it with a stabilized hygrometer, and check the manual for a reset or error code. Do not diagnose a failed sensor from continued fan operation alone.
Humidity Setting Too Low
A target below ENERGY STAR’s general 30%–50% range can make the compressor chase a level the room cannot maintain while outdoor air, damp foundations, wet materials, and household activity add moisture. Raise the target to about 45%–50% for the test. If the compressor cycles off, lower it later only as needed for condensation or dampness.
Drainage or Airflow Problems
Poor airflow can reduce moisture removal and keep the room above the Auto-mode target. Poor drainage affects where condensate goes and usually causes a full-bucket stop, leak, or pump fault instead of commanding endless compressor operation. Clean the filter, clear the vents, check the operating temperature and frost, then inspect the bucket and model-approved drain setup.
If Your Dehumidifier Has a Pump
On many pump-equipped dehumidifiers, condensate first enters an internal reservoir and the pump starts at a model-defined level. The pump does not determine whether the room has reached the humidity setpoint; it manages condensate after moisture has been removed.
If the pump cannot move water, the unit may display an error, stop dehumidifying, or allow water to return to the bucket, depending on the model. A clogged or frozen pump hose should not be described as a normal reason for endless compressor operation.
- Make sure the pump feature is enabled if the model requires activation.
- Confirm that the pump hose is fully inserted and secured.
- Remove kinks, sharp bends, ice, and external blockages.
- Clean accessible pump pickups or screens according to the manual.
- Keep the discharge height and hose length within the manufacturer’s limits.
- Reset the unit after correcting the water path.
If the pump repeatedly fails, leaks internally, or produces the same fault after cleaning, stop using continuous drainage and arrange service.
When a Sensor Replacement Helps
A replacement humidity sensor or evaporator thermistor can help when testing confirms that the component is supplying an incorrect signal. Replacement should come after mode, humidity, airflow, frost, drainage, placement, and reset checks.
Recommended Products

✨✨✨COMPATIBILITY: Specifically designed to work with HIS06 humidifier models as a direct replacement humidity and temperature sensor module board

Compatible With Models Having Tank Capacities of 50 and 70 Pints.

COMPATIBILITY: Specifically designed as a replacement humidity sensor module board for HIS06 model for dehumidifiers and humidifiers
Faulty Humidistat Signals
A failed humidistat or electronic humidity sensor can continue calling for dehumidification after the room reaches the target. Possible signs include a difference larger than the published tolerances of both instruments, no compressor response after the model’s stated delay, or a model-specific sensor code. Wiring and control faults can mimic a failed humidity sensor.
- Compare the display with a separate hygrometer under stable conditions.
- Raise the target above the measured room humidity.
- Clean the filter and accessible sensor-air path.
- Perform the manual’s reset procedure.
- Check the manufacturer’s error-code guidance.
- Arrange model-specific testing if the readings remain incorrect.
Electrical testing of the humidistat, sensor circuit, relay, or control board requires model-specific service data. Do not open an electrical enclosure or probe line-voltage components as part of general DIY troubleshooting; use a qualified appliance technician.
Evaporator Thermistor Failure
A coil-temperature sensor is used on some models to manage defrost. Frigidaire explains that the coil sensor on its covered models can stop the compressor so frost melts. A model-specific error code or approved test is needed before replacing the sensor; fan-only operation, icing, or low water output by itself does not confirm a bad thermistor.
Thermistor diagnosis requires the manufacturer’s resistance chart, specified test temperature, and safe access to internal connectors. Have a qualified technician perform that test and replace the thermistor only when the result or a model-specific error code supports the diagnosis.
Step-by-Step Troubleshooting Checklist
- Identify what is running: Determine whether you hear the compressor or only the fan.
- Check the mode: Exit Continuous, Non-Stop, or CO mode and cancel any Laundry or Dryer program for this test.
- Raise the setpoint: Select approximately 45%–50% for the test.
- Measure independently: Compare the display with a separate hygrometer.
- Control the room: Close doors and windows and stop avoidable moisture sources.
- Clean the airflow path: Unplug the unit, clean the filter, and clear the grilles.
- Check for frost: Allow iced coils to thaw and verify the room is warm enough.
- Inspect water handling: Seat the bucket, free the float, and clear the hose or pump line.
- Reset and check codes: Follow the owner’s manual and record any returning error.
- Call for service: Seek model-specific diagnosis if the compressor ignores the raised setpoint or the display remains inaccurate.
The most useful test is simple: in Auto mode, raise the humidity target above the independently measured room humidity. After the model’s stated response delay, the compressor should stop; the manual will tell you whether continued fan operation is normal.
Before contacting support: Record the model number, selected mode, setpoint, independent room humidity, room temperature, whether the compressor or only the fan is running, visible frost, water collected, and any error code. These observations make model-specific diagnosis more useful.
When to Call for Repair
Arrange service if the unit ignores a setpoint above independently measured humidity or repeatedly freezes within its approved temperature range. Also stop DIY troubleshooting for recurring control, compressor, sensor, or pump errors, leaks near electrical parts, or failure to stop when the bucket actually reaches its full position.
Internal control boards, capacitors, compressor circuits, and refrigerant lines are not routine user-service items. Do not bypass the bucket switch or any other safety control to keep the appliance running.
When to Replace the Dehumidifier
Before replacing the unit, check its warranty and recall status, ask whether the required parts are available, and compare a written repair estimate with the cost of a correctly sized replacement. Follow the remedy specified for any recalled model. Replacement may make more sense after repeated electrical or sealed-system faults, or when the unit cannot lower humidity despite correct settings, suitable temperature, clean airflow, controlled moisture sources, and adequate capacity.
- No humidity drop: After the model’s recommended initial drying period, an external hygrometer shows no meaningful downward RH trend in a closed room within the approved operating range.
- Low water output: The filter and coils are clean, the room is warm and humid, and the unit still collects much less water than expected.
- Repeated errors: Sensor, pump, overload, or control codes return after the approved reset and basic checks.
- Unsafe operation: The unit overheats, smells burnt, damages its plug or outlet, leaks near electrical parts, or is recalled.
- Failed safety control: The compressor continues extracting water after the bucket actually reaches its full position.
- Frequent costly repairs: The likely repair cost is not reasonable compared with a newer correctly sized unit.
Low water collection alone does not prove refrigerant loss. Do not compare household bucket collection directly with the pint-per-day rating: current portable units are rated under standardized DOE test conditions at 65°F. Judge performance mainly by whether room RH trends downward after temperature, frost, airflow, room size, moisture load, and control operation are checked. Have a qualified technician diagnose a suspected sealed-system problem.
Recommended Products

Premium Quality Material:This dehumidifier hose is made of durable and thick PVC, which has moderate flexibility and is easy to bend without breaking; Ripple design can prevent tangling, ensure smooth water flow, and make it easy to move in small spaces

Compatibility: There are 2 types of hose connector size design, the larger one is suitable for tubes ranging from 0.79in to 0.98in, and it can also cut to smaller one is suitable for tubes ranging from 0.59in to 0.79in. Beyond dehumidifiers, this versatile hose is ideal for draining portable air conditioners, dishwashers, and washing machines, making it a complete drainage solution

MULTIFUNCTIONAL UNIVERSAL DRAIN HOSE: This drain hose has multiple uses, in addition to being suitable for dehumidifier drainage, it is also suitable for air conditioner drainage as well as being suitable for a variety of gardening tasks. Additionally our dehumidifier drain hose can be cut to your desired length to customize it for different situations.
Frequently Asked Questions
Why is my dehumidifier constantly running?
The room may still be above the humidity setpoint, Continuous mode may be selected, or poor airflow, frost, open doors, active moisture sources, insufficient capacity, or an inaccurate sensor may be extending runtime. Raise the setpoint, compare it with a separate hygrometer, and determine whether the compressor or only the fan is running.
Why does the fan keep running after the compressor stops?
Many dehumidifiers keep the fan on briefly after the compressor stops to move remaining moisture from the coils and obtain a more accurate humidity reading. The fan may also operate during automatic defrost. Check the manual if fan-only operation continues much longer than the model specifies.
Why does my dehumidifier never shut off in Auto mode?
The selected target may be below the room’s achievable humidity, the sensor may be reading a damp or poorly ventilated spot, or the unit may not be removing moisture efficiently. Confirm the mode, raise the setpoint, compare the display with a separate hygrometer, and check the filter, coils, room temperature, and moisture sources.
How long should a dehumidifier run before shutting off?
There is no universal dehumidifier runtime. A correctly set unit may run for long periods during the initial drying of a damp room, then cycle once it reaches the target humidity. Judge operation by the independently measured RH trend, compressor cycling, water removal, room conditions, and the behavior specified in the model manual—not by a fixed number of hours.
Is it safe to leave a dehumidifier running continuously?
Use continuous operation only as the owner’s manual allows. Keep the unit on a stable surface with clear airflow, use the specified bucket or drain setup, and inspect the cord and plug. Do not keep using a unit that overheats, leaks near electrical parts, smells burnt, sparks, or appears in the CPSC recall search.
Why is my dehumidifier running but not collecting water?
If only the fan is running, the setpoint may be satisfied or the unit may be defrosting. If the compressor is running, low room temperature, iced coils, blocked airflow, low ambient humidity, or a sealed-system fault can reduce collection. Check the model’s operating range and arrange service if room humidity does not fall after the approved checks.
Why does my dehumidifier keep running after I press Power?
Some models run only the fan for a timed coil-drying or cooldown period after Power is pressed. Check the manual for the normal shutdown sequence. If the compressor keeps running, the controls do not respond, or the cord or plug becomes hot, unplug the unit and arrange service.
Should a dehumidifier shut off when the bucket is full?
Yes. A portable dehumidifier should normally stop dehumidifying when its bucket reaches the full position. If it overflows or the compressor continues extracting water, unplug the unit and check the bucket seating, float, and switch. Do not bypass the full-bucket safety control.
Conclusion
Start with the setpoint-response test: measure room humidity away from the intake and exhaust, exit continuous and drying programs, and set a numbered target above that stabilized reading. If the compressor stops, the humidity control is responding; if only the fan continues, check the model’s fan and defrost behavior.
If the compressor still runs after the manual’s stated response delay—or the unit overheats, leaks near electrical parts, sparks, or fails to stop when the bucket actually fills—unplug it, check the CPSC recall search, and arrange model-specific service.
Sources
- ENERGY STAR: Dehumidifiers — humidity targets, operating temperature, capacity, humidistats, and full-bucket shutoff.
- ENERGY STAR: Dehumidifier Testing and Capacity — current portable-unit test conditions and capacity-rating context.
- GE Appliances: Dehumidifier Will Not Shut Off — Continuous and Non-Stop modes, fan delay, setpoint response, and reset guidance for covered GE models.
- GE Appliances: Dehumidifier Fan Stays On — normal fan delay, frost, filter, and compressor cycling behavior.
- GE Appliances: Not Reaching Proper Humidity Level — initial drying time, sizing, room closure, airflow, and filter checks.
- Frigidaire: Dehumidifier Not Draining — gravity-hose setup, blockage, water backup, and full-bucket behavior.
- Frigidaire: Room Is Not Dry Enough — initial drying time, setpoint, bucket, airflow, and model operating-temperature guidance.
- Frigidaire: Dehumidifier Frost Buildup — model-specific coil-sensor and defrost behavior.
- U.S. Consumer Product Safety Commission: Recalls & Product Safety Warnings — search by brand and model to identify recalled dehumidifiers and required remedies.
- Frigidaire: Dehumidifier Fan Turning On and Off Periodically — setpoint display, CO mode, compressor cycling, and post-cycle fan delay.
- De’Longhi: Why the Fan Continually Runs — an example of model logic that uses continuous fan operation to monitor room humidity.

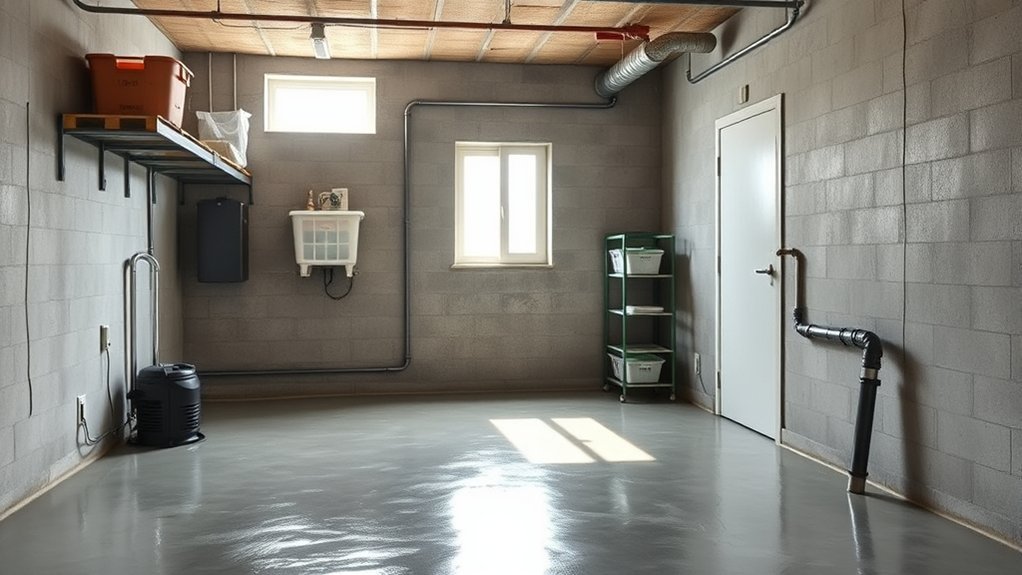
[…] or sits below grade like a basement, choose more capacity rather than less. An undersized unit may run constantly and still fail to control […]
[…] hygrometer rather than assuming the dehumidifier is the cause. Over-drying is more likely when the unit runs nonstop, Continuous mode is selected, the humidity target is set too low, or the built-in humidistat is […]