Creating a mood board for your living room helps turn scattered ideas into a clear design direction before you buy furniture, paint, rugs, lighting, or decor. Instead of guessing whether a sofa, wall color, throw pillow, and coffee table will work together, you can see the full look in one place, adjust it, and shop with more confidence.
Quick Answer
To create a living room mood board in Canva, gather room measurements, inspiration images, product photos, colors, textures, and fabric samples. Upload them into Canva, remove distracting backgrounds when useful, arrange everything by scale and style, label key items, then download the board as a PNG, JPG, or PDF for shopping and planning.
Key Takeaways
- A good living room mood board should include furniture, colors, textures, lighting, art, rugs, window treatments, and any existing pieces you plan to keep.
- Canva is useful for mood boards because you can upload images, use templates, arrange elements with drag-and-drop tools, and collaborate with others.
- Keep product names, prices, dimensions, and source links with your board so it becomes a practical shopping guide, not just a pretty collage.
- Before buying anything, check scale, color balance, texture variety, and how the room will function day to day.
At a Glance
| Time Required | 45 minutes to 2 hours, depending on how many products and inspiration images you collect |
| Difficulty | Beginner-friendly |
| Tools Needed | Canva account, product images, inspiration photos, room measurements, paint or fabric samples, and a folder for saved sources |
| Cost | Free if you use your own images and free Canva elements; optional paid tools may apply for some premium features |
What Is a Mood Board and Why Is It Essential for Your Living Room Design?
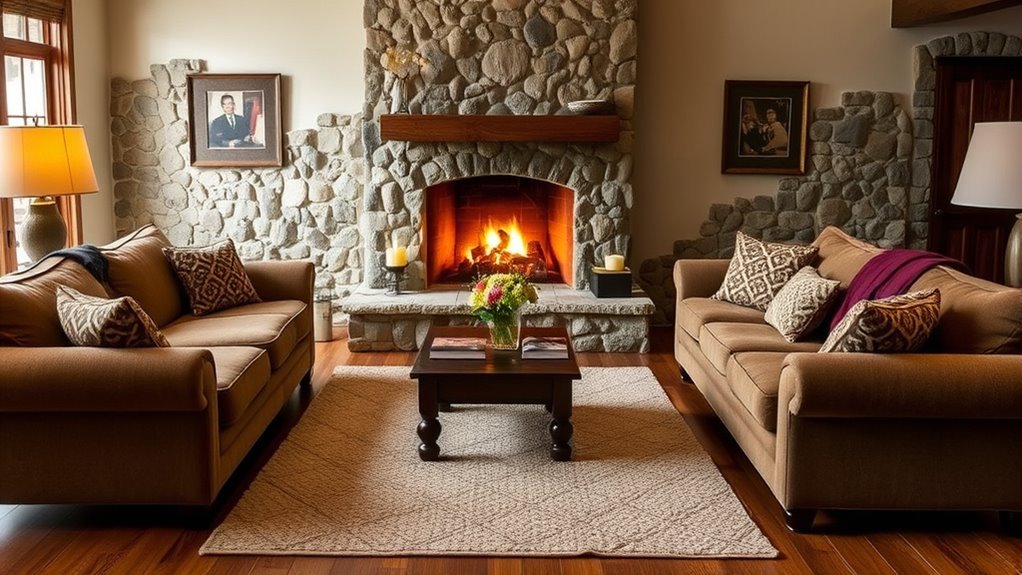
A mood board is a visual plan that brings your design ideas, color palette, furniture choices, textures, and accessories into one cohesive collage. For a living room, it works like a creative compass: it helps you compare sofas, rugs, coffee tables, curtains, lamps, wall colors, and art before you commit to purchases.
This is especially helpful when several people are involved in the design process. A mood board makes it easier to explain your style to a partner, family member, decorator, contractor, or salesperson. It also helps you spot mismatched finishes, awkward color combinations, or pieces that do not fit the room’s mood before you make costly mistakes.
Note: A mood board is not the same as a floor plan. A mood board shows style, color, and material direction. A floor plan shows layout, scale, traffic flow, and furniture placement. For the strongest design plan, use both.
Before You Start, Define Your Living Room Constraints
Before opening Canva, spend a few minutes noting the practical details of your living room. This keeps your mood board beautiful and realistic.
- Room measurements: Measure the wall lengths, window sizes, ceiling height, doorways, and the maximum sofa or rug size that will fit.
- Must-keep items: Add photos of pieces that are staying, such as a sofa, TV console, heirloom chair, rug, or artwork.
- Fixed finishes: Note flooring, trim color, fireplace material, built-ins, and any hardware or metal finishes you need to coordinate with.
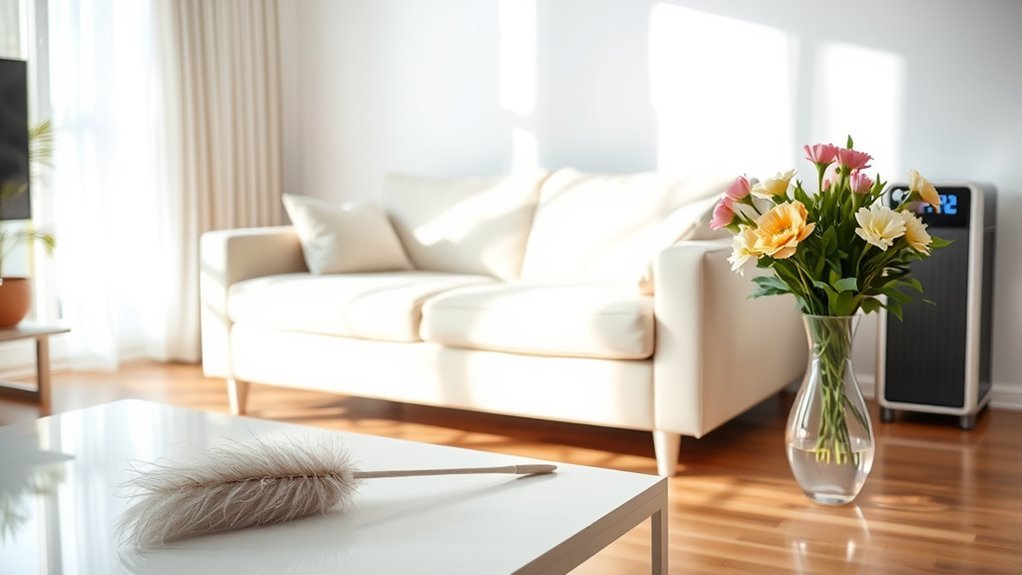
- Lighting: Consider how the room looks in morning light, afternoon light, and evening lamp light.
- Budget: Set a rough total budget and decide which items deserve the biggest investment, such as seating, rugs, or lighting.
- Function: Decide whether the room is mainly for relaxing, hosting, watching TV, reading, working, or family time.
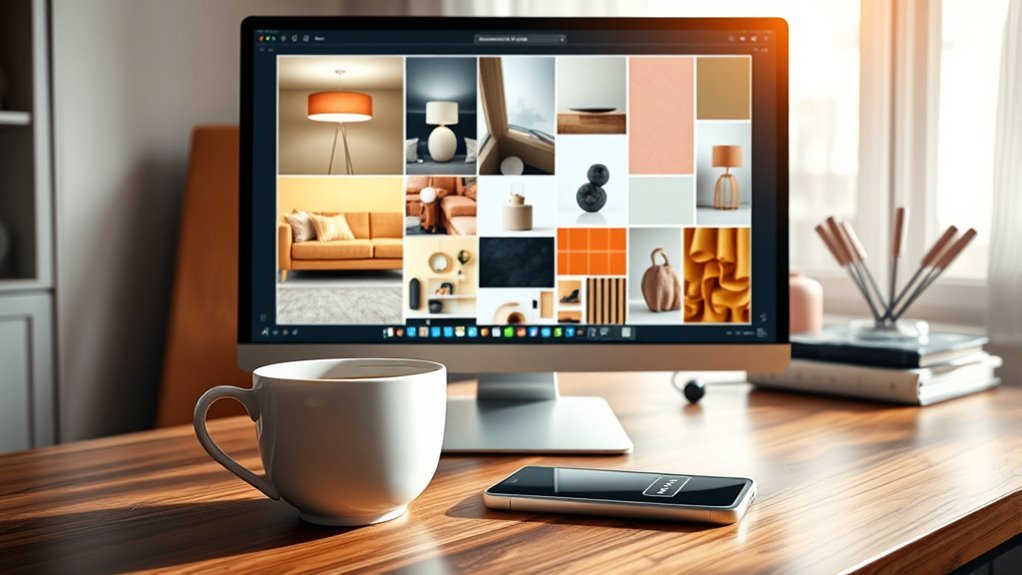
Create Your Digital Mood Board in Canva
Getting started with Canva is straightforward, and it gives you a flexible workspace for your mood board. Canva’s own mood board creator includes templates, a drag-and-drop editor, uploads, media search, and collaboration options, which makes it a practical tool for a living room design board. Canva’s mood board creator also describes mood boards as collections of images, textures, typography, color palettes, and descriptive words.
Getting Started With Canva
Sign in to Canva and create a new design. You can begin with a mood board template, a presentation slide, a poster layout, or a custom size. If you plan to save the board on your phone, a vertical format is easy to reference while shopping. If you plan to print it or show it during a consultation, a landscape presentation format may be easier to read.
| Action | Tool/Feature | Purpose |
|---|---|---|
| Create a new design | Canva | Start your mood board canvas |
| Upload images | Uploads section | Add furniture, decor, room photos, and material samples |
| Download your board | Download options | Save, share, print, or reference while shopping |
Customizing Your Mood Board
Customizing your mood board is where your room starts to take shape. Upload specific images of furniture and decor, then add paint colors, fabric swatches, wood tones, metal finishes, and inspiration photos. Choose a background color that does not compete with your design elements; white, warm beige, soft gray, or a muted version of your main wall color usually works well.
Use Canva’s built-in templates or media library for layout inspiration, but keep your board focused on your actual living room. Once the board feels balanced, download it in a format that matches your use: PNG or JPG for quick phone reference, or PDF if you want a printable version for a design meeting or shopping trip.
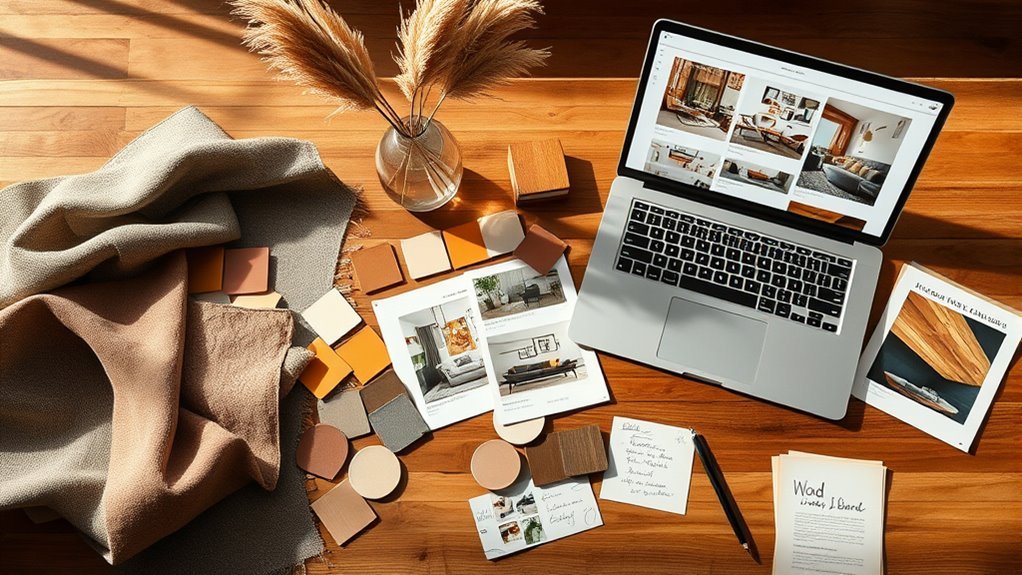
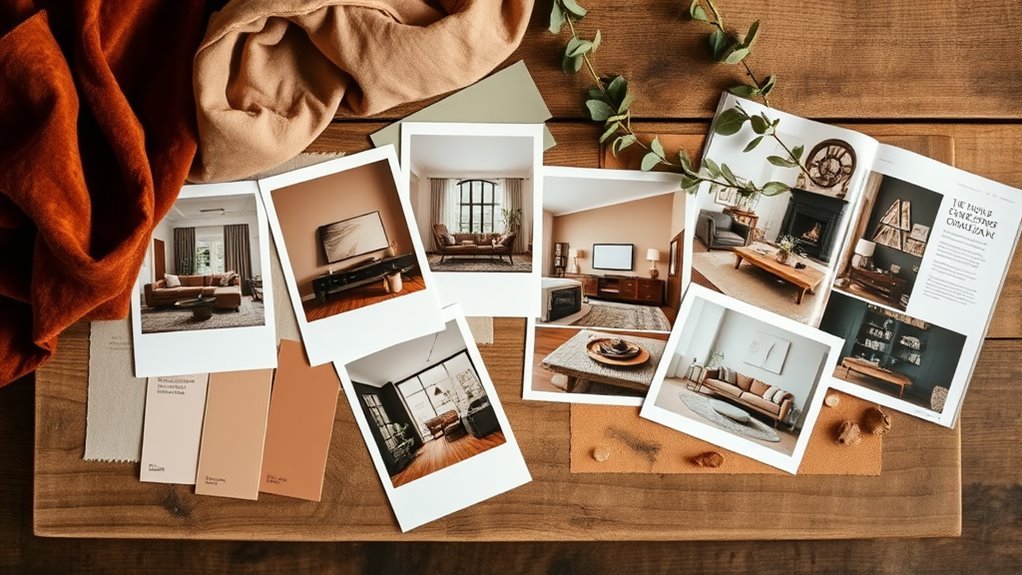
Gather Mood Board Inspiration for Your Living Room
To capture the feel of your dream living room, gather inspiration from Pinterest, design blogs, retailer lookbooks, manufacturer websites, magazines, hotel lobbies, cafes, and homes you admire. Create a dedicated folder or Pinterest board for images that match your preferred mood, then look for patterns. You may notice you keep saving curved sofas, warm woods, linen curtains, deep green accents, or vintage brass lighting.
| Element | Description |
|---|---|
| Furniture | Cozy modern sofa, accent chairs, coffee table, media cabinet |
| Decor | Warm textured throws, pillows, vases, trays, books, art |
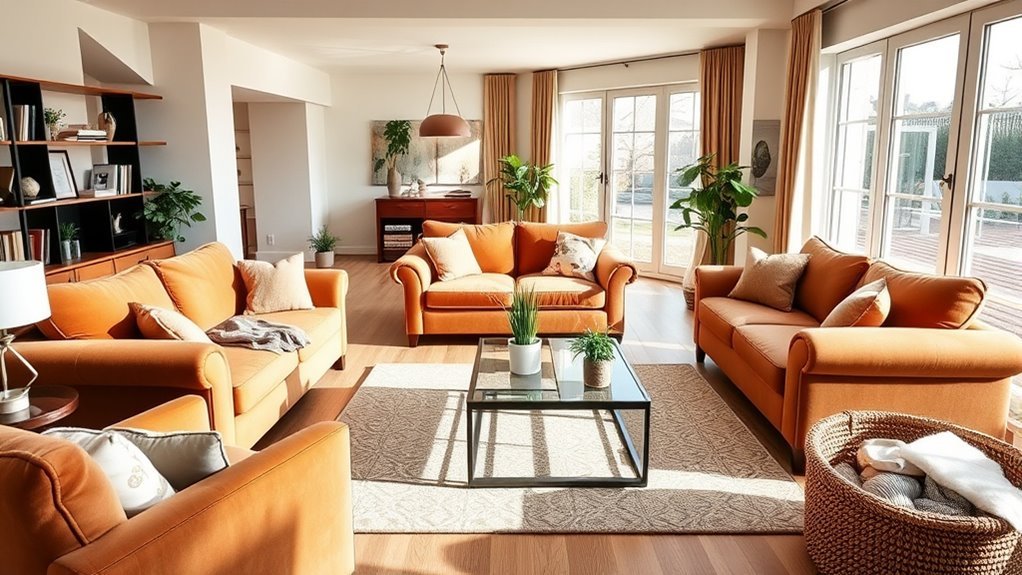
| Color Scheme | Earthy neutrals, greens, warm whites, charcoal, terracotta, or another focused palette |
| Fabrics | Soft linens, velvet, boucle, leather, cotton, wool, natural fibers |
| Accessories | Unique art pieces, plants, lamps, baskets, mirrors, and personal objects |
Incorporate elements from your existing decor to maintain cohesion while exploring new ideas. This keeps the board grounded in your real space instead of becoming a collection of unrelated inspiration images.
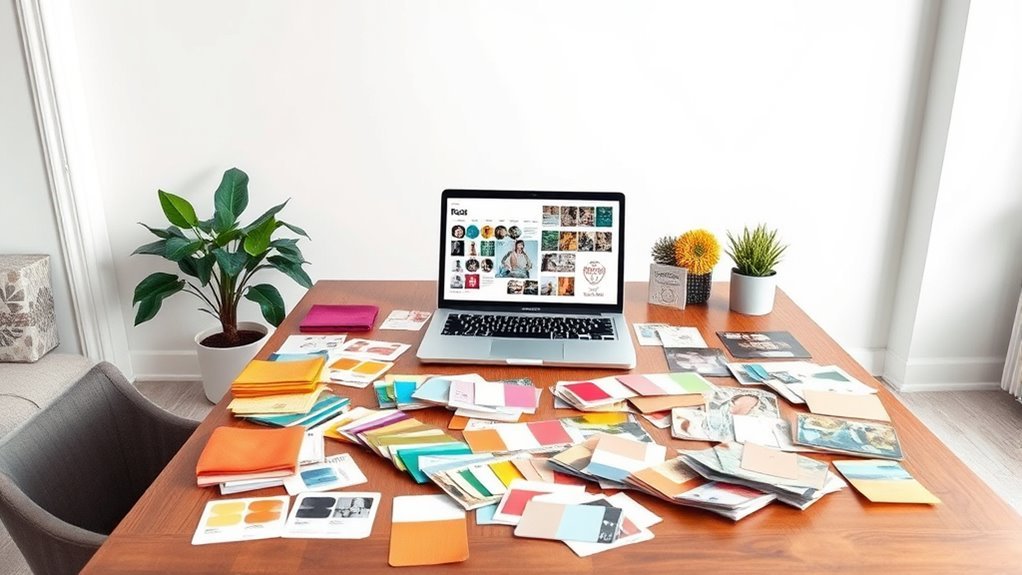
Tips for Collecting and Uploading Images for Your Mood Board
As you gather inspiration for your living room, focus on collecting images that help you make decisions. A beautiful photo is useful, but a product image with the correct dimensions, finish, and price is even more useful when you are ready to shop.
- Use diverse sources: Collect images from Pinterest, manufacturer websites, retailer pages, design magazines, paint brands, and your own room photos.
- Save clean images: Choose images with plain or light backgrounds when possible. They are easier to crop, layer, and compare.
- Track the source: Save the product name, retailer, dimensions, price, and URL in a note or text box on the board.
- Organize by category: Create folders for sofas, rugs, lighting, art, curtains, paint, and accessories so you can upload quickly.
- Check file quality: Use clear images instead of blurry screenshots. Canva notes that common image uploads include JPEG/JPG, PNG, HEIC/HEIF, and WebP, with size and pixel limits, so check current upload requirements if a file will not upload.
Pro Tip: Add a small text label under each product image with the item name, size, and price. Your future self will thank you when you are comparing two similar rugs or trying to remember where you found a lamp.
Use Background Removal for a Clean Look
Background removal can make your mood board look cleaner by removing distracting showroom floors, white boxes, or lifestyle settings around a product image. Canva’s Background Remover is designed to remove image backgrounds and download a high-resolution PNG, but access and usage can depend on your Canva plan.
Use background removal for items like sofas, chairs, lamps, plants, and accessories when you want to compare silhouettes or layer pieces closely. Keep the original lifestyle photo nearby when scale, styling, or real-life texture matters.
Warning: Do not rely only on cutout images when buying large furniture. A sofa may look perfect as a cutout but feel too bulky, too low, or too cool-toned once you compare its actual dimensions and fabric in your room.
Select Color Palettes and Textures for Your Mood Board
A strong living room mood board needs both color and texture. Start with 3–5 main colors: one base neutral, one or two supporting tones, and one or two accent colors. Warm hues can make a room feel cozy, while cooler tones can feel calm and airy. The right choice depends on your light, flooring, existing furniture, and the mood you want.
- Choose a color palette: Use 3–5 colors that work with your fixed finishes, such as flooring, stone, tile, trim, or built-ins.
- Incorporate textures: Add fabric swatches, rug close-ups, wood tones, metal finishes, ceramics, glass, and natural fibers.
- Add patterns carefully: Mix large, medium, and small-scale patterns so the room feels layered instead of chaotic.
- Check lighting: If possible, compare paint chips and fabrics in daylight and evening light before finalizing the board.
For a balanced look, place soft materials near hard finishes. For example, if your board includes a sleek metal coffee table and a smooth leather sofa, add a wool rug, linen curtains, woven baskets, or boucle pillows to soften the room.
Arrange Your Mood Board for Maximum Impact
Creating a visually striking mood board requires more than dropping images onto a blank canvas. Arrange images in groups based on similar colors, textures, or functions so the board has a harmonious visual flow. A grid layout can keep everything clean, while a looser collage can feel more creative and editorial.
Place the largest or most important items first, such as the sofa, rug, wall color, and coffee table. Then add smaller supporting pieces like pillows, art, lamps, plants, books, and trays. Use text labels to clarify product names, materials, dimensions, or inspiration notes.
Step back and review the board as a whole. Ask yourself: Does one color dominate too much? Are there enough warm and cool elements? Do the wood tones fight each other? Is the room too flat, too busy, too formal, or too casual? Adjust the board before you start buying.
Download and Save Your Finished Mood Board
Once you have refined your mood board, save it in a format that fits how you will use it. In Canva, you can download a design for online viewing, printing, or sharing.
- Click the download option in Canva.
- Choose PNG or JPG for easy phone reference, or PDF if you plan to print the board.
- Save a copy on your phone and computer so it is easy to access during shopping trips.
- Keep an editable Canva version so you can swap products as prices, availability, or preferences change.
Make sure the downloaded board clearly shows your chosen color palette, key furniture pieces, materials, and source notes. This makes it easier to communicate your vision with clients, family members, sales associates, or design professionals.
Leverage Your Mood Board for Smart Shopping Choices
Your mood board becomes most valuable when you use it as a shopping filter. Keep it open on your phone when visiting furniture stores, antique shops, paint stores, and home decor retailers. It will help you avoid impulse buys that look good alone but do not fit your overall room.
Before buying, compare each item against your board:
- Color: Does it match, complement, or clash with your palette?
- Scale: Are the dimensions right for your room and other furniture?
- Material: Does the texture add something new, or is it repeating too much of what you already have?
- Style: Does it support the room’s mood, or does it pull the design in another direction?
- Budget: Does it fit your spending plan, including delivery, tax, installation, or fabric protection?
Use the board to communicate your style preferences with sales associates so their recommendations are more focused. If you are choosing custom furniture, curtains, or upholstery, bring the mood board along with measurements and fabric samples.
Additional Resources for Mood Board Creation and Design Tips
To elevate your mood board creation, use resources that help you make better design decisions instead of simply collecting more images. Online platforms can spark ideas, but your best board will combine inspiration with actual products, dimensions, samples, and practical notes.
Recommended Design Resources
- Pinterest: Useful for gathering inspiration images, identifying repeated style preferences, and exploring color palettes.
- Manufacturer and retailer websites: Best for product photos, dimensions, materials, finishes, and prices.
- Canva: Helpful for creating a polished mood board with uploaded images, templates, text labels, grids, frames, and collaboration features.
- Paint and fabric brands: Useful for accurate color names, swatches, undertones, and material details.
- Your own photos: Essential for including existing flooring, furniture, window light, and architectural features.
Inspiration Sources Online
Start with Pinterest, design blogs, Instagram, online magazines, and interior designer portfolios. Then narrow your choices by saving only the images that match your living room’s function, light, budget, and architecture. If your room is small, prioritize inspiration images from small living rooms. If you have dark floors or low ceilings, save rooms with similar conditions so your board stays realistic.
Tips for Effective Collaboration
Effective collaboration is essential when more than one person has a say in the living room design. Use Canva or Pinterest to share your mood board digitally, then ask for feedback on specific choices instead of asking, “What do you think?”
- Share digitally: Send the board to partners, clients, or family members so everyone can review the same visual direction.
- Encourage contributions: Invite others to add inspiration images, but ask them to explain what they like about each image.
- Schedule check-ins: Review the board after major choices, such as sofa, rug, paint, or lighting, so the design stays aligned.
Common Mood Board Problems and How to Fix Them
Even a beautiful mood board can miss the mark if it is too vague or overloaded. Use these quick fixes before you finalize it.
- Problem: Too many styles. Fix it by choosing three style words, such as warm, modern, and relaxed, then deleting anything that does not fit.
- Problem: The board feels flat. Add texture contrast, such as woven fibers, velvet, ceramic, wood, glass, metal, or stone.
- Problem: The palette feels messy. Limit the board to 3–5 main colors and repeat each color more than once.
- Problem: Products look good but may not fit. Add dimensions next to large pieces and compare them with your room measurements.
- Problem: You cannot find the items later. Add product names, retailer names, prices, and source links as small labels or notes.
- Problem: The board is visually crowded. Use a grid, add white space, and group items by category.
Frequently Asked Questions
What is the 70/30 rule in interior design?
The 70/30 rule is a simple design guideline, not a strict rule. It usually means letting about 70% of the room support the main style or color direction, while about 30% adds contrast, personality, or accent details. On a mood board, this can help you balance a dominant look with enough variety to keep the room interesting.
What 5 elements must you include on a mood board?
For a living room mood board, include a color palette, key furniture, textures or fabric swatches, lighting, and decor or art. If you want the board to guide real purchases, also include product names, dimensions, prices, and source links.
What is the best tool to create a moodboard?
Canva is one of the easiest tools for beginners because it offers templates, uploads, grids, frames, text labels, and drag-and-drop editing. Adobe Illustrator, Photoshop, Milanote, Pinterest, and design-specific collage apps can also work well depending on how detailed or professional you want the board to be.
What are common mood board mistakes?
Common mood board mistakes include mixing too many styles, using too many colors, ignoring scale, forgetting room measurements, choosing blurry images, failing to track product sources, and creating a board that looks beautiful but does not match the way the room will actually be used.
Can I make a living room mood board for free?
Yes. You can make a living room mood board for free by using your own photos, free Canva elements, screenshots from retailer websites, paint swatch images, and a simple Canva layout. Paid features may be useful for premium templates, certain images, or advanced editing tools, but they are not required for a basic mood board.
Should a mood board include prices and measurements?
Yes, if you plan to shop from the board. Add prices, dimensions, retailer names, fabric names, finish names, and source links for major pieces. This turns your mood board into a practical buying guide and helps prevent mistakes with scale, budget, and availability.
Conclusion
Creating a mood board for your living room does not need to feel overwhelming. Start with your real room, gather inspiration, choose a focused palette, upload product and texture images into Canva, then arrange everything into a clear visual plan. With tools like Canva, you can create a polished board even without design experience. More importantly, you will have a practical guide for shopping, comparing options, and building a living room that feels cohesive, personal, and comfortable to come home to.
Sources
- Canva Mood Board Creator — supports Canva mood board features, templates, drag-and-drop editing, collaboration, and common mood board contents.
- Canva Background Remover — supports the background removal workflow and PNG download guidance.
- W3C WAI Images Tutorial — supports the need for useful image text alternatives based on image purpose and context.
- Schema.org HowTo — supports HowTo structured data for step-based instructional content.
- Schema.org FAQPage — supports FAQPage structured data for pages with frequently asked questions.