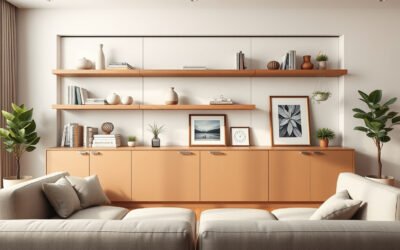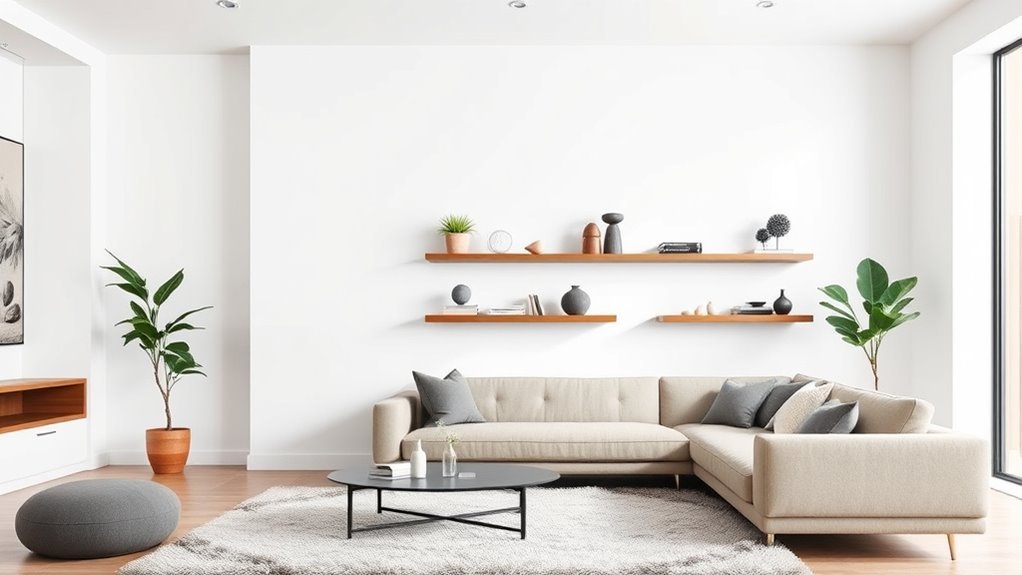
Planning wall shelves in a living room starts with three decisions: where the shelves will go, what they need to hold, and how they will be mounted safely. Measure the wall, choose shelf depth and material based on your items, confirm the wall type, and use hardware rated for the total weight of the shelves and everything displayed on them.
Quick Answer
To plan living room wall shelves, measure the wall, decide what you will store or display, choose a shelf depth that fits those items, and mark a layout with balanced spacing. For installation, mount into studs when possible or use wall anchors rated for the total load.
Key Takeaways
- Plan the shelves around the items first: books need more depth and stronger support than photos or small decor.
- Use a stud finder, level, drill, and hardware rated for the shelf’s total loaded weight.
- Leave negative space so the shelves look styled, not crowded.
- Avoid universal weight rules; shelf capacity depends on the wall, brackets, anchors, shelf depth, fasteners, and manufacturer rating.
At a Glance
| Time Required | 1–3 hours for planning and installing a simple shelf set; longer for custom woodwork or masonry walls |
| Difficulty | Beginner to intermediate, depending on shelf weight, wall type, and hardware |
| Tools Needed | Tape measure, pencil, painter’s tape, level, stud finder, drill, drill bits, screwdriver, safety goggles, step stool, and hardware instructions |
| Cost | Usually $40–$250+ depending on shelf length, wood type, brackets, anchors, finish, and whether you buy premade or build custom shelves |
Evaluate Wall Space and Shelf Purpose
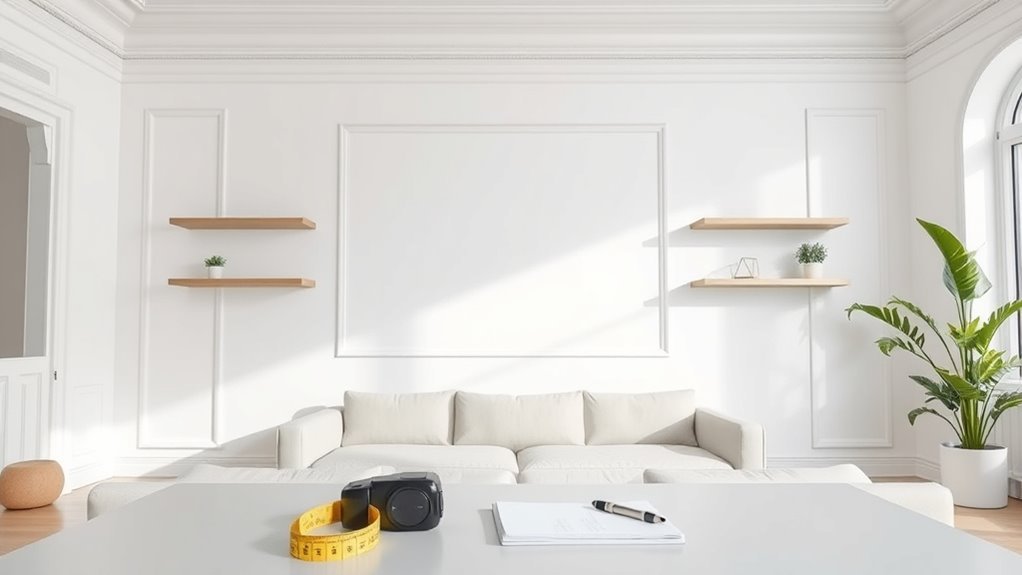
Before buying shelves or cutting wood, study the wall like a small floor plan. Measure the total wall width, the height from floor to ceiling, and the space around windows, doors, outlets, light switches, vents, artwork, sconces, and furniture. A shelf above a sofa, TV console, reading chair, or sideboard should feel intentional rather than squeezed into leftover space.
Next, decide the purpose of the shelves. Are they for books, framed photos, plants, speakers, small sculptures, baskets, or a mix? This choice affects the shelf depth, material, spacing, and mounting hardware. Lightweight decor can sit on shallower ledges, while books and larger objects need deeper shelves and stronger support.
- For books: measure your largest books and choose shelves deep enough to support them without overhang.
- For art and photos: use shallow picture ledges or floating shelves with a lip if frames may slide.
- For plants: consider light, watering access, saucers, and whether moisture could damage wood.
- For everyday items: keep them within comfortable reach instead of placing them on the highest shelf.
Note: If you rent or cannot drill into the wall, use a freestanding bookcase, leaning ladder shelf, or low console instead of relying on adhesive hooks for loaded shelves.
Choose the Right Style, Depth, and Material for DIY Wall Shelves
The best shelf style depends on how much visual weight you want. Floating shelves create a clean, minimal look because the hardware is hidden. Shelves with visible brackets are often easier to install, easier to inspect, and better for heavier displays when the brackets and fasteners are properly rated. Picture ledges are ideal for framed art, while box shelves or cubbies add storage but look busier.
For materials, solid wood such as white oak, maple, walnut, or pine can look warm and timeless. Plywood can be a practical DIY option when properly finished and supported. Metal brackets add strength and contrast. Avoid choosing material by looks alone: shelf span, depth, thickness, bracket spacing, wall type, and load rating all affect whether shelves stay level over time. For shelf spans and sag prevention, choose materials and supports based on what the shelves will hold, not just the color or style.
As a general planning rule, choose the shallowest shelf that fits your items. Deeper shelves create more leverage on the wall and usually need stronger brackets or closer support spacing. Before installing, check the product details or manufacturer instructions for the shelf, bracket, anchors, and screws. Guides from Real Simple and The Spruce also emphasize matching shelf depth, thickness, material, span, and hardware to the intended load.
Recommended Products

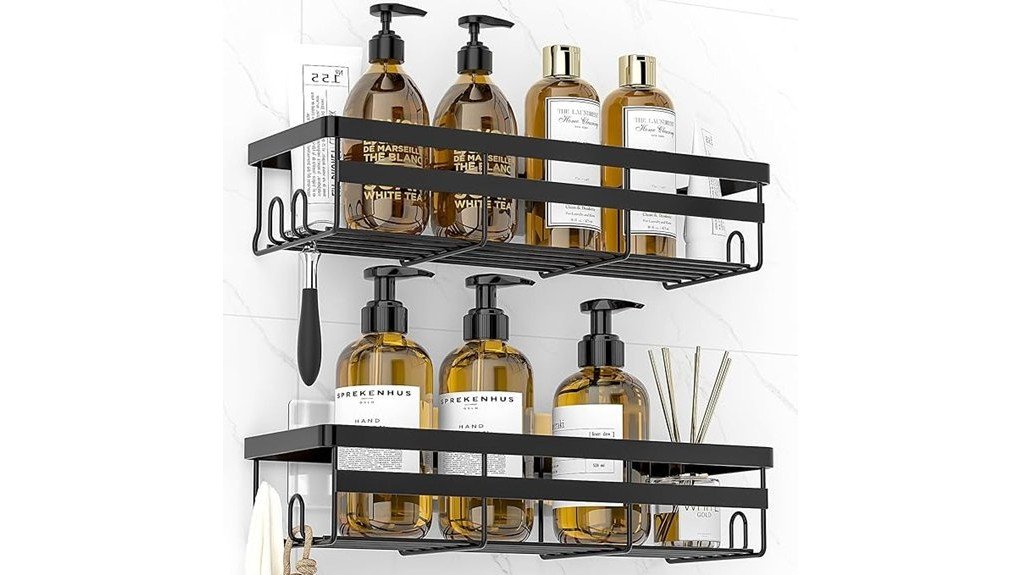
Centerpiece of Room Decoration - These shelves boast a distinctive design and an elegant shape, making them a focal point that elevates the style of any room. Ideal for the living room, bedroom, study, bathroom, laundry room, children's room, or office, they reflect the owner's sophisticated taste and blend seamlessly with various decor themes.
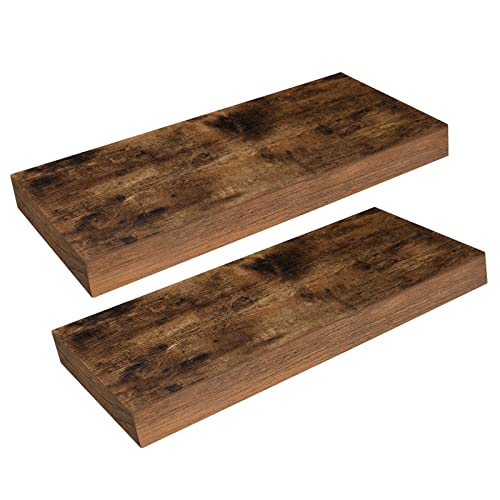
High Quality: Sized in 15.7"L x 7.9"W x 1.5"H. The 1.5" thick floating shelves for wall are fixed with Invisible and enhanced dual-pipe iron Brackets, stable with great load up to 22 lb per wall mounted shelf

Well-designed Floating Shelves: Our white floating shelves for wall are made of MDF Laminate. These wall shelves can organize daily sundries to tidy your space, display your art pieces on the wall to decorate your home, and make it full of aesthetic flare.
Create a Functional and Beautiful Layout
Start with painter’s tape before drilling. Tape the outline of each shelf on the wall, then step back and view it from the sofa, entryway, and main walking path. This simple test helps you adjust spacing before holes are made.
For a balanced living room layout, keep these placement ideas in mind:
- Above a sofa: keep shelves high enough that people will not bump them when seated, and avoid placing heavy or breakable items directly over heads.
- Around a TV: leave breathing room so the shelves frame the screen instead of crowding it.
- In a corner: use shorter shelves or a vertical stack to turn unused wall space into storage.
- On a blank feature wall: vary shelf lengths or stagger heights for movement, but keep the overall arrangement aligned with nearby furniture.
- Near a reading chair: keep one shelf within easy reach for a small stack of books, a candle, or a cup-safe tray.
Leave negative space between shelves and around objects. A shelf that is only 60–70% full usually looks more curated than one packed edge to edge. If the room already has bold art, patterned rugs, or colorful furniture, keep the shelves calmer. If the room is minimal, shelves can add texture through books, ceramics, wood tones, and greenery.
Pro Tip: Photograph your taped layout on your phone. Small spacing problems are easier to spot in a photo than when you are standing close to the wall.
Get Your Tools Ready for Installation
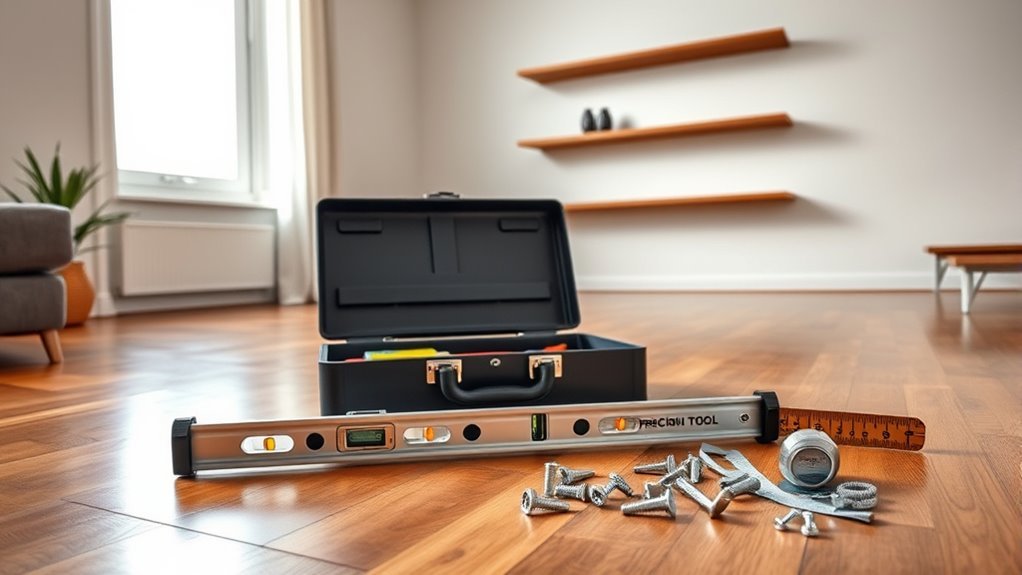
Gather every tool and fastener before you begin. A smooth installation depends on accurate measuring, level marks, and hardware that matches both the shelf and the wall. If your wall is masonry, plaster, tile, or an older wall with unknown conditions, read the hardware instructions carefully or hire a qualified installer.
Recommended Products

【100 Pcs Upgraded Quenched Dry Wall Anchors Kit】100pcs heavy-duty metal anchors and self-drilling screws quenched for higher hardness or strength, better toughness, longer durability, and more stable threads. As professional sheet rock anchors and metal wall anchors, they fit drywall, gypsum board, and lightweight bricks, eliminating the need for extra hardware in all your wall mounting tasks.

🔸Note: The size of this swivel belt buckle is the international standard size of 1.57"(40mm), suitable for belts of 1.5" (38mm)-1.57" (40mm) size, please measure whether your belt is in this range.

[ What You Get ] : 2 pairs 2 Inch french cleat picture hanger X 4 pieces self-tapping screws X 4 pieces self drilling screw X 4 pieces expansion rubber plugs X 4 pieces clear bumpers
Essential Tools Checklist
- Tape measure and pencil: for shelf height, length, and spacing marks.
- Painter’s tape: to preview shelf placement without damaging the wall.
- Level: to keep shelves straight.
- Stud finder: to locate framing behind drywall when possible.
- Drill and bits: to make pilot holes and install hardware.
- Screwdriver or driver bit: to tighten screws without stripping them.
- Safety goggles: to protect your eyes while drilling.
- Step stool or ladder: to work at a safe height.
Safety Equipment and Wall Checks
Before drilling, check for outlets, switches, plumbing walls, HVAC returns, and any signs of hidden wires or pipes. Do not drill where you are unsure what is behind the wall. Use safety goggles, keep the ladder stable, and ask another person to help hold long shelves while you mark or fasten brackets.
If children or pets use the room, avoid placing climbable furniture directly below shelves. The U.S. Consumer Product Safety Commission’s Anchor It campaign highlights the importance of anchoring furniture with drawers, doors, and shelves to help prevent tip-over injuries.
Preparing Material Supplies
Lay out the shelves, brackets or floating shelf hardware, screws, anchors, and instructions. Confirm that the included hardware is meant for your wall type. Drywall, masonry, plaster, tile, and wood paneling need different fasteners. If you cannot hit a stud, use wall anchors rated for more than the total weight of the shelf, hardware, and items. For drywall anchor basics, see this Better Homes & Gardens drywall anchor guide.
Install Shelves With Proper Support and Alignment
Install shelves slowly and check alignment after every major step. Floating shelves and bracketed shelves may use different hardware, so follow the exact instructions that come with your shelf system.
- Mark the shelf line. Use a level and pencil to draw a light line where the shelf or bracket will sit.
- Locate studs. Use a stud finder and mark the stud centers. Mounting into studs is usually the strongest option for drywall walls.
- Compare marks with the bracket holes. Make sure the hardware lines up with studs or with the correct anchor positions.
- Drill pilot holes. Use the drill bit size recommended by the hardware instructions.
- Attach the bracket or cleat. Tighten screws firmly, but do not over-tighten anchors or crush drywall.
- Place the shelf. Slide or set the shelf onto the bracket, then secure it according to the shelf instructions.
- Test before styling. Apply gentle pressure, check for movement, and confirm the shelf remains level before adding decor.
For a standard floating shelf installation sequence, Better Homes & Gardens recommends marking placement, finding studs, drilling pilot holes, attaching the bracket, and securing the shelf to the bracket.
Warning: Do not rely on a single universal weight rule. Add the shelf’s weight plus everything you plan to display, then confirm that the shelf, brackets, anchors, screws, and wall type are rated for that total load.
Recommended Products
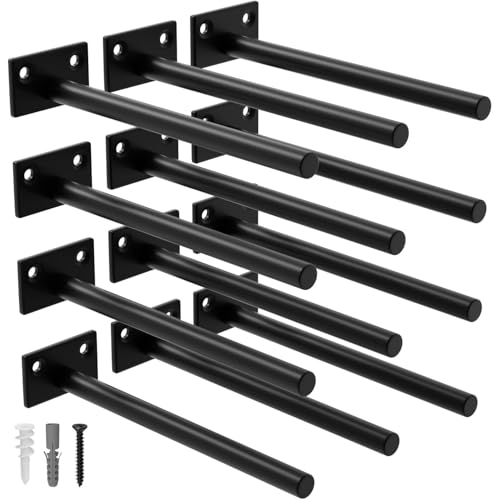
Superior Quality: Our floating shelf bracket is expertly crafted from premium steel, ensuring exceptional durability and an impressive weight capacity of 110lbs

【Heavy Duty Iron & Durable Coating】The WEKIS J shelf brackets are made of 1/5 inch thickness solid cast iron, every 2 shelves brackets can load a weight of 160lbs-200lbs, with more shelving brackets, you can build a powerful wall shelf. Well-paint matte black with high quality rustproof coating, not easy to rust and fade (board is not included)

Superior Quality: Our floating shelf bracket is expertly crafted from premium steel, ensuring exceptional durability and an impressive weight capacity of 110lbs.
Troubleshoot Common Installation Issues
Even a careful installation can reveal small problems. Fix them before styling the shelves so you do not hide a support issue behind decor.
Sagging or Tilting Shelves
If a shelf sags, remove the items immediately. Check whether the shelf is overloaded, the brackets are too far apart, the fasteners missed the studs, or the anchors are not rated for the weight. You may need stronger brackets, additional supports, a shorter span, or a lighter display.
Loose Anchors or Crumbling Drywall
If an anchor spins, pulls forward, or leaves a widened hole, do not reuse the same damaged spot for the same load. Move to a stud, use a stronger anchor designed for the wall type, or patch the wall and reinstall in a safer location. Old, damp, or damaged drywall may not hold anchors reliably.
Uneven Spacing
If the shelves are level but look visually off, the problem may be spacing rather than installation. Recheck the distance between shelves, the relationship to nearby furniture, and the height of the objects you plan to display. Sometimes lowering the top shelf or widening the gap around the arrangement makes the whole wall feel calmer.
Style Your Shelves Without Clutter
Once the shelves are secure, style them in layers. Begin with the largest pieces, such as books, baskets, framed art, or pottery. Add medium pieces next, then finish with smaller accents. Keep heavier items on lower shelves when possible, especially in homes with children or pets.
Use a simple rhythm: stack some books horizontally, stand others vertically, lean a small frame, add one organic shape like a plant or vase, and leave open space. Repeat colors from the room so the shelves feel connected to the sofa, rug, curtains, and artwork.
- Use odd-number groupings: groups of three or five often look natural.
- Vary height: pair tall frames with lower bowls or small books.
- Mix texture: wood, ceramic, glass, fabric, and greenery keep shelves from looking flat.
- Edit often: remove one or two items if the shelves start to feel crowded.
- Protect surfaces: use felt pads, trays, or saucers under objects that could scratch or leak.
Frequently Asked Questions
How do you arrange shelves in a living room?
Arrange living room shelves around the furniture and the items you want to display. Use painter’s tape to test the layout, keep spacing consistent, vary object heights, and leave open space so the wall does not feel crowded.
Where should wall shelves go in a living room?
Good places include above a sofa, above a console, beside a fireplace, around a TV, in an empty corner, or near a reading chair. Choose a spot with enough wall space, safe clearance, and a clear purpose.
Is it cheaper to build storage shelves or buy them?
Building shelves can be cheaper if you already own tools and want a simple design. Buying shelves is often easier when you need a finished look, included hardware, or a tested weight rating. Compare the cost of wood, brackets, anchors, finish, and tools before deciding.
What are common wall shelf mistakes?
Common mistakes include skipping the stud finder, using anchors that are not rated for the load, placing shelves too close together, ignoring shelf depth, overcrowding the display, and putting heavy or breakable items too high.
How much weight can wall shelves hold?
There is no single safe answer. Capacity depends on the shelf material, shelf depth, bracket design, fasteners, wall type, anchor rating, and whether the hardware is mounted into studs. Always follow the shelf and hardware manufacturer’s load rating.
Can I hang living room shelves without drilling?
For loaded shelves, drilling into proper supports is usually the safer choice. Adhesive strips and hooks are better for lightweight temporary decor, not shelves holding books, plants, glass, or fragile items. Renters can use freestanding shelves, leaning shelves, or low consoles instead.
Conclusion
Well-planned living room wall shelves do more than fill a blank wall. They add storage, shape the room, and create a place for the books, art, plants, and objects you actually enjoy seeing every day. Measure first, match the shelf style to its purpose, use the right hardware for your wall, and style the finished shelves with restraint. The result will feel personal, organized, and secure.
Sources
- CPSC Anchor It — wall anchoring and tip-over safety guidance.
- Better Homes & Gardens: How to Safely Hang Floating Shelves — shelf installation sequence, studs, pilot holes, brackets, and leveling.
- Better Homes & Gardens: How to Use Drywall Anchors — drywall anchor types, pilot holes, and load-rating guidance.
- Real Simple: Best Floating Shelves — shelf depth, weight capacity, thickness, and installation considerations.
- The Spruce: Shelf Spans and Spacing — shelf span, support spacing, and material considerations.