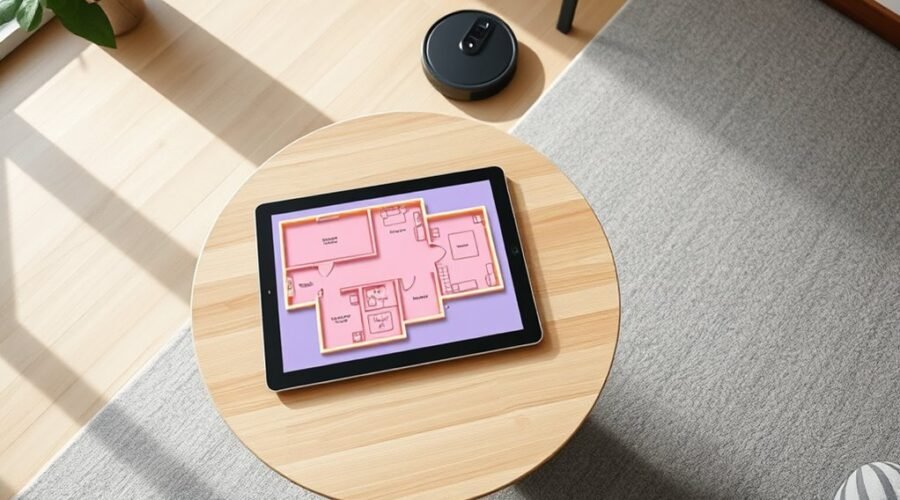
Dividing rooms on a robot vacuum map starts with the right app and a clean map view. The process usually involves opening the map editor, selecting the room, and placing a divider line where the space naturally changes. Small errors can affect future cleaning runs, so alignment matters. Once the split is saved, the map should be checked for room labels, edge accuracy, and any layout issues that may still need correction.
What You Need Before Splitting Rooms
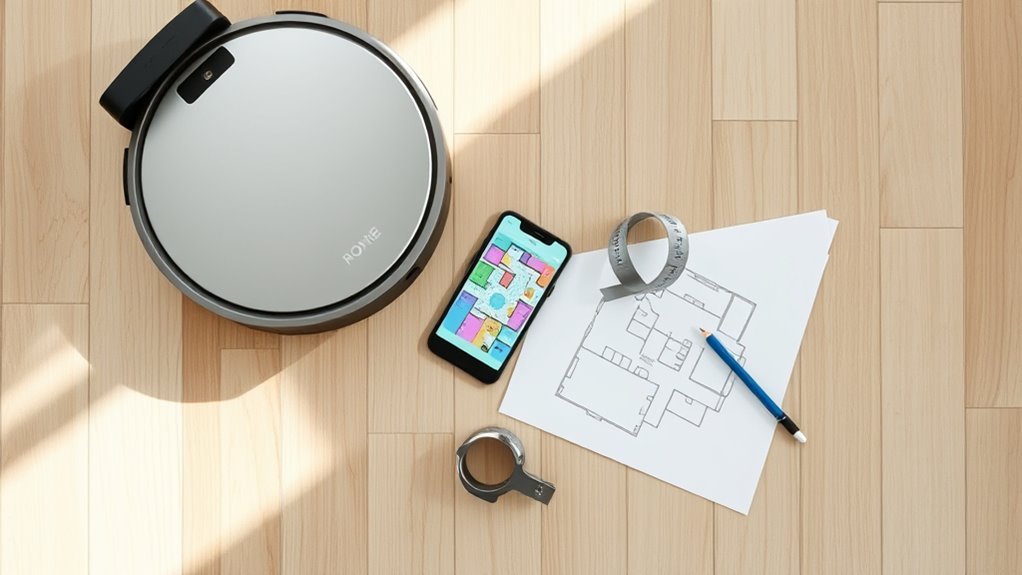
Before splitting rooms on a robot vacuum map, it is essential to confirm that the model supports map editing features, since availability can vary by device. The app interface should show whether the Robot Vacuum can divide room layouts and customize cleaning by zone.
The Smart Cleaning section normally contains the map editing tool, where room division controls are located. A stable map requires preparation: remove loose objects, close gaps that confuse boundaries, and keep doorways defined so the scan remains accurate.
The Smart Cleaning section usually holds map editing tools for dividing rooms, and a stable map needs clear boundaries.
An updated app version is also necessary, because older builds may hide newer mapping functions. Once these conditions are met, the user can proceed with precision and avoid unnecessary constraints.
The goal is practical control over domestic space, allowing each area to be assigned independently and cleaned according to specific needs.
Open the Map Editor
To open the Map Editor, the user should navigate to the Smart Cleaning section of the iRobot Home App and select the map to be modified. From there, the correct map is chosen from the available options, giving access to the controls needed for layout adjustment.
The user then taps Edit Map to enter the customization interface. This area provides the tools required to reshape room boundaries without dependence on manual workarounds, supporting a more self-directed cleaning setup.
A current app version is necessary, since older builds may hide key functions. Before proceeding, it is useful to understand the interface so the available controls can be used with confidence and speed.
The editor also supports broader organization tasks, such as merging or dividing spaces, including cases where two rooms need to be handled as one planned cleaning zone.
Select the Room to Split
Once the map is open in the iRobot Home App’s Smart Cleaning section, the room intended for division should be selected directly on the map. Tapping the room marks it for editing and prepares it for the Divide Room workflow.
This selection step matters because the app applies changes only to the highlighted area, keeping other zones intact. For users applying room organization tips, the action isolates one space without disturbing the broader layout.
It also supports effective cleaning strategies by letting the map reflect how the home is actually used, rather than forcing one sweeping zone. Selecting the correct room is thus a practical move toward maximizing vacuum efficiency, since a better-defined map helps the robot clean with less wasted movement.
The chosen room should match the area that needs separate scheduling or coverage before any further adjustment is made.
Draw the Divider Line
The divider line should be positioned across the intended boundary so it cleanly separates the two rooms.
Its placement should follow the room layout closely to avoid misclassification by the app. Fine adjustments may be needed until the line matches the physical boundary with acceptable accuracy.
Position the Divider Line
With the map editing tool open in the Smart Cleaning section of the app, the user selects Divide Room and drags a line across the area intended for separation. The divider should follow the physical boundary that best represents two functional spaces, preserving ideal room configurations for cleaner navigation.
Divider accuracy tips include aligning the stroke with doors, furniture gaps, or wall shifts that define real movement paths. Common splitting mistakes include placing the line too high, too low, or across open floor that belongs to one room. The line should remain straight and deliberate, creating a clear split without trapping zones or mislabeling connected areas.
Once positioned, the user confirms the change in the app so the new layout is saved and ready for independent cleaning routines.
Adjust for Accuracy
After the divider is placed, the user should fine-tune its position in the map editing tool to improve room accuracy.
In the Smart Cleaning section, the Divide Room option allows a line to be dragged until it matches physical boundaries. This step reflects room accuracy importance because even minor shifts can change how the vacuum interprets open areas.
Practical divider placement tips include checking wall edges, doorways, and traffic paths before saving. The line should not cross furniture markers, since furniture navigation considerations can affect routing and cleaning stability.
Up to 32 rooms can be defined, so precise separation supports flexible mapping without clutter.
Once the divider aligns correctly, the changes should be saved to guarantee the robot recognizes the updated layout and operates with greater independence.
Adjust the Split for Accuracy
Accurate room splits are set in the app through the “Divide Room” feature, which lets the user drag a line to define each boundary precisely. This control supports split accuracy tips, mapping precision techniques, and room division strategies that keep the map usable and clean.
The split should sit directly between adjacent areas, preventing misreads during navigation and reducing wasted passes. After the initial map is built, the line can be moved again if furniture shifts or a layout changes.
The split should sit cleanly between adjacent areas, and it can be adjusted later if the layout changes.
- Place the boundary on a clear visual seam.
- Verify both sides represent distinct zones.
- Recheck splits after major room changes.
- Keep labels distinct across the 32-room limit.
- Review divisions regularly for better cleaning efficiency.
A careful adjustment preserves mapping integrity and gives the robot freedom to move without confusion. Small corrections now can protect performance later.
Rename the New Rooms
To rename the newly divided rooms, the user opens the map editing tools in the app’s Smart Cleaning section, selects the target room, and taps Rename Room to enter a distinct label. This step improves room naming strategies by assigning clear unique identifiers that reduce overlap in schedules and voice commands.
Practical user interface tips include choosing short names, keeping labels consistent with the home layout, and avoiding near-duplicate wording. The app can store customized names for up to 32 rooms, so each area should receive a precise tag such as office, guest room, or utility space.
Distinct names also support third-party integrations that depend on stable references. The user should verify each label after entry and confirm it matches the intended zone. Careful naming gives the household more control, clearer navigation, and less dependence on generic room numbers.
Save the Updated Map
After room divisions and renaming are complete, the user should open the Smart Cleaning section and select the map editing tool to save the changes.
The final room layout should be confirmed before choosing the Save option, since this commits the updated map.
Once saved, the cleaning zones can be updated to reflect the new room structure for more precise scheduling.
Save Map Changes
Once the room divisions have been created, the updated layout should be saved within the app to preserve the changes. This step locks in room layout strategies and supports map optimization techniques that improve autonomous navigation.
Tap Save after reviewing the map for inaccuracies, since precise boundaries help the robot work with fewer errors. Saved edits remain available for later updates if the home layout changes.
Regularly storing revisions also supports cleaning efficiency tips by keeping zones aligned with daily use.
- Open the map editor.
- Inspect room boundaries.
- Tap Save.
- Verify stored changes.
- Repeat after adjustments.
Confirm Room Layout
With the room divisions adjusted, the updated map should be saved in the app’s map editing section to preserve the changes. The Save option confirms the new layout and prevents loss of labor.
Before finalizing, boundary alignment checks should be performed to detect misalignments that could reduce cleaning efficiency. Layout verification methods may include comparing room edges against the actual floor plan and reviewing each segment for accuracy.
If uncertainty remains, a test cleaning session can be run to confirm that the robot recognizes the newly divided rooms correctly. This step supports a reliable map and reduces unnecessary rerouting.
As room configurations change over time, the map should be revisited and updated so the system remains precise, responsive, and free from avoidable constraints.
Update Cleaning Zones
Updating cleaning zones begins in the app’s Smart Cleaning section, where the map editing feature allows room boundaries to be revised.
- Select Divide Room to refine borders.
- Drag the line to match real walls.
- Verify each zone before saving.
- Save the updated map to lock changes.
- Review maps after furniture shifts.
Accurate zones improve cleaning efficiency by directing the robot to each area without overlap or omission.
Precise edits also support robot performance, reducing wasted movement and missed edges. The saved map becomes the reference for future runs, giving the user experience more control and less manual correction.
Regular updates keep the layout aligned with the home, preserving a cleaner, more autonomous routine.
Split Connected Rooms in the App
To split connected rooms in the app, the user opens Smart Cleaning and enters the map editing tools, then selects Divide Room and draws a line across the shared boundary to separate the spaces.
This app features overview shows how map control can be handled without dependence on manual scheduling. The line should be placed with precision so each zone reflects the actual layout and cleaning path.
User experience tips include checking that the map is oriented correctly before editing, since a misaligned view can distort the division. After the split, each room can be renamed for clear navigation and cleaner routines.
The app supports up to 32 rooms, giving the user broad freedom to organize cleaning preferences. Common issues usually come from imprecise placement or poor map alignment, which can reduce accuracy.
Once saved, the separated rooms are available for targeted cleaning and independent scheduling.
Fix Room Split Problems
Room split errors are often corrected by checking map boundaries for misplaced walls or gaps that distort room edges.
The Divide Room tool should then be used to redraw a straight separation line and place it precisely between adjacent spaces.
If rooms still overlap, the split points can be adjusted until each area is clearly isolated on the map.
Check Map Boundaries
Before dividing a robot vacuum map, the full area should be mapped accurately so room boundaries can be assessed without ambiguity.
Boundary checks reduce confusion and support map accuracy tips, boundary adjustment techniques, and common mapping errors prevention.
- Confirm every wall, doorway, and obstacle appears in the app.
- Look for overlaps where two rooms share the same zone.
- Use editing tools to draw separation lines outside existing borders.
- Keep each split line clean and nonintersecting.
- Recheck the map after edits to verify the robot reads the new layout.
Accurate boundaries preserve clean navigation and room independence.
When the map is complete, the device can distinguish spaces more reliably, giving the user greater control over automated cleaning without unnecessary correction loops.
Use Divide Tool
In the Smart Cleaning section of the app, the user can select a room and apply the Divide Room option to split a problem area into two distinct zones. The Divide Tool Benefits include cleaner mapping, better scheduling, and greater control over room assignments. Drag the dividing line carefully until the split matches the layout.
| Action | Result |
|---|---|
| Select room | Opens edit mode |
| Drag line | Creates precise zones |
| Rename rooms | Improves navigation |
User Experience Tips: keep adjustments small, verify labels, and use the feature for up to 32 rooms. Common Mistakes include rushed splits and overlooked adjacent rooms, which can cause mapping inaccuracies. A disciplined setup restores autonomy, reduces confusion, and supports efficient cleaning plans across the home.
Fix Room Overlap
- Verify wall edges and doorways before saving.
- Use No-Go Zones to preserve separate areas.
- Reset and re-map if the layout is still distorted.
- Update firmware and app for better vacuum features.
- Recheck splits after each edit for consistency.
Careful adjustments keep zones distinct and support autonomous cleaning with fewer errors.
Use the New Layout for Cleaning
Once the room layout has been updated, the app’s Smart Cleaning section can be used to apply the new map to cleaning routines. From there, map editing opens precise control over room divisions, supporting better cleaning efficiency and room organization through available vacuum features.
The Divide Room tool should be used by dragging a line between adjoining areas until the boundary is clear. Each section should then receive a distinct name, with labels kept simple enough to prevent errors during scheduled runs. Up to 32 rooms can be customized, so the layout can match complex homes without forcing a fixed pattern.
Specific preferences, including cleaning schedules and no-go zones, may be assigned to each room to free the robot from wasted motion and restricted spaces. After all changes are confirmed, the updated map should be saved so the configuration remains active for future sessions and the vacuum continues operating against the intended layout.
Frequently Asked Questions
How Do I Edit Rooms on My Roomba Map?
In Roomba settings, the user opens iRobot Home, enters Smart Cleaning, and adjusts map customization by dividing, merging, renaming, or resetting rooms. These controls improve cleaning efficiency and support liberated, precise home management.
How to Divide Rooms in Roborock App?
In the Roborock app, he opens Maps, selects a room, then uses Divide Room to adjust room boundaries. This map customization improves vacuum efficiency. He saves changes, renames sections, and tests a cleaning cycle.
How to Do Mapping for Robot Vacuum?
It begins with a full-house run so mapping techniques can capture the room layout. Accurate maps improve vacuum accuracy, then zones may be edited, saved, and optimized for autonomous, low-friction cleaning across spaces.
Can a Robot Vacuum Do Multiple Rooms?
Yes, a robot vacuum can handle multiple rooms efficiently through multi room cleaning and smart home integration. It maps spaces, targets selected areas, supports scheduling, and adapts to room layouts, improving autonomy and reducing manual intervention.
Conclusion
Dividing rooms on a robot vacuum map is a precise process that improves cleaning control and route efficiency. By editing the map, selecting the target room, drawing the divider, and saving the update, the layout becomes clearer and more usable. A test cleaning confirms the changes worked as intended. When the map is accurate, the robot moves like a guided instrument, covering each space with greater purpose and fewer errors.