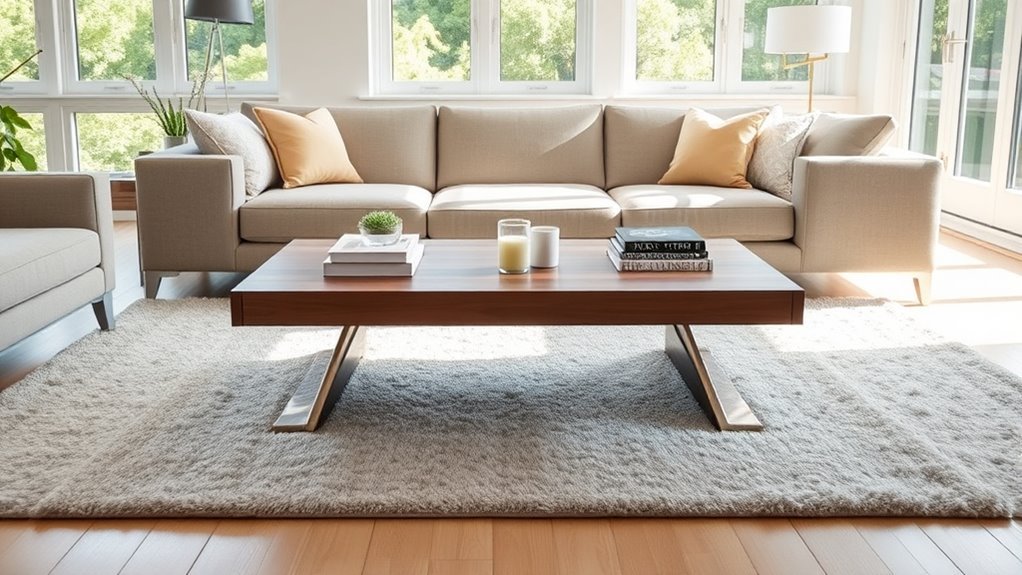
To place recessed lights in your living room, start with the room layout—not the ceiling. Mark your seating area, TV, walkways, fireplace, artwork, and any reading or game zones first. Then space recessed lights evenly, keep them away from walls and fan blades, choose the right beam angle, and put each lighting zone on a dimmer for flexible brightness.
Quick Answer
Place recessed lights around the main living zones, not in one straight row down the center. Keep most fixtures about 2 to 3 feet from walls, space them roughly 4 to 7 feet apart depending on ceiling height and beam spread, and avoid placing lights directly over faces, TV screens, or ceiling fan blades.
Key Takeaways
- Plan recessed lights around furniture, focal points, and walkways before marking the ceiling.
- Use spacing rules as a starting point, then adjust for beam angle, ceiling height, room color, and natural light.
- Keep lights far enough from walls to reduce scalloped shadows, but close enough to brighten the room edges.
- Use dimmable LED fixtures and an LED-compatible dimmer so the living room works for TV, reading, entertaining, and relaxing.
- Hire a licensed electrician unless you are qualified to do code-compliant electrical work safely.
At a Glance
| Time Required | 30 to 60 minutes to plan the layout; installation time depends on wiring access, ceiling type, and fixture count. |
| Difficulty | Planning: beginner-friendly. Electrical installation: intermediate to professional, depending on local code and your experience. |
| Tools Needed | Tape measure, painter’s tape, pencil, graph paper or room-planning app, stud finder, ladder, fixture spec sheets, and a compatible LED dimmer plan. |
| Cost | Varies by fixture type, number of lights, attic access, new wiring, dimmers, patching, and electrician labor. |
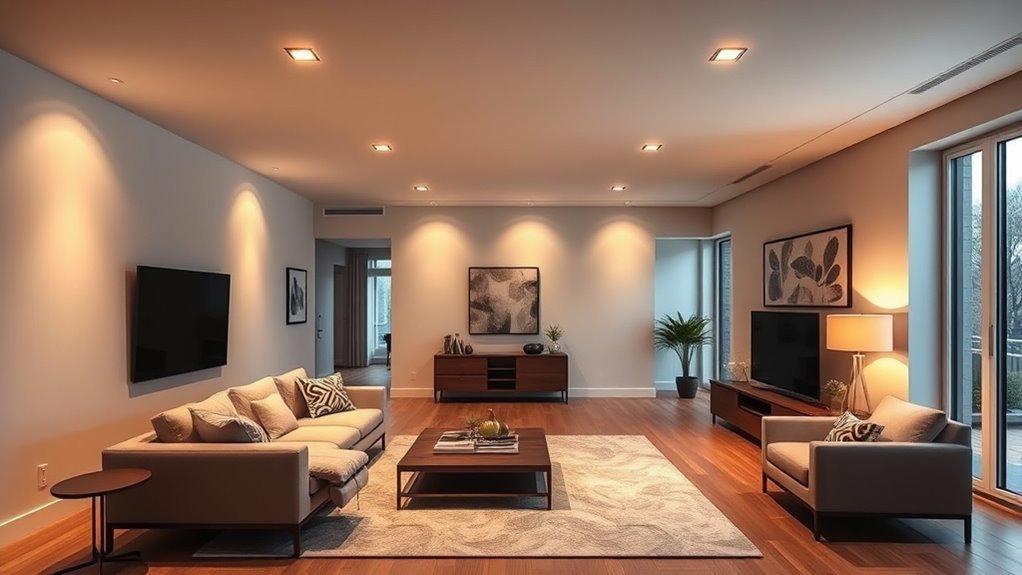
Why Recessed Lighting Works Well in Living Rooms
Recessed lighting is ideal for living rooms because it adds useful light without hanging into the room or competing with your furniture, artwork, or ceiling details. It works especially well when you use it as one layer in a complete lighting plan with table lamps, floor lamps, sconces, or picture lights.
LED recessed downlights are also efficient. The U.S. Department of Energy notes that LED lighting can use up to 90% less energy and last up to 25 times longer than traditional incandescent bulbs. For recessed fixtures, that efficiency matters because ceiling lights are often used for long periods.
Note: Recessed lights should not be your only living room light source. They provide clean ambient or accent light, but lamps and wall lights make the space feel softer and more comfortable.
Plan the Layout Before You Cut Any Holes
The best recessed lighting layout starts on paper. Draw the room shape, mark the ceiling height, and add furniture, doors, windows, the TV, fireplace, artwork, shelves, and traffic paths. This prevents the most common mistake: centering lights on the ceiling while ignoring how the room is actually used.
Measure the Room and Mark the Main Zones
Divide the living room into practical zones:
- Conversation zone: sofa, chairs, coffee table, and main seating.
- TV zone: screen wall and nearby seating, where glare control matters.
- Accent zone: fireplace, artwork, built-ins, plants, or textured walls.
- Task zone: reading chair, desk, piano, game table, or craft area.
- Pathway zone: room entries and walkways that need safe, even light.
Once those zones are mapped, place lights where they support the room’s use. In most living rooms, that means lights near the room perimeter, over pathways, aimed toward focal points, or balanced around the seating area—not directly above every seat.
Check Ceiling Obstructions First
Before finalizing the layout, check for joists, beams, HVAC ducts, plumbing, attic insulation, existing junction boxes, and ceiling fans. A perfect-looking grid on paper may need to shift a few inches to avoid framing or mechanical obstacles.
Warning: Do not cut into a ceiling or work on wiring until power is off and the installation is confirmed to meet local electrical code. If you are not qualified to do electrical work, hire a licensed electrician.
How Many Recessed Lights Do You Need?
Start with the room’s size and the brightness you want. The Department of Energy recommends comparing bulbs by lumens instead of watts because lumens tell you how much light a bulb or fixture provides.
For a relaxed living room, many layouts start around 10 to 20 lumens per square foot for soft ambient light, then add task lamps or accent lighting where needed. A brighter family room, dark wall colors, tall ceilings, or limited daylight may need more. A TV-focused room may need less overhead light and more dimmable perimeter or wall-wash light.
Use this simple planning formula:
- Room square footage × target lumens per square foot = approximate total lumens.
- Total lumens ÷ lumens per recessed fixture = approximate fixture count.
For example, a 250-square-foot living room planned at 15 lumens per square foot needs about 3,750 total lumens. If each recessed fixture delivers 700 lumens, you would start with about five to six fixtures, then adjust for lamps, daylight, dimmers, beam angle, and focal points.
Best Spacing Guidelines for Recessed Lights
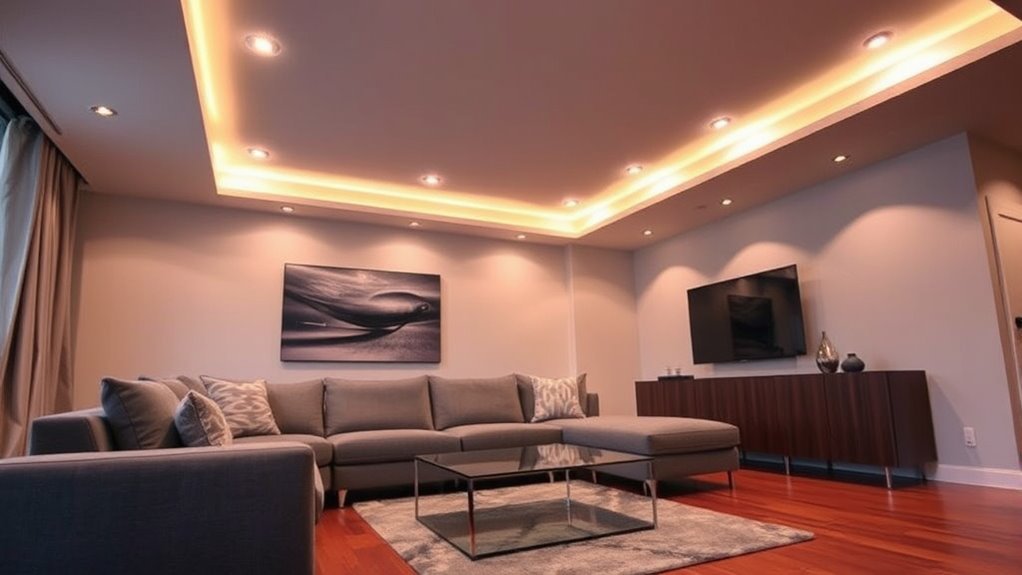
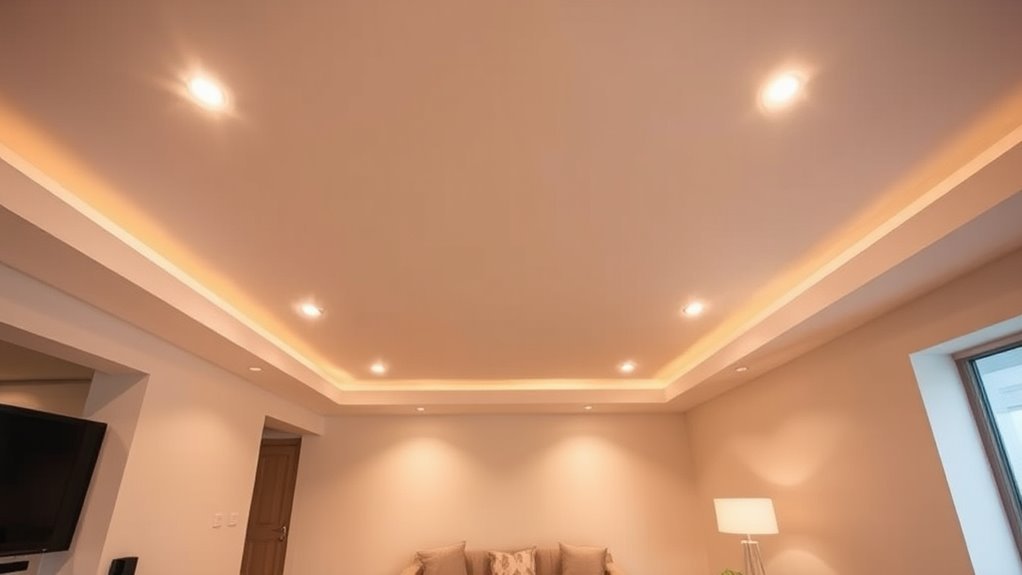
Spacing is essential when placing recessed lights in your living room. A common starting point is to space fixtures about half the ceiling height apart, then adjust based on beam angle, fixture output, and the room layout. For an 8-foot ceiling, that often means 4 to 6 feet between fixtures. For a 10-foot ceiling, 5 to 7 feet may work better.
Keep most recessed lights about 2 to 3 feet from walls. This helps brighten the wall area without creating harsh scalloped shadows. If the ceiling is very high or the beam angle is narrow, you may need to move the fixtures slightly farther from the wall or use a wall-wash trim.
| Ceiling Height | Typical Starting Spacing | Typical Distance From Walls |
|---|---|---|
| 8 feet | 4–6 feet apart | 2–3 feet |
| 9 feet | 5–7 feet apart | 2–3 feet |
| 10 feet | 5–8 feet apart | 2.5–3.5 feet |
| 11–12 feet | 6–9 feet apart | 3–4 feet |
These are layout starting points, not fixed rules. Always check the fixture’s beam angle and lumen output. A wide-beam downlight can cover more area, while a narrow-beam spotlight needs tighter placement or careful aiming.
How to Avoid Shadows and Glare
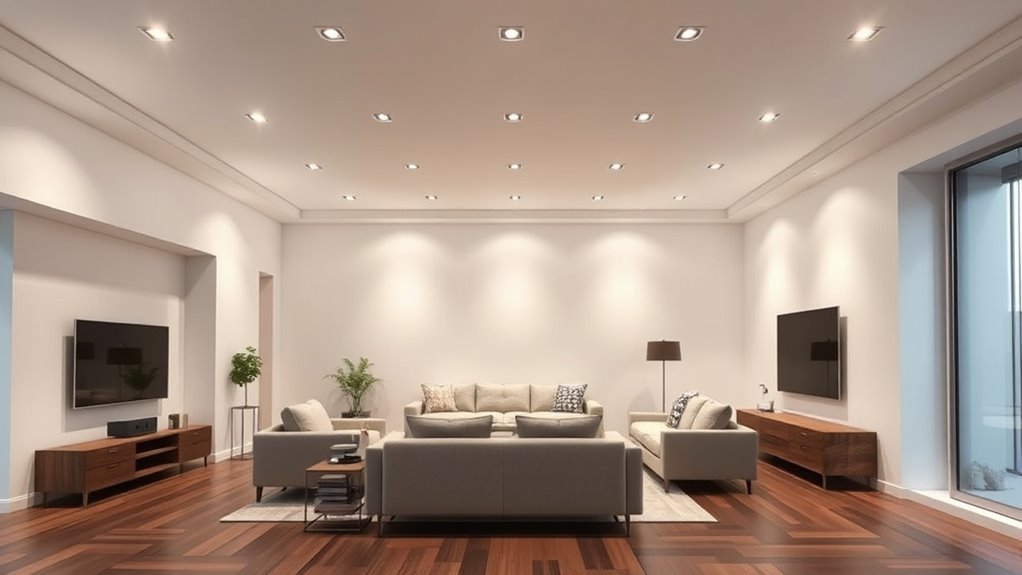
To achieve even light distribution, avoid placing every recessed light in a rigid center row. A single runway of lights can leave walls dark, create glare on seating, and make the ceiling feel more commercial than cozy.
Maintain Distance From Walls
Place most recessed lights 2 to 3 feet away from walls. Lights that are too close to the wall can create bright scallops and shadows. Lights that are too far from the wall can leave the room edges dim. If your goal is to highlight art, shelves, or stonework, use adjustable trims or wall-wash fixtures rather than a standard fixed downlight.
Avoid Direct Glare on Seating
Try not to place a downlight directly above a person’s face while they sit on the sofa. It can create eye glare and unflattering shadows. Instead, place lights slightly in front of or beside seating areas, then use lamps for reading and softer face-level light.
Account for TV Screens and Ceiling Fans
Keep recessed lights out of the direct reflection path of TV screens. If the room has a ceiling fan, make sure the fan blades will not pass directly under a downlight. Otherwise, the spinning blades can create a distracting strobe effect. Shift the lights outside the blade path or use separate zones so those fixtures can be dimmed while the fan is running.
Select the Best Recessed Lights for Your Space
The right recessed light depends on more than size. Look at housing type, insulation rating, air sealing, beam angle, trim style, lumen output, color temperature, color rendering, and dimming compatibility.
Types of Recessed Lights
- Can lights: Traditional recessed fixtures with a housing installed above the ceiling. They are common in remodels and new construction.
- Canless or wafer lights: Low-profile LED fixtures that fit where ceiling depth is limited. They can be useful when joists, ductwork, or shallow ceiling cavities make standard cans difficult.
- IC-rated fixtures: Designed for insulation contact. Use these where insulation may touch the fixture, and follow the manufacturer’s instructions exactly.
- Airtight fixtures: Help reduce air leakage between conditioned rooms and attic or ceiling spaces.
- Adjustable or gimbal fixtures: Let you aim light toward art, shelves, fireplaces, or sloped ceilings.
- Wall-wash trims: Spread light across a wall to reduce scalloping and highlight texture or artwork.
- Baffle trims: Reduce glare and are a strong everyday choice for living rooms.
Consider Beam Angle
The beam angle controls how wide the light spreads. A narrow beam, such as 15 to 30 degrees, works well for accent lighting on art or a fireplace. A wider beam, such as 40 to 60 degrees, is better for general illumination because it spreads light more evenly across the room.
For most living rooms, use wider beams for ambient light and adjustable narrow beams only where you want a focal point. If you mix beam angles, keep them on separate zones when possible so the room remains flexible.
Choose the Right Lumens, Color Temperature, and CRI
Check the Lighting Facts label for brightness, estimated energy cost, lifespan, and light appearance. For living rooms, a warm white color temperature around 2700K to 3000K usually feels comfortable. A higher color temperature can look crisp, but it may feel too cool for a cozy living area.
For artwork, wood tones, textiles, and skin tones, choose fixtures with strong color rendering. A CRI of 90 or higher is a good target when color accuracy matters.
Pro Tip: Before buying every fixture, test one recessed light or retrofit module in the room at night. Check glare, color temperature, dimming range, and TV reflection before committing to the full layout.
How to Create Focal Points With Recessed Lighting
Recessed lighting is excellent for drawing attention to the best parts of a living room. Use it to highlight a fireplace, built-in shelves, large artwork, a textured wall, or a reading corner.
- Place an adjustable light 2 to 3 feet away from the wall and aim it toward the feature.
- Use a narrower beam for a focused spotlight effect.
- Use a wall-wash trim when you want an even wash across a larger surface.
- Avoid aiming lights at glossy frames, TV screens, or mirrors unless you have checked the reflection angle.
For a balanced look, do not highlight every object in the room. Pick one or two focal points and let the remaining recessed lights provide soft background illumination.
How to Use Dimmers for Recessed Lighting
Dimmers make recessed lighting more useful because a living room needs different brightness levels throughout the day. You may want brighter light for cleaning or board games, medium light for entertaining, and low light for watching TV.
Use fixtures or bulbs labeled as dimmable, and pair them with an LED-compatible dimmer. The Department of Energy notes that dimmers should be compatible with the energy-efficient bulbs you choose, and Lutron’s LED compatibility guidance notes that bulb design and construction can affect dimming performance.
For the best control, divide the room into zones:
- General zone: main ambient recessed lights.
- TV zone: dimmable lights that avoid screen glare.
- Accent zone: fireplace, shelves, plants, or art.
- Task zone: reading chair, desk, or game table.
Separate zones prevent one switch from making the entire room too bright or too dim.
What to Watch Out For When Installing Recessed Lights
Before installing recessed lights, confirm that the fixture type, wiring method, insulation contact, and circuit load are appropriate for your home. Electrical work must follow local code, and some areas require permits or inspections.
- Insulation: Use IC-rated fixtures where insulation may contact the housing.
- Air leakage: Use airtight fixtures when installing below an attic or unconditioned space.
- Electrical safety: Shut off power at the panel and verify it is off before work begins.
- Load and controls: Confirm the circuit, switch, dimmer, and fixture load are compatible.
- Moisture: Use damp- or wet-rated fixtures where the location requires it.
- Access: Make sure junction boxes remain accessible as required by code and manufacturer instructions.
- Certification: Choose products listed by a recognized testing laboratory such as UL, ETL, or CSA.
The Electrical Safety Foundation International recommends hiring a qualified, licensed electrician for electrical work in the home to reduce fire and electrocution risk.
Common Recessed Lighting Mistakes to Avoid
- Using too many lights: More fixtures do not always mean better lighting. Too many downlights can make a living room feel flat and harsh.
- Ignoring furniture placement: A ceiling-centered grid may not match the sofa, TV, or walkways.
- Skipping dimmers: Fixed brightness limits comfort and makes TV glare harder to control.
- Putting lights too close to walls: This can create scalloped shadows unless you use wall-wash trims intentionally.
- Using the wrong color temperature: Cool white light can feel clinical in a cozy living room.
- Forgetting lamps: Recessed lights provide structure, but lamps add warmth and eye-level comfort.
- Not checking compatibility: LED fixtures, bulbs, and dimmers must be designed to work together.
Frequently Asked Questions
Can I install recessed lights on sloped ceilings?
Yes, but use sloped-ceiling housings, adjustable gimbal fixtures, or directional trims so the light points where you need it. A fixed downlight on a slope can aim light at the wrong angle and create glare or uneven brightness.
What is the best wattage for recessed lights in living rooms?
Choose by lumens, not wattage. LED wattage varies by fixture efficiency, so two 10-watt fixtures may produce different brightness levels. Check the Lighting Facts label and plan around total room lumens, fixture output, beam angle, and dimming range.
How do I choose the right trim for recessed lights?
Use baffle trims for low-glare general lighting, adjustable trims for art or fireplaces, wall-wash trims for even wall illumination, and lensed trims where the fixture location requires moisture protection. Match the trim size and finish to the ceiling and room style.
Are LED bulbs recommended for recessed lighting?
Yes. LED recessed lights are efficient, long-lasting, and available in many lumen outputs, beam angles, color temperatures, and trim styles. For a living room, look for warm white light, good color rendering, dimmability, and compatibility with your dimmer or smart control.
How can I minimize buzzing, flicker, or noise from recessed lights?
Use a dimmable LED fixture or bulb with a compatible LED-rated dimmer. Avoid mixing different bulb models on the same dimmer, stay within the dimmer’s load range, and test one fixture before replacing the whole room. If buzzing or flicker continues, ask an electrician to inspect the circuit and controls.
Should recessed lights be placed directly over the sofa?
Usually no. A downlight directly over seated faces can feel harsh and create shadows. Place fixtures slightly in front of or beside the seating area, then use floor lamps or table lamps for comfortable reading and conversation light.
How far should recessed lights be from a TV?
There is no single distance that works for every room. The goal is to keep light out of the TV’s reflection path. Place lights to the sides or behind the main viewing position when possible, use dimmers, and test reflections at night before final installation.
Conclusion
Placing recessed lights in a living room is about balance. Start with the furniture layout, keep fixtures away from glare-prone areas, use spacing rules as a guide, and choose LED fixtures with the right lumens, beam angle, color temperature, and dimming compatibility. When the lighting is planned in zones and paired with lamps or accent lights, your living room feels brighter, softer, and more useful for everyday life.
Sources
- U.S. Department of Energy — Lighting Choices to Save You Money — supports LED energy savings, lifespan, lighting controls, and dimmer compatibility guidance.
- U.S. Department of Energy — LED Lighting — supports LED efficiency, directional light, heat, lifetime, and recessed downlight context.
- U.S. Department of Energy — Lumens and the Lighting Facts Label — supports choosing by lumens, not watts, and using the Lighting Facts label.
- Electrical Safety Foundation International — Home Safety — supports home electrical fire/electrocution safety and hiring a qualified licensed electrician.
- Lutron — LED Compatibility Tool — supports the need to verify LED bulb and dimmer compatibility.