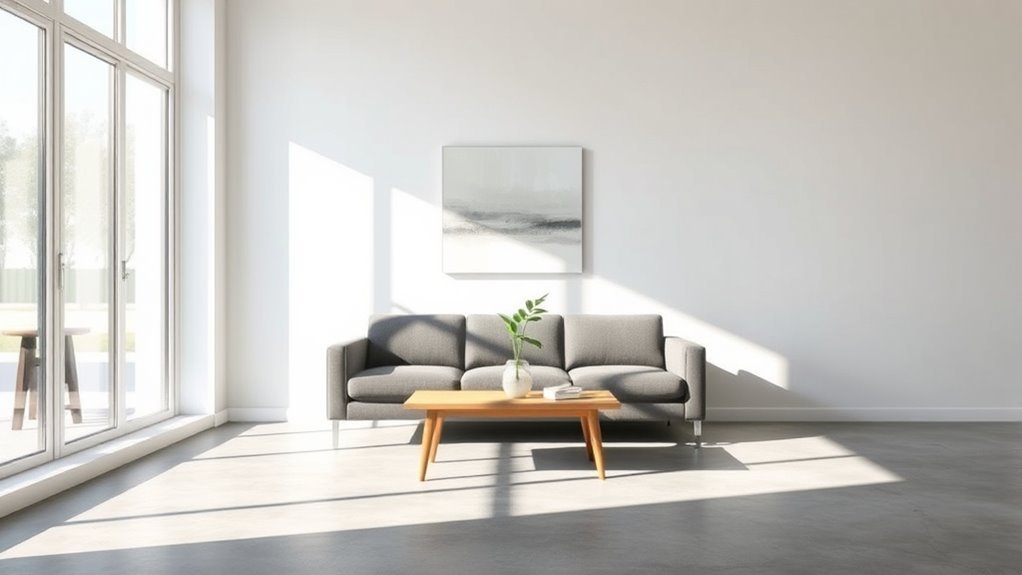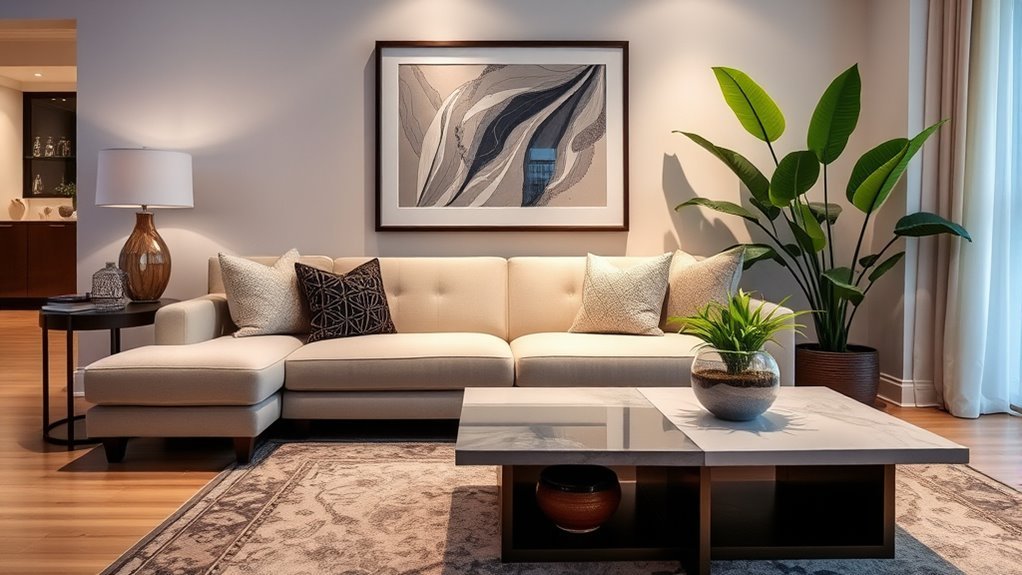
Choosing a wood finish for living room furniture is not about finding one product that works for everything. A coffee table needs stronger spill and scratch protection than a display shelf, while a vintage sideboard may need a finish that is easy to repair without changing its character. The best choice depends on how the piece is used, the look you want, your ventilation, and your comfort level with sanding and applying thin coats.
Quick Answer
For high-use living room furniture, oil-based polyurethane offers the strongest everyday protection, while water-based polyurethane or polycrylic is better when you want a clearer, lower-odor finish. Danish oil gives a warm hand-rubbed look with moderate protection, and wax or shellac works best on decorative or low-wear pieces.
Key Takeaways
- Use polyurethane for coffee tables, media consoles, and other pieces that see drinks, remotes, books, and daily handling.
- Use water-based finishes when you want less odor, faster recoating, and a clearer look on pale woods like maple, ash, or birch.
- Use oil or oil-varnish blends when you want a warm, natural look and do not need a thick protective film.
- Always test first because the same finish can look amber, glossy, cloudy, or blotchy depending on the wood and stain underneath.
- Safety matters: ventilate well, follow the product label, and dispose of oil-soaked rags properly.
At a Glance
| Time Required | 1 weekend for most small furniture projects, plus extra cure time before heavy use |
| Difficulty | Beginner to intermediate, depending on the finish and surface condition |
| Tools Needed | Sandpaper, sanding block, vacuum or tack cloth, lint-free cloths, quality brush, gloves, eye protection, drop cloth, and adequate ventilation |
| Cost | Usually low to moderate; expect to buy finish, abrasives, applicators, and safety supplies |
Understanding the Importance of Wood Finishes for Living Room Furniture
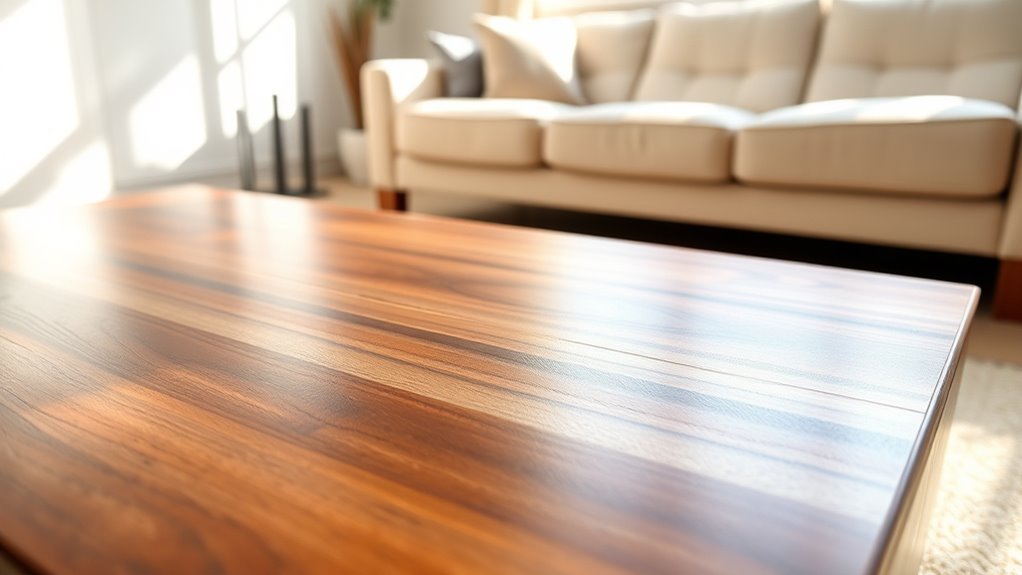
Wood finishes protect living room furniture from the wear that happens every day: moisture rings, fingerprints, scratches, dust, sunlight, and cleaning. They also change how the wood looks. Some finishes add a warm amber tone, some stay nearly crystal clear, and others create a soft hand-rubbed sheen that feels more natural than glossy.
A finish is different from a stain. Stain changes the color of the wood, but it usually does not provide enough protection by itself for a coffee table, console, or frequently handled cabinet. A clear topcoat or oil finish protects the surface after the color is right.
For indoor furniture, the main choice is between a film-forming finish and a penetrating finish. Film finishes, such as polyurethane, polycrylic, varnish, lacquer, and shellac, build a protective layer on top of the wood. Penetrating finishes, such as Danish oil, tung oil, and some oil-varnish blends, soak into the wood and leave a thinner, more natural-feeling surface.
The best finish is the one that matches the furniture’s job: stronger film protection for daily-use tables, softer repairable finishes for decorative pieces, and low-odor clear finishes for indoor projects where ventilation is limited.
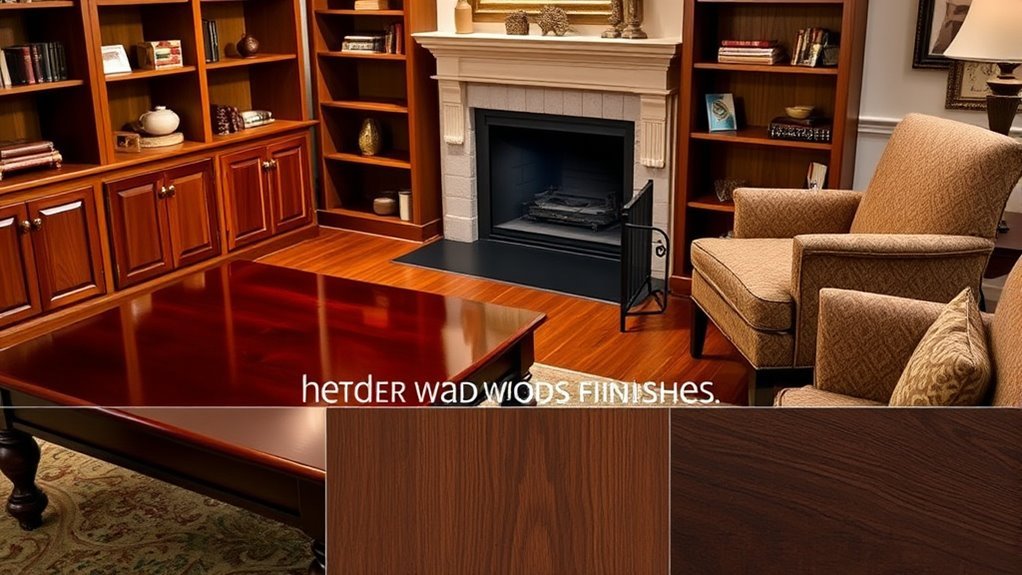
Best Types of Wood Finishes for Living Room Furniture
Each wood finish has a different balance of protection, appearance, odor, drying time, and repairability. Use this comparison to match the finish to the piece instead of choosing by name alone.
| Finish Type | Best For | Main Tradeoff |
|---|---|---|
| Oil-based polyurethane | Coffee tables, media consoles, shelves, and other high-use surfaces | Very durable, but stronger odor, longer dry time, and a warmer amber tone |
| Water-based polyurethane or polycrylic | Light woods, painted furniture, side tables, cabinets, and lower-odor indoor projects | Clearer and easier cleanup, but often needs more coats for full build |
| Spar varnish or spar urethane | Furniture near bright windows, sunrooms, or areas with more humidity | More flexible and moisture-resistant, but can look thicker or glossier indoors |
| Lacquer | Smooth modern furniture, glossy finishes, and experienced finishers | Fast and polished-looking, but fumes and application technique matter |
| Shellac | Traditional furniture, antiques, display pieces, and warm-toned wood | Beautiful and repairable, but less resistant to water, alcohol, and heat |
| Danish oil, tung oil, or oil-varnish blend | Natural-looking side tables, bookcases, wood arms, and pieces you want to feel like wood | Easy to wipe on, but less protective than a built-up film finish |
| Wax | Decorative shelves, low-wear furniture, and final sheen over some cured finishes | Soft glow and easy buffing, but low moisture and scratch protection |
For the strongest everyday protection on indoor wood furniture, an oil-based polyurethane such as Minwax Fast-Drying Polyurethane is a practical choice for high-use surfaces. For a clearer, lower-odor finish, a water-based product such as Minwax Polycrylic Protective Finish is often better on light woods and painted pieces. For a warm, wipe-on look, Watco Danish Oil is designed to penetrate wood and harden in the wood rather than sitting only on top.
Essential Factors for Selecting the Right Wood Finish
Selecting the right wood finish starts with how the furniture actually lives in the room. A table that holds mugs and snacks needs more protection than a bookcase that is rarely touched. Before buying a finish, check these factors:
- Durability: Choose polyurethane or another tough film finish for high-traffic pieces such as coffee tables, nesting tables, TV stands, and game tables.
- Color change: Oil-based finishes usually warm or amber the wood. Water-based finishes stay clearer and are better when you want to preserve pale woods or cool-toned stains.
- Sunlight and humidity: Use a finish with better moisture and UV resistance for furniture near sunny windows, fireplaces, plants, humidifiers, or exterior doors.
- Skill level: Wipe-on oils and waxes are easier for beginners. Lacquer and high-gloss finishes demand more control, ventilation, and surface prep.
- Repairability: Shellac, wax, and oil finishes are easier to refresh in small areas. Polyurethane is more durable, but spot repairs can be more visible.
- Indoor air quality: Many coatings, solvents, and wood-finishing products can release volatile organic compounds. The U.S. Environmental Protection Agency recommends ventilation and following label precautions when using products that emit VOCs.
Note: A finish that looks perfect on oak may look too yellow on maple or blotchy on pine. Always test the full schedule—stain plus topcoat, or oil plus wax—on a hidden area or scrap from the same wood.
Before You Apply a Wood Finish
Good finishing starts before the can is opened. Set up a clean workspace with fresh air, stable temperature, and enough time for drying between coats. Keep children and pets away from the project until the finish is dry and the room has aired out.
Warning: Do not sand, scrape, or strip old painted furniture until you know whether lead paint may be present. The EPA notes that pre-1978 homes and older painted surfaces are more likely to contain lead-based paint, and disturbing those coatings can create hazardous lead dust. Review EPA lead-safety guidance before working on vintage or painted pieces.
For most living room furniture projects, gather:
- 120-, 180-, and 220-grit sandpaper
- Sanding block or orbital sander
- Vacuum, microfiber cloth, or tack cloth
- Nitrile gloves and eye protection
- Quality synthetic brush for water-based finishes or natural-bristle brush for many oil-based finishes
- Lint-free cloths for wipe-on oils or waxes
- Drop cloth and painter’s tape if protecting nearby surfaces
- A metal container with water for oil-soaked rags, if using oil-based or oil-varnish products
Applying Wood Finishes for Best Results
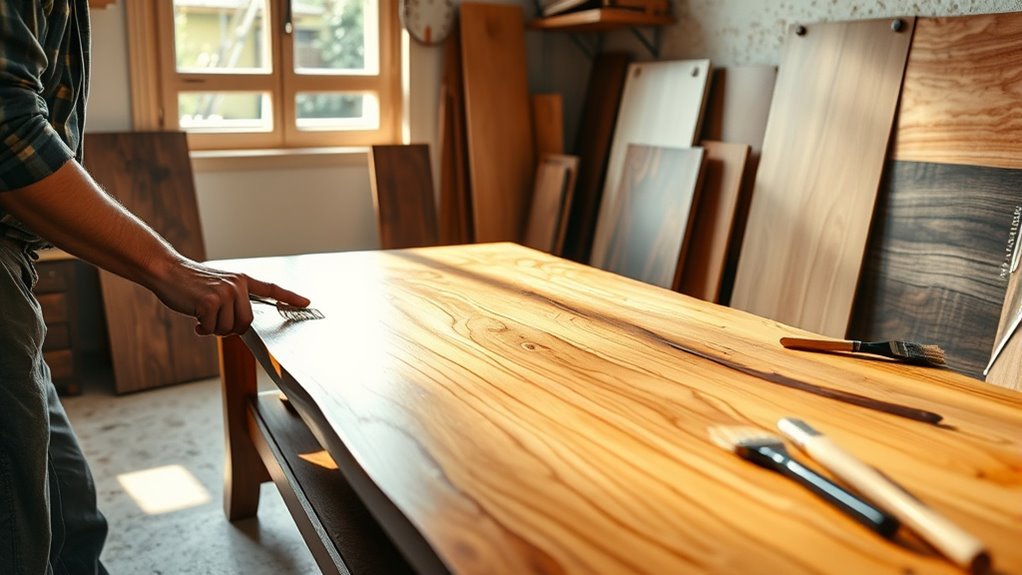
To achieve the best results when applying wood finishes, start with a smooth, clean, fully dry surface. A finish will not hide dust, glue residue, wax, grease, or deep sanding scratches; it usually makes them more visible.
1. Clean and Inspect the Surface
Remove hardware, dust, grease, wax, and polish before sanding. If the furniture already has a finish, decide whether you are refreshing the existing finish or sanding back to bare wood. If the old finish is peeling, cloudy, sticky, or badly scratched, you may need to strip or sand more thoroughly before refinishing.
2. Sand in Progressive Grits
For bare or stripped wood, sand with the grain and move through progressively finer grits, such as 120, 180, and 220. Do not jump from coarse grit straight to a finish coat. Remove all dust after sanding because dust left behind can create bumps, cloudy spots, or a rough feel.
3. Test the Finish First
Apply the finish to the underside, back edge, or a sample board before covering the visible surface. Check the color in daylight and evening light. Oil-based polyurethane can add warmth, water-based finishes usually stay clearer, and oils can deepen the grain dramatically.
4. Apply Thin, Even Coats
Thin coats dry more evenly than heavy coats. Brush with the grain, avoid overbrushing water-based finishes, and keep a wet edge when coating large flat areas. For Danish oil or similar wipe-on finishes, apply with a brush or cloth, let it penetrate according to the label, then wipe off excess so the surface does not stay sticky.
5. Sand Between Film-Finish Coats
For polyurethane, polycrylic, varnish, and many film finishes, lightly sand between coats with 220-grit or very fine sandpaper once the coat is dry enough for recoating. This smooths raised grain and helps the next coat bond. Remove all dust before the next coat.
6. Let the Finish Cure Before Heavy Use
Dry-to-touch and fully cured are not the same. A finish may feel dry within hours but still need more time before it can handle lamps, books, trays, or hot mugs. Follow the product label for recoat, normal-use, and full-cure guidance.
Warning: Rags, steel wool, sanding dust, and waste soaked with oil-based finishes, Danish oil, tung oil, or oil-varnish blends can catch fire if piled up. Place soaked waste in a sealed, water-filled metal container and dispose of it according to local fire and waste rules.
Pro Tip: Do not shake clear finishes unless the label specifically says to. Shaking can create bubbles that dry into the surface. Stir slowly and keep the brush strokes long, thin, and even.
Common Wood Finishing Mistakes to Avoid
Most disappointing finishes come from rushing the prep or applying too much product at once. Avoid these common problems:
- Skipping the test patch: The finish may change the color more than expected.
- Leaving sanding dust behind: Dust creates bumps and a gritty texture.
- Applying coats too thick: Heavy coats dry slowly and can wrinkle, sag, or stay soft.
- Recoating too soon: The next coat can trap solvents or moisture and turn cloudy.
- Using wax before polyurethane: Wax can interfere with adhesion unless it is fully removed.
- Using the wrong brush: A poor brush can leave bristles, bubbles, and uneven ridges.
- Ignoring the label: Different products have different dry times, coat counts, cleanup methods, and safety requirements.
How to Maintain Your Wood Finishes After Application
While you have put in the effort to apply a beautiful wood finish, maintaining it is what keeps the furniture looking intentional instead of worn out. For most living room pieces, simple habits matter more than heavy cleaning.
- Dust regularly with a soft, lint-free cloth so grit does not scratch the finish.
- Use coasters, trays, and felt pads under drinks, planters, lamps, books, and decorative objects.
- Wipe spills quickly instead of letting water or alcohol sit on the surface.
- Avoid harsh cleaners, ammonia, abrasive pads, and silicone-heavy polishes unless the finish manufacturer recommends them.
- Keep furniture out of harsh conditions, such as direct all-day sun, radiator heat, and damp corners.
- Refresh wax or oil finishes when they look dry or dull, following the product label rather than a fixed calendar.
Polyurethane and water-based topcoats usually need less frequent maintenance than wax or oil finishes, but they still benefit from gentle cleaning and heat protection. Wax and oil finishes are easier to refresh, but they offer less resistance to standing water, alcohol, and abrasion.
How to Determine the Type of Finish on Furniture
If you are refinishing an existing piece, try to identify the old finish before applying anything new. Compatibility matters: some finishes will not bond well over wax, silicone polish, or an uncured oil finish.
- Water-bead test: If water beads up, the surface likely has a film finish or wax. If it darkens and absorbs quickly, the wood may be unfinished or oil-finished.
- Alcohol test: Denatured alcohol can soften shellac. Test only in a hidden spot.
- Lacquer thinner test: Lacquer thinner may soften lacquer. Use caution, ventilation, gloves, and a hidden test area.
- Scratch test: A thick clear layer that flakes or chips may be polyurethane, varnish, or lacquer.
- Oil absorption: If a small amount of oil soaks in and deepens the wood, the piece may have a penetrating finish or worn finish.
Note: Solvent tests can damage the finish, so use them only in a hidden area. For valuable antiques, painted heirlooms, or pieces with unknown coatings, ask a furniture restoration professional before sanding or stripping.
Frequently Asked Questions
What is the best finish for indoor wood furniture?
For indoor furniture that gets daily use, polyurethane is usually the most protective choice. Oil-based polyurethane gives a tough, warm-toned film, while water-based polyurethane or polycrylic is better when you want a clearer, lower-odor finish. For decorative pieces, shellac, wax, or Danish oil may look more natural and be easier to refresh.
What are the main types of wood finishes?
The main categories are film-forming finishes, penetrating finishes, waxes, and colorants. Film finishes include polyurethane, varnish, lacquer, and shellac. Penetrating finishes include tung oil, Danish oil, and oil-varnish blends. Wax adds a soft sheen but limited protection. Stain changes color but usually needs a protective finish over it.
Is it okay to have different wood tones in a living room?
Yes. Mixed wood tones can look layered and intentional when there is a unifying element, such as a repeated undertone, similar sheen, matching hardware, or a balanced mix of light, medium, and dark pieces. Avoid placing several almost-matching woods side by side; contrast usually looks more deliberate.
How do I determine the type of finish on furniture?
Start with a hidden test area. Alcohol can soften shellac, lacquer thinner can soften lacquer, water may bead on wax or film finishes, and oil may absorb into unfinished or oil-finished wood. If the piece is old, painted, valuable, or possibly coated with lead-based paint, do not sand or strip it until you have checked the safety risks.
Should I use water-based or oil-based polyurethane?
Use water-based polyurethane or polycrylic when you want a clearer finish, faster recoating, easier cleanup, and less odor. Use oil-based polyurethane when you want strong durability and do not mind a warmer amber tone, stronger odor, and longer drying time. Always check the label for coat count, dry time, and ventilation requirements.
Do I need a clear finish over wood stain?
In most cases, yes. Stain changes the wood color, but it is not enough protection for surfaces that get touched, cleaned, or exposed to drinks. After the stain dries according to the label, apply a compatible clear finish such as polyurethane, polycrylic, varnish, shellac, oil, or wax based on the look and protection level you need.
Conclusion
The right wood finish protects your living room furniture while shaping the final look of the room. Choose polyurethane or a water-based clear coat for harder-working pieces, oil or Danish oil for a warmer natural feel, and wax or shellac for lower-wear furniture where repairability and character matter most. Prepare the surface carefully, apply thin coats, follow the product label, and treat safety as part of the finishing process. With the right finish and gentle maintenance, your furniture will stay useful, beautiful, and easier to care for over time.
Sources
- U.S. EPA: Volatile Organic Compounds’ Impact on Indoor Air Quality — backs up VOC, ventilation, and label-safety guidance for paints, varnishes, waxes, and related products.
- U.S. EPA: Protect Your Family from Sources of Lead — backs up lead-paint cautions for older homes, painted furniture, and refinishing work.
- Minwax Fast-Drying Polyurethane — backs up oil-based polyurethane use, durability claims, coat guidance, sanding between coats, ventilation cautions, and oil-soaked waste warnings.
- Minwax Polycrylic Protective Finish — backs up water-based clear finish benefits, low odor, non-yellowing appearance, soap-and-water cleanup, and recoat guidance.
- Rust-Oleum Watco Danish Oil — backs up Danish oil as a penetrating oil-varnish blend for indoor wood projects.