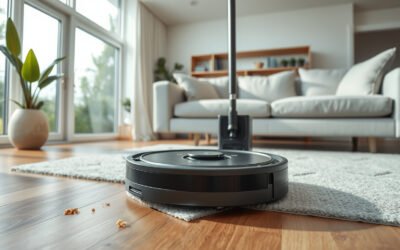
Robot vacuums that suddenly travel in random directions often point to a fault in sensing, power delivery, or navigation logic. Dirty sensors, worn wheels, low battery performance, outdated firmware, and difficult floor surfaces can all disrupt path planning. The pattern is usually measurable, not mysterious, and the cause can often be isolated through a few targeted checks. Which component fails first is less obvious than it seems.
Why Robot Vacuums Move Randomly
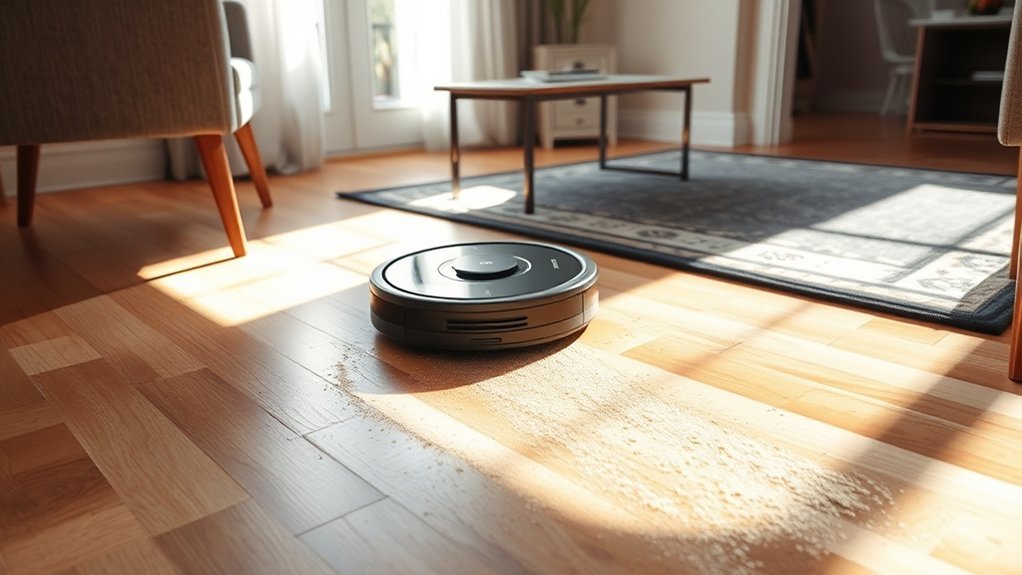
Robot vacuums often move randomly because many models rely on basic navigation systems rather than advanced mapping technology, which limits their ability to create efficient cleaning paths.
Robot vacuums often seem random because many rely on basic navigation instead of advanced mapping systems.
In numerous robot vacuum models, simple collision logic and preset cleaning settings produce navigation errors that appear erratic but are structurally predictable. Limited obstacle detection can cause repeated turns, missed zones, and incomplete coverage, especially when sensors and navigation depend on low-cost hardware.
Environmental conditions such as dim light or reflective flooring can further disrupt routing logic, making paths less stable and less efficient. In some cases, sensor malfunction or firmware drift intensifies inconsistency, causing abrupt direction changes without a coherent plan.
Regular maintenance supports better performance by keeping internal components responsive and reducing avoidable faults.
For users seeking liberation from repetitive manual cleaning, understanding these constraints clarifies why random motion is often a systems issue, not a failure of intent.
Check the Sensors First
Before assuming a deeper navigation fault, the sensors should be checked first, since they determine how the vacuum detects obstacles and adjusts direction. In most cases, degraded sensors undermine obstacle avoidance and produce erratic behavior. A wall sensor that fails to register nearby barriers may send the unit into repeated collisions or scattered turns.
Likewise, bottom sensors that are dirty or obscured can interrupt fall detection, causing unstable movement patterns.
- Inspect sensor windows for dust, residue, or blockage, then clean them carefully.
- Confirm that wall and bottom sensors respond normally during startup and edge detection.
- If random motion persists, perform recalibration or install any available software update.
This approach supports reliable navigation and improves cleaning performance without unnecessary replacement of other components. A disciplined sensor check restores functional autonomy and keeps the machine moving with purpose rather than confusion.
Clear Brushes, Wheels, and Suction Paths
Once the sensors have been ruled out, attention should shift to the moving and airflow components that most often cause erratic behavior.
Tangled hair and debris can form clogged brushes, reducing traction and disrupting path planning. Routine effort to clear brushes restores mechanical freedom and prevents the vacuum from veering or stalling.
Clogged brushes from tangled hair and debris can reduce traction, causing your vacuum to veer, stall, or lose its path.
The wheels should also be inspected for wrapped fibers or lodged particles; blocked wheels can halt smooth motion and produce sudden stops or random turns.
In parallel, the suction path must be checked for buildup, since reduced airflow can impair the cleaning cycle and force the machine to compensate unpredictably.
A disciplined maintenance interval of every 1 to 2 weeks is sufficient for most households, with more frequent service in homes with pets or heavy shedding.
Check Battery and Docking Problems
Battery condition and docking performance should be assessed next, since insufficient charge can cause erratic movement, random direction changes, and abrupt stops. A depleted low battery can reduce navigation stability; consequently, battery life should be evaluated against expected runtime.
Older packs, especially those beyond 2 to 5 years, may deliver weaker output and should be replaced if performance has declined.
- Verify charging dock placement: position it in an open area, near a power outlet, and within stable Wi-Fi range.
- Inspect docking problems: confirm the vacuum aligns squarely with the dock; misalignment can block charging and trigger random cleaning behavior.
- Clean charging contacts on both surfaces: oxidation or debris can interrupt current flow, leaving the unit undercharged and vulnerable to unpredictable motion.
When power delivery is restored, the machine can regain consistent pathing and operate with greater autonomy, supporting a more deliberate, liberated cleaning cycle.
Update Firmware and App Settings
Firmware updates should be checked regularly in the robot vacuum’s app, since outdated software can produce erratic navigation and unstable movement patterns.
App settings should also be verified and adjusted to match the intended cleaning profile, as misconfigurations can reduce operational effectiveness.
When needed, app troubleshooting or a factory reset within the app can correct software faults and restore stable behavior.
Update Firmware
Keeping the robot vacuum’s firmware current can improve performance by correcting software bugs, refining navigation algorithms, and reducing erratic movement patterns. To update firmware, the device should be checked periodically through the manufacturer’s app, where firmware updates are typically delivered.
These releases often strengthen smart navigation, object recognition, and mapping accuracy, helping the robot avoid chaotic routes and improve obstacle handling.
- Verify update availability in the app and install promptly.
- Confirm that the latest firmware addresses navigation and cleaning behavior defects.
- Recheck performance after installation to guarantee steadier pathing.
Regular maintenance of firmware supports a more autonomous, less constrained cleaning system. By applying patches that optimize control logic, the vacuum gains more reliable movement, cleaner coverage, and fewer random direction changes, without requiring intrusive intervention from the user.
Check App Settings
Beyond firmware updates, the robot vacuum’s app settings should be reviewed for options that influence route selection and navigation behavior. To check app settings, verify whether random cleaning is enabled, since it can force non-systematic motion. Confirm virtual boundaries are correctly placed, preserving access freedom while preventing entry into confusing zones. A firmware update may refine navigation algorithms, but the app still controls mode selection and map data.
| Setting | Action |
|---|---|
| Cleaning mode | Disable random cleaning |
| Boundary map | Adjust virtual boundaries |
| Notifications | Inspect error codes |
| App state | Restart app and vacuum |
| Navigation data | Re-sync maps |
If error codes appear, they may indicate sensor or mapping faults. Restarting both app and unit can clear temporary glitches and restore orderly travel.
Reset Robot Vacuum Navigation
Navigation should be reset when the vacuum exhibits erratic routes, repeated collisions, or inconsistent coverage that suggests sensor or map corruption.
After the reset, the floor must be remapped in a clear, well-lit area with obstacles removed so the system can rebuild an accurate navigation grid.
Pathing behavior should then be reviewed in the app or device settings, where options such as cleaning mode, sensitivity, and room boundaries can influence movement.
When To Reset Navigation
A navigation reset is appropriate when a robot vacuum shows signs of sensor misalignment, repeated pathing errors, or degraded map accuracy that reduces cleaning efficiency. In such cases, resetting navigation can correct mapping errors and restore orderly cleaning patterns.
Many models expose this function in the mobile app’s settings menu, giving users direct control without unnecessary intervention.
- Use a reset after major furniture changes or new obstacles disrupt route logic.
- Apply firmware updates first, since improved algorithms may reduce reset frequency.
- After resetting, run the unit in a clear area so it can reestablish stable navigation behavior.
This process supports efficient, autonomous operation and minimizes reliance on manual correction.
How To Remap Floors
When navigation errors persist after a reset, remapping the floor can rebuild the vacuum’s map from scratch and restore efficient route planning. The robot vacuum should begin with the cleaning area cleared of obstacles so sensors record an unobstructed layout. Remapping is initiated in the app, usually under settings or navigation, then the unit is run in a systematic pattern with uninterrupted coverage. Adequate lighting is essential because many models map more accurately in visible conditions. | Step | Action | Purpose |
| — | — | — |
|---|---|---|
| 1 | Clear obstacles | Improve detection |
| 2 | Open app | Start remapping |
| 3 | Light area | Support mapping |
| 4 | Run pattern | Build map |
| 5 | Review results | Confirm efficient path |
After completion, monitor performance to verify a more ordered cleaning route and freedom from random motion.
Settings That Affect Pathing
Resetting the robot vacuum’s navigation can restore more consistent pathing by clearing transient errors in its map data and movement logic.
Operators should inspect settings that affect pathing, since navigation technologies such as laser or visual sensors respond to configuration changes. Outdated software can distort route selection, so firmware should be updated before further testing. A controlled recalibrate cycle may reduce random turns and improve autonomy.
- Disable AI features temporarily to isolate whether advanced algorithms are amplifying drift.
- Perform remapping after furniture changes or boundary shifts to refresh spatial reference data.
- Verify sensor modes and cleaning preferences, then reset navigation to confirm whether behavior stabilizes.
These steps support disciplined troubleshooting and preserve user control over the machine’s movement.
Remove Obstacles and Problem Surfaces
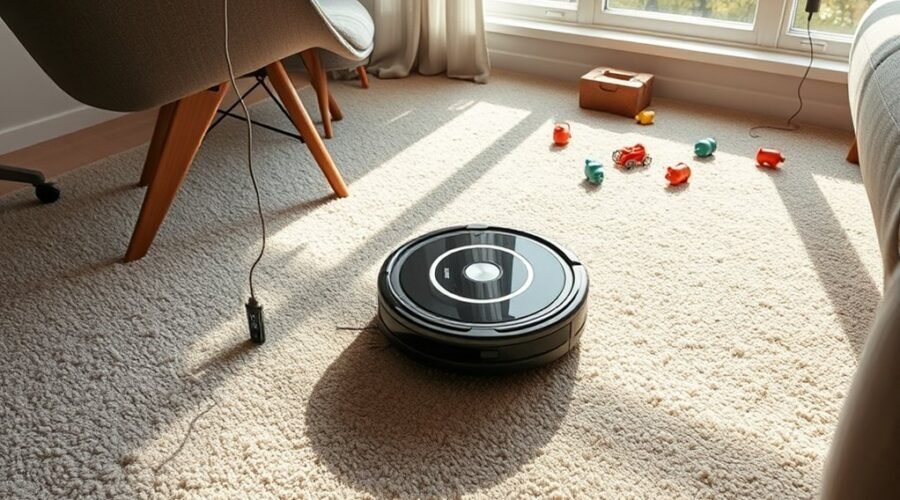
Loose wires, small toys, and similar debris can obstruct a robot vacuum’s path, causing erratic movement or an unexpected stop during a cleaning cycle. Loose cables, small toys, and other obstacles should be removed before operation to prevent the vacuum from wandering into blocked routes. Regular inspection of the floor plan reveals hidden risks.
| Hazard | Effect |
|---|---|
| Loose cables | Wheel snagging |
| Small toys | Sensor confusion |
| Rug edges | Direction changes |
| High-pile carpets | Brush and wheel entanglement |
Low-lying furniture and raised rug borders can trap the unit, forcing repeated reversals or abrupt turns. High-pile carpets are especially problematic because they increase drag and can interrupt navigation logic. A cleared surface allows the machine to travel with greater autonomy and fewer interruptions. Where repeated trouble zones exist, virtual walls or no-go zones can isolate them and preserve stable routing. The result is a cleaner, more predictable path and less mechanical stress over time.
Prevent Random Movement With Routine Care
Routine maintenance reduces random movement by preserving the vacuum’s sensing, traction, and control systems. A robot vacuum that receives disciplined cleaning care is less exposed to the common causes of erratic navigation: obscured sensors, tangled brush assemblies, and degraded firmware.
To prevent random movement, operators should regularly clean sensors, remove dust from contact points, and verify that no debris impairs wheel rotation.
- Inspect and untangle hair or fibers from brushes and wheels every 1 to 2 weeks.
- Update firmware consistently so navigation logic remains stable and known bugs are removed.
- Schedule monthly inspections for wear, loose parts, and failing drive components.
The cleaning area should remain free of loose cables, toys, and low objects that can divert pathing.
Precise routine care restores autonomous function, reduces wasted motion, and gives the user greater control over domestic space.
Frequently Asked Questions
What Are the Most Common Problems With Robot Vacuums?
Not just dirt: robot vacuums commonly suffer suction power loss, battery issues, sensor malfunction, navigation errors, software glitches, and neglected brush maintenance. These failures reduce autonomy, yet disciplined upkeep restores reliable, liberated operation.
Why Did My Robot Vacuum Turn on by Itself?
It likely turned on because of self activation reasons: scheduled cleaning issues, remote control interference, app connectivity problems, battery malfunction signs, or sensor blockages solutions. Firmware glitches, dock auto-start, or a faulty button may also trigger it.
What Is the Average Lifespan of a Robot Vacuum?
The average robot vacuum lifespan is 3–5 years. Robot vacuum maintenance, features, brands, technology, accessories, and reviews strongly influence durability, with battery degradation and upkeep determining whether performance remains liberatingly reliable or declines.
Why Is My Robot Vacuum Just Going in Circles?
It circles because dirty sensors, faulty sensor calibration, or incomplete maps distort navigation issues. Floor type, battery performance, cleaning patterns, and missing software updates can each compound the error, producing repetitive motion rather than liberation from pattern.
Conclusion
To summarize, random robot vacuum movement is usually traced to sensor contamination, mechanical obstruction, battery instability, or outdated control software. A systematic diagnosis—beginning with sensors, then brushes, wheels, docking, firmware, and the surrounding floor plan—restores predictable navigation. Obstacles should be minimized, and routine maintenance preserved. As the adage goes, an ounce of prevention is worth a pound of cure; in this situation, consistent care prevents erratic motion and improves cleaning efficiency.