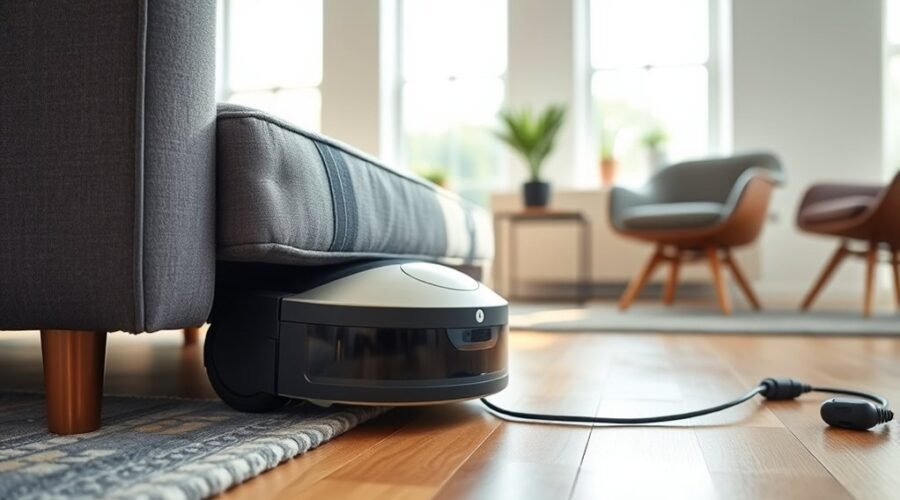
A robot vacuum that gets stuck is usually dealing with preventable obstacles, not random failure. Loose cords, thick rugs, low furniture, dirty sensors, and worn brushes can all interrupt movement or navigation. Battery issues and mapping errors can add to the problem. In many cases, the fix is simple, but identifying the real cause takes a closer look at the machine and the room layout.
Why Robot Vacuums Get Stuck
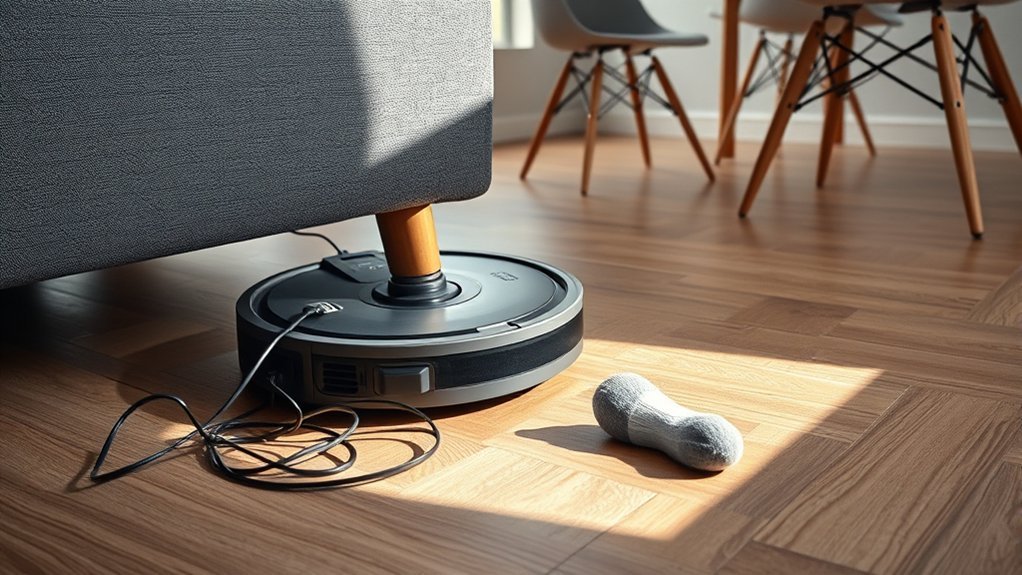
Robot vacuums often get stuck when their path is obstructed by loose wires, small toys, rug edges, or low furniture that can trap the chassis or wheels.
In most cases, the robot vacuum getting stuck is a direct result of obstacles that exceed clearance limits or interrupt traction. Thick carpet changes can slow movement, while rug edges may lift a wheel and halt progress.
Navigation errors also occur when dirty sensors block obstacle detection or when battery health drops enough to interrupt route planning.
Brushes and drive wheels can collect debris, increasing drag and making jams more likely.
Regular maintenance reduces these failures: clean sensors, inspect the underside, and remove buildup around moving parts.
A clear floor plan gives the machine freedom to move efficiently, complete cycles, and avoid repeated stops.
Check Cords, Rugs, and Furniture
A few common household obstacles account for most stuck events, especially cords, loose rugs, and low furniture.
A practical inspection begins by checking cords along walls, under desks, and near charging areas, because loose strands can tangle brushes and stop movement. Rugs should lie flat; curled edges and thick carpet borders can block wheels and confuse navigation, causing repeated attempts during cleaning.
Check cords along walls and under desks, then flatten rugs to prevent tangles and blocked movement.
Furniture clearance also matters: sofas, beds, and low shelves may leave just enough space to trap the robot underneath. Removing small floor objects and securing cables reduces interruptions and restores free movement.
Observation helps too; if the unit repeatedly stalls in one zone, that pattern identifies a persistent obstacle and allows targeted changes. The goal is simple: create a clear path so the robot can move without friction, avoid unnecessary intervention, and complete cleaning with greater autonomy.
Clean Sensors, Wheels, and Brushes
Routine cleaning of the sensors with a microfiber cloth helps maintain accurate navigation and reduce misreads that can leave the robot stuck.
Wheels should be checked for hair, dust, and debris, since buildup can restrict motion and trigger sudden stops.
The roller brush also needs frequent clearing to prevent tangling and preserve consistent rotation across floor types.
Clean Sensors Regularly
Clean sensors, wheels, and brushes on a regular schedule to preserve navigation accuracy and prevent the vacuum from getting stuck. For any robot vacuum, clean sensors support reliable obstacle detection, reducing misreads that can send the unit off course.
A microfiber cloth is the preferred tool because it removes dust without scratching sensitive surfaces. Regular maintenance should include checking sensor windows for haze or residue, since even minor buildup can degrade guidance and cause getting stuck events.
Routine care also helps the machine move with greater independence, avoiding unnecessary interruptions. When clean sensors remain unobstructed, the system can map rooms more accurately, improve path planning, and prevent the vacuum from wasting power on repeated corrections.
This simple practice extends service life and improves overall performance.
Clear Wheels And Brushes
Inspect the wheels and brushes regularly to remove hair, dirt, and other debris that can impede movement or cause jams. When operators clear wheels, they restore traction and reduce strain on the drive system.
Brushes should be checked for tangles, blockages, and roller brush obstruction, since a stalled brush can limit suction and trap the unit in place. Clean sensors with a microfiber cloth to prevent false readings; dirty sensors can misread walls, ignore gaps, and create navigation errors.
Every component should remain free of debris, because even small buildup can disrupt routing and cleaning performance. This maintenance is a practical act of autonomy: a vacuum that moves without friction, reads its path accurately, and escapes avoidable obstruction operates with greater freedom and reliability.
Fix Battery and Charging Problems
Battery and charging faults can interrupt a robot vacuum’s cleaning cycle and leave it stranded mid-task. A worn battery should be checked first, since low capacity reduces runtime, weakens performance, and can disrupt cleaning cycles before the job is finished.
The charging dock should remain clean, level, and free of debris so the robot can connect properly and recharge without delay. If charging times become noticeably longer, the battery may be degrading and should be evaluated for replacement. Swelling, heat, or rapid power loss are strong signs that service is needed.
The manufacturer-recommended charger should always be used, because an incompatible charger can damage the battery and impair charging safety. Restoring reliable power protects navigation, supports consistent coverage, and frees the device to complete its route without interruption.
Reset Mapping and Navigation Settings
If power delivery is no longer the issue, persistent stalls often point to corrupted mapping or navigation data. Resetting these settings can free the robot from bad routes and let it relearn the home layout with better efficiency.
- Check the app or settings menu for a dedicated reset option.
- Restore factory defaults to clear mapping errors.
- Update software before resetting to improve navigation algorithms.
- Run the robot in a clean environment after reset.
If problems persist, inspect sensors and continue troubleshooting. This process can improve performance when the vacuum has learned an inaccurate map or stale navigation paths.
After resetting, the unit should rebuild its map without interference, giving it a better chance to move autonomously. If it still gets stuck, the fault may lie beyond software, in mechanical parts or sensors, and further troubleshooting is justified.
Clear Floor Transitions and Tight Spots
Floor changes and tight clearances often create mechanical and navigation problems for robot vacuums, especially where surface height alters from tile to carpet or where rug edges form a partial barrier. Clear floor changes reduce drag, while tight spaces demand unobstructed paths.
| Area | Risk | Action |
|---|---|---|
| Tile to carpet | Lift issues | Smooth edge |
| Thick carpets | Brush bind | Trim pile |
| Tight spaces | Stall points | Open access |
| Loose rugs | Edge snagging | Flatten corners |
| Obstacles | Navigation errors | Remove clutter |
Thick carpets can trap brushes and slow drive wheels, and loose rugs may fold into the intake path. Low-clearance furniture also blocks movement, leaving the machine stranded before it completes a cycle. Regular inspection helps identify raised thresholds, curled edges, and small obstacles that disrupt coverage. Adjusting these changes gives the robot cleaner routes, fewer navigation errors, and more reliable cleaning in tight spaces.
Set Up Virtual Walls and No-Go Zones
Virtual walls should be placed to block access to tight passages, low furniture, and cluttered areas where the vacuum is likely to stall.
No-go zones can then be mapped in the app to exclude pet bowls, thick carpets, and other problem surfaces.
This setup reduces interruptions and helps the robot follow a cleaner, more reliable path.
Virtual Walls Placement
Strategic placement of virtual walls can prevent a robot vacuum from entering problem areas and improve route efficiency. Properly set virtual walls and no-go zones keep the cleaning path clear, protect furniture legs, and reduce contact with obstacles.
- Place barriers at room entrances.
- Block access near low furniture.
- Shield cluttered corners and cables.
- Use the app to adjust limits.
- Review zones after layout changes.
A robot vacuum benefits when boundaries are practical, not arbitrary. Strategic placement supports smoother navigation, fewer stoppages, and less manual intervention.
When boundaries are moved as rooms change, cleaning remains focused and predictable. This gives the user more control, less frustration, and greater freedom from constant recovery tasks.
No-Go Zone Mapping
After boundary placement is planned, no-go zone mapping adds a finer layer of control by keeping the robot vacuum away from hazards, low-clearance furniture, loose wires, and other problem areas. Through a user-friendly setup in the app, a mapping session defines virtual walls and no-go zones with precision.
| Area | Result |
|---|---|
| Cables | Free movement |
| Chairs | Less entrapment |
| Pet bowls | Cleaner route |
| Rugs | Better obstacle avoidance |
| Hallways | Higher cleaning efficiency |
The device then concentrates on accessible zones, reducing stalls and wasted passes. Most modern models support personalized boundaries, letting users tailor coverage to room layout without physical barriers. This practical control supports cleaner floors and greater freedom from repeated rescue tasks.
Understand Robot Vacuum Stuck Error Codes
Robot vacuum error codes provide a quick way to identify why the machine has stopped moving or cleaning. For a robot vacuum, these error codes isolate the stuck point fast, reducing guesswork and restoring control.
Common alerts include:
- E1: jammed wheel; inspect for debris or tangled hair.
- E2: cliff sensor error; clean the sensors and confirm alignment.
- E3: navigation error; reset the map and provide adequate lighting.
- E4: suction or airflow blockage; clear the dustbin and filters.
- Narwal models: use a red flashing light, voice prompts, and app alerts for details.
These codes map failures to specific components, especially sensors and navigation systems, so the user can act directly.
The practical value is freedom from blind troubleshooting: the robot signals where motion failed, and the vacuum can be returned to service with minimal delay.
Prevent Future Sticking With Maintenance
Routine maintenance helps prevent repeat sticking by keeping navigation and movement systems clear. Operators should clean the sensors regularly, since dust or debris can distort mapping and leave the robot keep misreading space.
Roller brushes and wheels also need inspection; tangled hair and packed debris can slow traction and trap the unit. Software updates matter as well, because navigation fixes and bug patches can improve route selection.
To reduce the chances of repeated stops, app-based no-go zones should block areas with likely obstacles, including cords, clutter, and low-clearance furniture. Routine checks of the floor before each run help remove loose objects and preserve free movement.
This maintenance approach keeps the vacuum working with less interference and fewer recoveries. The result is more autonomous cleaning, less manual rescue, and a more liberated household workflow.
Frequently Asked Questions
What Are the Most Common Problems With Robot Vacuums?
The most common problems are sensors malfunction, battery issues, navigation problems, tangled brushes, low suction, and software glitches. These faults reduce autonomy and cleaning performance, so regular inspection and maintenance keep operation efficient and user control restored.
What Is the Average Lifespan of a Robot Vacuum?
A robot vacuum typically lasts 3 to 5 years. Robot vacuum maintenance, features, technology, reviews, comparisons, and upgrades influence durability; battery replacement often comes at 2 to 3 years, with careful use extending performance.
Which Robot Vacuum Does Not Get Stuck?
No robot vacuum completely avoids getting stuck, but the Dreame X50 Ultra, iRobot j7+, Narwal Flow, and Roborock S7 come closest through Smart navigation, Sensor technology, Obstacle detection, Floor types, Maintenance tips, and User reviews.
Why Is My Roomba Always Getting Stuck?
It usually stems from Roomba navigation issues: furniture layout obstacles, carpet height variations, sensor malfunction causes, and battery life impact. The fix appears simple yet critical: apply maintenance tips, clear paths, and clean sensors regularly.
Conclusion
In conclusion, most robot vacuums get stuck because of preventable obstacles, sensor contamination, or navigation errors. A practical maintenance routine—removing cords, clearing tight furniture gaps, cleaning brushes, and checking wheels—reduces downtime and improves reliability. One useful statistic: studies and manufacturer reports often note that dirty sensors can raise navigation failures by a substantial margin, sometimes by more than 30%, underscoring how small upkeep tasks can deliver outsized performance gains.