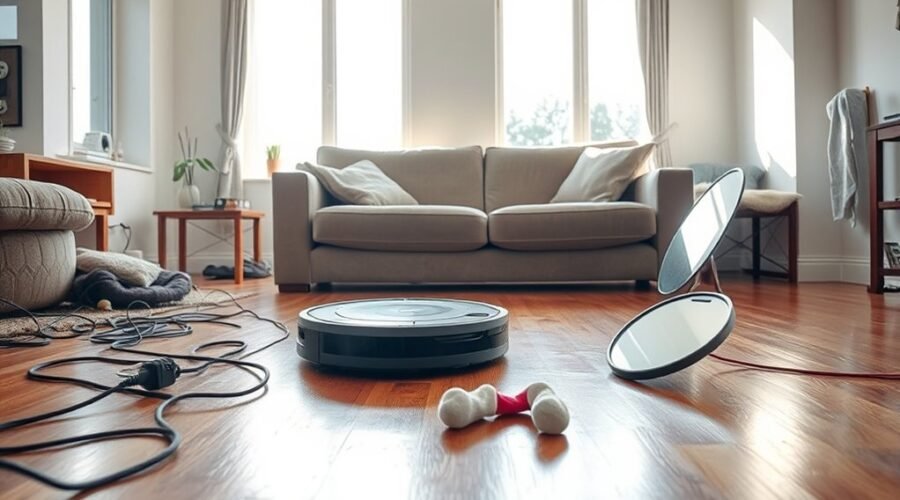
A robot vacuum that cannot locate its dock usually points to a small set of faults: poor dock placement, blocked sensors, dirty charging contacts, weak battery health, or navigation errors. Even stable Wi-Fi and updated firmware can affect return behavior. Most cases are straightforward to isolate, but some failures are less obvious and require a closer check of map data, charger output, or internal diagnostics.
Why Your Robot Vacuum Can’t Find the Dock
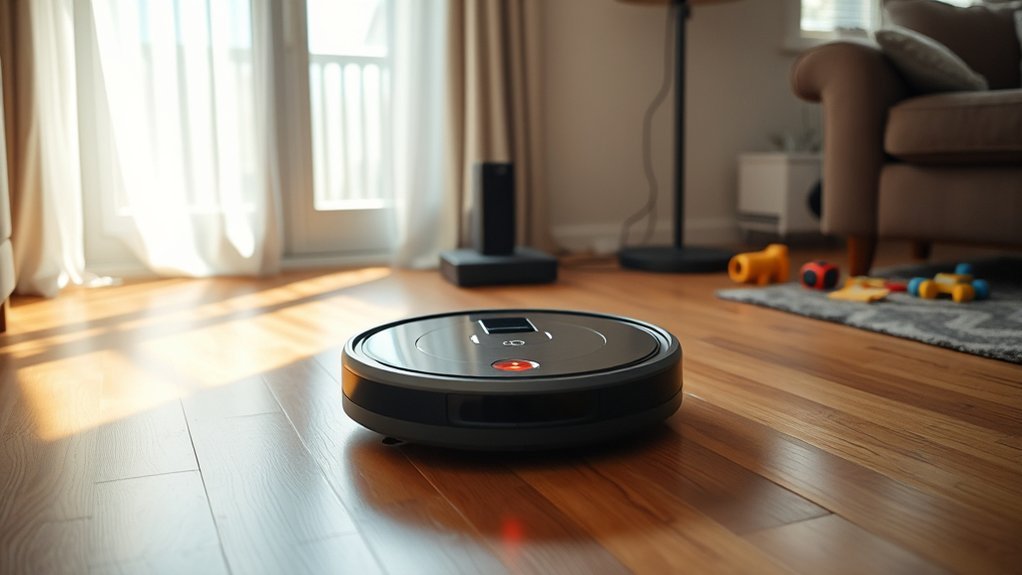
A robot vacuum may fail to find its dock when its battery is too low to complete the return cycle, when furniture, cables, or other obstacles block the docking path, or when the dock is placed without adequate clearance—at least 1.5 meters in front and 0.5 meters on each side.
These docking issues often begin with depleted power, which interrupts the robot vacuum’s navigation before it reaches home. Obstacle avoidance can also be compromised by clutter, unexpected movement, or manual relocation during return.
Dirty sensors on the unit or dock may weaken recognition and signal exchange, producing false readings and search loops. In diagnostic terms, the dock should be placed in a stable, open zone, and both sensing surfaces should remain clean.
When those conditions are not met, the machine cannot complete its return routine, leaving the system functionally confined rather than autonomous.
Check Dock Placement and Clearance
The dock should be mounted flat against a wall to support consistent approach alignment.
Clear space is required around the station, with at least 0.5 meters on each side and 1.5 meters in front to reduce navigation interference.
Corners, tight recesses, and nearby obstructions should be avoided because they can disrupt docking detection and path planning.
Dock Against Wall
When the docking station is mounted flat against a wall, alignment and signal reception are more reliable for the robot vacuum. This placement helps the dock present a stable target for the robot’s return path and protects the vacuum’s home base from avoidable drift. The dock should remain square to the wall, with no tilt or offset.
- Maintain at least 0.5 meters on each side of the dock.
- Keep 1.5 meters of unobstructed space in front.
- Remove nearby furniture or cables that interrupt approach.
Regular inspection is advisable; the dock may shift over time, degrading navigation.
Repositioning it within these limits restores predictable homing behavior and supports efficient, autonomous operation.
Leave Clear Space
Clear space around the dock is essential for reliable robot vacuum return and alignment. The docking station should sit against a wall with at least 0.5 meters of clearance on both sides and 1.5 meters of open floor in front.
This clear space reduces navigation errors and gives the robot a direct approach path. Obstacles such as cables, furniture legs, or loose items should be removed from the zone, because even minor blockages can interrupt docking.
A cluttered or confined setup can confuse sensors and delay return behavior. Regular inspection keeps the approach area open and predictable.
For users seeking freedom from manual intervention, a clean docking zone preserves autonomous movement and improves the vacuum’s ability to locate its base efficiently.
Avoid Tight Corners
Tight corners should be avoided because they can disrupt a robot vacuum’s approach and return path. The dock should be placed against a wall, in an open zone that preserves unobstructed access during every cleaning session.
A minimum of 1.5 meters in front of the dock supports reliable alignment, while 0.5 meters of clearance on each side reduces misreads from nearby boundaries. Obstructive furniture, dangling cables, and clutter can degrade homing performance and should be removed.
- Avoid tight corners near the dock.
- Keep the station placed against a wall.
- Verify open clearance and unobstructed access regularly.
Routine inspection of the dock area improves navigation accuracy and supports independent operation.
Clean Sensors and Charging Contacts
Routine cleaning of the front and side sensors with a lint-free cloth reduces dust interference and supports accurate docking navigation.
If residue persists, a cotton swab lightly moistened with isopropyl alcohol can clear sensor obstruction without leaving buildup.
The metal charging contacts on both the robot and dock should also be inspected and wiped with a soft, dry cloth to preserve electrical continuity and charging reliability.
Sensor Cleaning Tips
Regular cleaning of the front and side sensors, along with the charging contacts on both the robot and dock, helps prevent docking failures caused by dust, debris, or residue.
Sensor cleaning should be performed with a soft, lint-free cloth to preserve infrared signals and keep navigation precise. For stubborn grime, a cotton swab lightly dampened with isopropyl alcohol may restore contact performance without residue.
- Inspect sensors and contacts weekly.
- Keep the docking zone clear of clutter.
- Recheck battery recovery after cleaning.
Dirty optics or contacts can mislead the robot during approach, causing missed alignment and weak base recognition.
A routine schedule supports efficient docking and reduces repeated search cycles. When surfaces stay clean, the machine can locate the dock with less hesitation and connect more reliably.
Charging Contact Care
The charging contacts on both the robot and the dock should be kept clean and free of dust, grime, and residue to maintain a stable electrical connection. Regular wiping with a soft, dry cloth removes dirt and grime that can block charging contacts and weaken performance.
When buildup persists, a cotton swab lightly dampened with isopropyl alcohol can clear stubborn residue without excess moisture. Alignment matters as well; the robot must seat squarely in the dock for a proper connection.
Inspect both sets of contacts for corrosion, pitting, or wear, since damaged hardware can trigger intermittent charging issues. Consistent contact care restores reliable power transfer, reduces docking failure, and frees the machine from avoidable dependence on imperfect maintenance conditions.
Check Battery, Charger, and Connectivity
A low battery can prevent a robot vacuum from completing its cleaning cycle and returning to the dock, so charge level should be verified first. If the battery runs down quickly or reports a drained battery, the unit may stop before it can navigate home.
Inspect the power adapter and cable for cuts, bends, or loosened ends; if damage is present, unplug the dock and replace the faulty parts. Confirm the dock is seated in a live outlet and receiving steady power. Clean the metal contacts on both the robot and dock so charging is not interrupted by residue.
- Check battery health and runtime.
- Verify charger, cable, and outlet power.
- Confirm stable Wi-Fi connectivity for command delivery.
Intermittent Wi-Fi connectivity can weaken navigation handoff and delay dock seeking. Diagnostic priority should remain on power delivery before deeper system tests. A fully charged pack preserves autonomous return and reduces avoidable failure.
Reset Maps and Fix Navigation Errors
Resetting the robot vacuum’s map can correct dock-seeking errors caused by furniture changes, blocked paths, or other environmental shifts that were not present during the original mapping. When a unit shows Robot Vacuum Can’t Find the dock, reset maps through the app settings, then delete the old layout. This clears stale navigation errors and restores a fresh route profile.
| Step | Action | Result |
|---|---|---|
| 1 | Open app settings | Access map controls |
| 2 | Reset maps | Remove outdated data |
| 3 | Check dock clearance | Improve remapping accuracy |
| 4 | Start cleaning cycle from dock | Recalibrate navigation |
After the reset, verify the docking station is unobstructed and correctly placed. Launch a cleaning cycle from the dock so the robot can rebuild spatial references under current conditions. This process reduces misrouting and supports cleaner, freer operation.
Update Firmware or Reboot the Vacuum
Updating the vacuum’s firmware can improve navigation algorithms and help the unit locate the dock more reliably. A proper update firmware process may add bug fixes, refine sensor logic, and reduce docking problems that stem from software defects.
Manufacturers often advise checking for updates regularly, because current code supports steadier routing and better station detection.
A reboot is the next low-risk diagnostic step. Power cycling resets internal systems, clears temporary glitches, and can restore communication after a lost link or brief software stall.
When the vacuum regains its baseline state, it may recover clean docking behavior without further intervention.
- Verify the latest firmware version in the app or settings menu.
- Follow the manufacturer’s update and reboot procedure exactly.
- Retest docking after each step to isolate the fault.
For an audience seeking liberation from avoidable service calls, disciplined maintenance preserves autonomy and keeps the machine functioning with minimal friction.
When to Contact Support for Docking Problems
When docking failures persist after cleaning, recalibration, and reboot attempts, professional support becomes the next diagnostic step. If the robot uses normal navigation yet still displays Can’t Find Its Base, the fault likely extends beyond simple alignment. A failed route back, repeated sensor errors, or erratic movement warrants contact support. Strange noises, complex error codes, or refusal to complete resets or firmware updates often indicate internal hardware faults, not user error. Persistent sensor malfunction is a strong trigger for escalation.
| Symptom | Action |
|---|---|
| Repeated dock misses | contact support |
| Sensor faults after cleaning | contact support |
| Error codes or noise | contact support |
| Reset or update failure | contact support |
| Warranty active | request repair |
Before service, verify warranty status; covered units may qualify for free repair or replacement. This step preserves control, reduces wasted troubleshooting, and restores mobility efficiently.
Frequently Asked Questions
Why Can’t My Robot Vacuum Find Its Dock?
It cannot locate the dock because of robot navigation problems, docking station issues, or charging pad placement errors. Obstructed sensors, weak signals, and low battery are common; sensor malfunction solutions include cleaning, repositioning, and clearing the route.
What Are the Most Common Problems With Robot Vacuums?
The most common problems are navigation issues, weak battery performance, clogged brushes, dirty sensors, and inconsistent cleaning schedules. Effective robot vacuum maintenance reduces failures, restores autonomy, and supports efficient, user-directed household care.
My Roborock Vacuum Won’t Dock. What Can I Do to Fix This?
He should reposition the dock against a wall, clear obstacles, and clean sensors; docking station issues, sensor malfunctions, battery problems, and surface compatibility may prevent contact. Restarting robot and dock often restores reliable docking.
What Is the Average Lifespan of a Robot Vacuum?
A robot vacuum typically lasts 3 to 5 years. Longevity improves with robot vacuum maintenance, battery longevity tips, sensor calibration issues addressed early, and cleaning dock regularly, especially under heavy use or limited-quality construction.
Conclusion
To sum up, a robot vacuum that cannot find its dock typically reflects a breakdown in placement, sensing, power, or navigation. A clear charging area, clean contacts, stable battery performance, and updated firmware often restore reliable docking. If mapping errors or connectivity faults persist, reset the system and verify the charger path. When symptoms remain abnormal, support intervention is warranted. In practice, the dock should act as a lighthouse, guiding the machine home with consistency.