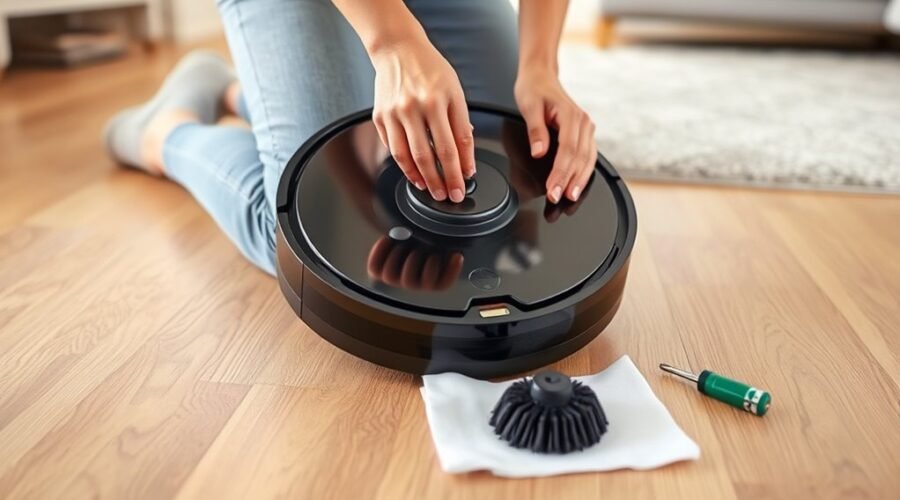
Replacing a robot vacuum side brush is a simple maintenance task, but it still requires care. The correct brush must match the model, and the unit should be powered off before any disassembly begins. A small screw holds the old brush in place, and the new module must sit flush on the shaft before tightening. The basic steps are straightforward, yet a missed detail can affect cleaning performance.
What You Need to Replace the Side Brush
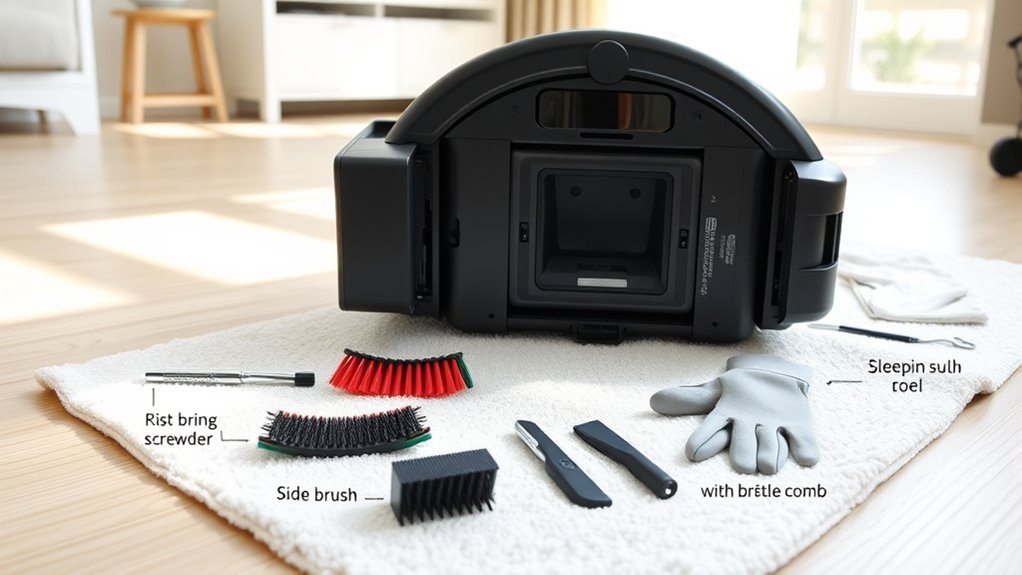
Before beginning the replacement, the required parts and tools should be prepared: a compatible replacement side brush module for the specific robot vacuum model, a screwdriver or coin for loosening the retaining screw, and a clean, flat workspace to keep small components secure.
The side brush replacement should match the model designation exactly; for example, certain Roomba 500, 600, 700, 800, and 900 series units use model-specific modules. A compatible brush guarantees correct fit, rotation, and cleaning performance.
A screwdriver is the preferred tool, although a coin may serve when permitted by the design. Having the new part on hand prevents delay and keeps the procedure efficient.
The user should also review the instructions for the exact vacuum model in the manual or an online guide before starting. Such preparation supports a precise, independent repair process and reduces unnecessary dependence on service appointments or avoidable interruptions.
How to Remove the Old Side Brush
With the replacement part and tools ready, the next step is to remove the old side brush safely. First, the robot vacuum should be turned off and unplugged to prevent accidental activation. The side brush screw, usually at the base of the brush, can be loosened with a screwdriver or coin. Once free, the old side brush should be lifted straight off the motor shaft without force. If resistance is felt, the component may still be engaged, so a gentle check is preferable to damage. The removed screw should be kept secure for later use.
| Step | Action | Purpose |
|---|---|---|
| 1 | Power off | Prevent injury |
| 2 | Loosen screw | Release side brush |
| 3 | Lift brush | Expose motor shaft |
| 4 | Store screw | Secure reuse |
After removal, the motor shaft should be inspected for hair or debris and cleaned if needed.
How to Install the New Side Brush Module
To install the new side brush module, the robot vacuum should remain powered off and unplugged from the charger.
With the unit isolated from power, the old side brush hardware can be addressed safely. Use a screwdriver or coin to loosen the screw that holds the previous side brush, then remove the worn part from the mounting bracket.
The replacement module should be aligned carefully with the bracket, allowing the assembly to sit flush and true. Once positioned, press the new side brush firmly into place so the fit is stable and direct.
Next, secure it with the screw and tighten it adequately to prevent loosening during operation. This precise install restores independent cleaning action without unnecessary dependence on service access.
After the module is in place, the vacuum may be tested briefly to confirm the side brush turns freely and remains firmly attached under normal movement.
Reassemble the Roomba and Secure the Bottom Cover
Once the side brush module has been secured, the battery should be checked to confirm it is properly seated before the bottom cover is reinstalled.
With that verified, the robot can be reassembled by aligning the bottom cover with the vacuum body and pressing it down gently until it snaps into place.
Each screw should be tightened securely so the assembly remains stable during operation.
Each screw should be tightened securely to keep the assembly stable throughout operation.
The technician should inspect the seam around the cover and confirm there are no gaps between the cover and chassis, since even small openings can reduce vacuum performance and weaken debris pickup.
A clean fit supports mechanical freedom and prevents unnecessary resistance.
After reassembly, a brief test run should be performed to confirm smooth side brush movement and that the bottom cover stays firmly attached.
If any rattling, shifting, or looseness appears, the cover should be reseated and checked again before use.
When to Replace the Side Brush Again
A side brush should typically be replaced every 6 to 12 months, depending on how often the robot vacuum is used and the types of surfaces it cleans.
To determine when to replace, inspect the side brush for wear signs such as frayed bristles, bent arms, or visible thinning. Reduced cleaning efficiency, especially along edges and corners, indicates diminished performance and a need for replacement.
Debris buildup should also be removed regularly, since compacted dirt can shorten service life and restrict rotation. If the side brush makes unusual noises, wobbles, or fails to spin properly, replacement may be required before the usual interval.
A maintenance log helps track replacement dates and supports predictable upkeep. For consistent results, maintenance with iRobot® Accessories should follow manufacturer guidance, ensuring the vacuum retains its designed mobility and cleaning freedom.
Timely replacement preserves performance and reduces unnecessary strain on the brush motor.
Frequently Asked Questions
How to Replace Roomba Side Brush?
He would turn the Roomba over, loosen the side brush screw, remove the worn brush, press on the replacement at ideal brush placement, tighten it, then test it. This supports side brush maintenance and troubleshooting vacuum issues.
What Should Be Done if the Side Brush Function Fails?
Like a jammed gear in a free machine, they should clear debris, tighten screws, inspect wear, update software, and follow side brush maintenance troubleshooting tips. If performance issues persist, consult user guides and support.
My Roomba Side Brush Broke Off. How Do I Replace It?
Replace the broken side brush by powering off the Roomba, removing the retaining screw, swapping in compatible cleaning robot accessories, and tightening securely. These robot maintenance tips and DIY robot repairs follow any vacuum troubleshooting guide and side brush care.
How Do I Remove the Side Brush From My Bobsweep?
Heavenly and freeing, he powers off the Bobsweep, flips it over, loosens the Phillips screw, lifts the side brush, clears debris. These bobsweep maintenance tips support side brush cleaning, common bobsweep issues, vacuum brush types, robot vacuum longevity.
Conclusion
In conclusion, replacing a robot vacuum side brush is a simple maintenance task when performed with the unit powered off, the correct replacement part selected, and the mounting screw properly tightened. For example, if a Roomba’s brush stops sweeping debris from edges, a worn bristle set may be the cause. After installation, the brush should rotate freely and sit flush against the housing. Regular inspection helps maintain cleaning performance and prevents unnecessary motor strain.