Unplug your dehumidifier, move it to a dry, ventilated spot, and wear gloves and a dust mask. Wipe the exterior and control panel with a damp cloth and mild soap. Remove the bucket, wash it with warm soapy water, and rinse it well. Clean or replace the filter, then vacuum coils, grilles, and fan blades. Flush the drain hose with a vinegar solution, and let every part dry fully. There’s more to keep it running cleanly.
Why Clean Your Dehumidifier
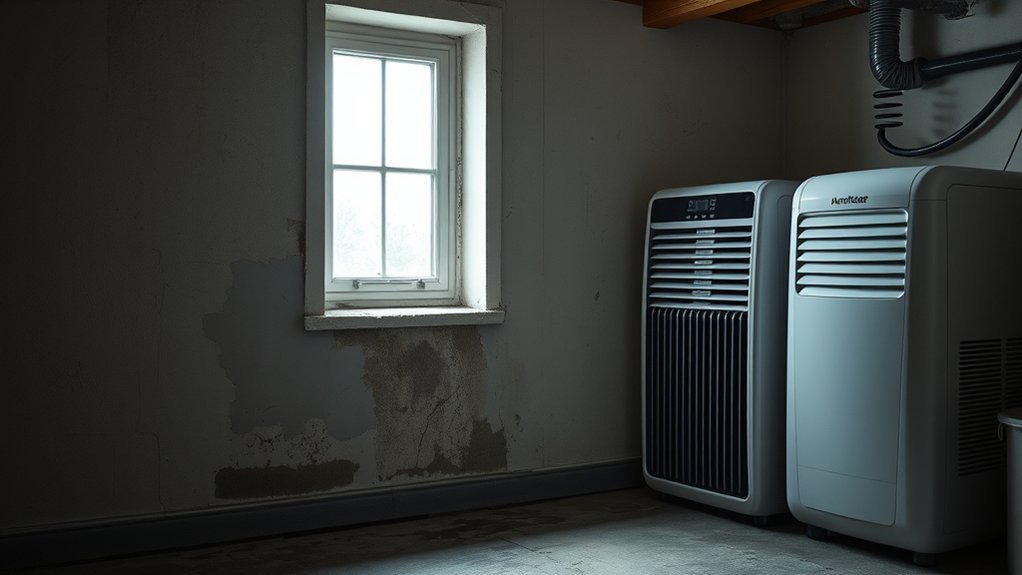
Regularly cleaning your dehumidifier helps prevent mold growth, improve indoor air quality, and keep the unit running efficiently. You remove moisture, dirt, and grime before they accumulate and become a breeding ground for mold and bacteria. That cleaning routine can reduce allergens in your space, helping you breathe easier and keep respiratory irritation lower. When buildup blocks airflow or coats internal parts, your unit works harder and loses efficiency, which can raise energy use and utility costs. Clean components also limit the release of dust and mold spores back into the air, protecting the room you’re trying to control. If you neglect maintenance, you may notice odors, degraded performance, and damage to internal components that can shorten the appliance’s lifespan. For heavy use, clean it every 3-4 weeks; for occasional use, every 2-3 months. This small task preserves performance and supports a healthier, more autonomous indoor environment.
Tools and Supplies You’ll Need
Before you start, gather rubber gloves, a dust mask, rags, towels, and small brushes so you can clean safely and reach tight areas inside the unit. You’ll also need household cleaners like dish soap and vinegar to sanitize the water bucket and other removable parts. A vacuum cleaner with a hose attachment can help you remove dirt and debris without damaging sensitive components.
Essential Cleaning Tools
A few basic tools will make dehumidifier cleaning faster and more effective: rubber gloves to protect your hands, a dust mask to limit exposure to dust and allergens, and soft, lint-free cleaning cloths for wiping surfaces without scratching or leaving residue. Keep Mild Soap ready for routine washing, and use vinegar when you need to cut stubborn grime or neutralize odors without harsh additives. A Vacuum Cleaner with a brush attachment helps you clear dust from filters and interior parts, so airflow stays strong and performance stays efficient. You’ll work cleaner and faster when these essentials are within reach. Gather them before you start, and you’ll move through the job with control, precision, and less disruption to your space.
Safety Gear And Supplies
To clean your dehumidifier safely and efficiently, wear rubber gloves and a dust mask, then gather soft cloths, scrub brushes, mild soapy water or vinegar, and a vacuum with a brush attachment. Your safety gear blocks dust and allergens, so you can work with confidence and control.
- Rubber gloves
- Dust mask
- Soft cloths and scrub brushes
- Vacuum with brush attachment
Use these cleaning materials and cleaning agents to sanitize the bucket, wipe panels, and lift grime without scratching surfaces. Keep the additional supplies nearby so you can clear filters and coils fast. Plan a 30-minute time requirement for prep, cleaning, and drying. This setup helps you maintain your machine efficiently and keeps your space free from stale moisture and avoidable clutter.
Unplug and Prep the Unit
Turn off and unplug the dehumidifier before you start any cleaning step to eliminate electrical risk. Move it to a clean outdoor area or large sink, then remove the bucket and air filter so you can access the unit more easily. Gather your gloves, dust mask, soft cloths, and mild soap, and check the manual for any model-specific instructions.
Safety First
Before you clean a dehumidifier, unplug it and move it to a clean, well-ventilated area so you can work safely and control dust and cleaning residues. This safety step protects you and keeps the cleaning process efficient.
- Unplug the unit completely.
- Remove the water bucket and filters.
- Put on rubber gloves and a dust mask.
- Check the owner’s manual for model-specific warnings.
Work with the unit accessible from all sides, and keep cords away from moisture. By preparing the dehumidifier this way, you reduce electrical risk, limit contamination, and create the freedom to clean each component thoroughly. Follow the manufacturer’s guidance before disassembly, then proceed only when every removable part is out and the unit is stable.
Gather Cleaning Supplies
Unplug the dehumidifier, then gather all cleaning supplies before you start so you can work efficiently and safely. Set out rubber gloves, a dust mask, soft cloths, dish soap, vinegar, and a vacuum cleaner. Move the unit outdoors or place it over a large sink to control debris and keep your space clear. Check the user manual for model-specific disassembly steps and cleaning guidelines, since details can vary. Make sure the filter, water bucket, and any removable parts are accessible before you clean your dehumidifier. Use soap and water for routine wiping, then dry each surface completely. With everything ready, you can clean your dehumidifier faster, reduce mess, and maintain the freedom of a well-run home without unnecessary interruptions or risks.
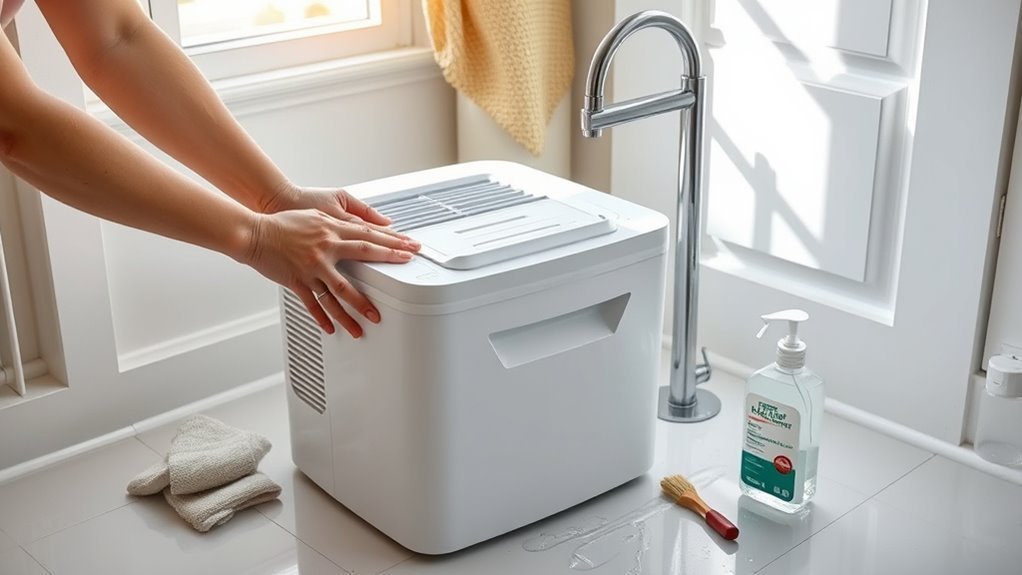
Clean the Exterior and Control Panel
Once the unit is unplugged, wipe the exterior with a damp cloth and mild soap, avoiding bleach- or ammonia-based cleaners that can damage the finish. To clean the exterior, work from top to bottom so dust doesn’t fall onto already cleaned areas. Focus on the air-intake grille, where lint and debris can restrict airflow and reduce performance.
- Dampen the cloth lightly; don’t soak it.
- Wipe panels, seams, and vents with controlled strokes.
- Use a soft cloth on the control panel to protect sensitive buttons and displays.
- Check for moisture around controls, then dry it immediately.
Keep the control panel nearly dry at all times. Excess water can seep into switches and create electrical damage. Use only enough pressure to lift grime without stressing plastic surfaces. If buildup remains, repeat with fresh mild soap solution and a clean cloth. This method lets you maintain the unit cleanly, safely, and without giving up control over its condition.
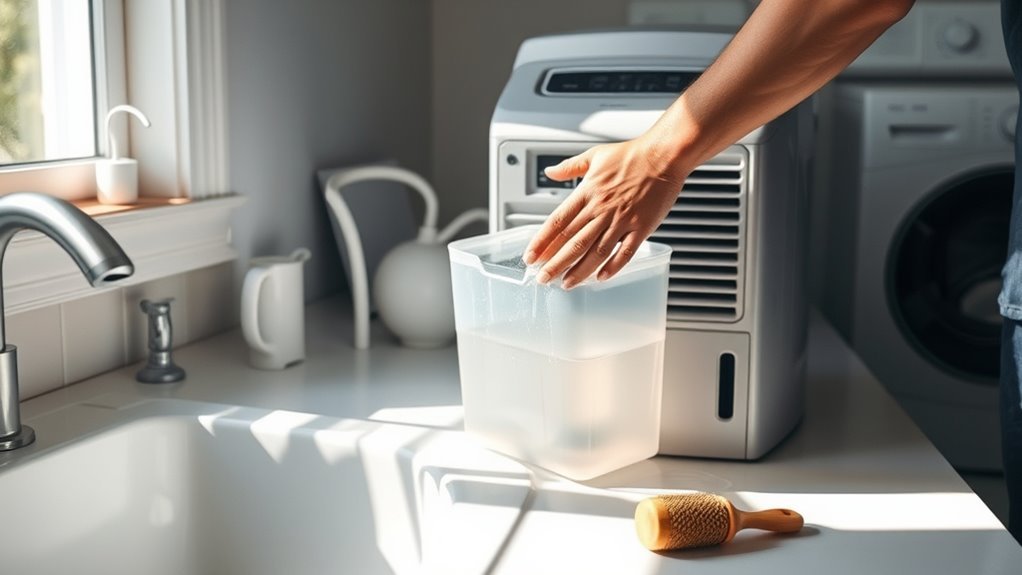
Wash the Water Bucket and Reservoir
Unplug the dehumidifier, then empty and remove the water bucket so you can access the reservoir safely. Wash the bucket and reservoir with warm water and mild soap, scrubbing away any dirt or residue. Rinse everything completely and let it dry fully before you reinstall it.
Empty and Disassemble Bucket
Start by unplugging the dehumidifier, then remove the water bucket and any detachable parts, such as the splash guard, according to the manufacturer’s instructions. Empty the water bucket fully so stagnant water can’t feed mold growth. Disassemble only the components designed to come apart, and keep each piece within reach for efficient cleaning.
- Lift out the bucket.
- Separate removable parts.
- Inspect for residue or algae.
- Set pieces aside for washing.
Handle each part with control to avoid spills and preserve access to hidden surfaces. A clean, dry workspace helps you work quickly and independently. If the bucket feels slippery or stained, you’re ready for the next cleaning step. After removing every detachable part, verify that nothing remains in the housing before you proceed.
Wash With Mild Soap
With the bucket removed and fully emptied, wash the interior and exterior with warm water and a mild dish soap, using a soft sponge or cloth to scrub away stains and residue. Focus on corners, seams, and the reservoir walls where buildup hides. If needed, use a vinegar solution on stubborn deposits, then rinse thoroughly with clean water until no soap remains. This helps you clean the reservoir without leaving film that can cause odors. Before you return the bucket, remove the filter if it’s accessible and inspect it separately, since trapped debris can spread contamination. When you wash with mild soap, you reduce the conditions that support bacteria and help prevent mold. Let it air dry completely in open air, so moisture doesn’t linger and compromise the dehumidifier’s next cycle.
Dry Before Reinstalling
Once you’ve washed the water bucket and reservoir, rinse them thoroughly to remove every trace of soap, since leftover residue can affect performance and air quality. Let the water bucket air dry completely for 1–2 hours before you reinstall it. To clean a dehumidifier properly, check that every surface is thoroughly rinsed and fully dry.
- Inspect for dirt, algae, or slime.
- Wipe away any remaining contamination.
- Air dry completely to prevent mold and bacteria.
- Reattach the splash guard lid securely.
You’ll avoid water accumulation, odor, and damage when you return the bucket to service. This simple pause gives you control over the system and keeps the unit operating cleanly.
Clean or Replace the Air Filter
Check the air filter every 3 to 4 weeks if your dehumidifier uses a permanent filter, or each season if it has a disposable one, because a clean filter helps maintain airflow and efficiency. When you clean or replace the air filter, you help the unit remove moisture more effectively and reduce humidity levels without strain. During cleaning your dehumidifier, remove the filter and inspect it for dust buildup, warping, or damage. Rinse a permanent filter under warm water with mild detergent, then let it dry completely before reinstalling it. If you use a disposable filter, replace it on the manufacturer’s schedule, usually every 6 to 12 months, so the machine keeps working as designed. Monitoring the air filter’s condition also protects your indoor air by limiting dust, mold, and allergens from circulating. A clogged filter can force the dehumidifier to draw more power, which raises energy use and weakens performance.
Wipe the Coils, Grilles, and Fan Blades
Use a soft brush or a vacuum with a brush attachment to remove dust and debris from the coils, then wipe the grilles with a damp cloth to keep airflow unobstructed and the unit efficient. This helps you clean dehumidifier components without stressing the system. Work carefully so you don’t bend fins or smear grime back onto the surface.
- Brush the coils lightly, lifting dust and debris.
- Wipe the grilles with a damp cloth.
- Clean the fan blades with a soft cloth.
- Let the coils dry completely before reassembly.
Dry coils matter because trapped moisture can invite mold and mildew. Inspect these parts every few months, especially if you run the unit often. When you keep the coils, grilles, and fan blades clean, you protect airflow, preserve performance, and extend the machine’s life. Clean maintenance gives you more control over your indoor environment and reduces reliance on preventable repair costs.
Flush the Drain Hose and Pump Line
To keep water moving freely, flush the drain hose with a vinegar solution and inspect the pump line for any blockages. Mix one cup of vinegar with a gallon of water, pour it through the line, and let it sit for 30 minutes so it can break down scale and mold. Then rinse with clean water until the flow runs clear. If you still notice blockages, use a wet-dry vacuum to suction out debris from the drain hose. Check the pump line closely, because a clogged line can back water up and damage the unit. Keep the drain hose properly aligned and free from kinks so water can move without resistance. After you finish, run the dehumidifier briefly and confirm that the hose and pump line drain smoothly and don’t leak. This step keeps the system open, reliable, and under your control.
Let Every Part Dry Completely
Let every component dry for at least 24 hours before you reassemble the dehumidifier. This step helps you let every part dry completely and stops hidden moisture from causing trouble. Place the water bucket, filters, hose, and housing in a well-ventilated area so they can air dry evenly.
Let every component dry fully before reassembly to prevent hidden moisture, odors, and poor dehumidifier performance.
- Wipe each surface with a clean, dry cloth after washing.
- Confirm the exterior is fully dry before touching electrical parts.
- Inspect the drainage hose for trapped water or residue.
- Recheck all components before reassembly to prevent mold and bacteria.
If you rush, moisture accumulation can create odors, corrosion, and poor performance. A dry machine gives you cleaner air and fewer repairs, so you stay in control. Keep the parts separated while they dry; stacking traps dampness. When every surface feels dry to the touch, you can rebuild the unit with confidence.
Keep Your Dehumidifier Clean Longer
Once your dehumidifier is fully dry and reassembled, you can keep it running efficiently with a simple maintenance routine. Check the filter every 3–4 weeks if it’s permanent, or clean or replace it each season if it’s disposable. A clear filter preserves ideal airflow and helps the unit pull moisture from the air without strain. Set a cleaning schedule that matches use: every 2–3 months for occasional operation, and more often in damp rooms. Periodically wipe the water bucket and drain line with vinegar or a specialized cleaning tablet to stop grime and algae before they spread. After each service, confirm every part is dry before you close the housing. When you store the unit, disconnect power, drain hoses, and place it in a dry area. These steps prevent odors, blockages, and hidden mold, so you keep control over humidity with less effort and fewer repairs.
Frequently Asked Questions
What Is a Step by Step Plan for Cleaning a Dehumidifier?
Unplug it, empty the water tank, remove the filter, wash each part, scrub coils, flush the drain, dry everything, then reassemble. For dehumidifier maintenance, set cleaning frequency, inspect filter replacement, and prioritize mold prevention.
Should You Use a Dehumidifier if You Have COPD?
Yes—you should if humidity’s a swamp in your lungs’ kingdom. A dehumidifier offers benefits for COPD management, improving air quality, supporting respiratory health, and enabling precise humidity control, but you should confirm settings with your clinician.
Do Dehumidifiers Help With a Cough?
Yes, dehumidifiers can help your cough by improving moisture control and respiratory health. You’ll reduce mold and dust mites, gain allergy relief, and support cough remedies by keeping humidity between 30–50% for cleaner air.
Can a Dehumidifier Help With Snoring?
Yes—reducing bedroom humidity can help your snoring. Why let moisture choke your airways? You can improve snoring solutions by balancing humidity levels, supporting air circulation, boosting sleep quality, and increasing bedroom comfort.
Conclusion
Keeping your dehumidifier clean helps it run efficiently, prevents mold buildup, and can extend its service life. In fact, a dirty coil can reduce performance by up to 30%, so a quick cleaning routine makes a real difference. If you wipe the exterior, wash the bucket, clear the hose, and let everything dry completely, you’ll protect your air quality and your machine. Make it a regular habit, and you’ll avoid costly repairs later.