To connect a dehumidifier to a sump pump, run the dehumidifier’s drain hose into a condensate pump, then route the pump’s discharge line to the sump pit or drain pipe. Set both units on a flat, elevated surface with the hose sloping downward, and secure every joint with clamps. Test the setup by adding water to the pump chamber and checking for leaks. With the right layout, you can keep moisture moving efficiently and avoid manual bucket emptying.
Why Use a Sump Pump With a Dehumidifier
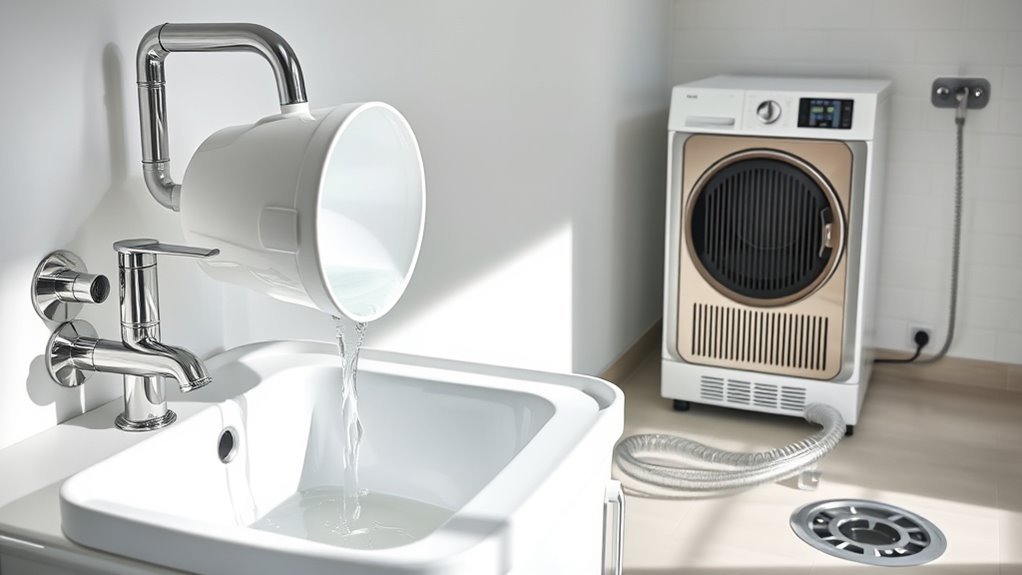
Using a sump pump with your dehumidifier lets you remove condensate automatically, so you can keep humidity below the recommended 50% without constantly emptying a bucket. You gain continuous operation, which means your unit can run longer and do its job without interruption. By routing water into a sump pump, you reduce standing moisture in basements and crawl spaces, where damp air often lingers. That drier environment helps limit mold growth and lowers the risk of related health problems. A sump pump also gives you a practical path to existing drainage, so you’re not trapped by manual maintenance or water overflow. You should still test the system regularly to confirm both devices work efficiently. With that simple check, you protect your home, reclaim your time, and keep moisture under control with less effort and more independence.
What You Need for the Drain Connection
To set up the drain connection, you’ll need a condensate pump that can handle the dehumidifier’s output, a drainage hose that fits both units, and basic tools like a screwdriver and hose clamps. Choose parts that support a clean, controlled path to the drain pipe, so water moves without backflow or leaks. You’re building a system that works for you, not against you.
- Condensate pump sized for your dehumidifier’s flow
- Compatible drainage hose for secure routing
- Screwdriver and hose clamps for tight connections
Check that the hose seals tightly at each end, and use clamps to lock the fit. A proper pump gives you the lift needed when gravity alone can’t do the job. Keep the materials simple, durable, and ready for installation. With the right components, you stay in control of moisture removal and avoid unnecessary repairs.
Place the Dehumidifier and Pump Correctly
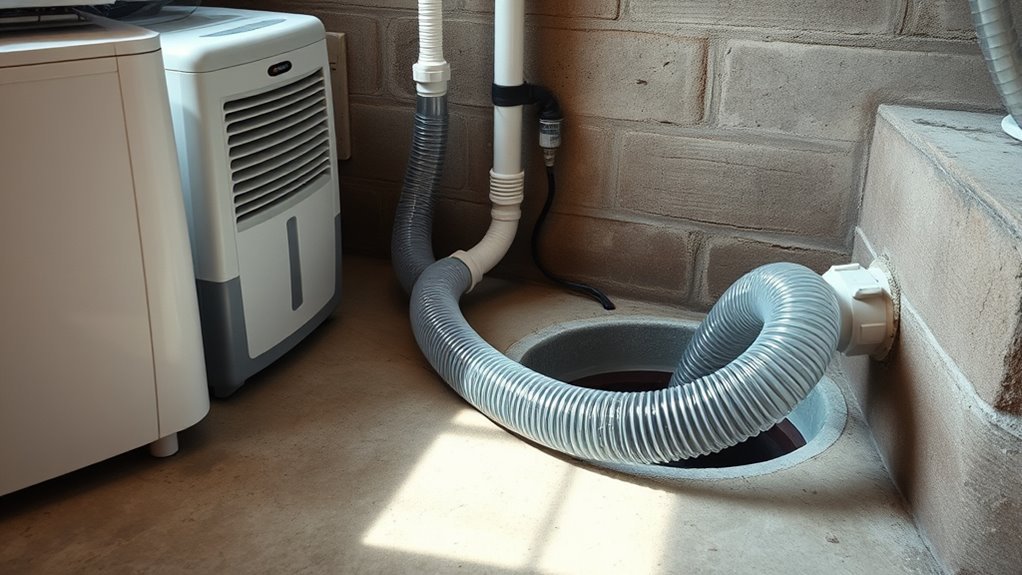
Place the dehumidifier on a flat, elevated surface, and set the pump on a stable, level area close to it. Keep the hose running downward from the dehumidifier to the pump so gravity supports steady flow. Leave enough clearance around both units so you can maintain airflow and service them easily.
Level Surface Placement
Start by setting both the dehumidifier and sump pump on a flat, level surface so they operate correctly and water doesn’t pool around them. A stable base reduces vibration, protecting hoses and drainage tubes from loosening. Keep the units close enough for a clean connection, but leave enough space for airflow and easy maintenance. Also, position them away from sinks, floor drains, or other water sources to reduce electrical risk and equipment damage.
- Check for wobble before you connect anything.
- Confirm the hose can reach without strain.
- Leave clearance for service access and ventilation.
When you place both units on a level surface, you gain reliable operation and a cleaner setup that supports your freedom from avoidable repairs.
Downward Hose Path
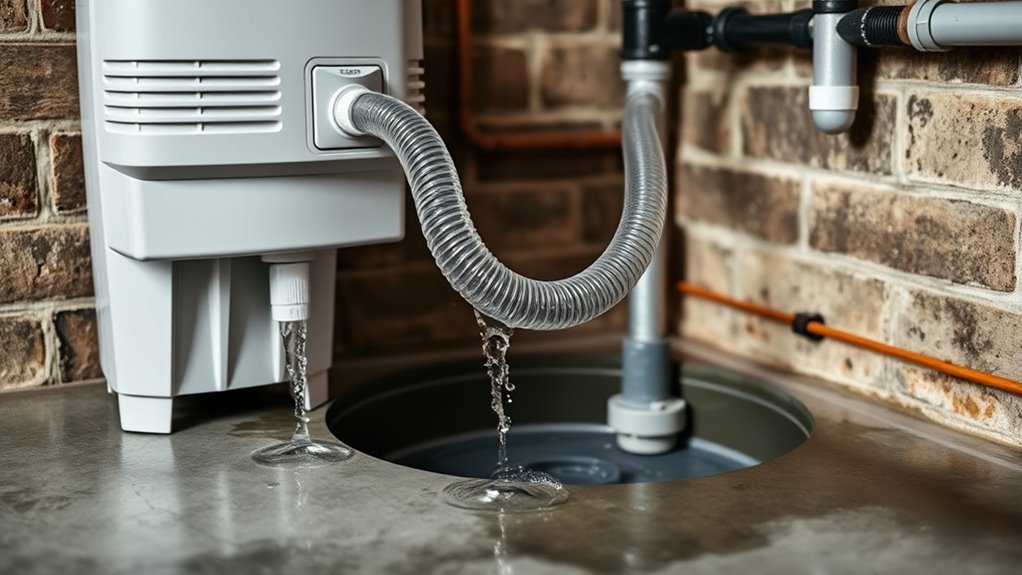
Set the dehumidifier higher than the sump pump so gravity can move water through the hose without assistance. Keep the hose in a steady downward hose path from the dehumidifier to the pump’s inlet, with no rises, dips, or loops that can trap water. Secure the connection tightly so you don’t invite leaks or waste flow. Place the sump pump on a flat, stable surface so it stays level and operates reliably. Then inspect the hose for kinks, crush points, or blockages whenever you service the unit. A clean, continuous descent lets water travel freely, reduces strain on the system, and gives you a simple setup that works on your terms.
Connect the Dehumidifier Hose to the Pump
With the dehumidifier positioned close to the sump pump, attach a standard hose that matches the dehumidifier’s outlet and connect it securely to the pump’s inlet. To connect the dehumidifier hose to the pump, keep the run short, direct, and controlled so water flows where you want it, not where it can cause trouble.
Keep the hose run short, direct, and secure so water drains cleanly where it should.
- Verify the hose fits both ends without forcing the connection.
- Route the hose downward to preserve gravity-fed drainage.
- Tighten each joint so the line stays sealed under continuous use.
You’re building a clean path for moisture removal, so avoid bends that pinch flow or weaken performance. Check the hose along its full length for kinks, twists, or partial blockages that could restrict discharge. A smooth, secure connection gives you reliable drainage and keeps the system working with less intervention, giving you more control over your space.
Test the Pump and Check for Leaks
Plug in both the dehumidifier and the sump pump, then test the system before relying on it. Pour water into the pump chamber and verify that the pump starts promptly and moves water out without hesitation. Watch the discharge path for steady flow and listen for abnormal cycling, which can signal a fault.
| Check | What you confirm |
|---|---|
| Power | Both units run |
| Chamber test | Pump activates |
| Flow | Water drains cleanly |
| Joints | No leaks |
Inspect the hose and drainage tube joints closely. Any seepage can trap moisture and reduce performance, so tighten fittings if needed. Keep observing the setup while it runs to make sure the pump stays consistent and doesn’t stall. After the test, revisit the system periodically. A quick inspection helps you keep control of humidity and protects the installation from avoidable failures.
Keep the Drain System Running Smoothly
To keep the drain system running smoothly, make sure the dehumidifier’s drainage tube stays securely connected to the sump pump and routes water through a downward-sloping hose so gravity can help maintain steady flow. Set the sump pump on a stable, flat surface so it runs without shifting or straining. Then protect your drain system by checking the hose path and fittings for kinks, sediment, or other blockages.
- Verify tight connections at both ends.
- Inspect the hose for slope and obstructions.
- Test drainage by filling the bucket and confirming pump activation.
You should also run periodic checks after heavy use, since a clear drain system keeps moisture moving out without interruption. If water slows or backs up, clear the line immediately and retest. This simple maintenance helps you keep control of damp air and maintain a reliable, self-directing setup.
Frequently Asked Questions
Can You Hook up a Dehumidifier to a Sump Pump?
Yes, you can hook up a dehumidifier to a Sump Pump if you route its drain hose to the pump’s inlet. You’ll need gravity assist, secure fittings, and regular checks to avoid overflow and maximize moisture removal.
Is It Okay to Run Your Dehumidifier in Your Basement for Just 12 Hours a Day?
No, 12 hours often won’t cut it: if basement humidity stays above 50%, mold can double in days. You’ll likely need longer runtimes or continuous operation, plus a humidistat to keep control.
Do Dehumidifiers Help With a Cough?
Yes, you can get Cough Relief: you’ll lower humidity below 50%, which can reduce mold and dust mites that trigger coughing. You’ll also soothe irritated airways, improving air quality and helping you breathe easier.
How to Connect Dehumidifier to Pump?
Link the dehumidifier’s drain hose to the pump inlet, like wiring a river’s freedom. Keep the hose sloping downward, secure Drainage Solutions, plug both units in, then test with water and verify reliable discharge.
Conclusion
By connecting your dehumidifier to a sump pump, you create a reliable drain path that keeps moisture moving out without constant emptying. Use the right hose, secure every fitting, and position both units for gravity-assisted flow or pump-fed discharge. Test the system for leaks and confirm the pump cycles properly. With routine checks, you’ll keep the setup efficient, clean, and low-maintenance—like a well-oiled machine in a modern lab.