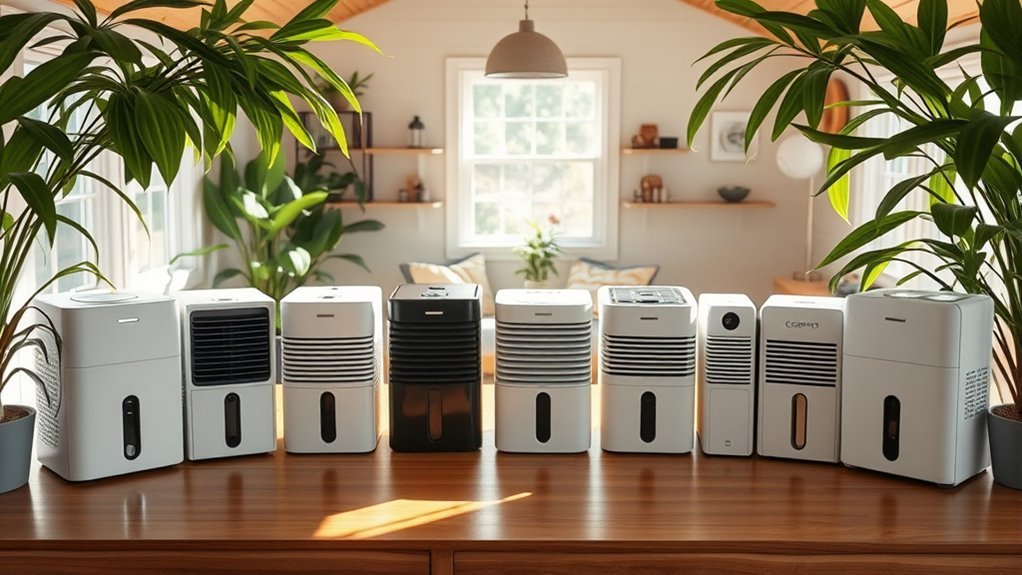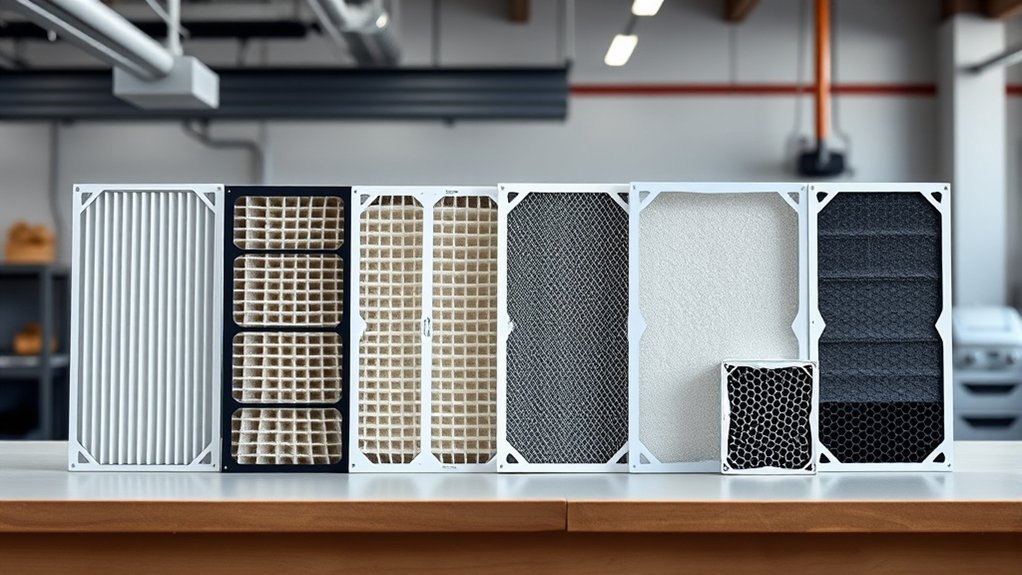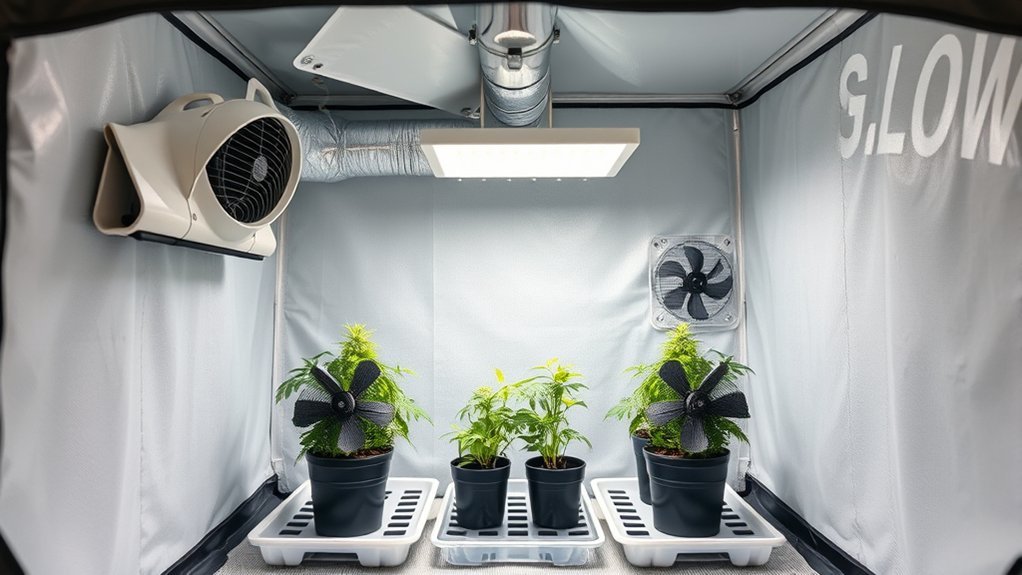
High humidity in a grow tent usually comes from a combination of plant transpiration, wet growing media, standing runoff, weak exhaust, and humid air in the surrounding room. Before adding a dehumidifier, measure where and when the spike occurs. The most effective fix is often to move humid air out of the entire growing area instead of only circulating it inside the tent.
Quick Answer
To lower grow tent humidity without placing a dehumidifier in the tent, exhaust moist air into a drier room or outdoors, bring in drier intake air, run gentle canopy fans, water only when the growing medium needs it, and remove runoff. Track RH at canopy height, especially after the lights turn off.
Key Takeaways
- Measure humidity at canopy height and compare it with the room outside the tent.
- Use an exhaust fan to remove moist air; circulation fans alone only move it around.
- Water according to the crop, container, and growing medium instead of following a fixed soil-depth rule.
- Expect RH to rise when the lights turn off and the air cools.
- Treat silica gel or calcium-chloride absorbers as limited backup tools, not primary humidity control.
At a Glance
| Time Required | 15-30 minutes for adjustments, followed by at least one full light and dark cycle of monitoring |
| Difficulty | Easy to moderate |
| Tools Needed | Thermo-hygrometer, exhaust fan, circulation fan, drainage tray, and optional ducting or fan controller |
| Cost | Low if your existing equipment is adequate; higher only if you need a larger fan, better ducting, or room conditioning |
Why Grow Tent Humidity Spikes
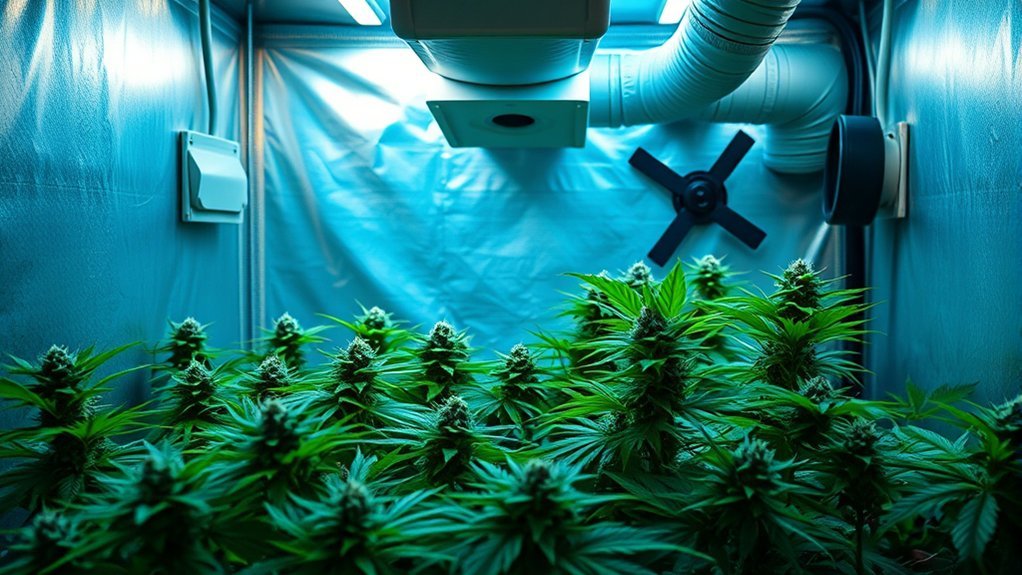
Grow tent humidity rises when plants and wet surfaces release water faster than the ventilation system can remove it. Plants continually release moisture through transpiration. Water also evaporates from growing media, open reservoirs, drainage trays, damp floors, and wet leaves.
The most common causes are:
- Excess irrigation: Saturated media and heavy runoff keep releasing moisture after watering.
- Weak exhaust: Humid air remains trapped or leaves too slowly.
- Humid intake air: A fan cannot dry the tent if it keeps drawing in air that is already near the target RH.
- Dense foliage: Leaves trap humid air inside the canopy and block circulation.
- Lights-off cooling: Relative humidity rises as the air cools, even before more water enters the tent.
- Recirculated exhaust: Air discharged into the same closed room may return through the tent’s intake.
- Wet materials: Cardboard, fabric, towels, wood, and plant debris can hold water and release it slowly.
UMass Extension recommends combining proper watering, plant spacing, air movement, warming, and ventilation to reduce greenhouse humidity and limit condensation.
Note: Relative humidity is temperature-dependent. A cooler tent can show a higher RH even when the actual amount of water vapor has not changed. Condensation begins when leaves or tent surfaces cool to the air’s dew point.
Measure Grow Tent Humidity Correctly
Do not make equipment changes from one reading. First, find out where the humidity is highest and when it rises.
- Place the main sensor at canopy height. Keep it out of direct light, away from a fan outlet, and away from wet soil or a water reservoir.
- Use a second meter outside the tent. This shows whether the problem starts in the tent or in the surrounding room.
- Record lights-on and lights-off readings. Check before watering, after watering, shortly after the lights turn off, and near the end of the dark period.
- Compare meters occasionally. Place them side by side for several hours. A large disagreement means one meter may need calibration or replacement.
- Look for condensation. Wet tent walls, ducting, leaves, or equipment indicate that local surfaces are reaching the dew point.
If the tent and room have nearly the same high RH, the room is the main problem. If only the canopy reading is high, improve plant spacing and internal circulation. If RH rises mainly after watering, reduce wet surfaces and adjust irrigation. If it rises only after lights-out, focus on nighttime ventilation and temperature stability.
Improve Grow Tent Airflow With Fans and Exhaust
An exhaust fan removes humid air from the tent. An oscillating or clip fan only circulates the air already inside. You usually need both.
- Mount the exhaust high. Warm, moisture-laden air often collects near the top of the tent.
- Open a low intake on the opposite side. This encourages fresh air to travel through the plant area instead of taking a short path directly to the exhaust.
- Move air through and below the canopy. Use gentle airflow that makes leaves move slightly without whipping, curling, or drying their edges.
- Keep ducting short and smooth. Sharp bends, crushed ducting, clogged filters, and long runs reduce airflow.
- Check actual airflow. A fan can sound powerful while moving little air through a restricted carbon filter or duct.
Recommended Products

【Efficient Ventilation System Kit】: Includes Hon&Guan 4" inline duct fan, Speed Controller, 10" High Carbon Filter & 8 Ft Ducting. It’s the ideal choice for moving and circulating air in various ventilation projects; easily and precisely control fan speed and airflow to stabilize and optimize your growing environment

Powerful Airflow: Delivers strong airflow up to 130 CFM, efficiently enhancing ventilation and removing exhaust; Ideal for grow tents, greenhouses, basements, bathrooms, kitchens, attics, and workshops

Perfect Smart Combination: Includes AeroZesh G4 4” Inline Duct Fan, GrowHub E42A+ Controller, 4” Black Carbon Filter, and φ4” 8' Black Ducting; Ideal for moving and transporting air in various air circulation and ventilation projects; The GrowHub E42A+ controller allows for precise and easy control over the fan speed, airflow, and many other elements, stabilizing and optimizing your growth environment
Calculate a Base Exhaust-Fan Size
A practical starting point is to calculate the tent’s volume in cubic feet:
Length × width × height = tent volume in cubic feet
For example, a 4-foot × 4-foot × 6.5-foot tent has a volume of about 104 cubic feet. A base fan rating near 104 cubic feet per minute represents roughly one theoretical air exchange per minute. This is only a starting point. Filters, ducting, bends, heat output, fan speed, and intake restrictions reduce real airflow.
The AC Infinity grow-tent ventilation guide uses tent volume as the base CFM calculation and advises accounting for system restrictions. Adjust the final fan speed using the tent’s actual temperature and humidity readings rather than chasing a fixed exchange number.
Circulation prevents humid pockets around leaves, but only ventilation, cooling, or dehumidification removes water vapor from the growing area.
Pro Tip: Check the RH in the room receiving the exhaust. If that room becomes progressively more humid, the tent may be pulling the same moisture back through its intake.
Control Humidity in the Room Outside the Tent
A grow tent cannot become much drier than its intake air unless cooling or dehumidification is involved. The surrounding room is sometimes called the lung room because it supplies the tent’s intake air.
To keep discharged moisture from returning:
- Route tent exhaust outdoors where it is safe, permitted, and appropriate for the building.
- Do not discharge moist air into an attic, wall cavity, crawl space, or another enclosed area where condensation may develop.
- If outdoor air is drier, ventilate the room with an appropriate window or room exhaust fan.
- If outdoor air is hotter or more humid, use air conditioning or room-level dehumidification instead of drawing that air directly into the tent.
- Keep the tent intake separated from the exhaust outlet.
- Close open reservoirs and remove wet items from the room.
Putting a dehumidifier in the lung room is often more effective than squeezing one inside the tent because the room unit treats the intake air and can serve more than one growing enclosure. However, many small setups can avoid this step by improving outdoor exhaust, watering, drainage, and air exchange first.
Stop Overwatering and Remove Standing Water
Reduce moisture at its source, but do not rely on a universal rule such as waiting for the top 1-2 inches of every growing medium to dry. Seedling cells, small pots, large containers, coco coir, peat mixes, mineral substrates, and hydroponic systems hold and release water differently.
Use several checks instead:
- Feel the growing medium at an appropriate depth for the container.
- Lift the container and compare its weight with a freshly watered and a ready-to-water pot.
- Use a moisture probe if it is suitable for your medium.
- Watch for slow drainage, constantly wet lower layers, or roots sitting in runoff.
- Follow crop-specific irrigation guidance instead of watering by the calendar.
WVU Extension advises watering indoor-grown plants only when needed and notes that excess water and poor drainage can reduce root-zone oxygen and encourage fungal problems.
Reduce Evaporation After Watering
- Water near the beginning of the light period when possible, giving wet surfaces time to dry before the cooler dark period.
- Apply water slowly enough for the medium to absorb it without flooding trays.
- Remove runoff from saucers and drainage trays promptly.
- Repair leaking hoses, reservoirs, irrigation fittings, and humidifiers.
- Keep floors, tent liners, and equipment dry.
- Remove wet cardboard, towels, dead leaves, and spilled growing medium.
Do not reduce irrigation so aggressively that plants wilt or develop salt buildup. The goal is to eliminate unnecessary wetness, not to keep roots chronically dry.
Open and Thin a Dense Plant Canopy
The air between crowded leaves can remain much more humid than the air measured in an open part of the tent. UMass Extension notes that the highest humidity is often found inside plant canopies, where transpired moisture becomes trapped by weak air movement.
Improve canopy conditions by:
- Spacing containers so air can move between plants.
- Training branches to prevent one solid wall of foliage.
- Removing dead, yellowing, or diseased leaves.
- Pruning only as appropriate for the plant species and growth stage.
- Placing a low fan beneath the canopy when leaves block lower airflow.
- Keeping foliage away from wet tent walls.
More airflow is not always better. Strong, constant air aimed directly at one plant can cause leaf-edge drying, wind stress, and uneven growth. Use broad, indirect movement.
Warm the Grow Tent Slightly, Then Vent the Moisture
A small temperature increase can lower the RH reading because warmer air has a higher moisture capacity. It does not remove water from the tent. Heating may also speed evaporation from media and leaves, adding more water vapor.
Use warming only as part of a controlled ventilation cycle:
- Keep the temperature within the safe range for the crop.
- Increase exhaust before or shortly after the lights turn off.
- Use gentle heat only when nighttime cooling is pushing surfaces toward the dew point.
- Vent the newly moisture-laden air instead of trapping it inside.
- Continue monitoring RH and leaf-surface condensation.
UMass Extension’s humidity guidance explains that heating and ventilation work better together than either method alone. Ventilation removes moist air, while warming the replacement air lowers its RH and reduces condensation risk.
Warning: Keep power strips, plugs, controllers, and cord connections elevated and away from runoff. Use equipment approved for its environment and follow local electrical requirements. A properly installed GFCI can reduce ground-fault shock risk, but it does not make wet connections or damaged cords safe.
Use Moisture Absorbers Safely
Passive moisture absorbers may slightly reduce humidity in an empty tent, a tiny enclosure, or a storage area between growing cycles. They usually cannot keep up with the continuous moisture released by irrigated media and actively transpiring plants.
Recommended Products

Superior Humidity Control: Features a high-efficiency compressor that removes up to 12L of moisture daily; Equipped with high-precision sensors that monitor temperature and humidity to maintain the perfect grow room environment

【High-Efficiency & Visible Moisture Absorption】Formulated with high-purity spherical calcium chloride, our dehumidifier traps excess moisture quickly and locks it in for long-lasting dryness. The transparent case lets you easily track the absorption progress at any time.

DampRid Refillable Moisture Absorbers are convenient 10. 5-ounce cups that attract and trap excess moisture out of the air.
Silica Gel
Silica gel can protect small equipment boxes, seed-storage containers, or other tightly enclosed spaces. A few packets placed in an operating grow tent will have little effect on the full moisture load. Keep packets secured so they cannot fall into growing media or become accessible to children or pets.
Calcium-Chloride Absorbers
Purpose-built calcium-chloride products absorb water and gradually produce liquid brine. The DampRid manufacturer instructions describe this liquid-collection process and advise keeping the product away from children and pets.
Use only a stable, designed container with its safety cover intact. Keep it away from plants, fans, nutrients, electrical equipment, and any location where it could tip over. Do not place loose calcium chloride or open bowls of salt inside the tent.
Avoid Household Absorber Remedies
Baking soda, rice, coffee grounds, charcoal briquettes, Epsom salt, clay pellets, and similar materials are not practical humidity controls for a planted grow tent. Some absorb very little water, while others can create dust, odors, contamination, or pest problems.
Note: If a passive absorber fills quickly, that is evidence of a larger moisture problem. Improve exhaust, drainage, or room conditioning instead of continually replacing small absorbers.
Choose a Humidity Target for Your Plants
There is no single ideal RH for every grow tent. Species, growth stage, temperature, canopy density, and disease susceptibility all matter. Vapor pressure deficit, or VPD, can provide more detail because it considers both temperature and humidity, but beginners can still make useful decisions by tracking stable RH, plant response, and condensation.
| Plant Situation | General Guidance | Main Concern |
| Seeds and unrooted cuttings | May need higher humidity under crop-specific propagation instructions | Drying before roots develop, followed by damping-off if conditions stay wet and stagnant |
| Vegetative seedlings and transplants | WVU Extension uses 60% to 70% RH as a general indoor vegetative reference | Edema, slow drying, or weak transpiration when humidity is excessive |
| Many established plants | A broad 50% to 70% range suits many plants, but species guidance takes priority | Large swings, persistent leaf wetness, or conditions outside the species’ needs |
| Dense, flowering, fruiting, or disease-prone canopies | Often managed toward the lower part of the crop’s approved range | Condensation, gray mold, mildew, and moisture trapped around flowers or fruit |
Washington State University Extension notes that maintaining roughly 50% to 70% RH satisfies the needs of many plants, while also warning that high humidity and condensation can increase disease problems.
Therefore, 70% RH is not automatically unsafe. It may be suitable for some young or humidity-loving plants, yet too high for a dense canopy with poor airflow or a crop entering a disease-sensitive stage.
Troubleshoot Persistent Grow Tent Humidity
| Symptom | Likely Cause | What to Do |
| RH jumps after lights-out | Falling temperature, continued transpiration, or late watering | Increase exhaust around lights-off, water earlier, and avoid a sharp nighttime temperature drop |
| Tent and room RH are both high | Humid intake air or exhaust recirculation | Vent the room appropriately, redirect the exhaust, or condition the room air |
| RH spikes after watering | Excess runoff, saturated media, or wet surfaces | Adjust irrigation volume, improve drainage, and remove runoff promptly |
| Only the canopy sensor reads high | Dense foliage or a stagnant pocket | Space or train plants and add gentle airflow above and below the canopy |
| Condensation forms on walls or leaves | Surfaces are reaching the dew point | Vent moisture, reduce nighttime cooling, and keep leaves away from cold surfaces |
| Fan runs loudly but RH stays high | Restricted filter or duct, poor intake, undersized fan, or humid room air | Inspect the airflow path, clean the filter, open the intake, and compare room RH |
When a Dehumidifier or Air Conditioner Is Needed
Ventilation cannot lower the tent below the moisture level of the intake air. Mechanical conditioning may be necessary when:
- The room remains above the crop’s target RH for most of the day.
- Outdoor air is too humid to provide useful ventilation.
- Condensation continues despite adequate exhaust and careful watering.
- A large or dense canopy releases more moisture than the fan can remove.
- The required fan speed causes unacceptable temperature, noise, or environmental swings.
- The crop requires a lower RH than the room can naturally provide.
In these cases, condition the surrounding room first when practical. An air conditioner removes some moisture while cooling, and a properly sized dehumidifier removes moisture more directly. Continue using canopy circulation and exhaust because mechanical drying does not eliminate stagnant air around leaves.
Recommended Products

Effective Moisture Control for Home: OWAAE dehumidifier is designed to reduce excess moisture and help maintain comfortable humidity levels in everyday living spaces. It works best in moderate-to-high humidity environments, improve overall air comfort at home

Semiconductor dehumidifiers use thermoelectric cooling to remove moisture from the air. They create a drier, more comfortable environment by reducing humidity and improving air quality.

✔ EASY TO USE: This mini dehumidifier is spill and mess free. Just hang and go! Non-toxic, child and pet safe! Your small rooms will be dry and odor free. Works for areas up to 333 cubic feet.
Related Guides
Frequently Asked Questions
How do you get humidity down in a grow tent without a dehumidifier?
Exhaust humid air into a drier room or outdoors, provide an unrestricted intake, circulate air through the canopy, remove runoff, and water only when the crop and growing medium need it. Measure RH at canopy height and in the room outside the tent so you can identify the actual moisture source.
How should you deal with high humidity in a grow tent?
Start by checking whether the spike follows watering, lights-out, canopy growth, or a rise in room humidity. Correct drainage and watering first, then improve exhaust, intake, ducting, and canopy circulation. Persistent high room humidity may require air conditioning, outdoor exhaust, or room-level dehumidification.
What naturally soaks up moisture?
Silica gel and hygroscopic salts such as calcium chloride absorb moisture, but their capacity is limited. They may help in tiny enclosed spaces or between grow cycles. Household bowls of rice, coffee grounds, baking soda, or salt are not effective primary controls for a planted grow tent.
Is 70% humidity too high for plants?
Not always. Some seedlings, vegetative plants, and tropical species may tolerate or prefer humidity near 70%. It becomes more concerning when the canopy is dense, airflow is weak, condensation forms, or the crop is flowering, fruiting, or susceptible to humidity-related disease. Follow guidance for the specific plant and stage.
Why does grow tent humidity spike when the lights turn off?
The air cools when the lights turn off, causing relative humidity to rise. Plants and wet media may also continue releasing moisture. Increase exhaust around the light transition, avoid watering immediately before darkness, and prevent the tent from cooling so far that leaves or walls reach the dew point.
Can an oscillating fan lower grow tent humidity by itself?
An oscillating fan can reduce humid pockets and help leaf surfaces dry, but it does not remove water vapor from a closed tent. You need exhaust ventilation, cooling, dehumidification, or another method that transfers or condenses moisture.
Conclusion
You can often lower grow tent humidity without a dehumidifier by treating the tent and surrounding room as one system. Measure RH at canopy height, exhaust moist air to a suitable location, provide drier intake air, circulate air through dense foliage, water according to actual plant demand, and remove runoff immediately.
Pay particular attention after watering and when the lights turn off. Heating alone changes the RH reading but does not remove water, while passive absorbers have too little capacity for most active grows. If the surrounding room remains humid or condensation persists, room-level air conditioning or dehumidification is the next practical step.
Sources
- UMass Extension: Reducing Humidity in the Greenhouse — supports watering, plant spacing, canopy airflow, dew-point, warming, and ventilation guidance.
- Washington State University Extension: Greenhouse Construction and Management — supports general plant-humidity ranges, ventilation, and condensation guidance.
- West Virginia University Extension: Indoor-Grown Seedlings and Transplants — supports vegetative RH guidance, drainage, watering, and edema information.
- AC Infinity: Grow Tent Ventilation Guide — supports grow-tent volume and base CFM calculations, exhaust placement, and airflow restrictions.
- DampRid: How DampRid Works — confirms that calcium-chloride crystals dissolve into collected liquid brine.
- OSHA: Ground-Fault Circuit Interrupters — supports the electrical-safety explanation concerning ground-fault protection.