Reviewed for accuracy · Last updated July 7, 2026
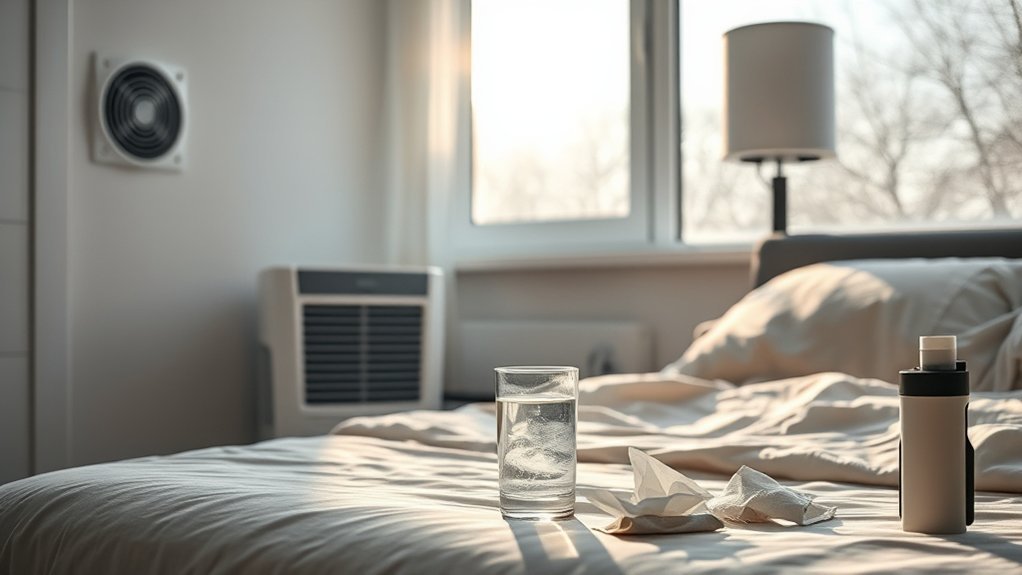
A DIY dehumidifier can help with light dampness in a closet, cabinet, bathroom corner, or small storage area. It will not dry a wet basement or replace a properly sized electric dehumidifier. Start with a hygrometer, confirm the room’s relative humidity, then choose a method that matches the moisture problem. Rock salt and calcium chloride collect salty liquid, silica gel works best in enclosed spaces, charcoal helps with mild odors, and a fan-assisted setup only improves airflow around the absorbent.
Quick Answer
The best DIY dehumidifier is a two-bucket salt absorber for small damp spaces, or a calcium chloride moisture absorber when you need stronger passive moisture control. Use silica gel for drawers and cabinets. If a room stays above 60% relative humidity, smells musty, or has condensation, fix the moisture source and use a correctly sized dehumidifier.
Key Takeaways
- DIY moisture absorbers work best in small, enclosed, or lightly damp areas.
- Use a hygrometer before and after setup so you can see whether humidity actually drops.
- Salt and calcium chloride setups create brine, so place them in a stable tray and keep them away from kids, pets, metal, and finished surfaces.
- Persistent basement dampness usually points to a bigger issue: leaks, poor drainage, unvented laundry, poor airflow, or an undersized dehumidifier.
DIY Dehumidifier Methods at a Glance
| Method | Best for | Main limit | Maintenance |
|---|---|---|---|
| Rock salt bucket | Small damp corners, utility rooms, closets | Slow and messy once salt turns to brine | Check daily at first; empty lower bucket before overflow |
| Calcium chloride absorber | Stronger passive drying in small spaces | Can leak corrosive liquid if tipped or overfilled | Replace when dissolved or per product label |
| Silica gel container | Drawers, cabinets, tool boxes, document bins | Too small for open rooms unless used in large quantity | Recharge only if the label says it is oven-safe |
| Activated charcoal | Closets and odor-prone areas | Better for odor control than serious dehumidifying | Replace every few months, or sooner if damp |
| Fan-assisted absorber | Slightly broader airflow around a desiccant | Fan improves contact, not absorption capacity | Keep fan dry and replace saturated media |
| Peltier setup | Small hobby enclosures and experiments | Low output, heat management, electrical risk | Follow the module datasheet; clean tray and heat sinks |
How Much Moisture a DIY Dehumidifier Can Remove
A DIY dehumidifier removes a modest amount of moisture because the absorbent has limited surface area and limited capacity. You may see liquid collect in a salt or calcium chloride setup, but that does not mean the unit can control a full room. For a useful test, place a hygrometer near the damp area, record the starting relative humidity, run the setup for 24 to 48 hours, then compare the reading and the collected liquid.
For mold prevention, the EPA recommends keeping indoor humidity below 60% and ideally between 30% and 50%. The CDC advises keeping home humidity no higher than 50% all day when you are trying to prevent mold. If your room stays above those ranges, use ventilation, leak repair, and a real dehumidifier rather than relying on a bowl or bucket.
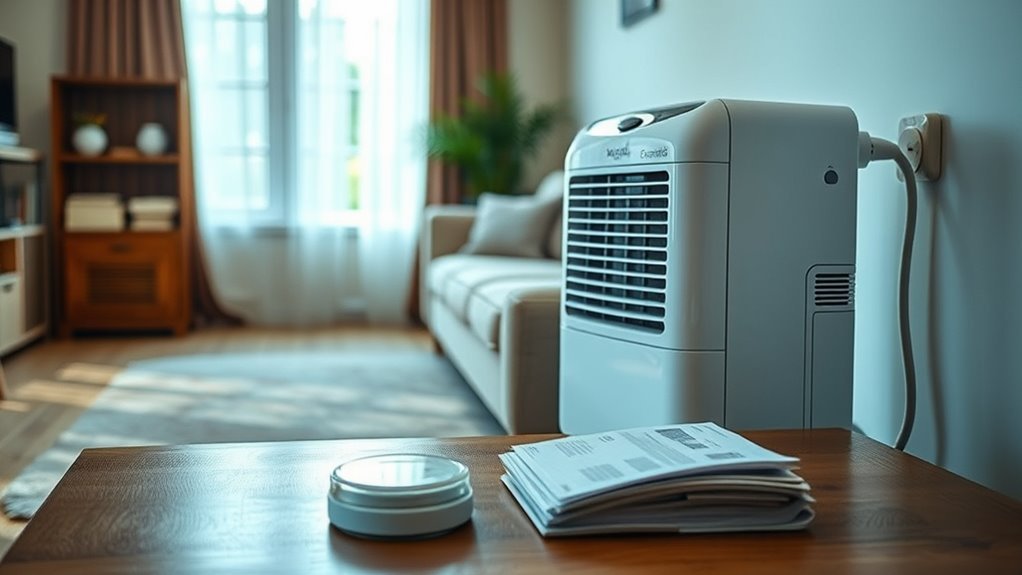
Commercial units are rated very differently from DIY absorbers. ENERGY STAR explains that dehumidifier capacity is measured in pints per 24 hours and depends on room size and dampness level. That sizing logic matters because a wet basement has a much larger moisture load than a cabinet, closet, or bathroom shelf.
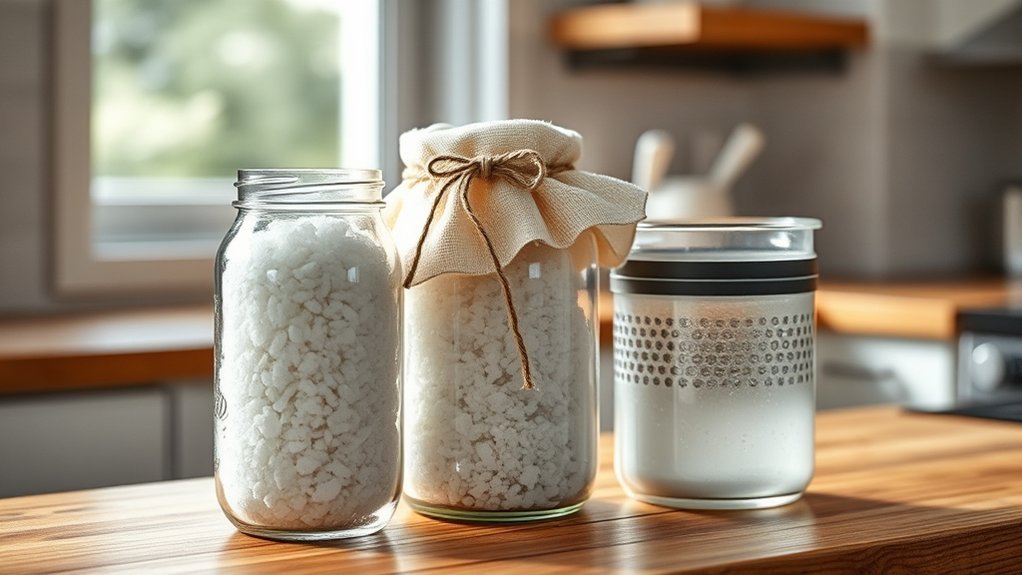
Build a Rock Salt DIY Dehumidifier
If you want the simplest homemade option, build a rock salt DIY dehumidifier with two buckets. Drill several small holes in the bottom of one bucket, nest it inside a second bucket, and fill the upper bucket with rock salt. As the salt pulls moisture from the air, salty liquid can drip into the lower bucket.
- Use two stable plastic buckets that nest without sealing tightly.
- Drill drainage holes in the bottom of the upper bucket.
- Add a layer of rock salt to the upper bucket.
- Set the buckets in a tray in the damp area.
- Check the lower bucket often and empty collected brine before it reaches the upper bucket.
This setup works best where air can move around the bucket but foot traffic is low. Do not place it on wood, carpet, metal shelving, or any surface that salty liquid could damage. Replace the salt when it clumps, dissolves, or stops collecting moisture. If you see no change in your hygrometer readings after two days, the space is too large or the moisture source is too active for this method.
Use Calcium Chloride When You Need Stronger Absorption
Calcium chloride moisture absorbers usually outperform plain rock salt in small passive setups because calcium chloride is strongly hygroscopic. It can pull enough water from humid air to form liquid brine. That makes it useful in closets, crawl-space access corners, utility shelves, and storage bins, but it also means leaks can damage surfaces.
Use a lidded moisture-absorber cup, a hanging bag designed for household use, or a bucket setup with a secure catch basin. Follow the product label, keep it upright, and never leave the brine where children or pets can reach it. Calcium chloride is not a fix for wet walls, standing water, seepage, or mold growth. Those problems need moisture-source repair first.
Make a Fan-Assisted DIY Dehumidifier
A fan-assisted DIY dehumidifier can improve airflow around a desiccant, but it cannot make the absorbent hold more water than its material allows. Drill ventilation holes into a plastic container, add silica gel, rock salt, or a calcium chloride product, and cover the opening with mesh so the material stays contained. Place a small fan nearby so air moves across, not into, the container.
| Step | Action | Purpose |
|---|---|---|
| 1 | Drill or cut vents | Let damp air reach the absorbent |
| 2 | Add desiccant | Capture moisture from the air |
| 3 | Add mesh cover | Contain loose material |
| 4 | Run fan nearby | Improve air contact and circulation |
Keep the fan and cords away from liquid. Do not point the fan so strongly that dust, beads, or salt spray can escape. Check the container daily at first because forced airflow may saturate the material faster.
Use Charcoal or Silica Gel
Activated charcoal and silica gel work best in enclosed spaces where a small absorber can make a measurable difference. Charcoal helps reduce musty odors and mild dampness. Silica gel is better for protecting small items such as tools, camera gear, papers, craft supplies, and electronics stored in bins.
Charcoal Moisture Absorption
To make a charcoal absorber, fill breathable mesh bags or a ventilated container with activated charcoal. Place it in a closet, cabinet, bathroom shelf, or laundry nook where odor and light dampness collect. Leave space around the container so air can pass through it.
Charcoal should not be your main plan for a wet basement or a room with condensation on windows. It works more like a supporting odor-control and mild moisture-control tool. Replace it every few months, or sooner if it feels damp, dusty, or less effective.
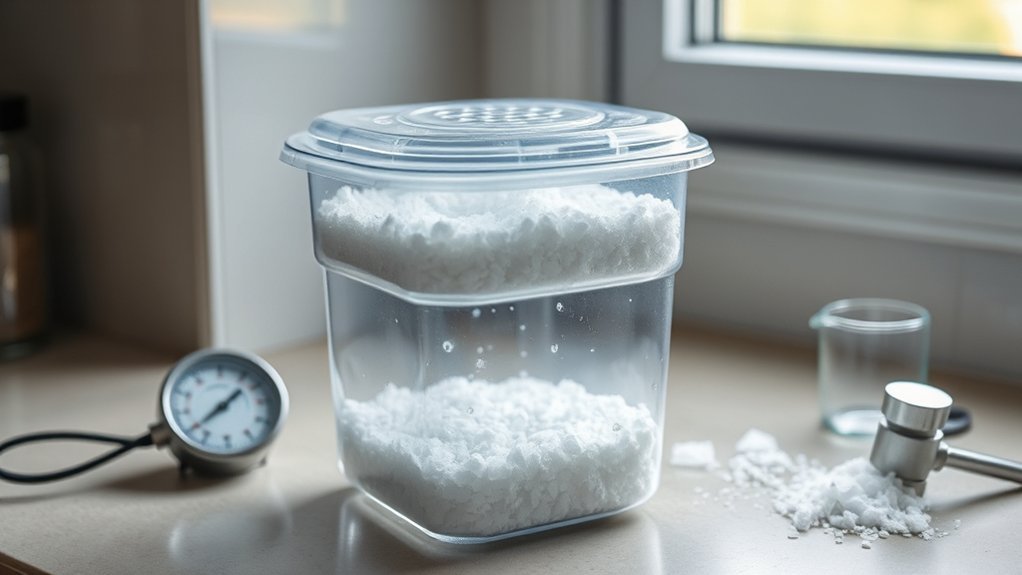
Silica Gel Setup
Silica gel adsorbs moisture on the surface of its porous beads, which makes it useful in small sealed or semi-sealed spaces. Put loose silica gel or packets in a jar, tin, or container with small holes in the lid. Place the container inside a cabinet, drawer, toolbox, storage tote, or closet shelf.
- Use enough packets or beads for the size of the container you want to protect.
- Keep packets intact unless the product is meant for loose use.
- Recharge silica gel only if the product label says it is reusable and gives safe heating instructions.
- Discard any packet that tears, leaks beads, or looks contaminated.
Placement and Maintenance
Put DIY absorbers near the damp source, but keep them stable and out of walkways. In a closet, place them low because cooler air and condensation often collect near the floor. In a bathroom, keep them away from splashing water. In a basement, use several small absorbers only for specific trouble spots, not as your main humidity-control system.
Check each unit on a schedule. Salt and calcium chloride setups need the most attention because they can create liquid. Silica gel needs recharging or replacement when saturated. Charcoal needs replacement when it no longer controls odor or starts to feel damp.
Build a Peltier DIY Dehumidifier
A Peltier DIY dehumidifier uses a thermoelectric module to cool one surface so moisture can condense on it. It is best treated as a small electronics project, not a whole-room humidity solution. You need the Peltier module, heat sinks, a fan, thermal paste, a water tray, insulated wiring, and a power supply that matches the exact module datasheet.
Do not copy random voltage or amperage values from a generic guide. Peltier modules vary, and the wrong supply can overheat the chip, melt wiring, or create a fire risk. Mount the cold side so condensation can drip into a removable tray. Mount the hot side to a heat sink with strong airflow because poor heat rejection quickly ruins performance.
Peltier Parts and Setup
- Peltier module: choose one with a clear datasheet and rated power requirements.
- Heat sinks: use one for the hot side and one cold plate or heat sink for condensation.
- Fan: move air across the hot-side heat sink and keep electrical parts dry.
- Thermal paste: improve heat transfer between the module and heat sinks.
- Water tray: catch condensate and remove it before it sits long enough to grow biofilm.
Cooling and Condensation Process
When powered correctly, the Peltier module creates a cold side and a hot side. Water vapor condenses on the cold surface only if that surface drops below the air’s dew point. The fan and hot-side heat sink matter because the module stops working well when heat builds up.
Expect quiet operation and low capacity, not fast room drying. A Peltier design can help in a tiny enclosure, safe, cabinet-style experiment, or hobby project. For a damp bedroom, laundry room, or basement, a compressor or desiccant dehumidifier will be more practical.
When a DIY Dehumidifier Is Not Enough
Skip the homemade setup as your main fix if you see water stains, seepage, persistent musty odor, visible mold, or condensation that returns every day. Moisture absorbers can hide symptoms while the real problem gets worse. Look for leaking pipes, poor grading, clogged gutters, foundation cracks, unvented dryers, long hot showers without exhaust, and blocked airflow.
Use this simple decision rule: if a hygrometer still reads above 60% after 24 to 48 hours of basic ventilation and source control, move to a properly sized dehumidifier. ENERGY STAR’s sizing guidance is a better reference for room-scale drying because it connects capacity to room size and dampness level.
Safety Tips for Homemade Dehumidifiers
Homemade dehumidifiers are simple, but they still need safe placement and maintenance. Salt and calcium chloride can create brine that damages surfaces. Silica gel beads can spill. Fans and Peltier modules add electrical risk when used near collected water.
- Place every absorber inside a tray or secondary container.
- Keep salt brine, calcium chloride, loose silica gel, and charcoal away from children and pets.
- Wear gloves when handling calcium chloride or salty liquid.
- Keep fans, plugs, and wires above and away from collected water.
- Empty standing water quickly so it does not become a mold or odor source.
- Stop using the setup if you see leaks, overheating, damaged cords, or surface staining.
If you already see mold, do not rely on a DIY dehumidifier alone. The EPA and CDC both emphasize moisture control, cleanup, and fixing the water source. A moisture absorber can support prevention, but it cannot remediate moldy materials.
Frequently Asked Questions
What Is the Best Homemade Dehumidifier?
For a simple homemade setup, a calcium chloride moisture absorber usually has the strongest moisture-pulling action, while a rock salt bucket is the easiest low-cost build. Silica gel works best in small enclosed spaces like drawers and cabinets. None of these replaces a correctly sized electric dehumidifier in a damp room or basement.
How Do You Make a Rock Salt DIY Dehumidifier?
Nest a drilled bucket inside a second bucket, add rock salt to the upper bucket, and place the setup where damp air can reach it. Moisture collects as brine in the lower bucket. Check it often, empty the lower bucket before it overflows, and replace the salt when it clumps or dissolves.
What Naturally Soaks Up Moisture?
Common moisture absorbers include calcium chloride, rock salt, silica gel, activated charcoal, and baking soda. They work best in small, low-airflow areas. For an open room, use a hygrometer and fix moisture sources such as leaks, poor ventilation, or unvented laundry.
Will a DIY Dehumidifier Work in a Basement?
A DIY dehumidifier can help a small damp corner, closet, or storage area, but it usually will not control a whole basement. If the basement stays above 60% relative humidity, smells musty, or shows condensation, use a properly sized dehumidifier and address leaks, drainage, and ventilation.
Would a Dehumidifier Help With COPD?
A dehumidifier may help when dampness, mold, or musty air aggravates breathing symptoms, but COPD needs vary by person. Keep indoor humidity controlled rather than overly dry, watch symptoms, and ask a healthcare professional for personal humidity guidance.
What Can I Use Instead of a Dehumidifier?
You can improve ventilation, run bathroom and kitchen exhaust fans, fix leaks, vent the dryer outdoors, clean gutters, seal obvious water entry points, and use small moisture absorbers in enclosed spaces. If humidity stays high, use a real dehumidifier rather than adding more bowls, bags, or buckets.
Conclusion
A DIY dehumidifier can help when the problem is small, local, and easy to monitor. Choose rock salt or calcium chloride for passive moisture collection, silica gel for enclosed storage, charcoal for mild odor control, and a fan only when you need better airflow around the absorbent. Measure humidity before and after, empty or replace materials on schedule, and move to source repair plus a properly sized dehumidifier when dampness keeps coming back.