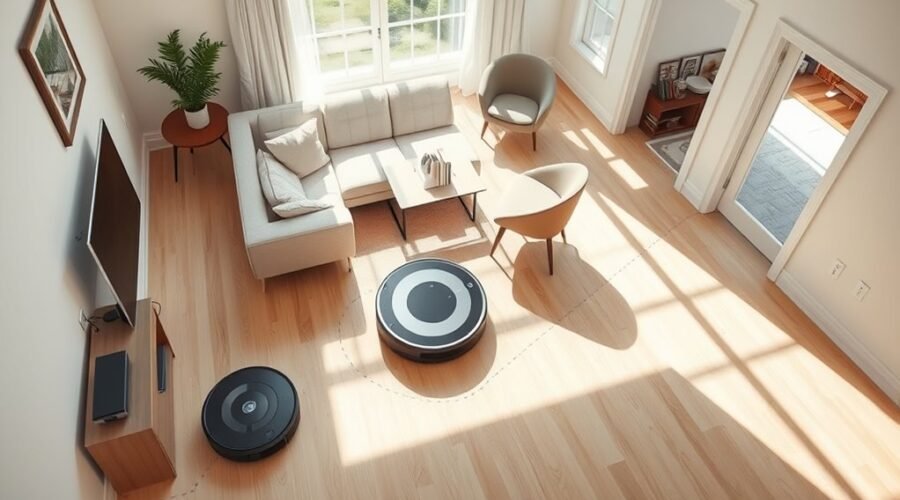
Mapping a house with a robot vacuum starts with simple preparation, but the details matter. Rooms should be cleared, the dock placed correctly, and the first scan allowed to run without interruptions. After that, the floor plan can be saved, adjusted, and used to set limits for different areas. Multi-floor homes and mapping problems add a few more steps, and those are where the process becomes more useful.
Clear Rooms Before Mapping
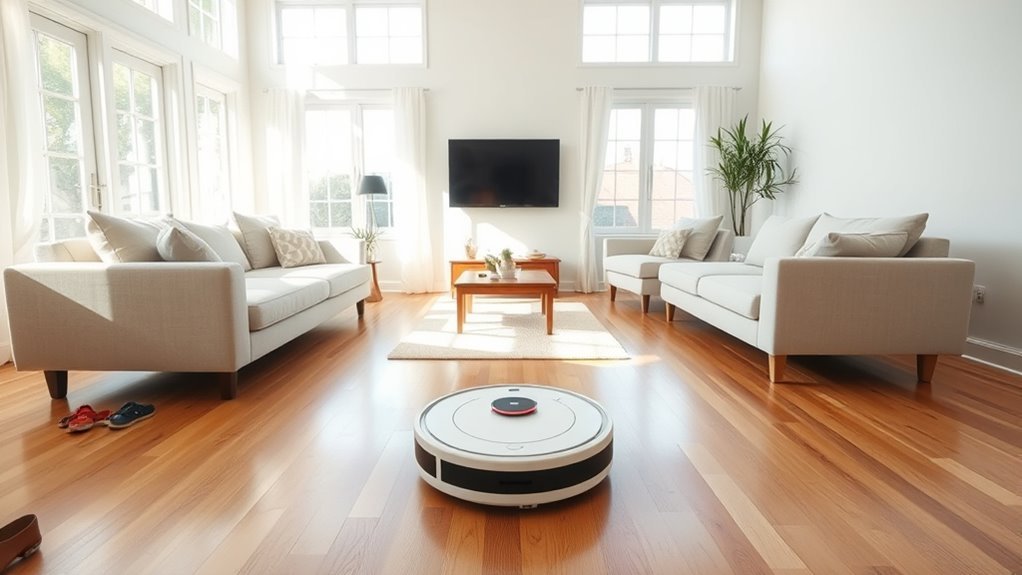
Before mapping begins, the room should be cleared of obstacles such as toys, furniture, and cables so the robot vacuum can move freely and accurately.
To support robot vacuum mapping, clear rooms one by one and remove obstacles that block travel paths or hide edges. Open every door to the spaces included in the task so the machine can read the full layout of your home without interruption.
Surfaces such as countertops and tables should also be cleared, since stray items can distract sensors and distort navigation. It is also wise to guarantee the floors are clean and free of debris, because loose dirt may affect how accurately the robot records each room.
Mirrors, glass panels, and other reflective surfaces should be checked as well, since they can confuse sensors and weaken mapping results. A prepared space allows the device to work with greater freedom and produce a more reliable map.
Place the Robot and Dock on the Floor
Set the robot vacuum and its dock on a flat, unobstructed surface so charging and mapping can begin without issues. The dock should sit near a power outlet, with enough open space around it for the robot to return freely.
Walls, furniture, and other obstacles should stay clear of this area so the robot can move without obstruction and build an accurate map.
Before starting, it helps to place the robot and dock where the floor is level and easy to access. A stable setup supports proper charging and prevents avoidable interruptions during mapping.
If multiple floors will be saved, the robot should be checked for multi-map compatibility before the first run.
Open the doors to the rooms that should be included. This gives the robot access to the full layout and helps it learn the space without barriers.
A clear, liberated floor plan supports cleaner results and less wasted time.
Start the First Robot Vacuum Map
Before the first mapping run, the house should be cleared of loose items, and the doors to all rooms meant for coverage should be left open.
The robot vacuum can then be placed on its dock and started through the app, which will guide the mapping cycle as it scans walls, furniture, and obstacles.
Once the map is created, it should be saved and labeled in the app for easier room management and future cleaning.
Prepare The Cleaning Area
Clear the floor of furniture, toys, and other obstacles so the robot vacuum can move freely and build an accurate map. A clear path helps prepare the space for initial mapping and reduces missed areas.
All doors to rooms that should be included must stay open, giving the robot access to each section without interruption. The robot vacuum should be placed on the correct floor at its intended starting point before the run begins.
From there, the app can be used to launch the mapping process. During this first pass, the vacuum gathers layout data while moving through the home.
After the cycle ends, the digital map in the app can be reviewed and adjusted, including merging or splitting rooms for better control.
Start Mapping Cycle
With the floor prepared and doors left open, the mapping cycle can begin. Place the robot vacuum on the target floor, then use the app to start the mapping cycle.
Many robot vacuums with mapping return to their starting point first, which helps them navigate with precision. As the unit moves, its mapping technologies, such as LiDAR or cameras, scan walls, furniture, and obstacles to create a map of the space.
Keep sensors clean so readings stay accurate. During this pass, avoid moving the robot or its charging dock, because even small changes can reduce data integrity.
The machine will methodically cover each room and build a digital map that can later guide more independent cleaning.
Save And Label Map
Once the robot vacuum completes its mapping run, the app displays the new floor plan for review.
From there, the user can save the digital map and apply a clear label, keeping map management simple and deliberate.
If needed, rooms may be merged or split before finalizing.
For the first map, the vacuum should have started from the charging dock or other fixed point, preserving accurate mapping reference.
In homes with more than one level, multi-map saving should be enabled so each floor remains separate and easy to choose.
- Review the layout in the app.
- Edit room boundaries if required.
- Save and label the map.
- Activate multi-map saving for future use.
Save and Edit Your Floor Plan
After the initial mapping run, the robot vacuum’s app typically displays a digital floor plan that can be saved and refined for better accuracy. The user can edit the layout by merging or splitting rooms, adding furniture, and drawing virtual no-go zones around pet bowls or fragile items. This keeps the map aligned with the home’s real shape and supports cleaner, freer living.
| Action | Result |
|---|---|
| Save the map | Keeps a finished layout |
| Edit rooms | Improves room boundaries |
| Add furniture | Refines mapping detail |
| Set no-go zones | Protects sensitive areas |
| Update regularly | Preserves cleaning efficiency |
Once mapping is complete, the app can save up to five floor plan versions with names for quick access. If a sixth map is added, the app asks which old one to replace. Regular updates matter when furniture moves or rooms change, because an accurate floor plan helps the robot clean with less friction and more autonomy.
Map Multiple Floors With One Robot
To map multiple floors, the robot vacuum should be moved to each level along with its dock. Then a new map should be started in the app so it can capture that floor’s layout accurately. This method lets robot vacuums use one system across different levels without confusion.
With multi-map saving enabled, each floor can keep a separate detailed map for quick selection later, and navigation helps the machine stay oriented during cleaning.
- Place the dock on the target floor before mapping begins.
- Let the robot complete a full cycle without moving the dock.
- Save the floor map, then repeat for each level.
- Customize cleaning routines for each floor in the app.
Afterward, settings can be refined to match daily use, including no-go zones and room-specific schedules.
Regular app updates and maintenance checks support accuracy, steady performance, and cleaner results across every floor, giving households more control and less repeated effort.
Set No-Go Zones on Your Robot Vacuum
With the floor map in place, the next step is keeping the robot out of areas that should not be cleaned. eufy robot vacuums can use magnetic boundary strips as physical no-go zones, which their sensors detect to stop crossing into protected spaces.
Most models let users set no-go zones around pet bowls, toy corners, and delicate furniture, so cleaning stays focused where it is wanted. In the eufy Clean app, virtual walls can be drawn directly on the digital map, giving a customizable way to define cleaning zones without moving furniture or adding clutter.
The magnetic boundary strips can be cut to size and placed exactly where needed, making the setup simple and flexible. Because these boundaries can be adjusted as a home changes, they support ideal cleaning efficiency while preserving control.
Regular reviews in the app help keep the robot aligned with the current layout and maintain a cleaner, freer living space.
Fix Robot Vacuum Mapping Issues
When mapping errors appear, the robot vacuum should return to its designated charging station before starting a new cycle, since beginning from the dock helps preserve accurate data.
For a reliable mapping run, the user should move obstacles, open doors, and let the device travel freely through each room. If the mapping still fails, inspect for reflective surfaces, tight gaps, or hidden objects that can confuse sensors during cleaning.
- Clear the floor before the next run.
- Restart from the dock to reset the map.
- Use the app to edit rooms, merge spaces, or add furniture.
- Update firmware and the app to improve mapping accuracy and fix persistent faults.
These steps restore control and help the robot build a cleaner plan.
With a stable environment and current software, the vacuum can map more precisely, move without hesitation, and serve the home with greater independence.
Frequently Asked Questions
How to Do Mapping for Robot Vacuum?
Mapping for a robot vacuum starts by clearing floors, opening doors, and launching its app-based scan from the dock. Robot navigation techniques, mapping software options, and sensor technology advancements improve mapping accuracy improvements, ideal cleaning routes, virtual barriers usage, room identification methods.
How Long Does It Take a Robot Vacuum to Map a House?
It typically takes 30 minutes to 2 hours. Mapping accuracy depends on robot navigation, obstacle detection, floor types, app features, and user settings. Better setup improves cleaning efficiency, while complex homes often require longer.
Do Robot Vacuums Map Your House?
Yes—most robot vacuums map a house. Even if they seem random at first, robot technology and navigation systems build smart home layouts, improving mapping accuracy, vacuum efficiency, cleaning patterns, and user experience for easier independence.
How Do I Get My iRobot to Map My House?
The iRobot should start from its dock, with floors cleared, then run via app. Its mapping technology, room recognition, and app integration improve mapping accuracy, cleaning efficiency, and robot vacuum features; updates and maintenance tips help.
Conclusion
To sum up, mapping a house with a robot vacuum works best when the rooms are cleared, the dock is placed well, and the first map is allowed to run without interruption. After the floor plan is saved, it can be edited, refined, and expanded for multiple floors. No-go zones help protect problem areas, while quick fixes keep mapping accurate. With careful setup and a touch of old-school patience, the robot can chart the home with reliable precision.