You probably don’t realize that basement humidity often comes from outside air and hidden water entry, not just damp air inside. If you want to lower it without a dehumidifier, you need to control airflow, seal leaks, and cut moisture at the source. Open windows only on dry days, run fans, and check for cracks, poor grading, and venting issues. The next step can make a bigger difference than you’d expect.
What’s Causing Basement Humidity?
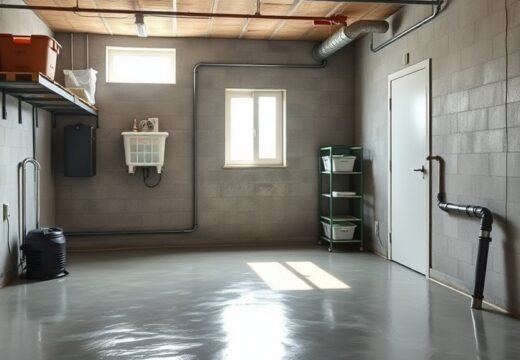
Basement humidity usually starts with moisture getting in where it shouldn’t, such as through foundation walls, cracks, leaking pipes, or a poor gutter and drainage setup. You’re dealing with a system failure, not bad luck. When groundwater or stormwater can’t drain away, it pushes into the basement and raises excess humidity fast. Everyday sources like cooking and showering add more indoor moisture, and that vapor can migrate downward, especially when warm air lingers after rain. If your basement lacks airflow, humid air stays trapped and keeps surfaces damp. That dampness feeds mold and can weaken materials over time. You need to identify each entry point, because a small leak or hairline crack can keep cycling moisture into the space. Check walls, pipe joints, and exterior drainage first. When you cut off the source, you reclaim control and reduce excess humidity at the root.
Open Windows and Run Fans
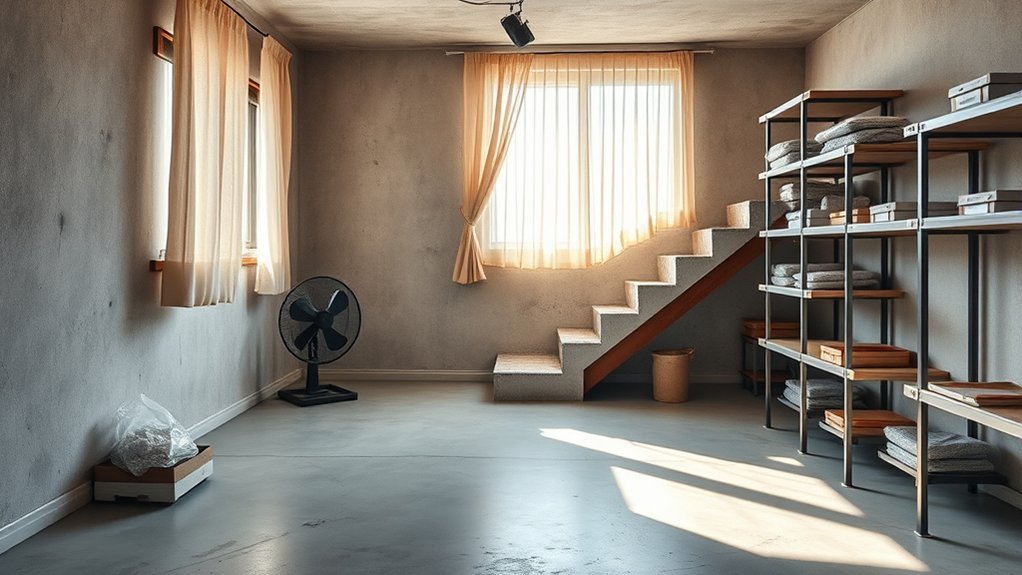
Open windows briefly on dry, sunny days so you can swap humid basement air for drier outside air. Set up fans to create cross-ventilation and push moist air out while fresh air moves in. Time this airflow carefully, because short, well-timed ventilation works better than leaving openings exposed when outdoor humidity is high.
Open Windows Briefly
When outdoor air is drier than the air inside, briefly opening windows can help flush out humid basement air and replace it with fresher, lower-moisture air. You can use this tactic to reduce humidity without adding equipment. Choose dry, sunny periods, then open windows long enough to swap stagnant air, not long enough to let new moisture build up. If you open windows, run fans to move air through the space faster and help push out damp air. Open internal doors too, so air can spread evenly and moisture doesn’t linger in hidden corners. This simple routine gives you more control over your basement environment and supports a freer, healthier space. Monitor outdoor conditions closely, because humid weather can make this method less effective overall.
Cross-Ventilate With Fans
Cross-ventilating with fans can quickly reduce basement humidity by moving moist air out and pulling drier air in. Open windows on dry, sunny days, then place one fan to exhaust damp air outward and another to draw fresh air inside. This cross-ventilate setup keeps air circulating and breaks up stagnant pockets that trap moisture. Use an exhaust fan after laundry, showers, or any wet task to clear excess vapor fast. Keep the airflow steady so warm outdoor air doesn’t settle against cool basement surfaces and raise condensation. You’re not waiting for conditions to improve—you’re actively forcing the space to breathe. With the right fan placement, you can reclaim dry, usable space and cut humidity without relying on a dehumidifier.
Time Airflow Carefully
On dry, sunny days, you can lower basement humidity by opening windows and running fans at the same time. This creates airflow that pushes moist air out and pulls drier air in, so you can reduce humidity fast. Crack a window if needed; even a small opening works when fans move air toward it. Place a fan near the window to exhaust damp air, and keep interior doors open to share circulation.
| Step | Action | Result |
|---|---|---|
| 1 | Open windows | Let moist air escape |
| 2 | Run fans | Increase airflow |
| 3 | Use doors | Balance room humidity |
Time this method for dry weather only. If outside air feels wet, shut openings and stop the fans.
Use Baking Soda in Damp Spots
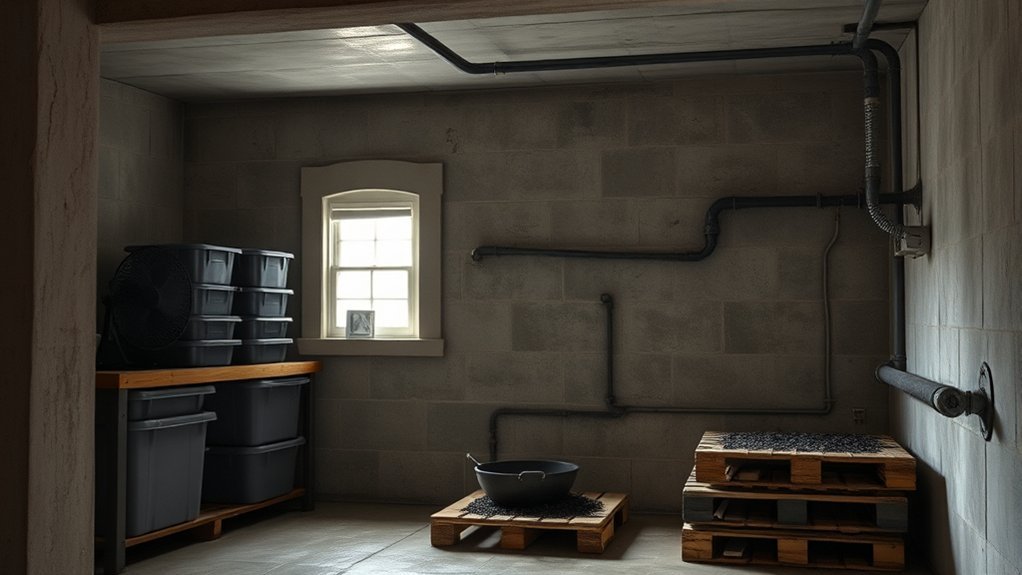
Baking soda can help in damp basement spots because it absorbs moisture from the air and can also reduce musty odors. You can use baking soda to reduce humidity in corners, along walls, and near stored items where damp air lingers. Place open bowls or shallow containers in these zones so the powder can pull moisture from the air. This won’t replace full moisture control, but it gives you a low-cost, flexible tool that supports a drier basement and a fresher space.
- Set bowls in dark corners.
- Use containers near boxes.
- Refresh the baking soda every few weeks.
- Replace it when it clumps or loses effect.
You’re not trapped by excess dampness; you can act with simple, steady maintenance. As part of a broader strategy, baking soda helps you hold indoor humidity closer to the 40-60% range without extra equipment.


Seal Foundation Cracks and Leaks
Inspect your foundation for hidden cracks, gaps, and leak points where moisture can seep into the basement. Seal small cracks with a high-quality masonry sealant, and use epoxy or polyurethane injections for larger openings. Then coat problem areas with waterproofing paint to add a moisture barrier and help keep humidity down.
Spot Hidden Entry Points
Even small cracks in foundation walls can let moisture and vapor seep into your basement, so you should seal them as soon as you find them. Scan corners, sill plates, pipe penetrations, and cold joints for hidden entry points that drive humidity problems. Use these checks to reduce moisture and protect your space:
- Hairline wall cracks
- Gaps around utility lines
- Damp spots near floor edges
- Peeling paint or efflorescence
Apply a high-quality masonry sealant to minor openings; it can block vapor and cut musty odors. For larger cracks, use epoxy or polyurethane injection to form a durable barrier. You can also add waterproofing paint to interior or exterior foundation surfaces for extra protection. Inspect seals regularly, because freed spaces stay dry only when you maintain them.
Seal Cracks Properly
Seal basement cracks and leaks as soon as you find them, because even small openings can let moisture and vapor seep in and raise humidity levels. To seal cracks properly, clean the area, then apply high-quality masonry sealant for narrow fissures. For larger breaks, use epoxy or polyurethane injection to lock out water and restore control.
| Crack type | Best fix |
|---|---|
| Hairline | Masonry sealant |
| Wider | Epoxy injection |
| Wall surface | Waterproofing paint |
Finish by adding waterproofing paint over the wall to build a secondary moisture barrier. Inspect foundation walls regularly and reseal any new gaps fast. When you close these entry points, you keep damp air out, reduce mold risk, and protect a dry, livable basement without relying on equipment.
Waterproof Problem Areas
Target the weak points in your basement envelope first, because foundation cracks, leaky joints, and poorly sealed openings can keep feeding moisture into the space. You can stop that cycle by sealing defects with the right materials and keeping every barrier tight. Small cracks need high-quality masonry sealant; wider gaps need hydraulic cement. Brush on waterproofing paint to add a moisture-resistant skin, and install moisture barriers on walls and floors where groundwater pressure persists. Check windows, doors, and utility penetrations often, then reseal any opening that starts to fail.
- Seal wall cracks
- Patch larger gaps
- Coat with waterproofing paint
- Add moisture barriers
Improve Basement Airflow
Improving basement airflow is one of the most effective ways to lower humidity, because moving air helps replace damp, stagnant air with drier outside air. To improve airflow, open basement windows and doors whenever outdoor air is drier than indoor air. Keep interior doors open so air can move freely between rooms instead of trapping moisture in one zone. Add small fans or vents to push stale air out and pull fresher air in; this exchange helps reduce humidity without adding complexity. Use exhaust fans when you create moisture, such as during laundry or showers, so humid air leaves quickly. Seal cracks and gaps around the basement envelope too, because uncontrolled air leaks can bring in warm, moist air and undo your gains. With steady ventilation, you reclaim control, balance moisture, and keep the space drier, cleaner, and more usable.
Keep Gutters and Downspouts Clear
Keep gutters clean and downspouts clear so rainwater doesn’t spill near the foundation and raise basement humidity. You need to inspect gutters at least twice a year, removing leaves, grit, and debris before they clog the system. When gutters overflow, water runs down walls and feeds moisture below. Keep downspouts aimed and extended 4 to 6 feet away from the house so runoff exits fast and doesn’t pool beside the foundation.
Keep gutters clear and downspouts extended so rainwater drains away and basement moisture stays low.
- Clear gutters in spring and fall.
- Check downspouts for cracks, blockages, and loose joints.
- Add extensions or splash blocks for better discharge.
- Confirm water leaves the area after heavy rain.
A maintained gutter system reduces basement flooding risk and helps you keep humidity under control without relying on powered equipment. Tighten hardware, replace damaged sections, and make sure every joint directs water outward. When you move water away efficiently, you protect your space and keep your basement drier.
Regrade Soil Away From the House
Check your foundation slope and confirm the soil drops at least 6 inches over the first 10 feet from the house. Build up low spots with compacted fill so runoff moves away from the basement instead of pooling at the foundation. This simple regrading can redirect rainwater at the source and cut basement moisture problems before they require costlier fixes.
Check Foundation Slope
The ground around your foundation should slope away from the house by at least 6 inches over the first 10 feet to move rainwater away from the basement. Check your foundation slope after storms and fix low spots fast to reduce humidity and protect your home’s structure.
- Walk the perimeter and look for settled soil.
- Watch for puddles hugging the wall.
- Add soil to shallow dips and compact it.
- Recheck the grade after heavy rain.
This regrading is inexpensive, but it works hard: it limits groundwater buildup, prevents standing water, and cuts the chance of seepage. A well-graded yard gives you more control over moisture without relying on equipment. Keep the slope consistent, and you’ll keep water moving away where it belongs.
Build Soil Away
Regrade the soil around your basement so it slopes away from the foundation by at least 6 inches over the first 10 feet. This properly grading soil changes how water moves, so rain doesn’t collect beside the wall and seep inward. You can use topsoil to build the slope, then compact it in layers for stability. This low-cost fix can reduce humidity by limiting groundwater infiltration and surface runoff at the foundation. Keep the finished grade clear of mulch piles and depressions that trap moisture. After heavy rain, inspect the slope and reshape any settled areas. If you maintain the grade, you’ll protect your basement from dampness and mold without relying on expensive equipment.
Redirect Rainwater Runoff
When rainwater collects near your foundation, it can seep into the basement and raise humidity, so you should reshape the soil to slope away from the house at least 6 inches over the first 10 feet. This grading helps redirect rainwater runoff before it pools and feeds dampness. You can reduce humidity levels without expensive equipment by moving water away from the wall.
- Check the soil slope after storms.
- Extend downspouts 4 to 6 feet from the house.
- Clean gutters so they don’t overflow.
- Watch for standing water near the footing.
These fixes cut groundwater seepage, protect the foundation, and give you a drier, freer basement.
Seal Windows, Walls, and Gaps
Sealing windows, walls, and gaps helps stop humid outdoor air and groundwater moisture from entering your basement. When you seal windows with weatherstripping or caulk, you cut air leakage and reduce humidity at the source. Add insulated window treatments to limit temperature swings and prevent condensation on the glass. Apply waterproofing paint to basement walls to create a moisture barrier, then inspect the surface for weak spots that need touch-up. Fill foundation cracks with high-quality masonry sealant so water vapor and seepage can’t move through the structure. Don’t ignore pipe penetrations or utility openings; seal those gaps tightly, because even small breaches can feed damp air into the room. Check these areas regularly, especially after storms, and repair any new openings right away. These fixes won’t trap you in a cycle of wet air—they help you claim a drier, steadier basement on your terms.
Limit Moisture From Laundry and Showers
Laundry and showers can add a surprising amount of moisture to a basement, so you need to control both the source and the venting. To limit moisture, route your dryer vent straight outside; don’t let damp air dump into the room. If you can, dry clothes outdoors instead of indoors, so water vapor doesn’t feed humidity issues below grade. In the bathroom, keep showers to 10-15 minutes and run the exhaust fan the whole time. That fan should move steam out fast, not recirculate it.
Control moisture at the source: vent dryers outside, and run bathroom fans during short showers.
- Vent the dryer directly outdoors.
- Install proper laundry-room venting.
- Run the bathroom exhaust fan during showers.
- Keep showers short to cut steam.
When you tighten these habits, you reduce moisture loading at the source and reclaim a drier, more livable basement.
Skip Houseplants as a Primary Fix
Houseplants can make a basement feel greener, but they won’t meaningfully drop humidity on their own. You can keep a few houseplants, like Baby Rubber Plant or Golden Pothos, for small spaces, but don’t expect them to reduce humidity in a damp basement. Basements often sit near 79% humidity, and that level overwhelms what plants can absorb. If you treat plants as the main fix, you’ll miss the real problem and stay trapped in excess moisture.
You need to target airflow, leaks, and drainage. Open vents, add exhaust paths, seal cracks, and stop water entry at the foundation. Use moisture barriers where needed and keep stored items off the floor. That’s how you reduce humidity with control, not wishful thinking. Let houseplants support the space, but never carry the load.
Frequently Asked Questions
What Pulls Moisture Out of a Basement?
Moisture-absorbing materials pull moisture out of your basement; use silica gel, calcium chloride, or baking soda. Pair them with ventilation solutions, like open windows and doors, and you’ll lower humidity while keeping air moving.
How Do I Get Rid of Humidity in My Basement Without a Dehumidifier?
You can tame basement humidity by opening windows, running fans, sealing cracks, adding moisture barriers, and improving drainage. These ventilation methods pull damp air out, cut infiltration, and give you control without buying a dehumidifier.
Should You Use a Dehumidifier if You Have COPD?
Yes, you can use a dehumidifier with COPD if it helps your COPD management and improves indoor air quality, but you should keep humidity near 40-60% and ask your clinician before changing your environment.
Is 70% Humidity Too High for a Basement?
Yes—70% humidity is too high for your basement; it’s a mold magnet. You’ll see humidity effects like condensation, wood rot, and pests, while basement mold risk climbs. Aim for 40–60% and monitor with a hygrometer.
Conclusion
By tackling moisture at its source, you can lower basement humidity without a dehumidifier. Open windows on dry days, run fans, and use baking soda in damp corners. Seal cracks, gaps, and leaks, and keep soil sloped away from your foundation. Vent laundry and showers properly, and don’t rely on houseplants to fix the problem. A dry basement takes steady upkeep, but an ounce of prevention is worth a pound of cure.