
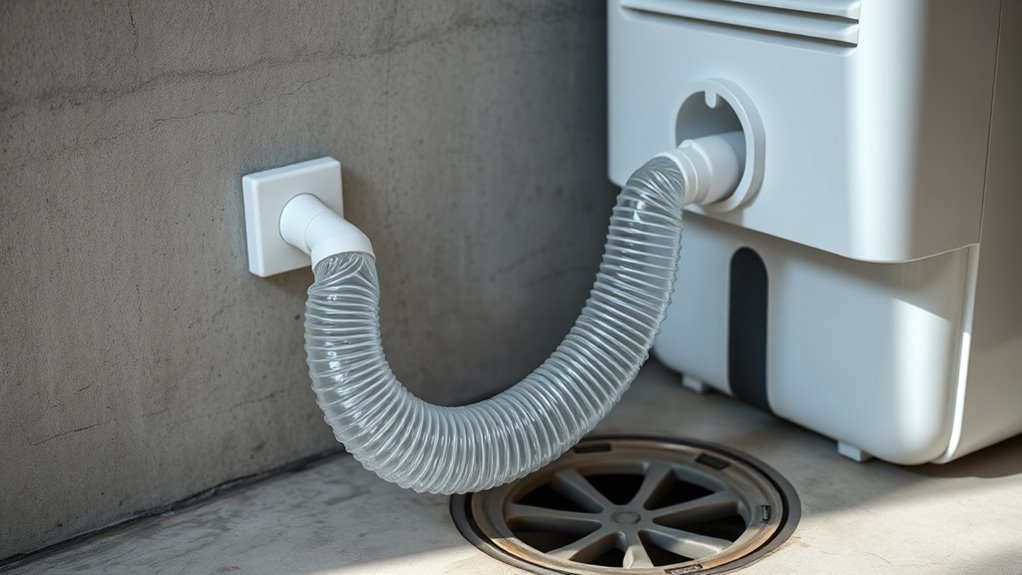
To drain a dehumidifier with a hose, attach a compatible hose to the drain port and run it downhill to a floor drain, sink, or sump so gravity carries the water away. Check your manual first for the hose size, fitting, and whether the bucket must stay in place, because these details vary by model.
Continuous drainage saves you from emptying the bucket several times a day, but it only works when the hose, drain outlet, and discharge point are arranged correctly.
Quick Answer
- Unplug the dehumidifier and open the drain port.
- Attach the correct hose or adapter firmly, with its washer.
- Route the hose downhill to a safe drain, with no kinks or upward loops.
- Reinstall the bucket if the manual says to, restore power, and check for steady flow and leaks.
| Time | About 10 to 20 minutes, plus time to confirm drainage |
|---|---|
| Difficulty | Easy |
| You need | Compatible drain hose, any required adapter or washer, a towel, and a soft brush for cleaning |
How Dehumidifier Drainage Works
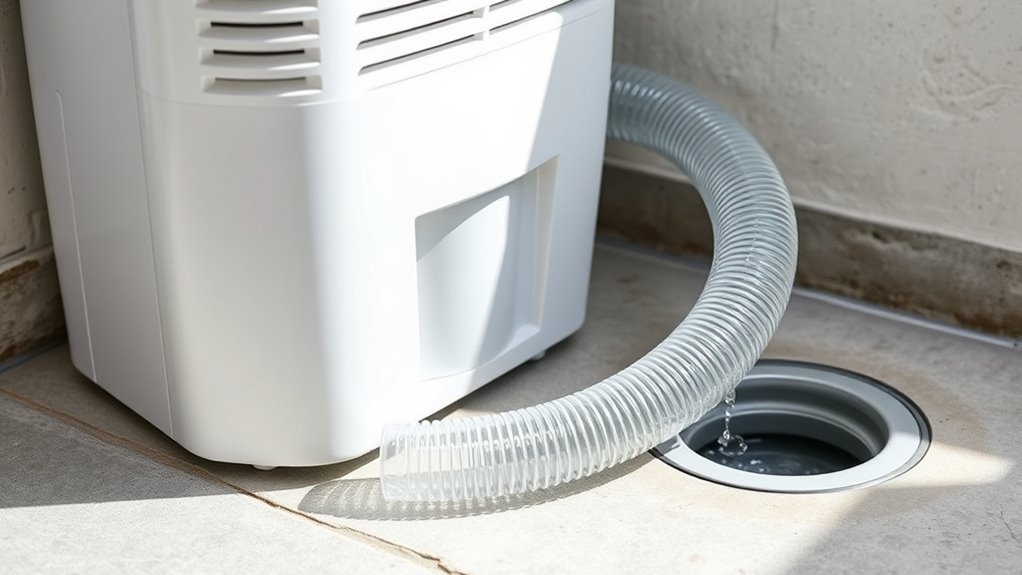
A dehumidifier pulls room air across a cold coil, water condenses, and it flows into a collection system. Depending on the model, the water goes to one of three places.
- Bucket: Water collects until you empty it. Most portable units stop when the bucket is full or not seated.
- Gravity drain: Water leaves through a hose because the drain point is lower than the outlet. The hose cannot rise or loop upward.
- Pump: A built-in or external condensate pump pushes water to a higher sink, standpipe, or other approved outlet. Lift and hose length are model-specific.
GE’s drainage page for its units says the bucket must be in place for the unit to operate with any drain method, and gravity drainage uses a standard garden hose cut to the shortest length possible. Always confirm the same details for your own model.
Before You Connect the Hose
- Read the manual. Confirm whether the port takes a garden hose, a smaller supplied tube, or a model-specific adapter.
- Choose a safe drain. A floor drain, utility sink, sump, or properly sized standpipe beats an open container that can overflow.
- Check the height. For gravity drainage, the outlet must sit lower than the drain port.
- Level the unit. A tilted cabinet can leak around the bucket.
- Inspect the hose. Do not use one that is cracked, flattened, or worn.
Warning: Turn off and unplug the unit before opening the drain port, removing the bucket, cleaning the hose, or wiping up a leak. Keep plugs and power strips away from the drainage path.
How to Drain a Dehumidifier With a Hose, Step by Step
These steps fit a typical gravity-drain setup. Your manual takes priority if it differs. For fitting-specific detail, see our guide on connecting a dehumidifier drain hose.
1. Position the Unit
Set it upright on a firm, level surface with the clearance the manual calls for. Place it high enough that the hose can slope down to the drain without crossing a walkway.
2. Open the Drain Port
Unplug the unit. Remove the bucket if the manual says so, open the drain cover, and remove the cap or plug. Keep the cap in case you return to bucket use.
3. Check the Fitting and Washer
Inspect the threads, adapter, and rubber washer. Dirt, cross-threading, or a missing washer causes slow leaks. GE’s drain-hose troubleshooting page also asks you to confirm a rubber washer is properly installed in the end of the garden hose.
4. Attach the Hose
Start threaded fittings by hand so they do not cross-thread. Tighten only enough to stop leaks, since overtightening can damage plastic threads or a washer.
5. Route the Hose Downhill
Run the hose to the drain with a continuous downward slope. Keep it short and straight, and remove loops, high spots, sharp bends, and spots where furniture can pinch it.
6. Secure the Discharge End
Place the end where it cannot slip out or splash. GE notes that a hose pushed too far into a standpipe, or sitting in water, can stop the unit from draining. Keep the outlet above the water line.
7. Reinstall and Test
Reinstall the bucket if required, plug in the unit, and run it. Check the connection, bucket area, and discharge point after several minutes and again once water starts flowing. A dry paper towel under the connection shows small drips quickly.
Why a Dehumidifier Won’t Drain
If the bucket fills while a hose is attached, trace the path from the drain port to the discharge point. The fault is usually in the hose setup, though settings, bucket position, frost, or a pump issue can also be to blame.
| Symptom | Likely cause | What to check |
|---|---|---|
| Bucket fills instead of hose draining | Hose rises above the outlet, is kinked, or is blocked | Restore a continuous downward slope and flush the hose |
| Leak at the connector | Loose fitting, damaged threads, or missing washer | Reconnect by hand and replace the washer or adapter |
| Little or no water anywhere | Room already dry, cool room, blocked airflow, or dirty filter | Check the humidity setting, filter, and room temperature |
| Pump does not discharge | Pump mode off, bucket not seated, wrong hose, or lift too high | Follow the pump section of your manual |
| Ice or heavy frost | Cold room or restricted airflow | Switch off and let it defrost; never chip ice from the coils |
Frigidaire advises keeping a gravity hose lower than the unit’s connection, as straight as possible, and at least 1/2 inch in diameter for gravity draining (or a dehumidifier-specific hose), because narrow hoses clog easily. Dust in the water can form sludge and algae, so flush the hose periodically with clean water. For a deeper troubleshooting list, see why a dehumidifier is not draining through the hose.
How to Prevent Leaks and Kinks
- Seat the washer. Replace it if cracked, flattened, or missing.
- Support the hose so its weight does not pull sideways on the drain port.
- Protect the route from chair legs, doors, pets, and stored items.
- Keep the slope. Do not raise the hose to keep it off the floor. Use supports that preserve a downhill path.
- Test after moving the unit. A small shift can flatten the slope or loosen the fitting.
Recommended Products

Multi-Purpose Hose, 6ft Cut-to-Fit:This 6-foot hose is designed for various applications, including dehumidifier drainage and gardening tasks. It can be easily cut to the desired length for flexible use. Please confirm the required length before purchase.

[Convenient] This drain hose automatically drains water from the dehumidifier to the drain for uninterrupted use.
How to Clean a Clogged Drain Hose
Clean the hose when flow slows, the bucket starts filling, or you see slime or debris. GE’s cleaning steps are: empty the bucket, unplug the unit, clean the drain with a baby bottle brush or pipe cleaner, clean the hose the same way, then confirm the hose is routed downward.
- Put towels under the connection.
- Disconnect the hose and drain trapped water into a sink or container.
- Inspect both ends for lint, sludge, algae, or a damaged washer.
- Loosen buildup with a soft bottle brush or pipe cleaner, without puncturing the tubing.
- Flush with clean warm water until it runs freely. Use mild detergent only if your manual allows it, and rinse well.
- Reconnect the hose, restore the slope, and test.
Warning: Do not pour bleach through the hose unless the manufacturer allows it. Never mix bleach with ammonia or other cleaners.
Gravity Drain or Pump?
| Feature | Gravity drain | Condensate pump |
|---|---|---|
| Best use | Drain is lower than the outlet | Drain is higher or farther away |
| Power | No extra power needed | Needs a built-in or external pump |
| Upkeep | Check slope and flush the hose | Check hose, reservoir, float, and power |
| Limit | Cannot move water uphill | Lift height and hose length are model-limited |
As one example, GE says its pump-equipped models can pump up to 16 vertical feet using the 16-foot hose provided, and warns not to use a longer tube. That figure does not apply to other brands or models. Our guides on draining into a sump pump and draining a basement unit without a floor drain cover pump setups.
Safe Places to Drain a Dehumidifier
- Floor drain: Usually simplest if it is lower than the unit and stays open.
- Utility sink: Works by gravity only if the hose can slope down to it.
- Sump pit: Suitable when the sump system works and local rules allow it.
- Standpipe: Insert the hose only a short way and never create an airtight seal or let the end sit in water.
- Outside: Only if the manufacturer permits it and the outlet cannot freeze or drain toward the foundation. See draining a dehumidifier to the outside.
Pouring plain bucket water into a toilet is fine for manual disposal, but do not treat it as drinking water.
Keeping Continuous Drainage Working
- First day: Check the connector, bucket area, and discharge point a few times.
- Weekly: Confirm the hose is still downhill, secure, and unpinched.
- Monthly: Inspect the fitting, washer, and drain opening. Clean sooner in a dusty room.
- Every few months: Flush the hose, or follow the interval in your manual.
- After moving the unit or a power outage: Verify the hose route and that continuous or pump mode is still selected.
For humidity targets, the EPA advises keeping indoor humidity between 30 and 50 percent, using ventilation or a dehumidifier if needed.
Frequently Asked Questions
Can a gravity drain hose run uphill?
No. A gravity hose needs a continuous downward path from the drain port to the outlet. If water must travel up to reach the drain, use a model with a built-in pump or an approved external condensate pump, and stay within the lift and hose length your manual allows.
Why is the bucket still filling with a hose attached?
The hose may be kinked, blocked, rising above the outlet, loosely connected, or submerged at the discharge end. The drain cap or adapter may also be installed wrong, or the model may need a specific mode or bucket position. Check each part of the drain path against the manual.
Can I use a regular garden hose to drain a dehumidifier?
Many portable models accept a standard garden hose, and GE’s gravity-drain instructions for its units call for one. Others use a smaller supplied tube or model-specific adapter, so check your manual for the fitting, washer, and hose size before buying a hose.
How often should I clean a dehumidifier drain hose?
Inspect it monthly during regular use and flush it with clean water every few months, or follow the interval in your manual. Clean it sooner if flow slows, the bucket starts filling, or you see slime or debris in the line.
Do I still need the bucket when using a hose?
Often yes. On many models the bucket must be installed for the unit to run, even with a hose attached, and pump models may use the bucket as part of the pump cycle. Reinstall it unless your manual says otherwise.
Related Guides
- How to connect a dehumidifier drain hose step by step
- How to drain a dehumidifier to the outside
- Can you drain a dehumidifier into a sump pump?
- Why is my dehumidifier not draining through the hose?
- How to empty a dehumidifier
Sources
- GE Appliances: Dehumidifier Draining Options
- GE Appliances: Dehumidifier Drain Hose Issues
- Frigidaire: Dehumidifier Not Draining
- U.S. EPA: Improving Your Indoor Environment

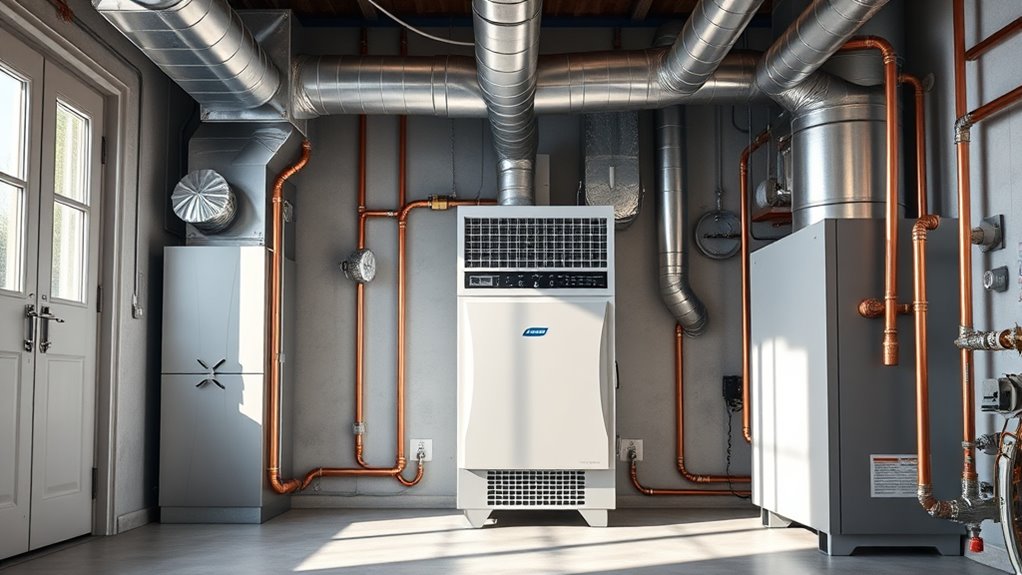
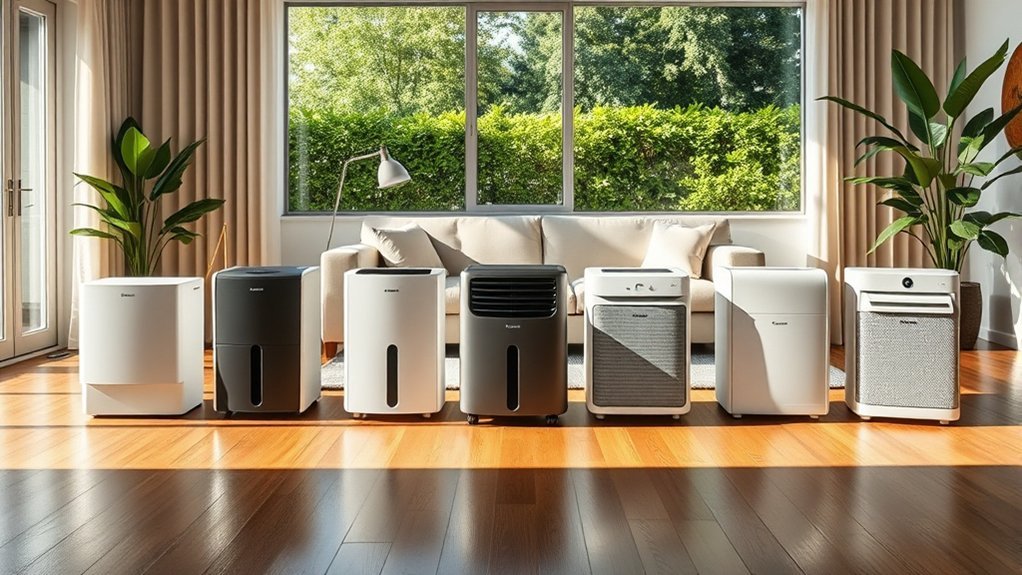
[…] type in the manual, and attach the specified hose or adapter with its washer or clamp. For gravity drainage, place the unit level and route the hose continuously downhill without kinks. Use only an approved […]