
Setting up a robot vacuum correctly starts with a few basic checks that are often skipped. The floor should be clear of cords, loose items, and low obstacles, while the dock needs open space and a stable surface. A first mapping run helps the unit learn the layout before schedules or zones are added. App setup, firmware updates, and routine maintenance then determine whether the system runs efficiently or creates avoidable problems.
Set Up Your Robot Vacuum Right
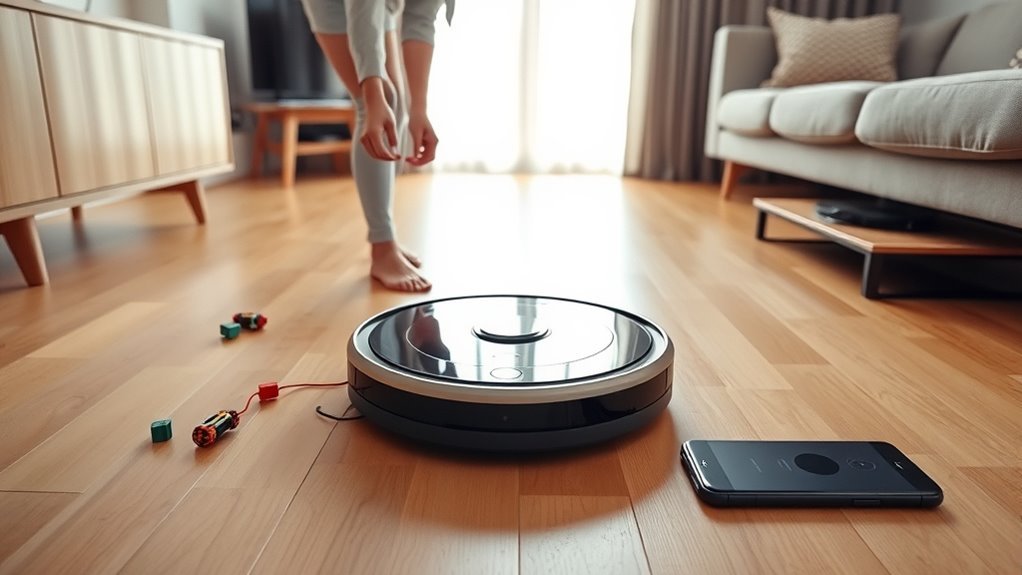
After unboxing, the robot vacuum should complete an initial mapping run so it can learn the layout, establish an efficient cleaning route, and identify obstacles.
This initial mapping should be done with the cleaning area cleared of cords, small items, and fringe rugs, because interruptions reduce accuracy and can trap the machine.
The resulting map gives a practical record of the layout of your home, allowing the user to define No-Go Zones around trouble spots and assign rooms for targeted cleaning.
The resulting map gives a practical record of your home’s layout, helping set No-Go Zones and room-specific cleaning.
Routine app updates and firmware updates should be applied, since they improve navigation, fix bugs, and preserve performance.
Once the map is stable, the robot vacuum can operate with less supervision and more freedom from repetitive manual correction.
A charging dock should remain accessible so the unit can return without confusion after each cycle or when battery levels drop.
Clear Floors and Place the Dock
Clear the floors before setup so the robot vacuum can move without snagging on cords, small objects, or other obstacles that could interrupt cleaning or cause it to stall. A clear floors routine creates a clutter-free environment and supports dependable navigation. The docking station should sit on a hard, level surface, preferably against a wall, with 3 to 5 feet of open space on each side for unobstructed access.
| Placement factor | Requirement |
|---|---|
| Dock surface | Hard, level, stable |
| Dock clearance | 3-5 feet each side |
| Safety zone | Away from stairs |
Room layout and traffic patterns should guide placement, because a well-positioned dock improves cleaning efficiency and reduces avoidable repositioning. The surrounding area should be checked regularly so clutter does not return and block the robot’s route. This careful setup preserves freedom from constant intervention and helps the machine operate with consistent, efficient movement throughout the home.
Run Your First Mapping Cycle
Before the initial mapping run, the floor should be cleared of cords, small objects, and other obstacles to improve map accuracy.
The robot vacuum should be fully charged and started from a central location so it can register the home layout efficiently.
During the run, the app should be monitored and the layout saved after any necessary adjustments.
Initial Mapping Run
Run the robot vacuum’s initial mapping cycle immediately after unboxing to establish an accurate layout of the home for future cleaning routes.
During this initial mapping, the floor should be prepared so the unit can move without interruption; cords and small objects should be removed before departure.
Position the docking station in a central location with open access, supporting reliable returns and charging.
Use the app’s advanced mapping tools to capture rooms, multiple floors, and cleaning zones with precision.
Throughout the run, monitor the mapping process and note any missed areas or navigation errors.
If needed, adjust settings in the app to refine layout data.
A careful first pass reduces dependence on repeated corrections and gives the system a cleaner, more autonomous path forward.
Clear Floor Obstacles
A successful first mapping cycle depends on an unobstructed floor plan, with cords, small items, and other loose obstacles removed to prevent the vacuum from becoming stuck or missing sections of the home.
To clear floor obstacles, the robot vacuum should face an open route, and the docking station should sit on a hard, level surface with 3 to 5 feet of clearance.
- Remove fringe rugs.
- Lift tangled items.
- Protect vacuum’s sensors.
- Let the mapping process finish uninterrupted.
- Update the app after layout changes.
This disciplined setup improves cleaning efficiency and gives the robot vacuum freedom to learn the space accurately.
When the path is clean, returns to the docking station remain reliable, and the first map becomes a precise foundation for later autonomous cleaning.
Save Updated Layout
Once the floor is clear and the docking station is positioned on a hard, level surface near a central area, the mapping cycle can be started through the app to generate a detailed layout of the home.
The robot should be monitored as it scans, so any missed obstacles or access issues can be corrected in real time. The app typically shows progress and identifies zones that may need adjustment for accurate cleaning routes.
When the cycle ends, the user should save updated layout data immediately. This preserves the map for future sessions, supports smart scheduling, and enables customized cleaning zones.
A precise saved map reduces manual intervention, improves coverage, and lets the vacuum operate with greater autonomy and less wasted motion.
Set Up the App and Check for Updates
The robot vacuum’s app should be downloaded in its latest version from the appropriate app store before setup begins, ensuring access to the full feature set. The app allows direct control, enabling users to configure the layout and map, schedule cleaning, and review the Wi-Fi indicator during pairing.
Download the latest app first to unlock mapping, scheduling, and Wi‑Fi pairing features.
For a stable connection, the vacuum and phone should remain close while setup prompts are followed. After pairing, firmware and app updates should be checked regularly to keep navigation logic current and improve cleaning performance.
- Verify the app is current.
- Connect the vacuum to home Wi-Fi.
- Confirm smart mapping is enabled.
- Set no-go areas with precision.
- Activate notifications for service alerts.
Notifications help users respond when maintenance is due, preserving freedom from avoidable interruptions.
Mapping tools also support efficient zone selection, reducing wasted runtime and keeping control in the user’s hands.
Clean Robot Vacuum Filters, Brushes, and Sensors
Routine filter cleaning is required weekly, with more frequent attention in pet-heavy homes; filters should be rinsed in cold water only and fully air-dried before reinstallation.
Brushrolls must be cleared of hair and debris according to the manufacturer’s instructions, using a small brush or fingers as needed to preserve suction and agitation.
Sensors should be inspected and wiped gently with a microfiber cloth, and wheel buildup should be removed to maintain accurate navigation and smooth movement.
Filter Cleaning Routine
Keeping a robot vacuum in top condition requires regular attention to its filters, brushes, and sensors. A disciplined filter cleaning routine helps preserve performance and independence from avoidable breakdowns.
Each month, operators should clean the vacuum’s filters by rinsing them with cold water, then allowing complete air drying to maintain peak suction power. Weekly regular maintenance should also include checking brushes to remove hair and debris before tangles form.
Sensors benefit from a soft brush or fingertips to clear dust, restoring accurate navigation and obstacle detection.
- Empty the dustbin after every run.
- Follow the manufacturer’s instructions exactly.
- Inspect filters monthly.
- Remove hair and debris weekly.
- Clean sensors gently.
These steps maximize longevity and support reliable, low-intervention operation.
Brushroll Debris Removal
Regular inspection of the brushroll is essential for maintaining suction power and cleaning efficiency, since hair and debris can quickly create clogs that limit performance.
The unit should be powered off, then the brushroll removed according to the manufacturer’s instructions. A small brush or fingertips can clear tangled debris from the brushroll housing without forcing components.
Weekly maintenance checks help prevent buildup, especially in homes with pets.
Filters should also be cleaned with cold water, with no soap or detergent, and allowed to dry fully before reinsertion, because clogged filters restrict airflow.
Sensors should be examined for dust or dirt and kept clear so navigation remains accurate.
Consistent brushroll care preserves suction power, supports cleaning efficiency, and reduces avoidable downtime.
Sensor Wipe Checks
After the brushroll is cleared, attention should shift to the robot vacuum’s filters and sensors, since dust buildup in these components can reduce suction and disrupt navigation.
For reliable sensor wipe checks, a robot vacuum should be regularly inspected after each session; this preserves cleaning performance and obstacle detection.
- Remove hair and debris from brushes with fingers or a soft brush.
- Rinse filters with cold water only; no soap or detergent.
- Dry filters fully before reinstalling them.
- Wipe sensors gently with a microfiber cloth.
- Schedule routine checks every few weeks, especially with pets.
Consistent debris removal helps maintain peak suction and keeps the machine ready for independent, efficient cleaning.
Choose the Best Robot Vacuum Cleaning Mode
Selecting the appropriate cleaning mode helps the robot vacuum match suction power and coverage to the floor surface and debris type. On carpet, high suction mode improves pickup of embedded dirt and pet hair.
On hardwood or tile, eco mode reduces battery draw while maintaining adequate cleaning. Many robot vacuum models include cleaning modes such as deep clean settings for heavily soiled areas, which can help when the floor carries tracked-in grit.
Spot cleaning mode is best for spills or high-traffic zones that need concentrated passes. Some units also provide debris-specific options for pet hair or fine dust, allowing the machine to work more efficiently without manual intervention.
Before the first run, the user manual should be reviewed near the power outlet to confirm mode names and limits, since labels vary by model.
Correct selection reduces wasted energy and supports cleaner floors with less effort.
Set Robot Vacuum Zones, Labels, and Schedules
Using the app’s mapping tools, the robot vacuum can be assigned No-Go Zones to avoid pet bowls, fragile furniture, and other obstacles that could interrupt cleaning paths. To set up effective zones, labels, and schedules, the app should be used as the control center for customized cleaning and improved cleaning efficiency.
- Create zones around sensitive areas.
- Label rooms for direct task selection.
- Set schedules for low-traffic hours.
- Apply stronger modes to carpets, eco mode to hardwood.
- Review zones and schedules after layout changes.
Room labels help separate living areas, making it easier to target high-use spaces more often. Schedules can then be assigned to specific rooms, so the vacuum cleans when work or sleep will not be disturbed.
This approach gives the user freedom from constant manual cleanup while keeping paths clear and performance steady. Regular adjustments in the app preserve precision as routines and room layouts change.
Check Battery Life and Storage Conditions
Battery management and storage conditions should be checked before regular operation begins. The vacuum should be charged fully before its first use, typically for about four hours, to establish ideal battery performance.
During setup, the user should monitor battery status in the app and review battery health indicators regularly to detect decline early. A charging dock should be placed on a hard, level surface with a clear path so the unit can return without obstruction and recharge efficiently.
Monitor battery status in the app and keep the charging dock clear for efficient recharging.
To preserve capacity, operators should avoid complete drain and recharge the unit before the battery is exhausted.
When the vacuum is not in service, it should be stored in a climate-controlled environment, away from extreme temperatures, humidity, and direct sunlight. These conditions reduce stress on internal components and help maintain reliable operation over time.
Careful handling of power and storage gives the system greater autonomy and protects the user’s freedom from preventable maintenance failures.
Frequently Asked Questions
What Are the Most Common Problems With Robot Vacuums?
The most common problems are navigation issues, obstacle detection failures, poor battery life, scheduling conflicts, weak performance on mixed floor types, and clogging from pet hair. Practical maintenance tips reduce failures and preserve autonomous cleaning freedom.
Should I Leave My Robot Vacuum Plugged in All the Time?
Yes; keeping it docked is generally best for battery maintenance tips and cleaning schedule optimization. Proper charging dock placement, app integration features, and navigation system understanding support pet hair management, floor type compatibility, and reliable operation.
What Are the Downsides of Using a Robot Vacuum?
Robot vacuum limitations include floor compatibility issues, especially on high-pile carpets, reduced cleaning efficiency at corners, pet hair tangles, maintenance challenges, noise levels, and constrained battery lifespan, making manual support necessary for thorough cleaning.
How Hard Is It to Program a Robot Vacuum?
Like opening a quiet gate, programming a robot vacuum is usually simple. With robot vacuum features, programming tips, scheduling options, navigation systems, maintenance routines, connectivity issues, and performance comparisons, most users configure it efficiently.
Conclusion
Like a ship charting a new harbor, a robot vacuum performs best when its first route is carefully prepared. A clear floor, a properly placed dock, a complete mapping cycle, and a stable app setup prevent early errors. Routine cleaning of filters, brushes, and sensors preserves suction and navigation accuracy. Correct modes, zones, schedules, and battery care further improve reliability. With these steps, the robot vacuum operates efficiently, consistently, and with fewer common setup mistakes.