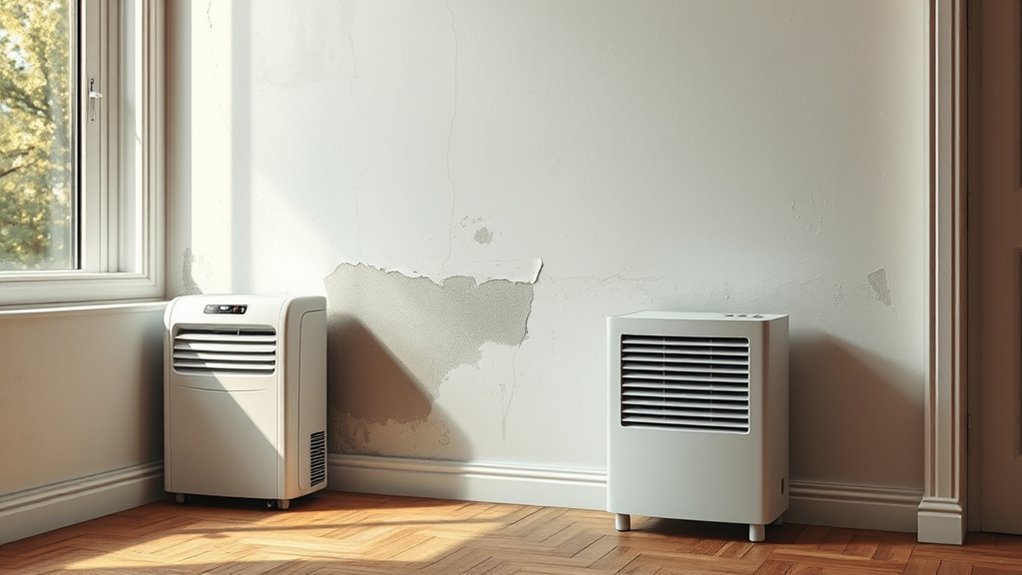
Will a Dehumidifier Dry Damp Walls?
Yes, a dehumidifier can help dry damp walls when the moisture problem comes from condensation, high indoor humidity, or light surface damp. It lowers the room’s relative humidity so surface moisture can evaporate. It will not permanently fix walls fed by leaking pipes, roof defects, rising damp, floodwater, or rainwater entering through the building.
Quick Answer
Yes, a dehumidifier can help dry damp walls when the damp is caused by condensation or high indoor humidity. It lowers moisture in the air, which helps surface moisture evaporate from paint, plaster, and nearby furnishings. But it will not solve active leaks, rising damp, penetrating damp, or saturated wall materials without separate repairs.
Key Takeaways
- A dehumidifier works best on condensation damp and mild surface moisture caused by high indoor humidity.
- Aim for indoor humidity around 30% to 50% where possible, and keep it below 60% to reduce mold risk.
- Close windows and external doors while the unit runs so it dries the room, not incoming outdoor air.
- If damp returns after drying, the wall likely has an ongoing moisture source that needs repair.
- Floodwater, electrical hazards, crumbling plaster, or visible mold growth may require professional help.
At a Glance
| Time Required | No fixed timetable. Light condensation may improve within days, while deeper moisture can take weeks or longer depending on the wall material, temperature, airflow, and whether the moisture source has been stopped. |
| Difficulty | Easy for condensation control; moderate to professional-level if leaks, flood damage, or structural damp are involved. |
| Tools Needed | Dehumidifier, hygrometer, fan for air movement, and clean cloths. For mold cleanup or flood damage, follow official safety guidance and use appropriate PPE such as an N95 respirator, goggles, and protective gloves. |
| Cost | Low to moderate for a portable unit and electricity; higher if repairs, mold remediation, or damp-proofing are needed. |
How Dehumidifiers Help Damp Walls Dry
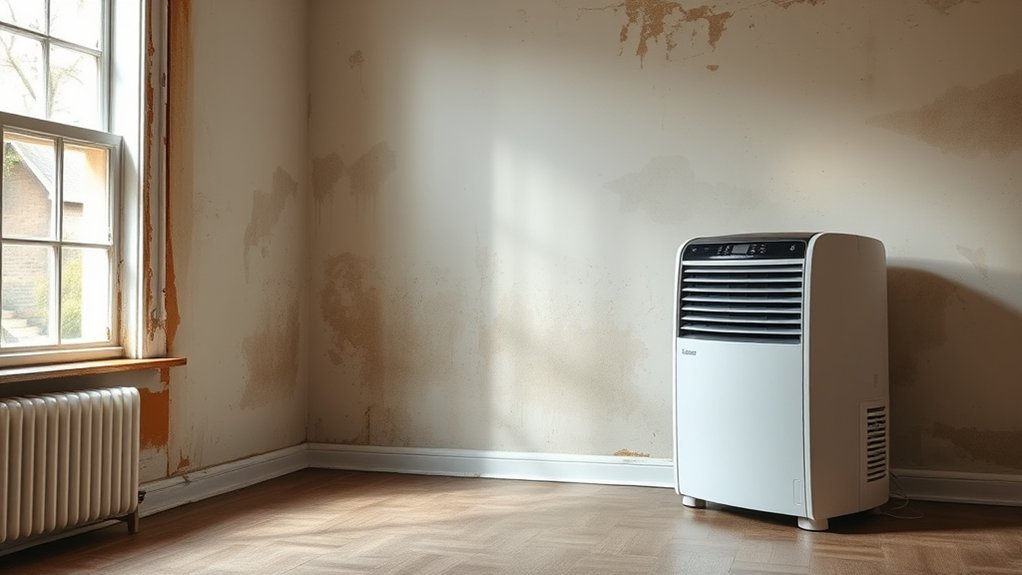
A dehumidifier can help dry damp walls by lowering the amount of water vapor in the room. When the air is drier, moisture on or near the wall surface can evaporate more easily. This is most useful in rooms where damp patches come from condensation, poor ventilation, shower steam, cooking moisture, drying laundry indoors, or cold wall surfaces.
The target is not to make the room bone-dry. The U.S. Environmental Protection Agency recommends keeping indoor humidity below 60% where possible, ideally between 30% and 50% relative humidity. A small hygrometer is the easiest way to check this.
However, a dehumidifier is only a drying tool. It does not seal cracks, repair gutters, stop leaking pipes, renew a damp-proof course, or remove water trapped deep inside saturated wall materials. If the wall dries while the unit is running but becomes wet again later, the source of moisture has not been fixed.
Note: If you can see water running, plaster crumbling, paint bubbling, tide marks near the floor, or damp patches after rain, treat the dehumidifier as temporary support. The wall needs inspection for leaks, penetrating damp, rising damp, or drainage problems.
What It Can Dry and What It Can’t
A dehumidifier is helpful when moisture is moving from the air onto the wall. It is much less effective when moisture is moving from the building into the room.
| Damp Type | Will a Dehumidifier Help? | What Else Is Needed? |
|---|---|---|
| Condensation on cold walls | Yes, often very helpful | Better ventilation, steady heating, and humidity control |
| High indoor humidity | Yes | Extractor fans, covered pans, outdoor venting for dryers, and reduced indoor drying of clothes |
| Small leak after repair | Yes, after the leak is fixed | Confirm the leak has stopped before drying |
| Penetrating damp from rain | Only temporarily | Repair roof, flashing, pointing, render, windows, gutters, or exterior drainage |
| Rising damp | No, not as a cure | Professional damp diagnosis and repair of the moisture path |
| Flood-saturated walls | Only as part of drying | Water removal, safety checks, possible material removal, and professional restoration |
Quick Damp-Source Check Before You Start
Before you run the dehumidifier for days, check the damp pattern. A wall that is wet after showers, cooking, drying laundry, or cold nights usually points to condensation. A wall that gets worse after rain, near a chimney, around a window, or under a roofline points to water entering from outside. Damp that starts low on the wall, leaves salts, or damages skirting boards needs a damp survey rather than just more dehumidifier time.
- Likely condensation: droplets on windows, cold corners, and black spots behind furniture.
- Likely leak or rain entry: one fixed patch that grows after rain or near pipework.
- Likely rising damp: low-level staining, salt deposits, and damaged plaster close to the floor.
- Likely flood saturation: known water event, soft materials, musty cavities, or wet insulation.
Which Types of Damp It Helps Most
You’ll get the best results from a dehumidifier when the wall is damp because the room air is too humid. That usually means condensation damp, bathroom damp, kitchen steam, laundry moisture, or cold rooms where water vapor settles on the wall surface.
Condensation and Humidity
Dehumidifiers are most effective for condensation damp. This usually appears on cold surfaces in rooms with poor ventilation, weak heating, or regular moisture from showers, cooking, and drying laundry indoors.
Common signs of condensation damp include:
- Water droplets on windows, pipes, tiles, or cold walls
- Black mold spots in corners, behind furniture, or around windows
- A musty smell that is worse in winter or after showers
- Damp patches that improve when the room is heated and ventilated
- No clear external leak or plumbing source
In this situation, a dehumidifier can reduce airborne moisture, slow condensation, and help the wall surface dry. For best results, pair it with extractor fans, trickle vents, steady background heat, and better air movement around cold corners.
Flood-Damaged Surfaces
After a flood or major leak, a dehumidifier can help remove moisture from the air after standing water has been removed. It can also support drying once damaged materials have been assessed. But it should not be the first or only step.
Warning: Do not run electrical equipment in a flooded or water-damaged room until it is safe. If outlets, wiring, extension cords, or appliances may have been exposed to water, stop and get qualified electrical advice first. If floodwater, sewage, visible mold, sagging ceilings, soft plasterboard, or electrical hazards are present, follow official cleanup guidance and contact a qualified restoration professional.
The CDC mold cleanup guidance recommends protective equipment such as an N95 respirator, goggles, and gloves during mold cleanup after disasters. The EPA also advises acting quickly after leaks or spills because drying wet materials within 24–48 hours can help prevent mold growth in many cases.
For flood-damaged walls, use the dehumidifier only after the water source is stopped, standing water is removed, and the room is safe. Saturated drywall, insulation, skirting boards, or plaster may need removal rather than simple drying.
Mould-Prone Cold Rooms
In mold-prone cold rooms, a dehumidifier can reduce the moisture that helps mold grow. This is especially useful in bedrooms, basements, bathrooms, utility rooms, and rooms with poor air circulation behind wardrobes or large furniture. UK readers may see the same issue described as mould-prone rooms.
To reduce recurring mold risk:
- Leave a gap between large furniture and cold external walls so air can circulate
- Use extractor fans during and after showers or cooking
- Keep indoor RH ideally between 30% and 50%
- Clean small mold patches safely and fix the moisture source
- Improve insulation or ventilation if cold-wall condensation keeps returning
The key rule is simple: dry the air, but also stop the moisture source. Otherwise, damp patches and mold are likely to return.
How to Use a Dehumidifier on Damp Walls
Using a dehumidifier correctly matters. Poor placement, open windows, a full tank, or the wrong size unit can make drying slow and frustrating.
Recommended Products

Semiconductor dehumidifiers use thermoelectric cooling to remove moisture from the air. They create a drier, more comfortable environment by reducing humidity and improving air quality.
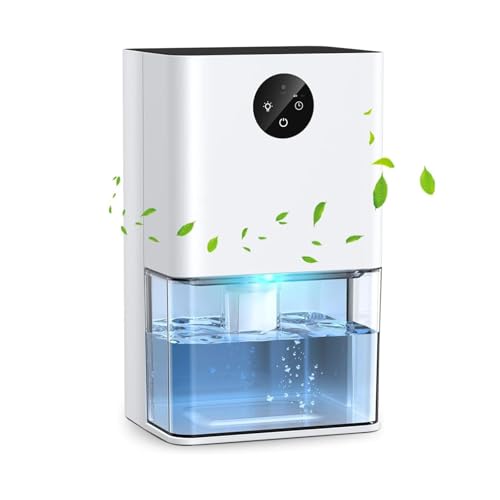
High Efficient Dehumidification for Home: The DY501 dehumidifier removes excess moisture effectively in closed small rooms with humid environments of 86F and 80% RH, collecting a maximum of 400ml of water in 24 hours with very low energy consumption (no more than 1-kilowatt hour a day)

High-Efficiency Dehumidifier for Home: Still annoyed about the muggy weather? Just Take it easy! Have a try at our 35OZ Peltier dehumidifier, in a closed small room with humid environment of 86°F and 80% RH, it can collect a max of 16oz(450ml) of water in 24 hours, and with very low energy consumption (no more than1 kWh per day).
Step 1: Check the Source of the Damp
Before running the dehumidifier, inspect the wall and nearby areas. Look for leaking pipes, roof stains, blocked gutters, cracked render, failed seals around windows, damp skirting boards, or tide marks near the floor. If the surface looks dry but still smells musty, a moisture meter can help track changes, but readings vary by material and may not reveal hidden wet insulation or cavities. Ask a qualified damp, plumbing, or restoration professional to check concealed materials when the source or depth of moisture is unclear.
If the wall is damp only after showers, cooking, or cold nights, condensation is likely. If it is damp after rain, near a chimney, around a window, or below a roofline, penetrating damp is more likely. If it starts near the floor and leaves salts or tide marks, rising damp may need professional diagnosis.
Step 2: Place the Dehumidifier Correctly
Place the dehumidifier in the same room as the damp wall. Keep it close enough to help the affected area, but leave space around the unit so air can move freely. ENERGY STAR recommends placing portable dehumidifiers away from walls and furniture if the model does not have top-mounted discharge, so air can circulate properly.
Do not push the unit tight against curtains, furniture, piles of laundry, or dusty workshop areas. Blocked airflow reduces performance and can make the unit work harder than necessary.
Step 3: Close Windows and External Doors
Close windows and external doors while the dehumidifier is running. Otherwise, the unit may keep pulling in humid outdoor air and never bring the room under control. Internal doors can be left open if you are drying connected rooms, but a single damp room usually dries faster when the dehumidifier is focused on that space.
Step 4: Use a Hygrometer
A hygrometer tells you the room’s relative humidity. Aim for about 30% to 50% RH where possible. If the room is above 60%, condensation and mold risk increase. If the room drops much below 30%, the air may feel too dry for comfort.
Pro Tip: Take one humidity reading before you start, then check again after 12–24 hours. A falling RH reading shows the room is drying. A reading that stays high may mean the unit is too small, the room is too cold, or moisture is still entering.
Step 5: Run It Consistently
For damp walls, short bursts are usually not enough. Run the dehumidifier consistently until visible surface damp has cleared and room humidity stays in the target range. Do not rely on touch alone after a leak or flood because the surface can dry before plasterboard, insulation, masonry, or cavities are dry. Many modern units have a humidistat, which lets the machine switch on and off automatically to maintain your target RH.
Empty the tank before it fills, or use a drain hose if the model supports continuous drainage. Clean the filter according to the manufacturer’s instructions. A dirty filter reduces airflow and slows moisture removal.
Step 6: Add Air Movement and Gentle Heat
Warm air holds more moisture than cold air, so gentle heat can help moisture evaporate from the wall. A fan can also move damp air away from the surface so the dehumidifier can remove it. Do not overheat the wall or use aggressive heat guns, as fast surface drying can damage finishes and may hide deeper damp.
How Long Damp Walls Take to Dry
Drying time depends on the wall material, how wet it is, room temperature, airflow, and whether the water source has been stopped. There is no reliable universal timetable. Light surface condensation may improve within days, while moisture deeper in plaster, drywall, insulation, cavities, or masonry can take weeks or longer. After a significant leak or flood, moisture readings or professional drying checks are more reliable than a calendar.
As a practical guide:
- Light condensation: look for visible improvement over the next few days as room RH falls and the surface stops collecting moisture.
- Moderate surface damp: expect a slower change and keep checking RH, airflow, and whether the patch returns under normal room use.
- Leak-related damp after repair: allow for a longer drying period and check hidden materials if plaster, drywall, insulation, or cavities were affected.
- Flood-damaged walls: use professional assessment when materials are saturated, contaminated, soft, or remained wet long enough for mold to become a concern.
How to Tell When a Damp Wall Is Dry
Do not rely on touch alone. A wall is more likely to be dry when the room’s RH stays controlled, visible staining or condensation does not return, and the area remains dry after normal showers, cooking, heating, and overnight temperature changes. After a leak, flood, or deep saturation, the surface may dry before the inside of the wall.
- Check that room humidity remains stable without the dehumidifier running continuously.
- Look for no new darkening, bubbling paint, musty odor, or condensation on the affected area.
- Compare moisture readings over time if you are using a meter, rather than relying on one isolated number.
- Before repainting or closing a wall after major water damage, get deeper moisture checked if insulation, cavities, timber, or plasterboard may still be wet.
The wall is not truly fixed just because it feels dry once. A better test is whether it stays dry after normal living conditions return and the dehumidifier is no longer running constantly.
How to Choose the Right Dehumidifier
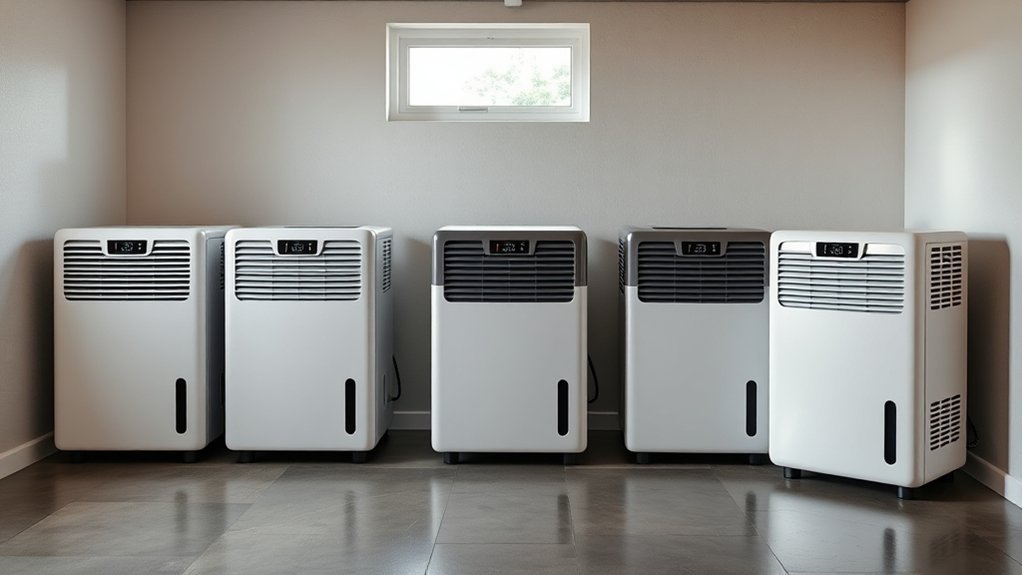
Choosing the right dehumidifier starts with capacity. Dehumidifier capacity is commonly measured by how much water the unit can remove in 24 hours, often listed as pints per day in the U.S. or litres per day in other markets. ENERGY STAR notes that the right capacity depends on both the size of the space and how damp the space is without dehumidification.
| Feature | What to Choose |
|---|---|
| Room size | Choose a unit sized for the whole room, not just the wall patch. |
| Water removal rate | Use a higher-capacity unit for very damp rooms, basements, or larger spaces. |
| Humidistat | Choose a built-in humidistat so the unit can maintain a target RH automatically. |
| Drainage | Use a tank for occasional drying or a drain hose for continuous operation. |
| Operating temperature | For cooler spaces, check the manufacturer’s minimum operating temperature and defrost features. |
| Filter access | Choose a model with an easy-to-clean filter, especially in dusty rooms. |
For a small bedroom with light condensation, a compact unit may be enough. For a basement, utility room, or very damp living space, choose a larger unit rather than undersizing. An undersized dehumidifier may run constantly without lowering humidity enough.
If you need model-specific buying guidance, see our best dehumidifiers for damp walls comparison. This guide stays focused on diagnosing the moisture source and drying the wall safely.
Recommended Products

34 Pint Powerful Moisture Removal for Spaces up to 2,500 Sq. Ft: Designed for large rooms and damp spaces, the TEANEWS compressor dehumidifier removes up to 34 pints of moisture per day at 95°F, 90% RH. It helps control excess humidity in areas up to 2500 sq. ft, making it a great choice for basements, bedrooms, bathrooms, laundry rooms, garages, offices, kitchens, storage areas, crawl spaces and RVs. Simply set your desired humidity level between 30% and 70%, and enjoy a drier, fresher and more comfortable home environment

2500 Sq.Ft High Capacity Dehumidifier- The GoGuess basement dehumidifier is equipped with a quiet yet powerful compressor that efficiently extracts up to 34 pints of moisture per day (tested at 95°F and 90% RH). Perfect for use in basements, offices, bathrooms, bedrooms, kitchens, storage areas, living rooms, laundry spaces, garages, crawl spaces, and RVs. It helps maintain a healthy humidity level between 30% and 70%, promoting a more comfortable and healthier indoor environment.

【The Undisputed Champion — Industry-Leading Dehumidifier Brand】When you choose AEOCKY, you get double market validation. According to data independently verified by Stackline, a leading third-party data analytics company, AEOCKY was an industry‑leading dehumidifier brand on Amazon U.S. in 2025. This means you’re not just choosing a flagship product from a market leader, but a top-performing brand backed by independent market data and trusted by millions of real users, delivering the ultimate combination of performance, quality and trust.
When a Dehumidifier Isn’t Enough
A dehumidifier is not enough when the wall is being actively wetted. It may make the room feel better, but the damp will return until the source is repaired.
Call a professional or investigate further if you notice:
- Damp patches that return quickly after drying
- Water stains that appear or worsen after rain
- Tide marks, salts, or crumbling plaster near the floor
- Soft drywall, sagging surfaces, or rotten skirting boards
- Visible mold covering a large area
- A persistent musty smell behind walls, floors, or cabinets
- Any damp near electrical outlets, wiring, or appliances
In these cases, the dehumidifier can still support drying after repairs, but it should not replace diagnosis. The longer water keeps entering the wall, the higher the risk of mold, decay, damaged finishes, and wasted energy.
Recommended Products

🌲【Accurate and fast measurements reveal hidden water leaks】: It has 2 high-precision pins that can penetrate the surface to be tested and quickly measure moisture content to estimate potential moisture increase throughout the home. COCZOW moisture meter is the ideal tool for measuring moisture.

Fast, Safe & Non-Destructive Moisture Detection: AWT-380 pinless moisture meter delivers readings within 1 second and operates at two scans per second. With a measuring depth of up to 0.79 in (20 mm), this moisture meter for house detects moisture in walls, floors, furniture, and building materials without leaving pin holes, making it ideal as a water leak detector for non-destructive inspections

𝐀𝐜𝐜𝐮𝐫𝐚𝐭𝐞 & 𝐅𝐚𝐬𝐭: Povlen moisture meter uses advanced sensor technology and a smart chip for accurate moisture detection. It quickly measures moisture content with high-frequency waves and features a HOLD function for one-button recording
How to Fix Damp Walls for Good
To fix damp walls for good, start by identifying the exact source of moisture. Then match the repair to the cause. Drying the wall without fixing the source is like mopping the floor while the tap is still running.
Find the Damp Source
Use the pattern of damp to narrow down the cause:
- Condensation: worse on cold walls, windows, corners, and behind furniture.
- Plumbing leak: near pipes, bathrooms, kitchens, radiators, ceilings, or floor voids.
- Penetrating damp: worse after rain, often on external walls, around chimneys, or near windows.
- Rising damp: starts low on the wall and may leave tide marks, salts, or damaged skirting.
- Flood or spill damage: follows a known water event and may affect floors, insulation, and wall cavities.
If the pattern is unclear, use a professional damp surveyor, plumber, roofer, or restoration contractor depending on the suspected source.
Use Permanent Repairs
Permanent repairs may include fixing a leaking pipe, repairing gutters, improving drainage, repointing brickwork, resealing windows, repairing roof defects, installing better extractor fans, insulating cold surfaces, or addressing a failed damp-proof course.
Once the source is fixed, a dehumidifier becomes much more useful. It can help remove remaining moisture from the room, reduce condensation, and support the final drying phase. Keep monitoring humidity after repairs so you can catch any recurring damp early.
Frequently Asked Questions
How long will a dehumidifier take to dry out damp walls?
There is no fixed drying time. Light surface condensation may improve within days, while deeper moisture in plaster, drywall, masonry, insulation, or wall cavities can take weeks or longer. If the wall remains wet or the damp returns, the moisture source may still be active or hidden materials may still be wet.
How do I know if a damp wall is fully dry?
Do not rely on touch alone. Look for stable room humidity, no returning dark patches, bubbling paint, musty odor, or condensation under normal room use. After a leak or flood, the wall surface can dry before plasterboard, insulation, masonry, or cavities are dry. If deeper materials may still be wet, compare moisture readings over time or get a professional drying check before repainting or closing the wall.
Should you use a dehumidifier if you have COPD?
A dehumidifier can reduce excessive indoor humidity, but it is not a treatment for COPD. The NHS notes that periods of hot weather and humidity can cause breathing problems for some people with COPD. Keep indoor humidity in a normal range rather than trying to make the air extremely dry, and speak with your healthcare provider if your breathing or usual symptoms change.
What are the downsides of using a dehumidifier?
The main downsides are electricity use, noise, tank emptying, filter cleaning, and the risk of relying on the machine instead of fixing the damp source. Air can also become uncomfortably dry if the unit is overused. Use a hygrometer and aim for a balanced indoor humidity range, not the lowest possible number.
Can a dehumidifier help with snoring?
A dehumidifier is not an established treatment for snoring or sleep apnea. Mayo Clinic lists treating nasal congestion or obstruction as one step that may reduce snoring in some people. If damp or mold is irritating your nose, fix the moisture problem for indoor-air quality, but do not rely on a dehumidifier to treat snoring. Persistent loud snoring, choking, gasping, or daytime sleepiness should be discussed with a healthcare professional.
Can a dehumidifier dry a wall after a leak?
Yes, but only after the leak has been repaired. If water is still entering the wall, the dehumidifier will only reduce the symptoms temporarily. After a leak, check nearby flooring, insulation, cavities, and plasterboard because hidden materials can stay wet even when the surface looks dry.
Should windows be open or closed when using a dehumidifier?
Keep windows and external doors closed while the dehumidifier is running. This lets the unit dry the room you are treating instead of pulling in new humid outdoor air. Use extractor fans during showers or cooking, then close the room again when you want focused drying.
Will a dehumidifier fix rising damp?
No. A dehumidifier may make the room feel drier for a while, but rising damp comes from moisture moving up through building materials. If you see tide marks, salts, crumbling plaster, or low-level damp that returns after drying, get a damp diagnosis and repair the moisture path.
Conclusion
A dehumidifier can dry damp walls when the damp comes from condensation, high humidity, or minor surface moisture. It works best when you close windows, maintain good airflow, use a hygrometer, and keep indoor humidity around 30% to 50% where possible.
But a dehumidifier is not a cure for leaks, rising damp, penetrating damp, or flood-saturated materials. If damp returns, spreads, smells musty, damages plaster, or appears after rain, find and fix the moisture source first. Once the source is repaired, use the dehumidifier with closed windows, airflow, and humidity checks until the wall stays dry under normal living conditions.
Sources
- U.S. Environmental Protection Agency — A Brief Guide to Mold, Moisture and Your Home — supports humidity targets, moisture control, condensation prevention, and fast drying after leaks or spills.
- CDC — Homeowners and Renters Guide to Mold Cleanup After Disasters — supports flood cleanup safety, PPE, and mold precautions.
- ENERGY STAR — Dehumidifiers — supports dehumidifier capacity, placement, drainage, and operating guidance.
- NHS — Can Damp and Mould Affect My Health? — supports the need to address underlying damp and mould rather than only surface symptoms.
- NHS — Living with COPD — supports cautious guidance about hot weather, humidity, and COPD symptoms.
- Mayo Clinic — Snoring Diagnosis and Treatment — supports cautious wording around nasal congestion and snoring.