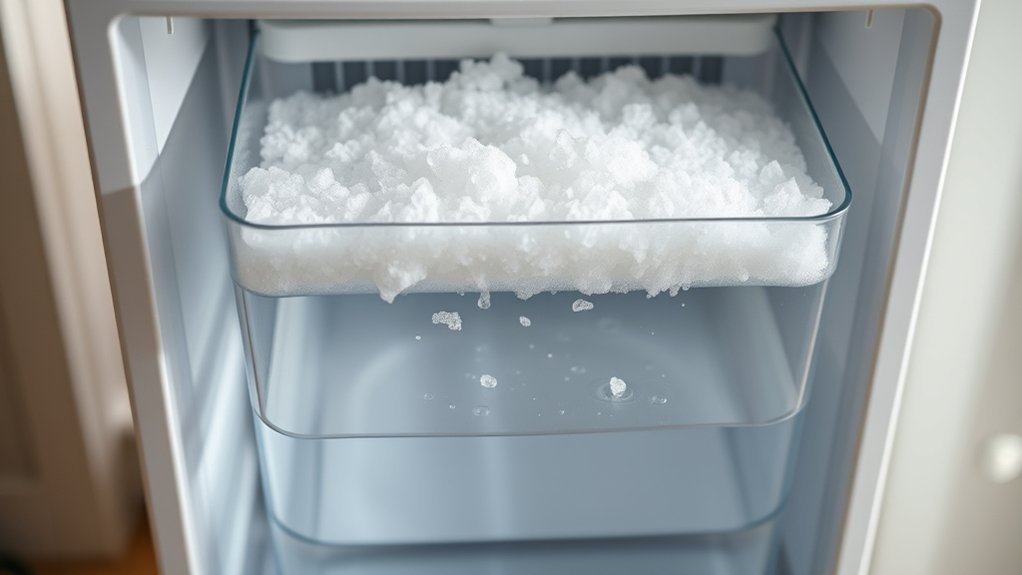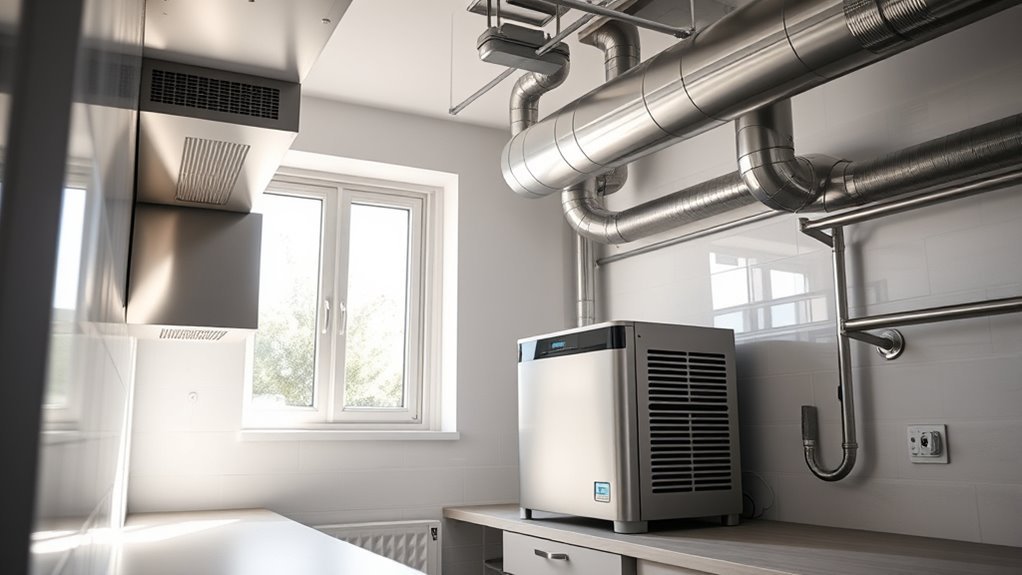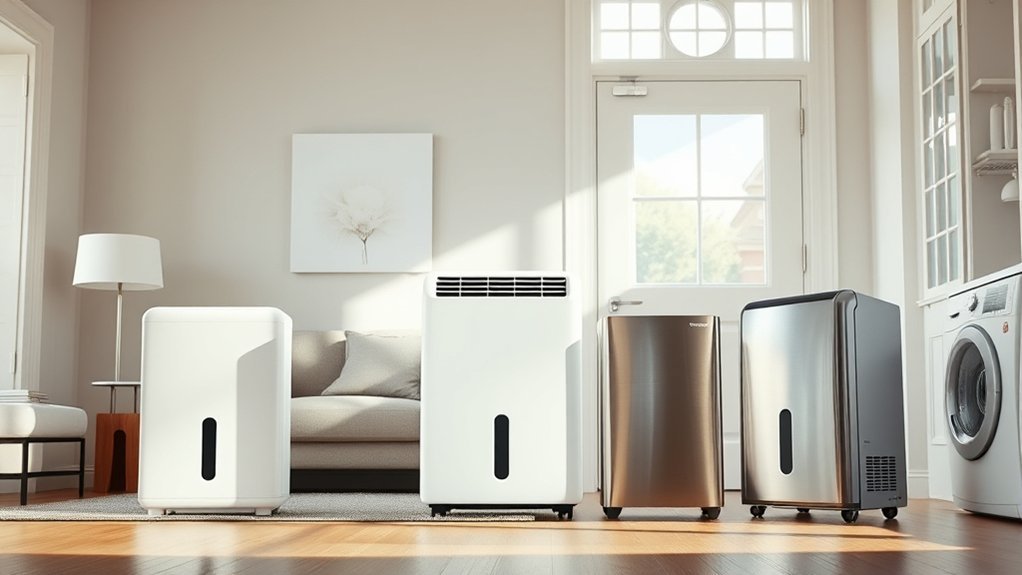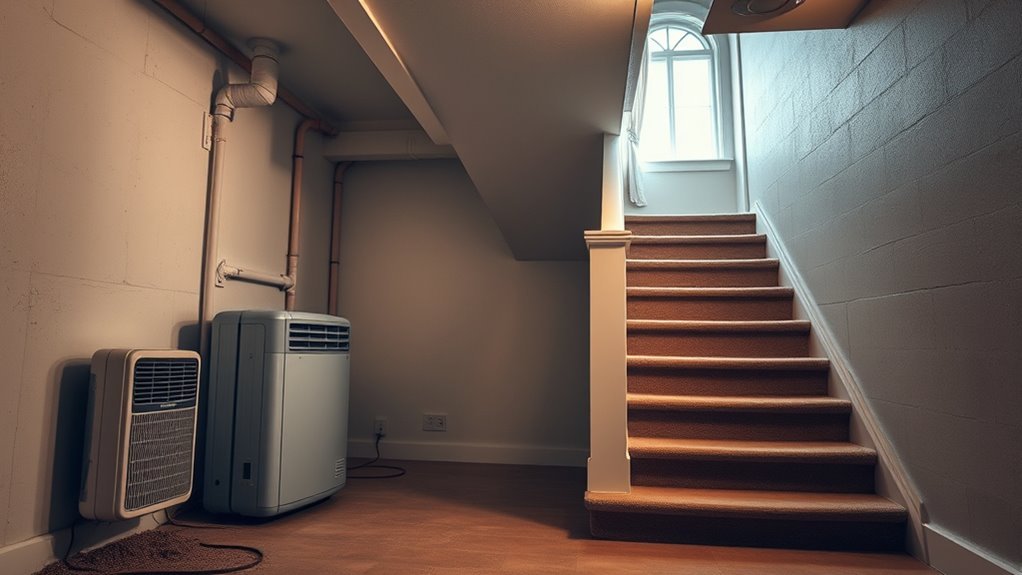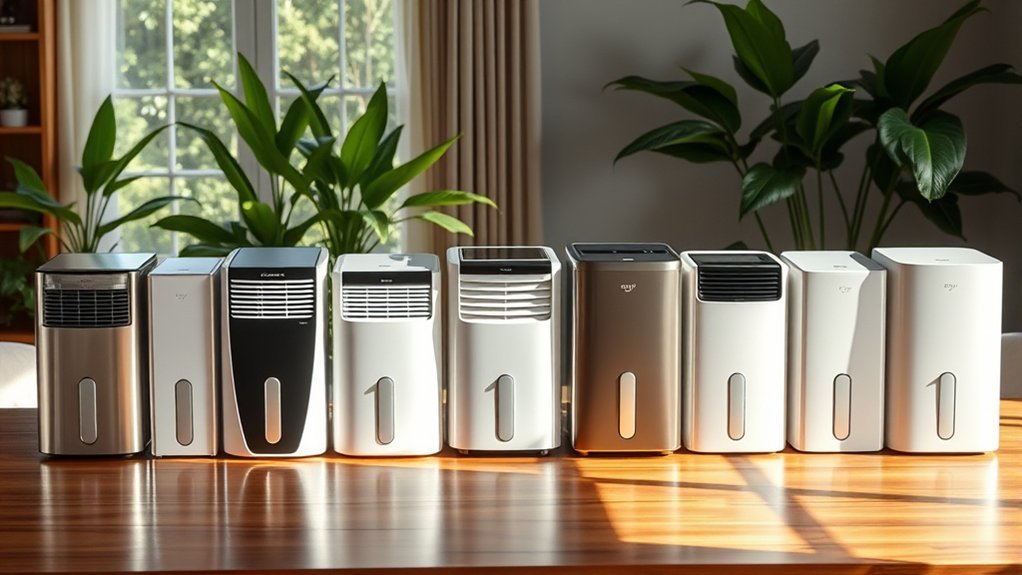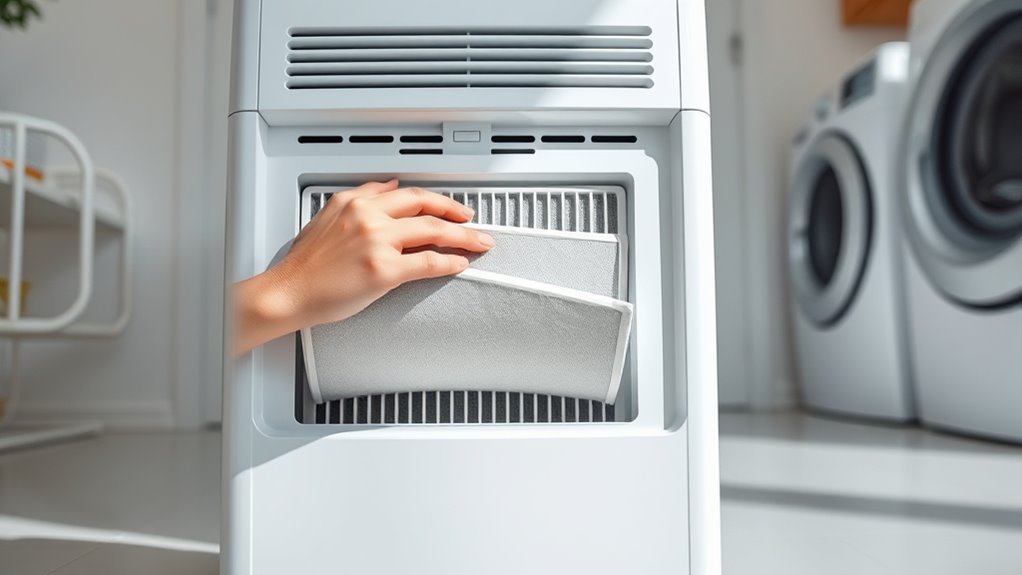
The dehumidifier filter is usually located behind the front or rear air-intake grille, although some models place it above or behind the water bucket. Once you find it, cleaning is normally simple: unplug the unit, remove the filter gently, clear away dust, wash it only if the manual says it is reusable, let it dry completely, and reinstall it in the correct direction.
Quick Answer
The filter is usually behind the front or rear intake grille. Turn the dehumidifier off, unplug it, open the marked panel or remove the bucket if required, and slide the filter out by its tab. Clean only washable filters with a vacuum or warm soapy water, then reinstall them when completely dry.
Key Takeaways
- Check the front grille, rear intake grille, and area above or behind the water bucket.
- Unplug the dehumidifier before opening a panel or removing the filter.
- Confirm that the filter is washable before putting it in water.
- Use warm, not hot, water and let the filter dry completely.
- Follow the owner’s manual for cleaning intervals and filter-light reset instructions.
At a Glance
| Time Required | 10–15 minutes of hands-on work, plus complete air-drying time |
| Difficulty | Easy |
| Tools Needed | Owner’s manual, vacuum with brush attachment, soft cloth, warm water, and mild dish soap if permitted |
| Cost | Usually $0–$5 unless the filter needs replacement |
Find the Dehumidifier Filter
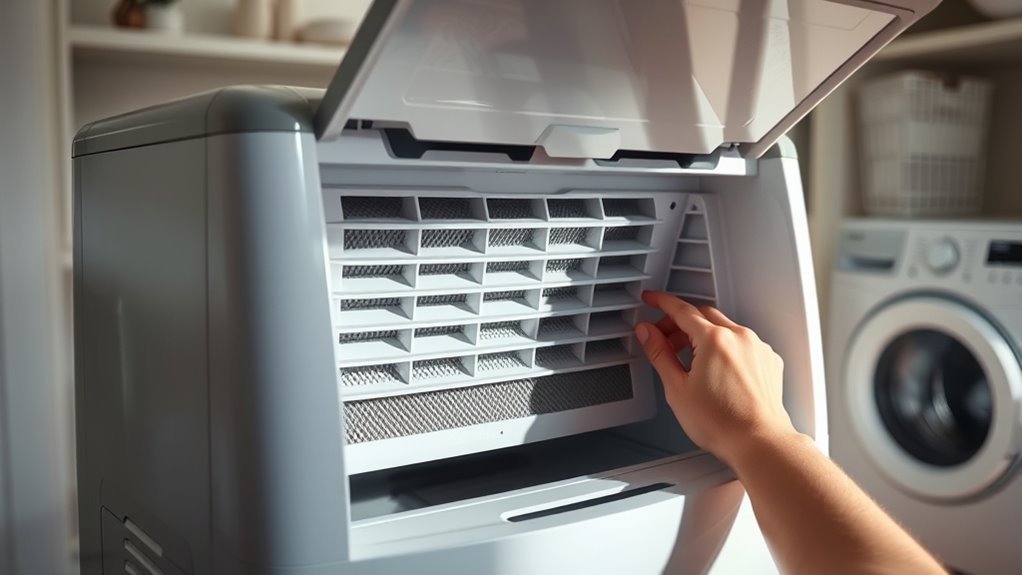
Start by looking at the dehumidifier’s air-intake area. The filter normally sits between the room air and the unit’s internal coils, so it is commonly found behind the front grille or rear intake grille. Depending on the design, you may need to remove the water bucket before the filter can slide down or out.
Look for a rectangular mesh panel, pull tab, recessed handle, removable grille, or seam around an access panel. Some models print “Filter” near the opening. Others attach the filter directly to the rear grille.
Because the exact position varies, use the owner’s manual as the final authority. Manufacturer support pages, such as Midea’s model-specific support page, provide manuals that show the correct location and removal direction.
Pro Tip: Search the model number printed on the rating label together with the words “owner’s manual.” The rating label is often on the back, side, or inside the bucket compartment.
Locate the Filter Cover Panel
Inspect the cabinet for a filter cover panel, removable grille, latch, or molded handle. Run your eyes around the panel edges rather than prying at the plastic. A narrow seam can show where the grille separates from the cabinet.
- Check the front air-intake grille.
- Check the rear grille and upper rear panel.
- Remove the water bucket if the manual shows the filter above or behind it.
- Look for a pull tab, handle, latch, or filter label.
- Consult the manual if the opening method is not obvious.
Note: A filter warning light tells you that cleaning may be due. It does not necessarily identify where the filter is located or unlock the panel.
Check the Front and Back Panels
Manufacturers use several common filter layouts. Check both the front and back before concluding that the filter is missing.
- Behind the front grille: Common on designs where room air enters through the front.
- Behind the rear grille: Common on newer units with a large rear intake.
- Above the water bucket: The bucket may need to be removed before the filter can slide downward.
- Attached to a removable grille: The filter may come out with the grille instead of sliding out separately.
- Multiple intake screens: Some models have more than one washable screen or filter section.
A standard dehumidifier filter is usually a coarse pre-filter that catches lint, hair, and larger dust particles before they reach the internal components. Unless the manufacturer specifically describes it as a HEPA or fine-particle filter, do not treat the dehumidifier as a substitute for an air cleaner.
Identify Whether the Filter Is Washable or Replaceable
Before using water, determine what type of filter you have. The safest source is the owner’s manual or replacement-parts diagram.
- Washable mesh filter: Usually made from flexible plastic mesh in a rigid frame. It can often be vacuumed and rinsed.
- Disposable filter: Paper-like or fibrous media that must be replaced rather than washed.
- Carbon or odor filter: May be replaceable and can lose effectiveness if soaked.
- Specialty allergen or fine-particle filter: Clean or replace it only as the manufacturer directs.
Warning: Do not rinse a filter unless the manual identifies it as washable. Water can ruin disposable paper, carbon, allergen, and other specialty filter media.
Recommended Products
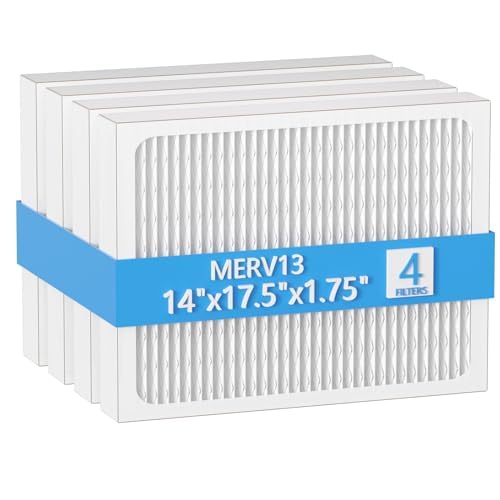
【Compatibility】 Our 14 x 17.5 x1.75 MERV 13 Replacement Dehumidifier Filter Media is Compatible with Honeywell DR90 & DR120 dehumidifier models.

COMPATIBILITY: Our DH02 HEPA filter compatible with Afloia (AQ8/Q8)/ Honati/ Hysure Q7/ Tenergy Sorbi 2-in-1 Air Purifier/Dehumidifier(1000ML) or please double check before order
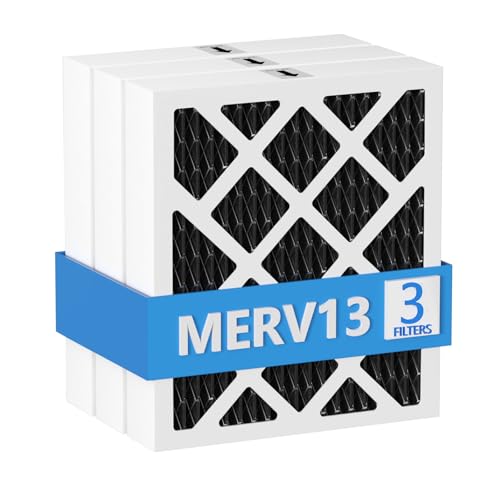
【Compatibility】 Our MERV 13 PN07126 Replacement Carbon Dehumidifier Filter Media is Compatible with Sanidry Sedona Dehumidifier PN07126 Replacement Filter.
Remove the Filter Safely
Turn the dehumidifier off and unplug it before touching the filter, bucket compartment, grille, or internal opening. This prevents the fan from starting while your fingers are near the intake and keeps moisture away from energized components.
Power Off First
- Press the power button and wait for the fan to stop.
- Unplug the power cord from the wall outlet.
- Move the unit away from the wall if you need rear access.
- Remove the bucket only if the filter design requires it.
- Place the unit on a dry, level surface.
Do not spray cleaner or pour water into the cabinet. If you see exposed wiring, a damaged panel, or heavy mold inside the machine, stop and consult the manufacturer or a qualified service technician.
Gentle Removal Steps
Grasp the filter by its pull tab, handle, or frame. Slide it in the direction shown by the manual or molded arrows. Use steady, light pressure and keep the frame straight.
If the filter binds, stop instead of twisting or yanking it. Check whether a latch is still engaged, the bucket must come out first, or the grille needs to be removed as one piece. Forcing the filter can crack the frame, bend the tracks, or damage the cabinet.
Rinse the Filter With Water
Begin with the least aggressive cleaning method. Use a vacuum cleaner with a soft brush attachment to remove lint and loose dust from both sides of the filter. Support the frame with one hand so the suction does not bend the mesh.
If the filter is washable and vacuuming does not remove the buildup, wash it with warm, not hot, water. GE Appliances recommends warm water and mild dish soap for washable dehumidifier filters and warns against chemical cleaners. Follow your model’s instructions if they differ.
- Fill a sink or basin with warm water and a small amount of mild dish soap if permitted.
- Gently move the filter through the water without scrubbing or stretching the mesh.
- Rinse it with clean water until no soap remains.
- Hold it at an angle so loosened debris and water run away from the frame.
- Inspect the corners and edges for trapped lint.
Do not put the filter in a dishwasher. Avoid bleach, ammonia, solvents, abrasive brushes, pressure washers, and boiling or very hot water.
Pro Tip: Vacuum the filter before washing it. Removing dry lint first prevents it from turning into a wet paste that sticks to the mesh and sink.
Dry the Filter Completely
Shake off loose water gently, then place the filter upright in a clean, well-ventilated area. Let it air-dry completely. Do not rely on a fixed 30-minute drying period because temperature, filter thickness, airflow, and room humidity all affect drying time.
Before reinstalling the filter, inspect both faces, the frame, corners, and seams. They should feel dry, with no visible droplets or cool damp areas. Blot water from the rigid frame with a clean cloth if needed, but do not rub or stretch the mesh.
Avoid reinstalling a wet filter. Also avoid using a clothes dryer, oven, radiator, or high-heat hair dryer because heat can warp the frame or filter material.
Reinstall the Filter Correctly
Clean visible dust from the filter tracks and intake grille with a vacuum or dry cloth. Then align the filter with its rails, tabs, or arrows and slide it in gently.
- Confirm that the filter is completely dry.
- Match any airflow arrow or orientation marking.
- Guide the edges into the correct tracks.
- Push gently until the filter sits flat and flush.
- Reattach the grille or reinstall the bucket.
- Close every access panel securely.
The filter should not rattle, bow outward, or block the bucket. If it does not fit, remove it and check the orientation instead of pushing harder.
Some units require you to reset the filter reminder after cleaning. The procedure may involve pressing and holding the Filter button for about three seconds, but the exact control sequence varies. Follow the instructions printed on the control panel or in the owner’s manual.
Warning: Do not operate the dehumidifier without its required filter. An absent or incorrectly installed filter can allow dust to accumulate on internal components and reduce performance.
Check for Extra Filters
After reinstalling the main filter, inspect the other intake areas shown in the manual. Some dehumidifiers use multiple washable screens, while combination units may include separate odor or specialty filters.
Do not assume that every layer can be washed. Remove, vacuum, rinse, or replace each filter only according to its material and the manufacturer’s instructions. If a specialty filter has a replacement interval, record the installation date so you know when it is due.
Also inspect the intake grille and accessible filter compartment for lint. Clean these areas without pushing dust farther into the unit.
How Often to Clean the Filter?
The correct cleaning interval depends on the model, operating hours, room conditions, and filter type. The owner’s manual and filter reminder should take priority over a universal calendar schedule.
For example, GE Appliances’ dehumidifier maintenance guidance says some older filters should be checked every two to three weeks. Its guidance for newer units uses a reminder after approximately 250 operating hours. Other brands may specify a different interval.
- Normal residential use: Inspect the filter according to the manual or when the reminder appears.
- Continuous operation: Check it more frequently because operating hours build quickly.
- Pets, lint, or dusty rooms: Inspect it sooner if visible buildup appears.
- Renovation or construction dust: Check before, during, and after dusty work.
- Reduced airflow or performance: Inspect the filter even if the reminder is not on.
The U.S. Environmental Protection Agency generally recommends keeping indoor relative humidity between 30% and 50%.
A clean filter supports normal airflow and moisture-removal performance. It does not correct an undersized dehumidifier, blocked grille, refrigerant problem, frozen coil, drainage fault, or an uncontrolled source of water.
When to Replace the Filter
A reusable filter can often last for years, but it should be replaced when cleaning no longer restores it or when the manufacturer specifies replacement.
Replace the filter if:
- The mesh is torn, punctured, or separating from the frame.
- The frame is cracked, warped, or no longer fits the tracks.
- Greasy or embedded debris remains after approved cleaning.
- A musty odor remains after the filter is cleaned and fully dried.
- Visible biological growth cannot be safely removed.
- The filter is a disposable type that has reached its stated service interval.
Use the exact model number when ordering a replacement. A filter that looks similar may have different dimensions, airflow resistance, tabs, or safety clearances.
Recommended Products

【𝐂𝐨𝐦𝐩𝐚𝐭𝐢𝐛𝐥𝐞 𝐌𝐨𝐝𝐞𝐥𝐬】This 9 x 11 x 1 MERV 13 Replacement Dehumidifier Filter is compatible with Santa Fe Compact70, Ultra70, Element, Compact2, UA 65H. Not compatible with Santa Fe other models, please check your model before ordering.

【Compatibility】 Our 9 x 11 x 1 MERV 13 Replacement Dehumidifier Filter Media is Compatible with Santa Fe Compact70, Ultra70, Element, Compact2, UA 65H dehumidifier models.

BUY WITH CONFIDENCE Genuine AprilAire MERV 8 Replacement Filter for your AprilAire Whole Home Dehumidifier Models E080 or E100 or Dehumidifying Ventilator 8192A (and all variations of these models)
Troubleshoot Common Filter Problems
Recommended Products

BUY WITH CONFIDENCE Genuine AprilAire MERV 8 Replacement Filter for your AprilAire Whole Home Dehumidifier Models 1820 or E070 (and all variations of these models)

【Compatibility】 Our MERV 13 Replacement Dehumidifier Filter Media is Compatible with Honeywell TrueDRY DH65 DR65, Part 50049537-002/U, 50049537-005.

【Compatibility】 Our 14 x 17.5 x1.75 MERV 13 Replacement Dehumidifier Filter Media is Compatible with Santa Fe Advance90, Advance100, Advance120, Ultra98, Ultra120, Advance2, Force, and Honeywell DR90 & DR120 dehumidifier models.
The Filter Is Stuck
Check for a hidden latch, locking tab, bucket obstruction, or removable grille. Confirm the correct removal direction in the manual. Do not pry the frame with a screwdriver unless the manufacturer specifically instructs you to do so.
The Filter Will Not Fit
Verify that it is facing the correct direction and seated in both rails. Check for bent tracks, trapped lint, a misaligned bucket, or a swollen or warped frame.
The Filter Light Stays On
Cleaning the filter may not reset the timer automatically. Follow the control-panel instructions to reset it. If the light returns immediately after the correct reset, consult the troubleshooting section of the manual.
The Filter Is Missing or Damaged
Keep the dehumidifier off until the correct replacement is installed. Running without the required filter can allow lint and dust to collect on the fan and coils.
Airflow Is Still Weak
Make sure curtains, furniture, walls, and stored items are not blocking the intake or exhaust. If airflow remains weak with a clean filter and clear grilles, the unit may require service.
Frequently Asked Questions
Where is the filter located on a dehumidifier?
It is usually behind the front or rear intake grille. On some models, it sits above or behind the water bucket or attaches directly to a removable grille. Check the front, back, and bucket compartment, then confirm the location in the owner’s manual.
Would a dehumidifier help with COPD?
A dehumidifier does not treat COPD. It may help control excess dampness, mold, and some indoor irritants when humidity is high, but overly dry air can also irritate the airways. The NHS notes that hot weather and humidity can affect COPD symptoms. People with COPD should follow their clinician’s advice about indoor humidity and symptom management.
Can a dehumidifier help with dust mites?
It can help when it keeps indoor humidity consistently below about 50%. A published study on indoor humidity control found substantial reductions in mite and allergen levels in homes that maintained relative humidity below approximately 51%. Dehumidification works best alongside regular cleaning, bedding care, and moisture-source control.
What does a dehumidifier filter look like?
Most reusable filters are flat rectangular or square panels made from plastic mesh in a thin frame. They may be black, gray, white, or translucent and usually have a pull tab, recessed handle, or molded edge.
Can every dehumidifier filter be washed?
No. Wash only a filter that the owner’s manual identifies as reusable and washable. Paper, carbon, allergen, and other specialty filters may need vacuuming or replacement instead.
Can I run a dehumidifier without its filter?
You generally should not operate it without the required filter. The filter helps stop lint and larger dust particles from collecting on internal components. Wait until the clean filter is completely dry or install the correct replacement.
Conclusion
The dehumidifier filter is normally behind an intake grille or near the bucket compartment. Locate it with the owner’s manual, unplug the unit, and remove the filter by its frame or pull tab. Vacuum loose dust first, wash it only if it is reusable, and use warm rather than hot water.
Allow the filter to dry completely before reinstalling it. Check that it sits flat, close the access panel, reinstall the bucket, and reset the filter reminder if required. Regular model-specific maintenance keeps airflow open and helps the dehumidifier remove moisture as designed.
Sources
- GE Appliances: Dehumidifier Cleaning and Maintenance — filter removal, warm-water washing, complete drying, and cleaning intervals.
- GE Appliances: Dehumidifier Air Filter — common filter location, reminder operation, and filter-light reset guidance.
- U.S. Environmental Protection Agency: Care for Your Air — recommended indoor humidity range and moisture-control guidance.
- American Lung Association: Clean Air at Home — indoor air, humidity, filters, and lung-health considerations.
- NHS: Living With COPD — humidity, weather, indoor irritants, and COPD symptom considerations.
- PubMed: Reducing Relative Humidity to Control Dust Mites — evidence on sustained humidity reduction and dust-mite allergen levels.