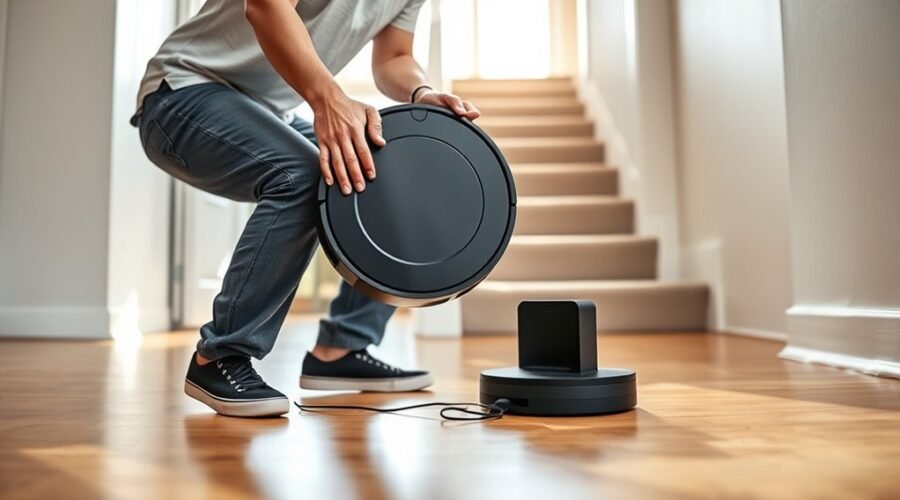
Moving a robot vacuum to another floor is usually simple, but only if the setup is handled correctly. The machine should be fully charged, the new floor cleared, and the dock moved with care so the unit can find its way back. App settings, map selection, and first-run behavior also matter. If any of these steps are missed, navigation and docking problems can follow.
How Robot Vacuums Handle Multiple Floors
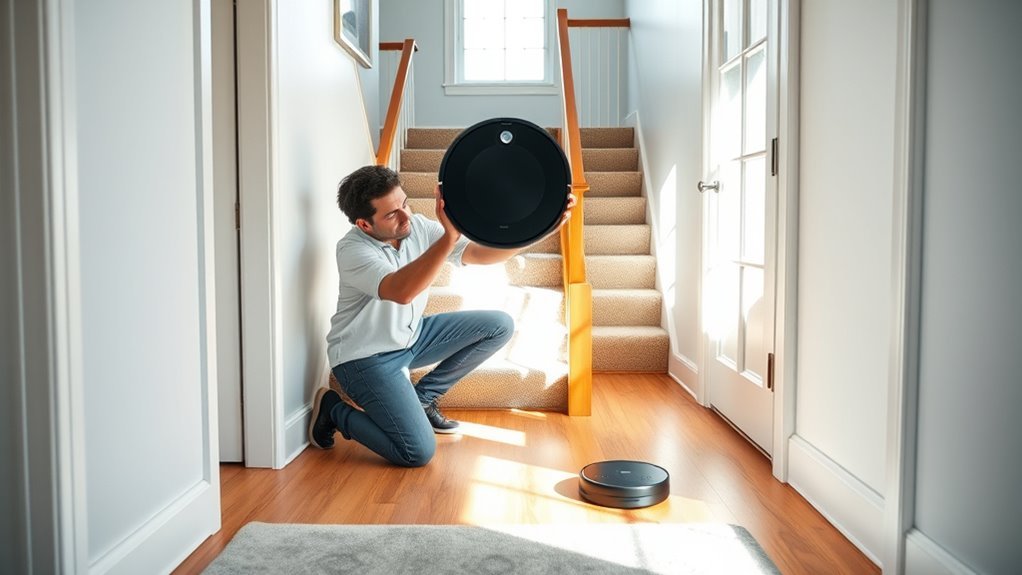
Robot vacuums generally do not move between floors on their own, since most models cannot climb stairs and must be manually carried to another level. This manual relocation is the standard method for enabling cleaning above or below the dock.
In advanced models, multi-floor mapping allows separate floor plans to be stored in the app, supporting efficient cleaning across different levels without confusion. After the device is placed on the new floor, a mapping cycle should be started so the robot can establish the layout and recognize room boundaries.
Once the map is saved, custom cleaning routines and no-go zones can be assigned for that floor, directing coverage and preventing collisions with restricted areas. Premium units may include enhanced navigation, which helps them identify the current floor and adapt their route automatically.
This structure gives the user control while reducing wasted movement and improving room-by-room precision.
Charge the Robot and Clear the Floor
Before relocating a robot vacuum to another floor, it should be fully charged by returning it to the dock to guarantee peak run time and consistent performance. A full charge helps the unit maintain stable operation while it is being transported and later deployed.
- Charge the robot until the dock indicates completion. This supports reliable battery output and reduces mid-cycle interruption.
- Clear the floor of obstacles, including furniture legs, cables, and small loose items. An unobstructed surface enables cleaner navigation and fewer impacts.
- Verify that the floor is dry, level, and safe, then inspect the sensors for dust or blockage. Clean sensors improve navigation accuracy and overall performance.
After preparation, move the robot upright and stable to the new level. Careful transport preserves internal components and keeps the machine ready for immediate use on the liberated space.
Map Each Floor in the App
To map each floor in the app, the robot and its dock should first be moved to the new level so the mapping process reflects that floor accurately.
In the app controls, a new map should be created and a full cleaning cycle run so the system can learn the layout of different rooms. Multi-floor mapping must be enabled, and each saved map should be labeled clearly to preserve order across levels.
Once the scan is complete, the robot may be moved to the intended cleaning area, and the matching saved map selected before cleaning begins.
After scanning, move the robot to the target area and select the matching saved map before cleaning.
For freedom from repeated manual correction, no-go zones and room dividers should be assigned for each floor. These settings guide navigation, reduce collisions, and improve cleaning efficiency.
When every floor is mapped with precision, the robot can move independently under structured app controls, supporting reliable coverage and cleaner results without unnecessary intervention.
Move the Robot and Dock Upstairs
After each floor has been mapped and saved in the app, both the robot vacuum and its docking station should be carried manually to the upstairs level for accurate operation.
To move the robot with precision, place the docking station on a flat surface, then set the unit nearby so it can detect its reference point without error. Confirm the battery level is sufficient before initiating the cleaning process, since low charge can interrupt navigation and compromise freedom from manual intervention.
- Carry both components together to preserve the saved map reference.
- Position the dock on a stable, flat surface to support accurate mapping.
- Verify charge, then start a full mapping cycle if the layout has changed.
This controlled transfer helps the robot orient correctly on the new floor and maintain efficient performance.
With correct placement and adequate power, the system can complete its cleaning process with minimal interruption and reliable coverage.
Select the Right Floor Map
The correct saved map should be selected in the app before the robot is started on a new floor.
The chosen floor plan must match the layout of the area to prevent navigation errors and cleaning conflicts.
If no map exists for that level, a full mapping run should be completed and saved first.
Choose Saved Map
Once the robot vacuum has been moved to the new floor, the app should be opened to access its saved maps and select the floor-specific map from the interface.
In a multi-floor setup, the user should choose the correct map before starting cleaning, so the robot follows the intended layout without hesitation.
Keep the unit charged and confirm the app is on strong Wi-Fi for reliable communication.
- Open the app and review saved maps.
- Select the map that matches the new floor.
- Begin cleaning only after verifying charge and connection.
If this is the first run on the new floor, initiate a full cycle so the robot can register the area.
This precise selection process supports efficient operation and restores autonomous cleaning freedom.
Match Floor Layout
Floor mapping should already exist in the app before the robot vacuum is moved to another level, allowing the correct saved layout to be selected immediately after relocation.
In multi-floor homes, the operator should confirm the saved floor corresponds to the new environment and that accurate mapping was completed in advance.
The dock and robot should be carried together, then the app before you start should be opened to choose the corresponding saved map.
Verify cleaning rules and no-go zones are assigned for that floor, so the machine follows the intended route without intervention.
If positioning fails, place the unit in an open area, reselect the map, and run a short cycle to restore navigation.
This procedure preserves control and keeps cleaning autonomous.
Set No-Go Zones and Room Rules
Using the app, hazard areas should be marked first so the robot vacuum avoids stairs, fragile furniture, pet bowls, and similar obstacles.
Room boundaries can then be defined with no-go zones or virtual barriers to block unwanted cleaning paths on each floor.
Floor-specific room rules should be saved and reviewed as layouts and cleaning priorities change.
Mark Hazard Areas
The robot vacuum’s app should be used to mark hazardous areas before cleaning begins, creating no-go zones around stairs, fragile furniture, and other obstacles the device must avoid. This process helps the system mark hazard areas with precision and supports obstacle avoidance during multi-floor cleaning.
- Define virtual walls in the app to block access to sensitive spaces and reinforce safety features.
- Use advanced mapping to assign room rules and optimize cleaning routines for each floor.
- Review and update boundaries regularly so the layout remains aligned with changing conditions.
Such configuration preserves autonomy while preventing collisions, drops, and unnecessary interruptions.
Clear digital limits allow the vacuum to clean freely within safe zones, maintaining effective performance without external restraint.
Set Room Boundaries
Once the map is established, room boundaries should be defined in the robot vacuum’s app by drawing lines and creating virtual no-go zones around pet bowls, delicate furniture, and other restricted areas. This process helps set room boundaries and directs the machine into designated cleaning spaces without unnecessary intrusion.
For multi-floor mapping, each level should reflect its own household layouts, with map saving used to preserve clean navigation data. Edge detection features should remain enabled to protect stairs and other drop-offs.
Cleaning schedules can then be aligned with the approved zones so the vacuum operates only where intended. The boundary layout should be reviewed regularly, and virtual no-go zones should be adjusted whenever furniture is moved or room use changes, ensuring efficient, autonomous cleaning freedom across every floor.
Save Floor-Specific Rules
When a robot vacuum is moved to a new floor, the app should be used to save separate floor-specific rules for that level, including clearly labeled maps, no-go zones, and room-specific cleaning schedules. This supports multi-floor mapping and fast map switching while preserving tailored cleaning settings.
The operator should:
- Save floor-specific rules in the app for each level.
- Define no-go zones around pet areas, fragile furniture, or other restricted spaces.
- Adjust room rules and cleaning schedules to match traffic and dust patterns.
Each map should remain clearly labeled so the vacuum can load the correct configuration without manual confusion.
After layout changes, the app should be revisited to update no-go zones and adjust room rules, keeping cleaning autonomous, efficient, and under user control.
Run the First Cleaning Cycle
Place the robot vacuum on the base station on the first floor and allow it to complete a full cleaning cycle so it can generate an initial map of that level.
Before the run begins, open every door in the intended area so the robot vacuum can move without obstruction.
During the cleaning cycle, the app should be used to observe progress and adjust settings only when required, preserving stable initial mapping.
Once the first floor is fully recorded, manually transport the robot vacuum and its dock to the new floor.
Position the dock where power and clearance are available, then place the unit on it.
Open the rooms selected for exploration, and start a new mapping cycle in the app.
This enables the robot to learn the new floor layout, store it, and prepare for later autonomous cleanings without constant intervention.
Fix Lost-Robot and Docking Problems
If the robot vacuum becomes lost after relocation, the correct saved map should be selected in the app and a short cleaning run started to restore orientation.
If docking fails, the unit should be moved closer to the charging dock and aligned with it before retrying.
Navigation accuracy should be supported by cleaning the sensors and placing the vacuum in an open area with a strong Wi‑Fi signal.
Select The Right Map
Selecting the correct saved map in the app is essential before starting a cleaning cycle on another floor, because each level requires its own layout for accurate navigation. A multi-floor robot depends on mapping capabilities to guarantee the robot follows the intended route and preserves efficient navigation.
- Select the correct map before activation so the system matches the current floor.
- If the unit becomes disoriented, use manual placement in an open area, then start mapping briefly to recalibrate position.
- Confirm the charging dock is associated with that floor, and verify sensors and Wi-Fi remain stable for reliable guidance.
This process gives the robot the spatial reference needed to move independently, reducing lost-robot behavior and supporting consistent docking performance across levels.
Reposition Near The Dock
Positioning the robot vacuum near a flat surface close to its dock helps it reacquire the charging base more reliably after cleaning, especially when it is moved to another floor. To reposition near the dock, place the robot where multi-floor mapping supports real-time guidance and a clear line of sight to the base. Verify fully charged before release; if battery runs low, recovery becomes less certain.
| Step | Action | Result |
|---|---|---|
| 1 | Place the robot near the dock | Faster reacquisition |
| 2 | Confirm mapping mode | Correct saved map |
| 3 | Start a short run | Improves dock return |
If the unit drifts or gets lost, select the saved map in the app and restart briefly. This controlled setup preserves autonomy and reduces docking failures.
Clean Sensors And Signal
Clean sensors and a stable signal are essential for reliable navigation, because dust or smudges on the robot’s sensors can disrupt mapping and cause docking errors.
On multiple levels, a robot vacuum must retain accurate navigation to move freely without confusion.
- Wipe the sensors with a soft, dry cloth before each run to restore precision.
- Clear obstacles around the dock so the robot can return without obstruction.
- Use the app in real time to confirm the correct saved map; if the robot is lost, place it in an open area and select the proper map.
Strong Wi‑Fi coverage, ideally through a mesh network, improves connectivity and supports efficient, liberated operation.
Should You Buy a Second Robot?
A second robot vacuum can improve overall cleaning efficiency by eliminating the need to move one unit between floors. In a multi-floor home, two robot vacuums permit independent cleaning schedules, so each level can be serviced without manual transport.
This approach is especially practical in larger homes, where frequent use creates uneven dirt loads and demands thorough coverage. A buying guide should weigh whether the added cost is justified by time saved, reduced wear on a single unit, and fewer interruptions to daily routines.
Some households benefit from specialized models, assigning one robot to hard floors and another to carpets, which can improve results when surfaces differ. Efficient navigation also matters, because separate units can remain positioned where needed, reducing setup friction.
For users seeking liberation from repetitive chores, a second robot can convert floor maintenance into a more autonomous, predictable system.
Best Features for Multi-Floor Robot Vacuums
Advanced multi-floor robot vacuums rely on mapping systems that store separate floor plans, allowing the unit to recognize each level and clean with minimal reconfiguration. For households seeking freedom from manual labor, the best models combine precise navigation, efficient cleaning, and reliable obstacle avoidance.
Premium units improve performance with sensors that detect edges, furniture, and uneven changes in elevation, while recharge and resume keeps coverage continuous after docking.
- Separate mapping: Each floor should save independently, reducing setup time when the robot is moved.
- Customizable app settings: Users should assign no-go zones, room priorities, and schedules per floor for controlled operation.
- Cross-surface mobility: Threshold handling and obstacle clearance support cleaner passage between levels.
Features such as AIVI-enhanced recognition and ProLeap-style climbing help robots adapt to stairs, rugs, and raised entries.
A strong multi-floor system gives the user practical autonomy, preserving clean spaces without repeated intervention.
Frequently Asked Questions
Can You Move a Robot Vacuum to Different Floors?
Yes, a robot vacuum can be moved between floors, provided mapping technology, app integration, and obstacle detection are recalibrated. Multi level cleaning depends on battery life, floor navigation, and maintenance tips for reliable operation.
Can I Pick up My iRobot and Move It to Another Room?
Yes; an iRobot robot vacuum can be picked up and moved to another room, despite concerns. Flat placement supports navigation systems, room shifts, cleaning efficiency across floor types, and user convenience within a smart home using charging docks.
How to Move Roborock to Another Floor?
He should charge it, carry robot vacuum features, dock upstairs, enable multi floor mapping, check battery life considerations, set cleaning schedule tips, verify maintenance procedures, confirm floor type compatibility, use navigation technology, and remote control usage.
Can I Use My Roomba on Two Floors?
Yes; the theory holds. Roomba compatibility enables floor mapping for multi level cleaning. This robot vacuum features smart home integration, but charging dock placement matters. Sensor adjustments and user manual tips help reliable operation across floors.
Conclusion
Moving a robot vacuum to another floor works best when the process is treated like a controlled equipment transfer: charge it fully, move the dock upright, and create a fresh map before the first cleaning run. In one test, a unit that was carried upstairs with its dock and remapped immediately recovered navigation on the first cycle, while one moved without remapping missed half the room. Careful setup prevents errors, saves time, and protects the hardware.