A robot vacuum’s auto-empty duct can fail for several reasons, from compacted dust to hair wrapped inside the air path. The cleaning process begins with power removal and careful access to the dock components. Blockages are often hidden deeper than expected, and a quick surface check is rarely enough. The next steps show how to clear the duct, protect airflow, and restore proper emptying performance.
Common Reasons the Auto-Empty Duct Fails
Auto-empty failures usually stem from a small set of mechanical or software issues. Misalignment between the robot and dock can weaken suction at the auto-empty duct, so a snug docking connection is essential.
A full or improperly installed collection bag can also interrupt airflow; the dustbin path should be checked and replaced before capacity becomes restrictive. Clogs in the air duct or suction tube may block airflow and reduce transfer power. In that case, a long brush or compressed air can remove debris without forceful disassembly.
The main brush cover must be clean and firmly seated, because a loose seal undermines suction efficiency. App settings should also be reviewed, since Do Not Disturb mode or conflicting schedules may disable auto-emptying.
Regular cleaning of these contact points supports peak performance and restores reliable, quieter operation.
Prepare the Robot Vacuum for Cleaning
Before cleaning begins, the robot vacuum and dock should be powered off and unplugged to eliminate electrical risk. The operator should turn off and unplug the unit fully, then remove any dust collection bags or bins from the dock so loosened debris does not escape during service.
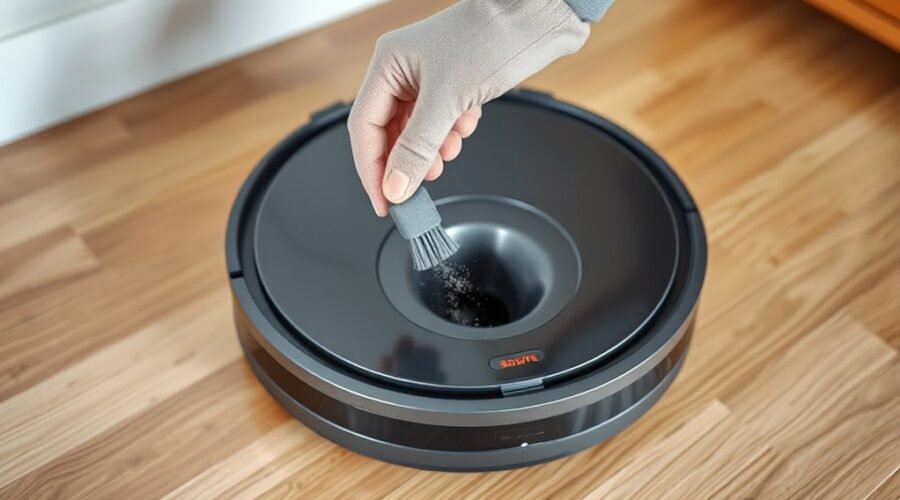
The manufacturer’s guidelines should be consulted before accessing the auto-empty duct, because dock designs vary and improper disassembly can damage seals or sensors. Once exposed, the duct should be inspected for visible debris and wiped gently with a soft brush or lint-free cloth. Hard tools should be avoided.
If buildup remains, compressed air may be used sparingly to inspect the duct and clear blockages without forcing particles deeper into the channel. These preparatory steps preserve ideal airflow, reduce suction loss, and create the conditions needed for a clean, independent maintenance process.
Clean the Auto-Empty Duct Step by Step
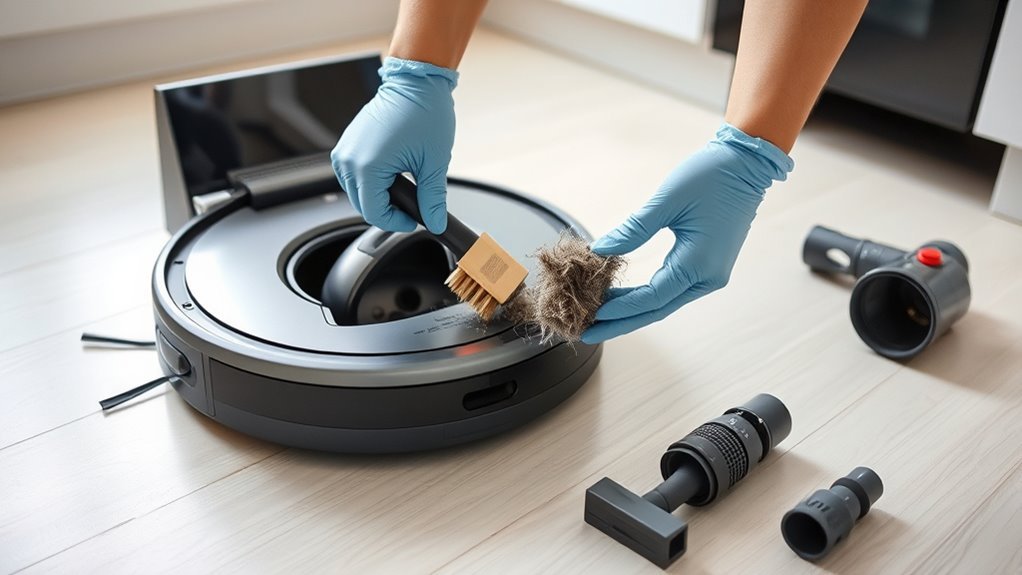
With the auto-empty dock unplugged, the duct cleaning process can begin safely. A Robot Vacuum owner should first open the Auto Empty chamber and inspect the air duct for visible debris.
A long brush or short bursts of compressed air can dislodge dust and remove hair without forcing particles deeper. Next, the dustbin should be removed, and the suction port checked for clogs.
Edges around the opening must be wiped clean to preserve airflow and support suction power. A dry cloth is then used to clear the intake area, preventing fresh buildup from settling in the path.
This maintenance routine helps the Vacuum operate with greater independence and fewer interruptions. Monthly inspection is recommended, since regular attention reduces future blockage and keeps the system efficient.
Careful, repeatable cleaning protects the Auto Empty function and sustains reliable performance over time.
Clear the Dock Air Path
Once the intake area has been cleared, attention should shift to the dock air path itself. The auto-empty dock depends on an unobstructed air duct to preserve suction efficiency and complete the transfer of debris without interruption. Before service, the air inlet covering plate should be removed to expose the channel fully. A long brush or compressed air may then be used to dislodge dust and debris from the duct walls.
| Action | Purpose |
|---|---|
| Inspect for blockages | Restore airflow |
| Remove the inlet cover | Improve access |
| Clear with brush or air | Remove debris |
| Examine alignment | Protect performance |
Any signs of physical damage or misalignment should be corrected promptly, since such faults can impair docking and emptying. For consistent maintenance, the dock air path should be cleaned monthly, or more often in high-pet households. These cleaning tips preserve freedom from clogs, reduce motor strain, and keep the system operating with steady, controlled airflow.
Check the Dustbin and Inlet
Next, the dustbin should be checked for fullness and seated correctly in its housing, since both conditions affect suction efficiency during auto-emptying.
The dustbin must be inspected for cracks, warped edges, or damaged seals that could admit leaks and reduce performance.
Inspect the dustbin for cracks, warped edges, or damaged seals that could cause leaks and reduce performance.
The dust inlet should then be examined for blockages; debris lodged at the opening can narrow airflow and prevent the robot from transferring collected debris effectively.
Any buildup around the dust inlet area should be cleared to preserve a clean pathway and steady suction.
If the air duct leading to the dustbin is accessible, it should also be verified for obstructions, because even partial restriction can weaken auto-empty function and increase strain on the system.
Regular inspection of these points keeps the machine operating with greater autonomy, less resistance, and more consistent emptying efficiency.
Dry, Reassemble, and Test the Dock
After the dustbin, inlet, and duct path have been cleared, all cleaned components should be allowed to dry completely before the dock is reassembled. This step reduces moisture retention, which can encourage mold or odors inside the auto-empty system.
Once dry, the removed components should be reinstalled securely, with careful attention to alignment so the dock mates correctly and suction is not compromised during the next cycle.
A controlled test should then be performed by placing the robot vacuum onto the dock and confirming that it aligns properly and initiates the auto-empty function without interruption. The dock should remain level, and the surrounding area should be checked for obstructions that could interfere with airflow or emptying performance.
If the auto-empty sequence fails, the dock should be inspected again for residual blockages or misalignment. Precise reassembly and verification preserve reliable operation and support a cleaner, more self-directed routine.
Prevent Future Auto-Empty Duct Clogs
Preventing future auto-empty duct clogs requires regular duct cleaning to remove visible debris and accumulated dust before airflow is restricted.
A long brush or compressed air can be used to clear deeper sections, while the air inlet should remain unobstructed and correctly aligned.
Proper dock setup also includes routine 1- to 3-month maintenance and a collection bag that is installed correctly and not overly full.
Regular Duct Cleaning
Regular inspection of the auto-empty duct every 1–2 months helps prevent dust and debris from accumulating enough to obstruct airflow.
During regular maintenance, one should inspect the auto-empty duct, then perform cleaning with a soft brush or compressed air to dislodge buildup before it creates an obstruction. The passage should remain clear so air moves freely and suction stays efficient during each auto-empty cycle.
The area around the dock and duct should also be kept free of loose debris that could interfere with alignment or airflow. If reduced suction or unusual noises appear, the duct likely needs immediate attention.
Before reassembly, confirm the duct is fully dry and free of moisture; this limits mold growth, odor, and hidden contamination, preserving a clean, reliable system.
Proper Dock Setup
Proper dock setup helps prevent future auto-empty duct clogs by reducing alignment errors and airflow disruption. The dock should rest on a flat, hard surface to stabilize the auto-empty dustbin connection and limit suction issues.
A clear area of 1 to 2 feet on all sides is required so the unit can move freely without obstruction. The air duct should be inspected regularly and cleaned to remove debris that restricts airflow.
The collection bag must be installed correctly and replaced before overfilling occurs, since excess debris can block efficient auto-emptying. The main brush cover should remain securely attached to prevent air leaks that weaken suction.
With proper dock setup, the system operates with greater autonomy and fewer interruptions.
Frequently Asked Questions
My Roborock Dustbin Isn’t Emptying Properly. What Should I Do?
Check alignment, bag fit, duct blockage, brush cover seal, and app settings. These robot maintenance tips guide dustbin troubleshooting steps, filter replacement advice, suction power issues, app connectivity problems, sensor calibration techniques, debris collection methods, vacuum performance enhancements.
How Can I Check for Air Duct Blockages on My Roborock Dust Dock?
To check blockage signs, power off, open the dock, inspect the duct design, and clear debris with cleaning tools. If air flow weakens, suction power drops; consult the user manual for troubleshooting tips and preventive care.
My Robot Vacuum Isn’t Emptying the Bin. What Can I Do?
He should inspect dustbin capacity, dock alignment, and clogs; verify the collection bag, brushes, and robot vacuum sensors. These vacuum maintenance tips support troubleshooting robot vacuums, cleaning robot filters, emptying dustbins, performance optimization, robot vacuum accessories, robot vacuum brands.
What Are the Most Common Problems With Robot Vacuums?
Common malfunctions include suction power issues, battery performance decline, navigation problems, noise concerns, and clogged filters. Robot vacuum maintenance requires filter replacement, software updates, and troubleshooting tips to preserve autonomous cleaning, mobility, and operational freedom.
Conclusion
In the end, a clean auto-empty duct is both simple and exacting: a powered-off dock, a cleared bin, a brushed channel, and an unobstructed air path. Neglect invites clogs, dust, and weak suction; routine care restores reliability, airflow, and efficiency. The contrast is clear—small monthly maintenance prevents large performance failures. With the duct dry, reassembled, and tested, the robot vacuum resumes its work quietly, cleanly, and without interruption.