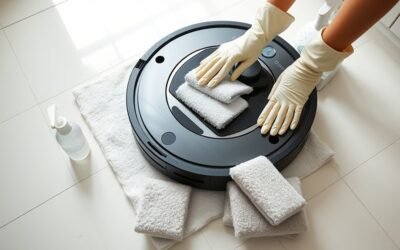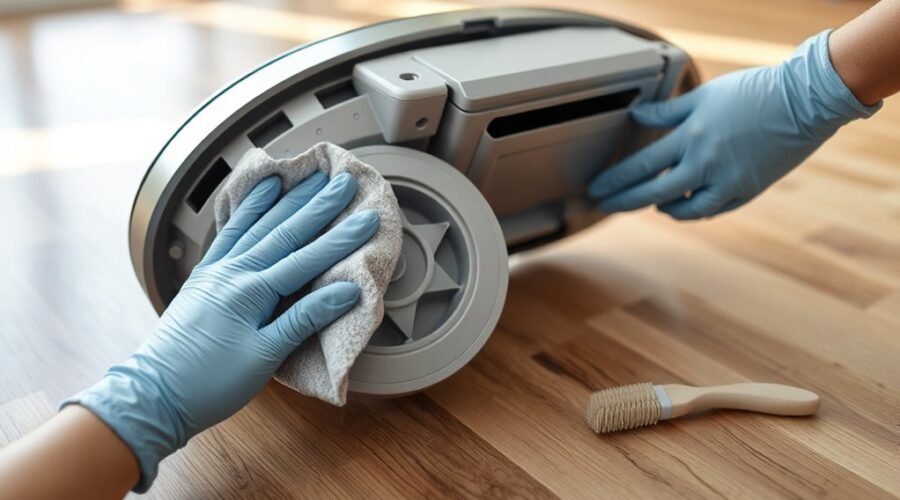
A robot vacuum’s caster wheel often sticks because hair, dust, and fine debris collect around the axle and housing. Simple cleaning can restore movement, but the process depends on removing the wheel without damage, clearing hidden buildup, and checking for wear before reassembly. If the wheel is ignored, navigation problems can follow. The key is knowing how to handle the part correctly before a small issue becomes a larger repair.
Why Your Caster Wheel Gets Stuck
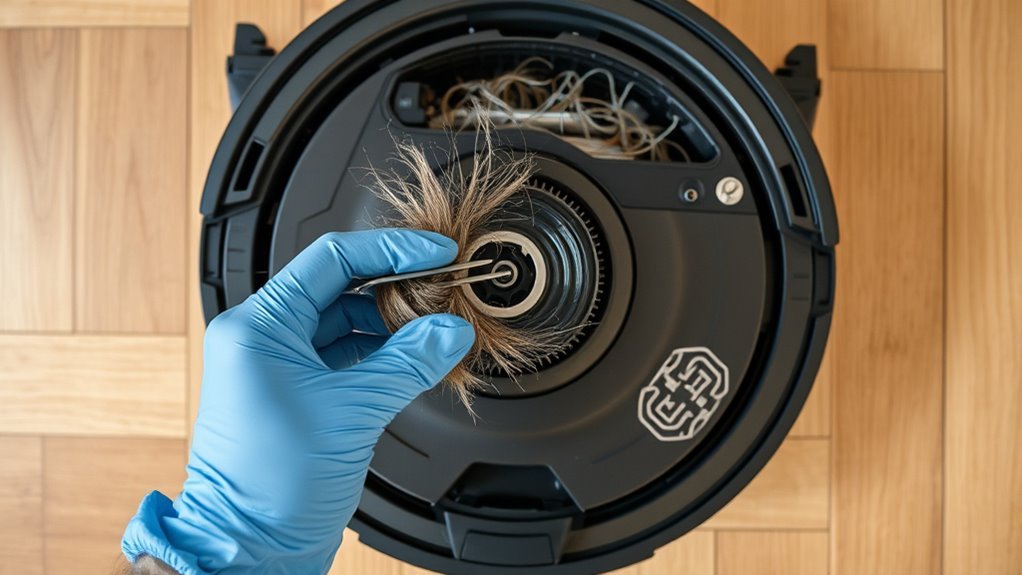
A robot vacuum’s caster wheel often gets stuck when hair and debris collect around the wheel assembly, blocking smooth rotation and reducing cleaning efficiency.
Dust and grit can also accumulate on the axle, creating friction that causes the caster wheel to jam and limits navigation around obstacles.
In some cases, an uneven docking area prevents correct alignment, so the wheel fails to engage properly when the robot returns for charging.
Wear is another factor: damaged bearings, flattened surfaces, or degraded mounts reduce mobility and can trigger operational failure.
Regular inspection helps identify these faults before they interrupt cleaning.
Clearing buildup from the caster wheel and its surrounding recess lowers resistance and restores movement.
When kept clean and structurally sound, the wheel supports accurate travel, fewer stalls, and more independent operation.
Tools You Need to Clean the Caster Wheel
The right tools make caster wheel cleaning faster and less likely to damage the assembly. For any robot vacuum, the tools you need to clean the caster wheel are simple, targeted, and effective. A flat screwdriver lifts the housing with control. Tweezers extract stubborn fibers without forcing the axle. A seam ripper or small yarn scissors cuts hair wrapped tightly around the wheel. A cleaning cloth clears dust from the wheel and nearby surfaces. Light grease restores smooth motion after cleaning and can reduce squeaking.
| Tool | Purpose |
|---|---|
| Flat screwdriver | Pry off housing |
| Tweezers | Remove trapped debris |
| Seam ripper/scissors | Cut tangled hair |
| Cloth and light grease | Wipe, then lubricate |
This kit supports precise maintenance, limits unnecessary wear, and helps the user keep the robot vacuum operating freely. No specialized shop equipment is required, only careful handling and disciplined use of each tool.
How to Remove the Caster Wheel
With the robot vacuum powered off and placed upside down on a soft surface, the caster wheel housing can be pried off carefully with a flat screwdriver.
The wheel is then pulled straight away from the axle to remove it for cleaning.
Before reassembly, the axle and housing should be cleared of debris buildup to guarantee smooth operation.
Removing The Caster Wheel
Power down the robot vacuum and place it upside down on a soft surface to protect the chassis from scratches.
For removing the caster wheel, a flat screwdriver can be used to lift the housing with controlled pressure until it pops free.
- Keep the tool angled shallowly to avoid slippage.
- Apply only enough force to release the fit.
- Inspect the axle immediately after removal.
- Clear any debris before reassembly.
Once cleaned, the caster wheel should be pressed back until it clicks securely into place, confirming a firm lock. A secure fit supports free movement, stable navigation, and efficient cleaning.
Regular checks for hair or dirt buildup reduce drag and preserve performance.
Clearing Wheel Housing
Turn off the robot vacuum and place it upside down on a soft surface to protect the chassis while accessing the caster wheel housing.
With the unit secured, use a flat screwdriver to lift the Wheel Housing edge carefully. It should release with minimal resistance if the clip is not obstructed.
Once removed, the caster wheel becomes fully exposed for inspection. Any debris trapped near the axle should be cleared immediately, and the surrounding recess should be wiped clean to restore free movement.
This step removes friction and gives the wheel the freedom to rotate without drag.
After cleaning, align the wheel correctly and press it back into place until a distinct click confirms secure reinstallation.
Regular service prevents sticking and preserves performance.
How to Clean the Caster Wheel
The robot vacuum should be turned off and placed upside down on a soft surface.
Then the caster wheel removed carefully from the axle without forcing it.
Any hair, dirt, or debris on the wheel and axle should be cleared with a damp cloth to restore free rotation.
Once clean, the wheel should be pressed back onto the axle until it clicks, then checked for secure movement.
Remove Wheel Safely
With the robot vacuum switched off and positioned upside down, the caster wheel can be removed safely for cleaning. To remove the wheel safely, the housing should be pried with a flat screwdriver, using controlled pressure to avoid stress on nearby parts.
- Confirm the power remains off before any contact.
- Lift the wheel housing gently, not forcefully.
- Inspect the axle for debris after removal.
- Wipe the axle with a damp cloth, then reattach the wheel until it clicks.
This procedure preserves movement freedom and supports reliable navigation.
Regular inspection every few weeks keeps the caster assembly responsive and reduces the chance of performance loss. Proper alignment after reinstallation is essential for stable rolling and accurate direction control.
Clear Hair Buildup
After powering off the robot vacuum and placing it upside down, any hair wrapped around the caster axle can be cut and lifted away with a seam ripper or small yarn scissors.
The caster wheel should then be rotated by hand to expose hidden strands and loosened fibers. Each section of buildup needs careful removal so the wheel can move freely without resistance.
Once the visible hair is cleared, a damp cloth can be used to wipe the caster wheel and surrounding housing, removing dust and remaining debris.
A brief inspection should follow to identify wear, cracks, or wobble that could reduce navigation accuracy.
Regular attention to the caster wheel preserves smooth motion, prevents clogging, and supports reliable, unhindered operation.
Reinstall And Test
Once the caster wheel has been cleaned and checked for free rotation, it should be aligned correctly on the axle and pressed down until it clicks into place. That click confirms a secure reinstall and returns the wheel to service.
Before fitting, any remaining debris or hair should be removed, since obstruction reduces mobility and cleaning efficiency. After reinstalling, the vacuum should be placed on a flat surface and run briefly to verify smooth tracking.
- Spin the wheel by hand first.
- Confirm no sticking or scraping.
- Listen for unusual noises during motion.
- Repeat checks to prevent navigation faults.
Regular inspection keeps the robot vacuum free to move without resistance and helps extend component life.
Clear Hair and Debris From the Axle
Remove the caster wheel by gently pulling it off to expose the axle beneath.
With the caster wheel removed, the axle can be inspected for wrapped hair, threads, and compacted dust that restrict free rotation. A seam ripper or small scissors should be used with controlled, shallow cuts to sever tangled fibers without scoring the metal or plastic surfaces.
Loose debris can then be lifted away by hand or with a dry cloth. After the visible buildup is cleared, the axle should be wiped with a damp cloth to remove residual grime that can impair movement. The cloth must not leave excess moisture behind.
Routine cleaning of this small assembly gives the robot vacuum greater independence from friction, prevents premature malfunction, and preserves cleaning efficiency across floors.
Regular inspection keeps the axle free, the caster wheel responsive, and the machine prepared for demanding operation.
Reattach the Wheel Without Damage
Align the caster wheel with the axle before pressing it back into position so the fit remains secure and the parts stay properly seated. The Front Caster Wheel should be guided straight onto the axle, then pressed gently until a distinct click confirms engagement. This method preserves the housing, prevents strain, and supports free movement without forcing components beyond their design limits.
- Use steady hand pressure, not tools, to seat the wheel.
- Stop once the click is heard; extra force is unnecessary.
- Confirm the wheel turns smoothly after reattachment.
- Keep the assembly clean to maintain reliable motion.
A properly reattached wheel helps the robot vacuum move with less resistance and more independence across floors. Routine handling should remain controlled and deliberate, because precision protects performance and reduces the risk of damage.
Regular inspection of the Front Caster Wheel supports long-term stability and keeps the machine ready for liberated, efficient cleaning.
Check for Wear, Wobble, or Noise
Regular inspection of the caster wheel should focus on wear, wobble, and noise, since each can indicate reduced performance or a developing fault. The caster wheel should be examined for fraying, thinning rubber, and surface damage that may compromise movement across floors.
A wobbling caster wheel often points to debris buildup or a loose connection, both of which should be corrected promptly to preserve tracking accuracy. During operation, unusual scraping, clicking, or grinding noises merit attention, as they can reveal contamination or mechanical strain.
Smooth rotation is essential; sticking or hesitation suggests obstruction from hair, dust, or compacted debris around the axle. Frequent checks help maintain efficiency and prevent avoidable drag.
When the caster wheel rolls freely, remains quiet, and shows minimal wear, the robot vacuum can move with greater independence and cleaner results.
When to Replace the Caster Wheel
A caster wheel should be replaced when visible wear becomes significant, especially if cracks, fraying, or deformation begin to limit smooth movement. At that point, continued use can restrict navigation and reduce operational freedom.
Even after cleaning, a caster wheel that sticks or jams indicates internal or surface damage beyond routine maintenance. Grinding noises during operation also suggest deterioration, often from worn bearings or an uneven rolling surface.
Docking errors are another practical warning; if the vacuum repeatedly misses its station, the caster wheel may be misaligned or structurally compromised. Reduced performance in tight spaces further confirms that the wheel is no longer supporting precise movement.
- Cracks or frayed edges
- Sticking after cleaning
- Grinding or unusual noise
- Poor docking or tight-space control
How to Keep the Wheel Cleaner Longer
Once the caster wheel has been replaced or restored to working order, keeping it clean longer depends on routine prevention. Weekly inspection removes hair and debris before they bind the wheel or reduce navigation efficiency. After each cleaning session, a damp cloth should wipe the caster wheel to strip loose dust and dirt. This small action preserves motion and supports a machine that answers to its environment rather than friction.
| Action | Effect |
|---|---|
| Weekly inspection | Limits buildup |
| Damp cloth wipe | Reduces dust |
| Light axle grease | Prevents squeaking |
Every few months, the axle benefits from a light grease application to lower resistance and maintain quiet operation. Storage also matters: a clean, dry location shields the robot from settled debris between uses. With these controls in place, the caster wheel remains freer, smoother, and less demanding, supporting dependable movement without unnecessary maintenance interruptions.
Frequently Asked Questions
How to Clean Front Caster Wheel on Roomba?
Turn off the Roomba, invert it on a soft surface, remove the front caster wheel, wipe wheel and axle, clear debris, then reinstall until it clicks. Regular Wheel Maintenance preserves navigation and restores autonomous cleaning freedom.
How Do I Clean My Castor Wheels?
They should power off the vacuum, invert it, remove each caster wheel, wipe wheel and axle clean, clear hair and debris, then press it back until secure. Monthly Wheel Maintenance supports reliable, unhindered mobility.
How Do I Clean the Rollers on My Roomba?
About 70% of Roomba performance issues stem from debris buildup; for Roller Maintenance, power down, invert the unit, release rollers, wipe them clean, cut tangles carefully, then reinstall freely spinning for dependable, liberated operation.
How to Get Hair Out of Roomba Wheels?
Hair should be cut free with a seam ripper or small scissors, then lifted out using tweezers or a brush. Wheel Maintenance requires regular inspection, a powered-off inverted unit, and careful axle cleaning to preserve performance.
Conclusion
In the end, the caster wheel is the robot vacuum’s small but critical compass needle. When kept free of hair, dust, and axle buildup, it turns smoothly and keeps navigation accurate. A careful cleaning, proper reattachment, and a quick spin test can prevent the wheel from becoming a stubborn roadblock. Routine inspection works like lubrication for the machine’s path, extending performance and delaying replacement. Clean it often, and the vacuum will roll true.