A robot vacuum’s dirty water tank can quickly collect slime, odor, and debris if it is not serviced on schedule. The process is simple, but each step matters: removal, emptying, rinsing, scrubbing, and drying must be done in the correct order to avoid damage to the float mechanism or seals. The safest cleaning method uses warm water and a bio-enzymatic cleaner, yet one detail often determines whether the tank stays fresh or turns foul again.
Why Robot Vacuum Dirty Water Tanks Get Slimy
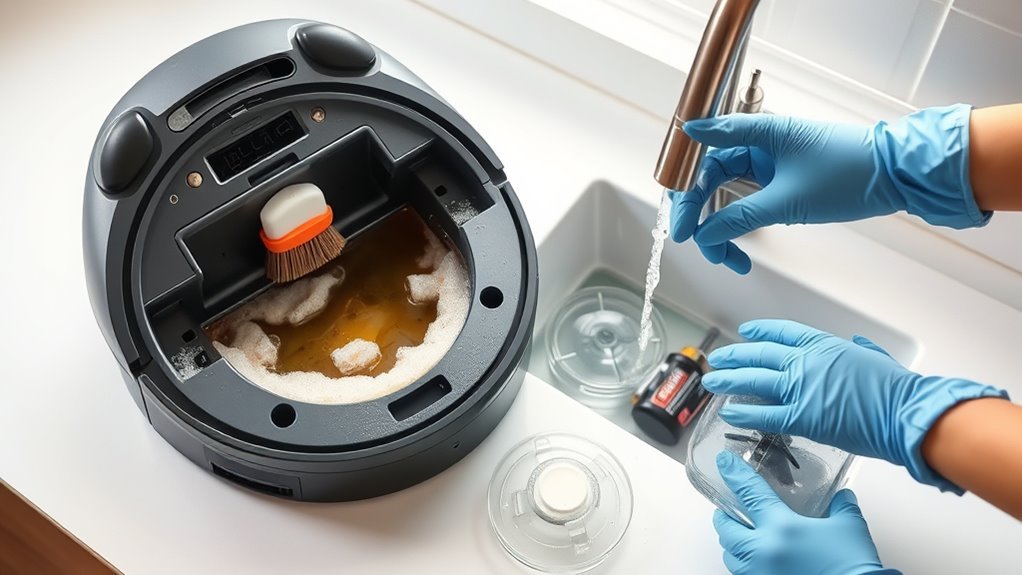
Robot vacuum dirty water tanks often become slimy because they trap organic residue such as pet hair, dander, and food spills in a dark, sealed environment where bacteria can thrive.
In a dirty water tank, this residue supplies nutrients that support bacteria growth and biofilm development on plastic walls and seals. The resulting biofilm forms a slick, persistent layer that resists simple rinsing and can spread into internal drainage lines.
As buildup increases, rubber gaskets may deteriorate, and the machine may signal faults through its app. This process reduces performance and can restrict flow, leaving the unit burdened by contamination rather than serving freely.
Regular maintenance limits residue accumulation and interrupts the conditions that allow slime to form. Consistent inspection, prompt emptying, and proper cleaning discipline preserve function, reduce odor, and help the vacuum remain operational without unnecessary constraints.
How to Clean a Robot Vacuum Dirty Water Tank
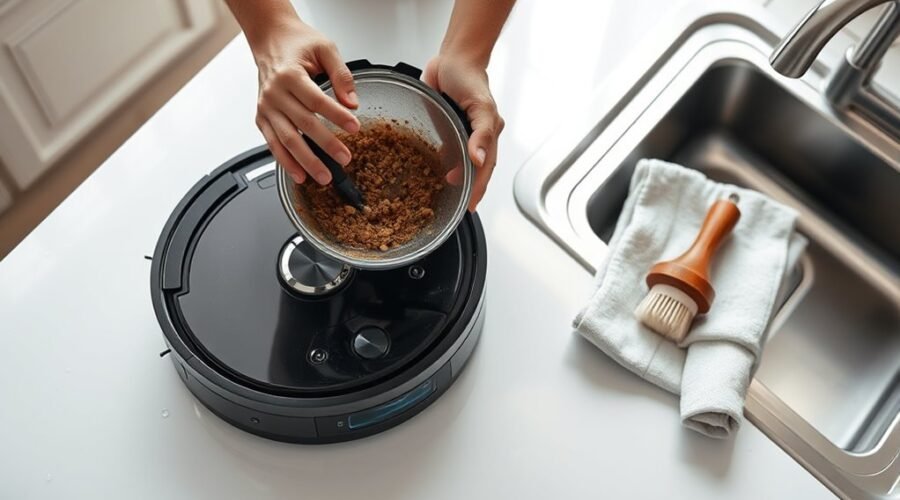
To clean a robot vacuum dirty water tank, remove the tank and empty its contents into a toilet or utility sink to eliminate sludge.
The tank should then be rinsed with warm water to dislodge floating debris, though this step alone will not remove biofilm.
A premium bio-enzymatic cleaner, such as Tank Funk Fix, may be mixed with warm water inside the tank, then shaken vigorously and left to sit for 10 to 15 minutes so organic matter can break down.
If residue remains, a soft-bristled brush should be used with controlled pressure, taking care not to disturb the electronic float mechanism.
Afterward, the tank must be rinsed thoroughly with clean water, then the exterior dried completely.
Rinse the tank thoroughly with clean water, then dry the exterior completely before reinstalling.
Before reinstalling it in the vacuum cleaner or robot mop, the tank should be fully dry to preserve performance and prevent odor recurrence.
What You Can Safely Use on the Tank
Safe cleaning starts with products that break down organic buildup without damaging the tank’s materials. For a robot Tank, the preferred cleaning solution is a premium bio-enzymatic formula such as Tank Funk Fix, because it targets residue while protecting rubber seals and internal parts. Standard disinfectants, including bleach and Lysol, should be excluded; they can weaken silicone seals and invite leaks. Warm water helps loosen debris, but warm water alone rarely restores the Tank fully. A soft-bristled brush should be used to scrub seams and corners without stressing sensors or coatings. A small amount of baking soda may be added to the rinse for mild odor control and longer intervals between cleanings.
| Safe option | Use |
|---|---|
| Bio-enzymatic cleaner | Breaks down organic buildup |
| Warm water | Loosens residue |
| Soft brush | Removes stubborn film |
| Baking soda | Supports odor control |
Any cleaning solution must be verified as robot-safe to prevent component damage.
How to Stop Odors and Slime in the Tank
Emptying the dirty water tank after each use is the most effective way to prevent organic buildup that causes odors and slime. Any dirty water left standing feeds bacteria and biofilm, which intensify odors and create persistent tank smells.
After emptying, the tank should be rinsed with clean water and lightly scrubbed to remove residue from corners, seams, and the float area. A low-foam, sensor-safe deodorizing powder can be added to incoming wastewater as a preventative measure, reducing slime development without stressing internal components.
For additional control, a quarter teaspoon of baking soda may be placed in the tank to neutralize odors and extend the interval between emptying sessions to up to five days. A premium bio-enzymatic cleaner, such as Tank Funk Fix, can dissolve biofilm while remaining safe for rubber seals.
Consistent maintenance keeps the system clean, limits tank smells, and preserves autonomy.
When to Replace the Tank, Seals, or Float Valve
A tank should be replaced when cracks, leaks, or visible wear compromise its seal and water containment. If the shell no longer holds the tank full without seepage, the unit has reached the end of service.
The rubber seals should be inspected for flattening, splits, or hardening; degraded seals reduce suction efficiency and invite leakage. If cleaning no longer removes persistent odor, stain, or biofilm, it is reasonable to replace the dirty water tank and its seals together.
The float valve must move freely and close correctly. If it sticks, jams, or triggers false tank full alerts, replacement is required. Users should follow the manufacturer’s interval guidance, because wear rates vary with use frequency and water quality.
Timely replacement restores reliable operation, supports hygienic handling, and preserves the autonomy expected from a well-maintained robot vacuum system.
Frequently Asked Questions
How Do I Clean a Dirty Water Tank?
A dirty water tank is cleaned by emptying, rinsing, scrubbing with warm water and gentle cleaner, then drying fully. Tank maintenance tips, robot vacuum troubleshooting, water tank hygiene, cleaning supplies checklist support liberation through reliable upkeep.
How to Clean Dirt Out of a Water Tank?
Clean water and dirty residue demand opposite treatment: drain, brush, and rinse the water tank. Effective water tank maintenance uses proven dirt removal techniques, supports vacuum care, and includes efficiency tips that preserve liberation from stagnation.
My Roborock Dirty Water Tank Isn’t Filling Up. What Should I Do?
He should check the water inlet valve, reservoir level, and water sensor first. Then inspect for suction issues, filter clogs, pump faults, and misalignment. These troubleshooting tips fit a regular maintenance schedule and restore flow.
What Is the Proper Procedure for Cleaning a Water Tank?
First things first, empty, rinse, scrub, and dry the water tank. Proper water tank maintenance uses cleaning supplies, protects vacuum efficiency, and supports troubleshooting tips. This clean sweep preserves hygiene, reliability, and freedom from odors.
Conclusion
To summarize, regular cleaning of a robot vacuum dirty water tank prevents slime, odor, and reduced performance. The tank should be emptied, rinsed, scrubbed with a suitable bio-enzymatic solution, and dried fully before reassembly. Attention should be given to seals and the float valve, since buildup can impair function. With consistent maintenance, the tank remains efficient and hygienic, acting like a clean filter that protects the robot’s cleaning system from avoidable contamination.