Direct answer: A steam mop is not a default-safe choice for rubber flooring. Use one only when the flooring manufacturer’s care guide and the steam-mop manual both clearly approve steam for your exact floor. For most rubber floors, the safer routine is to remove grit, then use a damp microfiber mop with warm water and a manufacturer-approved neutral-pH cleaner.
Last updated: August 3, 2026 — rubber-floor compatibility, adhesive risks, steam claims, and cleaning guidance were reviewed.
Important safety note: “Sealed hard floor” does not automatically include rubber. Rubber sheet, tile, recycled gym flooring, interlocking tiles, and glued installations can have different limits.
Do not rely on a temperature claim such as “212°F or lower” as proof that steam is safe. Heat, moisture, dwell time, seams, backing, adhesive, and the floor’s finish all matter.
Quick Verdict
- Safest default: vacuum or dust-mop first, then damp-mop with a microfiber pad and an approved neutral-pH cleaner.
- Avoid routine steam: on unknown rubber, recycled rubber gym flooring, loose interlocking tiles, damaged seams, or adhesive-bonded floors unless the manufacturer specifically permits it.
- If steam is explicitly approved: use the lowest suitable output, keep the mop moving, avoid soaking seams, test a hidden area, and dry the floor promptly.
Why This Guide Does Not Recommend a Steam Mop
No steam mop could be responsibly selected for this article because the reviewed products were marketed for general sealed hard floors, tile, stone, laminate, hardwood, vinyl, carpets, or above-floor cleaning—not specifically for rubber flooring. A general multi-surface claim is not enough to confirm compatibility with rubber or its adhesive system.
That distinction matters because steam combines high heat and moisture. Even when the visible rubber surface appears durable, repeated exposure may affect seams, edges, backing, adhesive, coatings, or the floor’s appearance. The correct cleaning method must come from the manufacturer of the installed floor.
Trust-first recommendation: Do not buy a steam mop specifically for rubber flooring unless you can find written approval for your exact flooring product and installation method.
Identify Your Rubber Floor Before Cleaning
| Rubber floor type | Main concern | Safest starting method |
|---|---|---|
| Commercial rubber sheet or tile | Finish, seams, welding, and installation-specific care rules | Follow the exact manufacturer care guide; usually remove dry soil and damp-clean with approved products |
| Recycled rubber gym rolls or tiles | Porosity, odor, granules, seams, and moisture entering the installation | Vacuum thoroughly, then use a damp microfiber or nylon mop with neutral-pH cleaner |
| Interlocking rubber or rubber-composite tiles | Water entering joints and collecting underneath | Use minimal moisture and dry the surface and edges promptly |
| Glue-down rubber flooring | Heat and moisture reaching seams, edges, or adhesive | Use the flooring and adhesive manufacturer’s approved maintenance procedure |
| Loose rubber mats | Moisture and soil trapped underneath | Remove when practical, clean as directed, and dry both sides before replacing |
A Safer Step-by-Step Cleaning Method
- Read the floor’s care guide. Confirm the floor material, installation method, approved cleaner, pad type, and warranty restrictions.
- Remove dry grit first. Sweep, dust-mop, or vacuum with a floor-safe attachment. Grit can scratch or dull the surface when dragged by a wet mop.
- Prepare a mild solution. Use warm water and a manufacturer-approved neutral-pH cleaner. Follow the dilution instructions instead of adding extra cleaner.
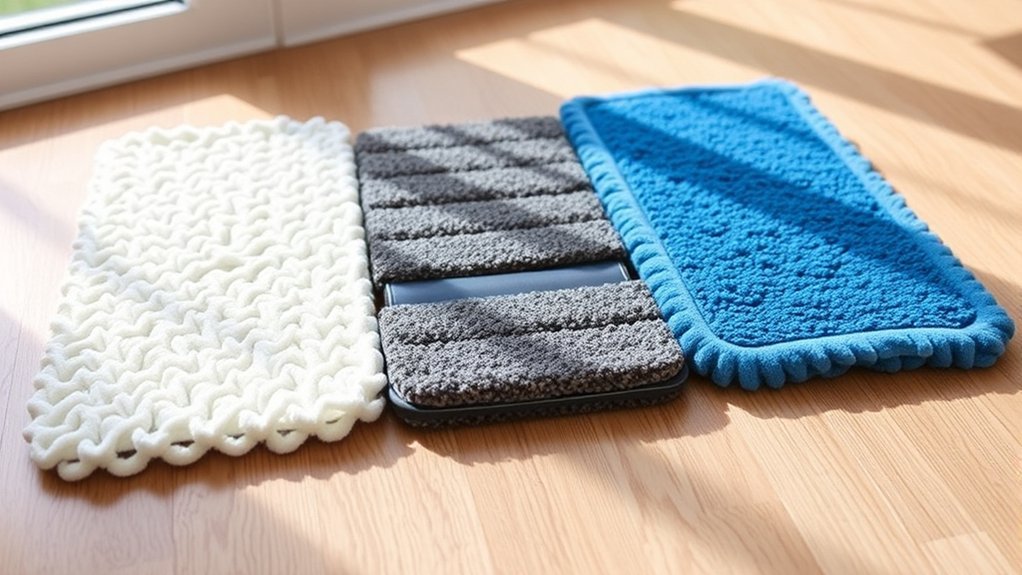
- Use a damp—not dripping—microfiber mop. Wring it well so water does not pool at seams, edges, transitions, or under loose tiles.
- Clean small sections. Give dirty or textured areas extra passes with a nonabrasive pad rather than flooding the floor.
- Remove residue. Rinse only when the cleaner’s directions require it, and use minimal clean water.
- Dry promptly. Increase ventilation and keep heavy traffic off the floor until it is fully dry.
Pro tip: Test every new cleaner, pad, or method in a hidden area. Check for color transfer, dulling, softening, swelling, tackiness, odor changes, or lifted edges before cleaning the full floor.
When Steam May Be Acceptable
Steam should be considered only when you have written compatibility guidance for the exact rubber floor and the steam cleaner. A statement that a machine works on “sealed hard floors” is too broad by itself.
When both manufacturers permit steam, use these precautions:
- Choose the lowest approved steam-output setting.
- Use a clean, soft microfiber pad.
- Test a hidden section and inspect it after it cools and dries.
- Keep the mop moving; do not hold it over one spot.
- Avoid directing steam into seams, edges, transitions, cracks, or damaged areas.
- Do not repeatedly pass over the same section to chase a stain.
- Stop immediately if the floor becomes tacky, soft, dull, wavy, discolored, loose, or unusually odorous.
Why Temperature and Steam-Output Claims Can Mislead
A claim such as “reaches 212°F” or “has adjustable steam” does not prove a mop is safe for rubber. Many machines adjust the amount of steam, not the temperature at the floor. The result also depends on how slowly the mop moves, how wet the pad becomes, how many passes you make, and whether moisture can enter the installation.
Higher temperatures such as 248°F or 260°F are not automatically better for rubber. More heat may help on durable tile or grout, but it also increases the need for clear surface approval. Choose compatibility over maximum heat.
How to Clean Common Rubber-Floor Problems
Dust, Grit, and Daily Soil
Vacuum or dust-mop regularly so grit does not become embedded in textured areas. Follow with a lightly damp microfiber mop when needed. High-traffic gym and commercial areas may need more frequent dry-soil removal than low-traffic rooms.
Scuffs and Tire Marks
Start with the floor manufacturer’s approved neutral cleaner and a soft microfiber or nonabrasive pad. Work gently and repeat if needed. Do not assume steam will remove the mark safely, and do not use strong solvents unless the flooring manufacturer specifically allows them.
Sticky Residue
Too much cleaner can leave a film that attracts more soil. Use the correct dilution, remove the suspended dirt, and rinse only as directed. Avoid waxes, oils, and unapproved shine products that can change slip resistance or appearance.
Mold, Mildew, or Persistent Odor
Steam is not a complete mold-remediation method. Find and correct the moisture source first. For a removable mat, inspect and dry both sides and the subfloor. For fixed flooring with recurring growth, lifting, water underneath, or damaged adhesive, contact the flooring manufacturer or a qualified remediation professional.
Disinfecting Rubber Flooring
Use a disinfectant that is approved for the specific floor and follow its label for dilution, wet-contact time, rinsing, ventilation, and personal protection. Do not copy a steam mop’s laboratory sanitization claim to rubber unless that floor is an approved surface and the required use procedure can be followed.
Before You Use Any Steam Mop on Rubber
- Do I know the exact floor brand and product line?
- Is the floor rubber, rubber composite, foam, vinyl, or another resilient material?
- Is it loose-laid, interlocking, welded, taped, or glued down?
- Does the flooring care guide explicitly permit steam?
- Does the steam-mop manual explicitly include this floor type?
- Are the seams, edges, coating, and adhesive in good condition?
- Can I test a hidden area and inspect it after drying?
If any answer is unknown, use the safer damp-cleaning method and contact the flooring manufacturer before steaming.
Frequently Asked Questions
Can You Use a Steam Mop on Rubber Flooring?
Not by default. Use steam only when the manufacturer of the exact rubber floor and the steam-mop maker both approve that use. Otherwise, vacuum and damp-mop with an approved neutral-pH cleaner.
Can Steam Damage Rubber-Floor Adhesive?
Heat and moisture can reach seams, edges, and weak areas, so adhesive-bonded floors need extra caution. Follow the flooring and adhesive manufacturers’ maintenance instructions rather than assuming a low steam setting is safe.
How Often Should Rubber Floors Be Cleaned?
Remove dry soil as often as traffic requires and damp-clean when visible soil or residue builds up. There is no universal weekly steam-mopping schedule for rubber floors.
Is Distilled Water Required?
Distilled water matters only if steam use is approved. Then follow the steam-mop manual, because water recommendations vary by model and local mineral content.
Can Steam Remove Tire Marks From Rubber Floors?
It may soften some surface soil, but it is not a reliable or automatically safe tire-mark treatment. Use the flooring manufacturer’s approved spot-cleaning method and a nonabrasive pad first.
Does Steam Kill Mold on Rubber Flooring?
Steam may affect surface growth under controlled conditions, but it does not solve moisture below tiles, inside seams, or under adhesive. Correct the moisture problem and use an appropriate cleaning or remediation method.
Final Recommendation
Do not choose a steam mop for rubber flooring based on heat, attachments, or a broad “sealed hard floor” label.
Choose the cleaning method approved for your exact floor. In most cases, that means regular dry-soil removal followed by controlled damp mopping with a soft microfiber pad and a neutral-pH cleaner. Steam becomes an option only after written compatibility is confirmed.
Manufacturer and Flooring-Care Resources
- nora rubber flooring care and maintenance information
- Mannington Commercial rubber-floor maintenance guidance
- Greatmats rubber flooring cleaning guide