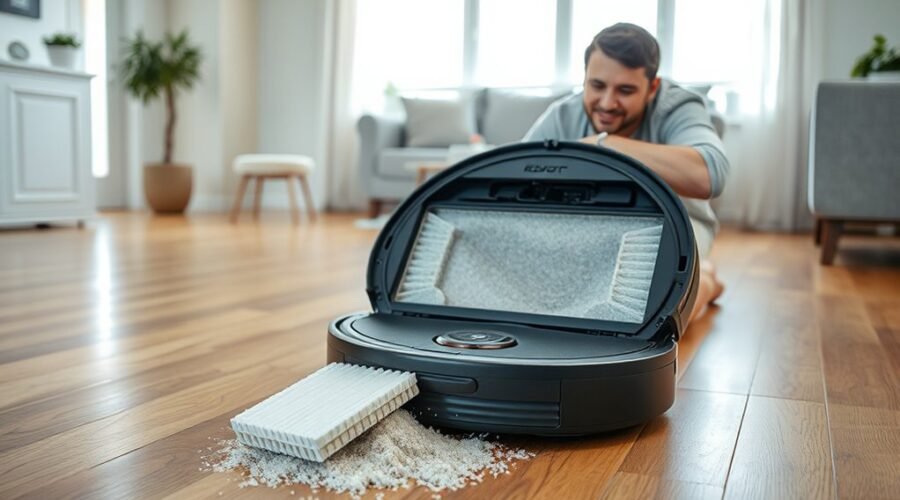
Robot vacuum filters typically need replacement every 3 to 6 months, though heavy dust, pets, or frequent use can shorten that window to 1 to 3 months. As the filter loads up, suction drops, odors may appear, and the motor can work harder than intended. The timing is not always obvious, and the consequences of waiting can be easy to miss until performance changes.
How Often Should You Replace Robot Vacuum Filters?
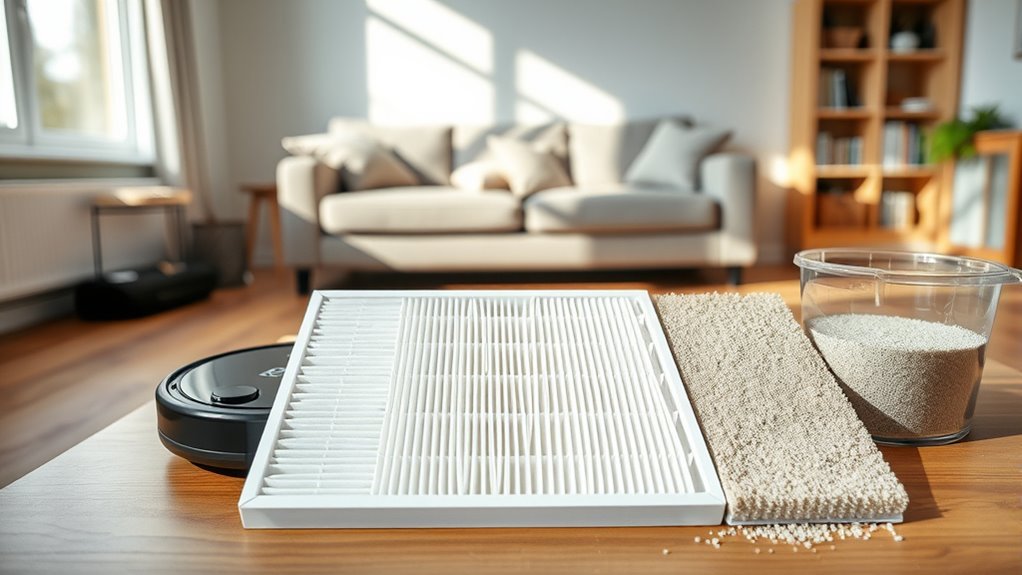
Robot vacuum filters typically should be replaced every 3 to 6 months, though actual lifespan depends on usage patterns and household conditions. A standard vacuum filter in a lightly used machine may remain serviceable across that interval, while a HEPA unit can sometimes last 6 months to 3 years if maintained carefully.
Even so, regular inspection is necessary because accumulated debris can reduce performance before the scheduled filter replacement date. Homes with pets, heavy dust, or polluted air usually place greater demand on the filtration system, making 1 to 3 month replacement cycles more practical.
The objective is not arbitrary replacement, but disciplined maintenance that preserves suction efficiency and indoor air quality. Manufacturers’ instructions should remain the primary reference, since model-specific designs and materials determine the correct service interval.
Following those specifications helps users manage upkeep without dependency on guesswork or unnecessary parts changes.
Signs Your Robot Vacuum Filters Need Replacing
Several indicators suggest that a robot vacuum filter needs replacement before the scheduled interval arrives. A visible gray cast or caked debris on Vacuum Filters usually means airflow is restricted, and suction performance is declining.
A dirty filter may also release a musty odor, pointing to moisture and bacterial accumulation that can degrade indoor air quality. When the vacuum begins losing suction during routine passes, the filter is often clogged beyond effective cleaning.
Strange rattling or whining sounds can also emerge when airflow is obstructed, indicating strain on the motor and a filter that should be changed.
Another practical signal is the need for more frequent cleaning sessions because dust remains behind or escapes back into the room.
These are the clearest signs your robot vacuum filters need replacing, and they help users maintain efficient, independent cleaning without unnecessary friction. Regular inspection preserves performance, restores dust control, and keeps the machine operating at its intended capacity.
What Happens If You Replace Filters Too Late?
Replacing a robot vacuum filter too late typically reduces suction power, which lowers cleaning efficiency and leaves more debris behind.
As airflow becomes restricted, the motor must work harder, increasing heat buildup and the risk of premature failure.
A delayed replacement also allows dust and allergens to recirculate, degrading indoor air quality and reducing filtration effectiveness.
Reduced Suction Power
When a robot vacuum filter is left in service too long, suction power declines noticeably and the machine becomes less effective at lifting dirt and debris from floors. The result is reduced suction, since clogged media restrict airflow and prevent full pickup performance.
In practical terms, the filters need regular inspection, and they need to be replaced before buildup becomes severe. A dirty filter may also signal trouble through musty odor or unusual noise, showing that filtration is no longer operating as intended.
As airflow falls, the unit consumes more energy to do less work, undermining efficiency and autonomy. Timely replacement preserves cleaning power, supports consistent results, and helps the vacuum remain a dependable tool rather than a constrained one.
Motor Strain Risks
Declining suction is only part of the problem; a clogged robot vacuum filter also increases load on the motor by restricting airflow and making the system work harder to maintain performance.
Delayed replacement creates motor strain, and a dirty filter can push the vacuum cleaner beyond designed limits. Heat buildup may follow, reducing reliability and shortening service life. Unusual noise often appears when debris blocks flow and the motor struggles.
- Replace filters on schedule to keep airflow stable.
- Watch for heat, noise, and weaker pickup as warning signs.
- Prevent overload to avoid costly repairs and preserve autonomy.
Regular monitoring keeps the system operating within specification, allowing the device to move freely and clean efficiently without unnecessary mechanical burden.
Air Quality Decline
Delayed filter replacement can quickly reduce a robot vacuum’s ability to maintain indoor air quality. When filter replacement is postponed, suction drops and debris, dust, and allergens remain on floors and fabrics.
Clogged particulate air (HEPA) filters may then expel captured particles back into the room, degrading air quality and aggravating respiratory sensitivity. As the load increases, the motor must work harder, which raises energy use and can shorten component life.
Old filters also trap moisture and bacteria, producing musty odors that signal immediate replacement. For users seeking cleaner living with less dependence on maintenance failures, timely filter replacement preserves performance, reduces electricity costs, and supports stable air quality.
Prompt action keeps the machine efficient and the indoor environment visibly more autonomous.
How to Clean Robot Vacuum Filters Properly
Proper cleaning begins with removing the reusable filter according to the manufacturer’s instructions. Then, tap it gently over a trash can to dislodge loose debris.
If the manual permits washing, the filter should be rinsed under lukewarm water without detergents or other harsh chemicals that can degrade the material.
Before reinstallation, it must air dry fully for about 24 hours to prevent moisture damage and preserve suction performance.
Filter Removal Steps
To clean a robot vacuum filter properly, it should first be removed according to the manufacturer’s instructions to prevent damage to the unit or the filter housing. These filter removal steps should follow the vacuum’s manual exactly, since clips, tabs, and covers vary by model.
Once exposed, the filter can be checked for visibly dirty buildup before any further action.
- Confirm the power is off before opening the compartment.
- Remove the filter gently; force can deform seals.
- Inspect the housing for trapped debris that may restrict airflow.
A detached, careful removal preserves suction performance and gives users greater control over maintenance.
If the filter resists removal, the manual should be consulted again rather than improvised. This disciplined approach supports dependable operation and reduces avoidable wear.
Safe Cleaning Methods
After removal according to the manufacturer’s instructions, the filter should be cleaned by tapping it gently over a trash can to release loose debris. Then, brushing remaining dust with a soft brush or clearing it with compressed air. This method preserves component integrity while restoring airflow.
Different types of filters require different handling: nonwashable media should not meet water, while washable variants can be rinsed with lukewarm water only, without detergents. The user should regularly check filters for visible buildup and act when gunk appears, because cleaning no longer than needed protects suction and efficiency.
Reinstalling any filter must wait until it is fully dry; a damp filter can impair performance and damage the vacuum. Such disciplined care keeps the machine ready and autonomous.
Drying Before Reuse
Once the filter has been tapped or brushed clean and, where permitted, rinsed with lukewarm water, it must be left to air dry completely for at least 24 hours before reuse. This drying period protects washable filters from moisture retention, mold, and bacterial growth.
Reinstallation while damp can restrict airflow, reduce suction, and strain the motor.
- Place the filter in open air, away from heat sources that can warp media.
- Verify dryness by touch and inspection before returning it to service.
- Check manufacturer guidance, since some filters are not washable and require replacement instead.
Regular inspection for visible buildup supports timely cleaning, preserves performance, and helps users maintain control over maintenance instead of accepting premature failure.
How Long Do Robot Vacuum Filters Last?
Robot vacuum filters typically last 3 to 6 months before replacement is needed, though service life varies with usage, floor type, and airborne debris levels.
In a Robot Vacuum, the Filter is the primary barrier protecting airflow and motor efficiency; HEPA versions may remain usable from 6 months to 3 years when demand is light.
In homes with pets, heavy shedding, or persistent dust, replacement may be required every 1 to 3 months.
Performance indicators are straightforward: weaker suction, lingering musty odor, and visible dirt loading on the media suggest saturation.
App notifications, if supported, can provide an objective reminder schedule and reduce guesswork.
A filter is not a permanent asset; it is a controlled wear item.
Timely replacement preserves cleaning capacity, supports indoor air quality, and helps the machine maintain the autonomy users expect from a modern floor-care system.
Habits That Extend Filter Life
Simple maintenance habits can extend a robot vacuum filter’s service life by preserving airflow and reducing particulate buildup. Routine care matters because filters trap fine debris, and neglect quickly limits suction.
A bi-weekly cleaning cycle—shaking off dust, rinsing washable units, or blowing out dry media—helps extend filter life and maintains peak performance. Monitoring visible dirt, discoloration, and any drop in suction gives a clear trigger for cleaning or replacement before strain spreads to other components.
- Clean after heavy use to prevent gunk accumulation.
- Reduce runs in high-dust rooms or during shedding seasons.
- Follow manufacturer schedules to keep filters effective.
These practices offer practical control: less clogging, steadier airflow, and fewer premature replacements. When the vacuum is used with restraint and inspected regularly, the system remains efficient, and the owner gains more freedom from avoidable maintenance, wasted effort, and performance loss.
Frequently Asked Questions
How Long Do Roomba Filters Last?
Roomba filters typically last 3 to 6 months; HEPA versions may last up to 3 years. Roomba maintenance tips, filter replacement signs, cleaning frequency guidelines help preserve suction, reduce allergens, and extend service life.
Can Roomba Filters Be Washed and Reused?
Yes—if the Roomba uses washable filter types, they may be rinsed and reused. Roughly 24 hours of air-drying is ideal. Proper filter maintenance tips and washing techniques preserve suction, while non-washable filters must be replaced.
What Happens if You Don’t Change the Vacuum Filter?
Neglecting the filter reduces suction, worsens filter performance impact, and creates dust accumulation issues that recirculate allergens. Motors overheat, energy use rises, and failures become likely. Regular replacement remains among maintenance best practices for reliable operation.
What Is the Average Lifespan of a Roomba Vacuum?
A Roomba typically lasts 4–6 years, like a well-tended ship crossing repeated storms. With disciplined robot vacuum maintenance, proper filter replacement frequency, and preserved cleaning efficiency, it can serve households reliably while reducing domestic labor.
Conclusion
In practice, robot vacuum filters should be replaced every 3 to 6 months, or sooner in homes with pets and heavy dust. Delaying replacement invites reduced suction, motor strain, and poorer air quality. Like a clogged artery narrowing flow, a saturated filter restricts performance until cleaning can no longer compensate. Regular inspection, proper cleaning, and timely replacement preserve efficiency, protect the machine, and keep indoor environments cleaner for longer.