Robot vacuum charging contacts often fail for simple reasons: dust, misalignment, or residue on the dock. A careful inspection can reveal whether the issue is the contacts themselves, the sensors, or a deeper fault. With the right supplies and a controlled cleaning process, the problem is usually easy to isolate. The next steps show how to restore contact performance without causing damage.
Check the Symptoms First
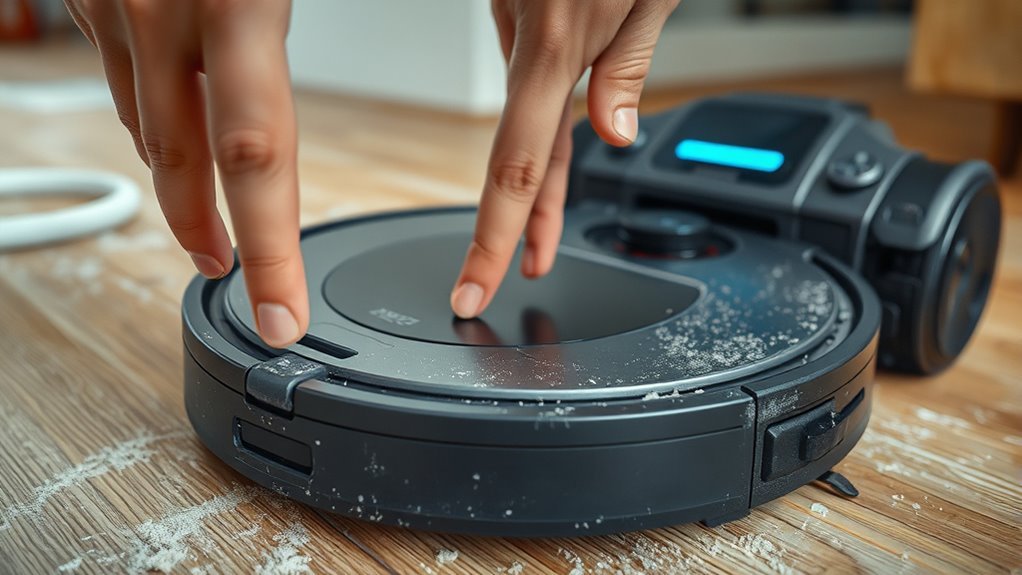
Before cleaning the charging contacts, first check for dust, hair, or other debris that may be interrupting the connection.
The robot should be examined for visible buildup on the charging contacts and on the dock, since contamination can prevent a secure link. The dock should sit on a level surface, not tilted, because uneven placement may keep the unit from docking correctly and create charging issues.
The robot and dock should be checked for visible buildup, since contamination can interfere with a secure charging connection.
The app should also be reviewed for alerts, error codes, or status indicators that point to power faults or communication problems.
If the robot is still active, it should be shut down before any attempt to clean the contacts. The dock must be unplugged to reduce electrical risk.
The power cord should be inspected for cuts, bends, or exposed sections, because damaged wiring can also produce charging issues.
A careful symptom check helps isolate the fault before action.
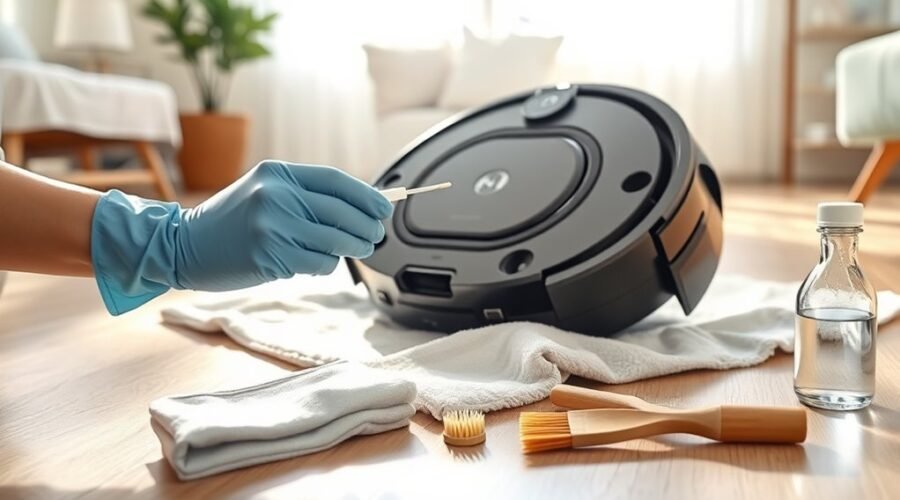
Gather the Right Cleaning Supplies
A few basic cleaning supplies are enough to service the charging contacts safely and effectively. To clean the charging contacts, a lightly dampened microfiber cloth or melamine foam pad provides controlled abrasion without scratching plated surfaces.
Isopropyl alcohol serves as a practical cleaning solution for stubborn residue, while a pencil eraser or pink pearl eraser can polish light oxidation and restore conductivity. A soft cloth should also be available for final drying, because moisture left on the dock or vacuum can cause intermittent charging faults.
Abrasive pads, metal tools, and harsh cleaners should be avoided, since they can damage contact plating and reduce long-term reliability. The goal is simple preparation: assemble non-damaging tools that allow precise maintenance, preserve equipment freedom from unnecessary wear, and support consistent power transfer.
Once these supplies are ready, the actual contact-cleaning process can proceed with control and minimal risk.
Clean the Charging Contacts
The dock should be unplugged and left idle for 60 seconds before cleaning.
The robot vacuum should be placed upside down on a flat surface to expose the charging contacts.
A lightly dampened melamine foam or cloth can then be used to wipe the contacts gently until they appear clean and visibly shiny.
The contacts should also be inspected for damage, since faulty parts may require replacement or assistance from iRobot® Customer Care.
Prep the Dock and Robot
Power off the dock by unplugging it and waiting 60 seconds before cleaning begins, then place the robot upside down on a flat surface to expose the charging contacts. This preparation supports safe, controlled access for the j7+ Robot Vacuum and other models using maintenance with iRobot® Accessories.
| Step | Action | Purpose |
|---|---|---|
| 1 | Unplug dock | Eliminate power |
| 2 | Wait 60 seconds | Stabilize system |
| 3 | Invert robot | Access Charging Contacts |
| 4 | Inspect contacts | Detect wear |
| 5 | Clean monthly | Preserve performance |
If the contacts appear corroded or broken, contact iRobot® Customer Care for replacement guidance. Regular monthly preparation keeps charging reliable and restores operational freedom without unnecessary downtime.
Wipe Contacts Gently
With the dock unplugged and the robot positioned upside down on a flat surface, the charging contacts should be wiped gently using a lightly dampened melamine foam or a clean microfiber cloth until they shine.
This controlled method removes buildup from the Charging Contacts without forcing unnecessary wear on delicate surfaces. The tool should remain only slightly moist, and pressure should stay light, since harsh rubbing can weaken contact quality and reduce charging reliability.
Abrasive pads, solvents, and general cleaning solutions should be avoided because they can damage surrounding components and limit long-term freedom from maintenance problems.
Regular inspection and routine wiping help prevent charging issues, preserve efficient power transfer, and extend the robot’s useful lifespan. A clean contact point supports dependable operation.
Wipe the Dock’s Sensors and Contacts
Disconnect the dock from power and wait 60 seconds before cleaning its sensors and charging contacts to reduce risk.
Next, inspect the Charging Contacts and the docking sensor for visible dust or residue. For the contacts, use a lightly dampened melamine foam or a clean microfiber cloth, moving with controlled strokes until the metal shows a clear shine. Avoid excess moisture, since the dock must remain electrically safe and mechanically free.
For the docking sensor, wipe the sensor window with a clean, dry microfiber cloth only; no solution or water should touch that surface. Precision matters here because a clean sensor helps the robot align without interference, and clean contacts support reliable charging.
Regular maintenance of both points prevents debris buildup that can obstruct docking performance and reduce the robot’s autonomy. A disciplined cleaning routine keeps the system available, efficient, and ready for independent operation.
Check for Corrosion or Damage
Once the contacts are clean, they should be inspected for corrosion or physical damage, since discoloration, a white powdery residue, bending, or breakage can reduce charging efficiency. A monthly inspection supports reliable Charging and prevents avoidable failure.
| Sign | Risk | Response |
|---|---|---|
| Discoloration | corrosion | Lightly dampened cloth |
| White residue | corrosion | Alcohol wipe |
| Bending | damage | Assess alignment |
| Breakage | damage | Replace contact |
| Recurrent fault | reduced Charging | Service promptly |
Any corrosion may be removed carefully with a lightly dampened cloth or alcohol wipe. If damage is present, replacement is usually required to restore proper function. Prompt action preserves performance, extends service life, and keeps the machine operating with less dependence on avoidable repair cycles.
Clean the Braava Jet M Series Tray
The Braava Jet® m Series drip tray should be cleaned regularly to maintain ideal performance and prevent operational issues.
Regular cleaning of the Braava Jet® m Series drip tray helps maintain ideal performance and prevent operational issues.
To clean the drip tray, the tray should be removed and inspected for debris, residue, or buildup that could interfere with normal operation. A wet cloth can be used to wipe the surface, or the tray may be rinsed in the sink for a more thorough cleaning.
The process should remain deliberate and free of abrasive tools, preserving the tray’s condition and the surrounding Charging Contacts area. After washing, the Braava Jet tray must be dried completely with a soft cloth before reinstallation.
Moisture left behind can create avoidable faults and reduce efficiency. The tray is not dishwasher safe, so machine cleaning should be avoided entirely.
When the user cleans the drip tray at regular intervals, the robot maintains reliable performance, supports effective cleaning tasks, and preserves a cleaner, more autonomous path toward maintenance freedom.
Reposition the Dock and Test Again
Repositioning the dock against a firm, level wall with the recommended clearances can restore reliable charging alignment and improve docking accuracy.
The dock should sit squarely on the floor so the robot approaches the Charging Contacts without skew or drift. Any obstacles in the docking area, including loose cords or nearby objects, should be removed to preserve a straight entry path.
After placement, reconnect the original power supply and inspect the indicator lights to confirm that the dock is receiving power and operating normally.
If the robot provides sensor feedback, consult the guide for docking-related signals that may indicate misalignment or interference.
Allow the unit a few moments to wake, then send it back to the dock and observe whether contact is made cleanly.
A successful test is reflected by stable charging behavior and a rising battery percentage, confirming that the system has regained proper function.
Prevent Future Charging Contact Issues
To reduce the likelihood of recurring charging faults, the robot’s charging contacts and dock should be inspected and cleaned on a regular schedule, ideally about once a month. Routine care keeps Charging Contacts free of oxide, dust, and grime, helping the machine dock with authority and charge without delay. A lightly dampened melamine foam or lint-free cloth should be used to clean contacts until they shine. Harsh chemicals and abrasive pads should be avoided; alcohol or DeOxit is sufficient when needed. Debris around the dock and on the robot should also be removed, because obstructions can prevent full alignment and reduce power transfer.
| Task | Method | Interval |
|---|---|---|
| Inspect contacts | Visual check for dirt | Monthly |
| Clean contacts | Damp foam or cloth | Monthly |
| Clear dock area | Remove debris/obstructions | Monthly |
This disciplined maintenance routine can prevent charging issues and preserve reliable operation.
Frequently Asked Questions
How to Clean Roomba Charging Contacts?
Unplug the dock, wait 60 seconds, then place the Roomba upside down. Wipe charging contacts with lightly dampened melamine foam or cloth. Check for corrosion. These charging maintenance tips improve vacuum performance improvement and robotic cleaning efficiency.
How to Clean Charging Contact Points?
A stitch in time saves nine: the contacts should be unplugged, gently wiped with a damp microfiber cloth, then inspected. These robot maintenance tips support charging dock care and vacuum performance enhancement, preserving reliable, liberated operation.
How Do I Clean the Charging Contacts on My Roborock Robot?
He should unplug the dock, wait 60 seconds, then wipe the Roborock’s charging contacts with a lightly damp microfiber cloth. Robot maintenance tips include checking damage and optimizing charging station placement for vacuum performance improvement.
My Roomba Charging Contacts Are Stuck Down. What Should I Do?
Power off first, unplug second: clean debris, free the contacts gently. In common troubleshooting, robot maintenance tips and battery care align—inspect corrosion, use a pencil eraser, and contact iRobot if the mechanism remains stuck.
Conclusion
In conclusion, clean charging contacts only after confirming symptoms such as intermittent docking or failed charging. With the robot powered down and the dock unplugged, use a microfiber cloth or melamine foam to remove residue until the metal surfaces appear bright. If corrosion is present, apply isopropyl alcohol sparingly and inspect for damage. After cleaning the dock sensors, reposition the station level and test again. Regular monthly maintenance helps prevent repeat charging faults and sustain reliable operation.