To reduce bathroom humidity, remove steam at the source, move humid air outdoors with a properly sized exhaust fan, and dry wet surfaces before moisture settles into paint, grout, trim, and drywall. Shorter showers, leak checks, and moisture-resistant materials handle what the fan cannot.
Quick Answer
To reduce bathroom humidity, run a properly vented exhaust fan during every shower and for 20–30 minutes after, keep indoor humidity below 60%, wipe down wet surfaces, open a window or door when practical, and fix leaks quickly. Use a dehumidifier only when ventilation and drying habits are not enough.
Key Takeaways
- Keep bathroom humidity below 60% relative humidity, and aim for 30–50% when possible.
- Choose an exhaust fan sized for the bathroom, not just the cheapest 50 CFM model.
- Vent bathroom fans outdoors, never into an attic, crawl space, soffit, or wall cavity.
- Wipe down shower walls, glass, mirrors, and splash zones after use to remove moisture before it evaporates into the room.
- Persistent dampness, soft drywall, musty smells, or recurring mold can signal a hidden leak or a ventilation problem that needs professional attention.
At a Glance
| Time Required | 5 minutes after each shower; 30–90 minutes for fan cleaning or basic checks; longer for fan replacement or repairs |
| Difficulty | Easy for daily habits; moderate for fan maintenance; professional level for electrical work, duct changes, leaks, or remodeling |
| Tools Needed | Hygrometer, squeegee, microfiber cloth, exhaust fan timer or humidity switch, vacuum brush, caulk, and optional portable dehumidifier |
| Cost | Roughly $10–$30 for a hygrometer or squeegee; $40–$250+ for a fan, timer, or dehumidifier; more for ducting, leak repair, or remodel work |
Why You Should Reduce Bathroom Humidity
High bathroom humidity matters because moisture gives mold and mildew the conditions they need to grow. The U.S. Environmental Protection Agency recommends keeping indoor relative humidity below 60%, ideally between 30% and 50% when possible. A small hygrometer is the easiest way to see whether your bathroom is drying out after showers.
A dry bathroom is not just cleaner-looking. It protects paint, grout, wood trim, fixtures, indoor air quality, and the structure behind the walls.
When moisture lingers, you may see condensation on mirrors and windows, peeling paint, swollen trim, rusty fixtures, musty odors, or dark spots on caulk and grout. People with asthma, allergies, COPD, or immune suppression may also be more sensitive to damp or moldy spaces, so moisture control is both a home-maintenance issue and a health-comfort issue.
Note: Condensation that disappears quickly is common after a hot shower. Condensation that stays for hours, returns daily, or comes with a musty smell usually means the room needs better ventilation, faster drying, or a leak check.
Measure Humidity Before You Guess
Before buying equipment or planning a remodel, measure the room. Place a hygrometer on a shelf or counter away from direct shower spray. Check the reading before a shower, right after a shower, and 30–60 minutes later.
- Good: humidity rises during the shower but drops back below 60% within about an hour.
- Needs improvement: humidity stays above 60% for hours after bathing.
- Problem sign: humidity stays high even when nobody has showered, especially with a musty odor or visible staining.
If the bathroom stays humid all day, the issue may not be shower steam alone. Check for plumbing leaks, a blocked or disconnected fan duct, wet towels, poor insulation around cold surfaces, or a fan that is too weak for the room.
Install an Exhaust Fan That Works
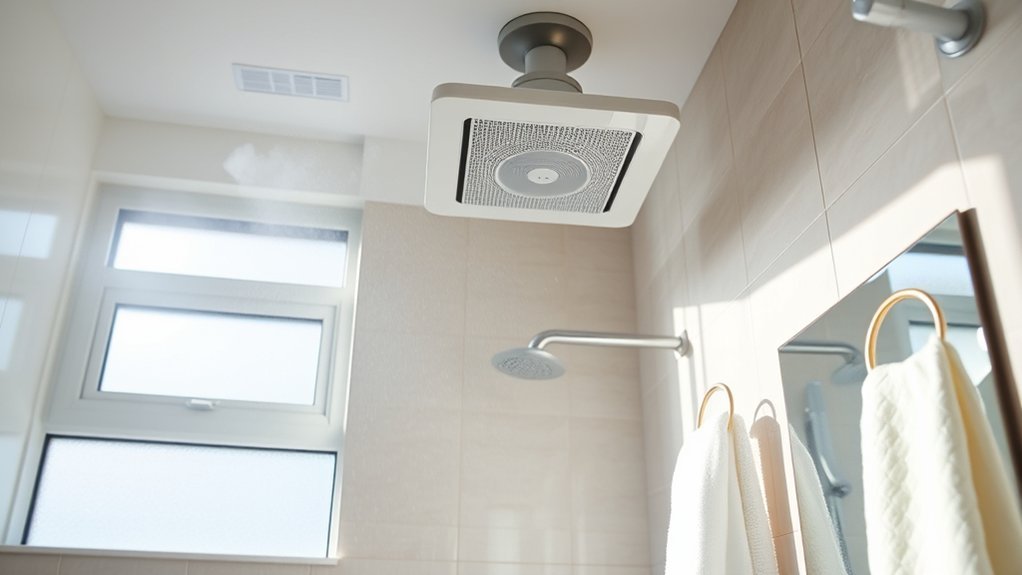
The best way to keep bathroom moisture from lingering is to use an exhaust fan that moves enough air and sends that air outdoors. According to the Home Ventilating Institute, a 50 CFM fan is the minimum for bathrooms under 50 square feet. For many bathrooms between 50 and 100 square feet, use about 1 CFM per square foot. Larger bathrooms may need added capacity for each fixture, such as a shower, tub, toilet area, or jetted tub.
- Small bathroom under 50 sq. ft.: choose at least 50 CFM.
- Bathroom 50–100 sq. ft.: use about 1 CFM per square foot.
- Large bathroom over 100 sq. ft.: add capacity for fixtures instead of relying on one small fan.
- Quiet operation: look for 1.0 sone or less if fan noise makes you avoid turning it on.
- Automatic control: use a timer switch or humidity-sensing fan so the fan keeps running after you leave.
Warning: Bathroom exhaust must discharge outdoors. The International Residential Code says mechanical exhaust air should not be dumped into an attic, soffit, ridge vent, or crawl space. A fan that vents into a hidden space can move the moisture problem out of sight and cause mold or structural damage.
Recommended Products
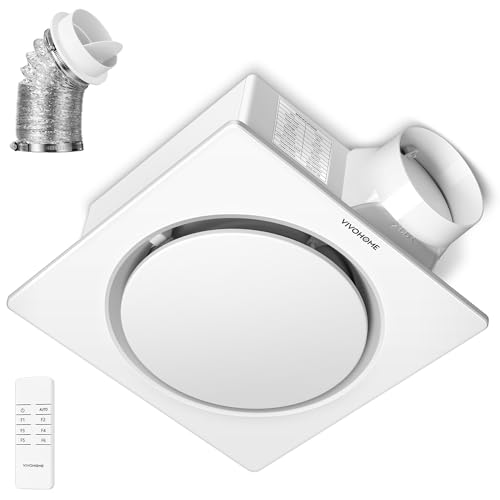
ENERGY-SAVING & LONG-LASTING: The VIVOHOME bathroom exhaust fan with a brushless EC motor delivers 110 CFM at only 12.5W, saving 50% energy over AC motors; Built for a long 30,000-hour life, it allows for easy, tool-free installation with terminal blocks

ENERGY-SAVING & LONG-LASTING: The VIVOHOME bathroom exhaust fan with a brushless EC motor delivers 110 CFM at only 12.5W, saving 50% energy over AC motors; Built for a long 30,000-hour life, it allows for easy, tool-free installation with terminal blocks

DURABLE & EFFICIENT: The bathroom exhaust fan is built with lightweight, rust-proof ABS; Designed for a long service life of 20,000-30,000 hours, its brushless EC motor with 1-hour auto shutoff saves 50% energy over traditional AC motors; This product has undergone UL safety certification testing
Check Fan Performance
Turn the fan on and hold a tissue near the grille. If the tissue does not pull toward the fan, airflow may be weak. Dust, a stuck damper, a crushed duct, a long duct run, or a disconnected duct can all reduce performance. Clean the grille and fan cover, then inspect what you can safely see. If the fan is noisy, weak, or not vented outdoors, call a qualified electrician, HVAC contractor, or remodeler.
Give the Fan Makeup Air
A fan cannot exhaust air well if replacement air cannot enter the bathroom. Keep the door slightly open after showering, or make sure the door has enough undercut at the bottom. HVI notes that bathroom doors should have clearance to allow makeup air to enter. Without that air path, the fan may run but remove moisture slowly.
Run the Fan Long Enough
Run the exhaust fan before or as soon as you start the shower, not after the mirror is already fogged. Keep it running for 20–30 minutes after bathing, or longer if the hygrometer still reads above 60%. A timer switch is one of the simplest upgrades because it keeps the fan running without relying on memory.
If you have a humidity-sensing fan or switch, set it so the fan turns on when humidity rises and shuts off only after the room dries down. This is especially helpful for kids’ bathrooms, guest bathrooms, and shared bathrooms where people forget to use the fan.
Pro Tip: If the mirror clears quickly but the hygrometer stays high, the room may still be damp. Trust the humidity reading more than the mirror.
Open Windows and Improve Airflow
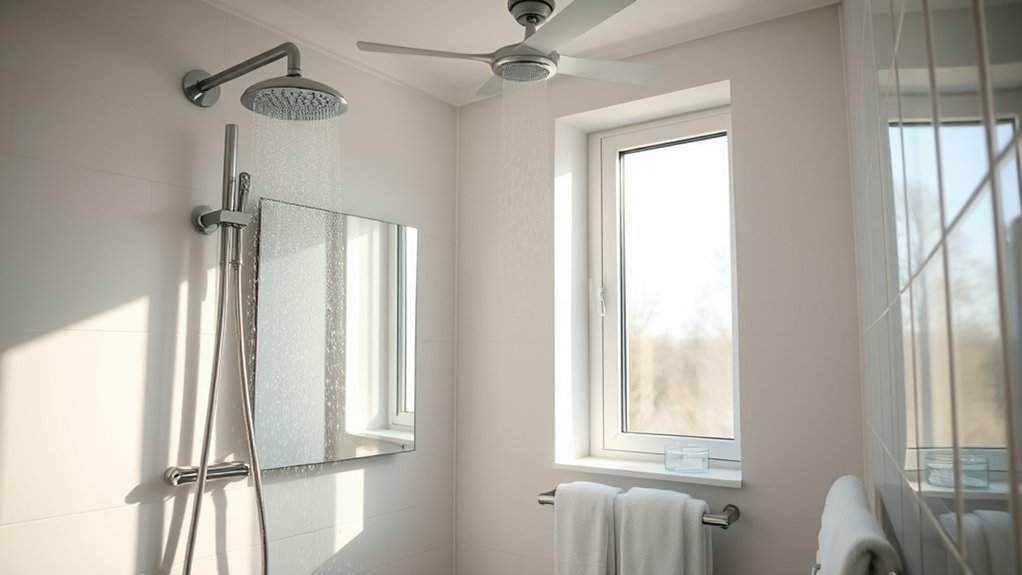
Opening a window during and after your shower lets humid air escape instead of collecting on walls, mirrors, and grout. This works best when outdoor air is drier than indoor air. If the weather is humid, rainy, or very cold, the exhaust fan is usually more reliable than the window alone.
For stronger airflow, set a small fan near the door or window to move damp air out, but do not blow air directly into wall cavities or electrical fixtures. Keep the bathroom door slightly ajar after bathing so replacement air can move through the room. Clean window tracks and screens so they do not trap moisture or block airflow.
Wipe Down Surfaces After Every Shower
After every shower, remove standing water before it evaporates into the room. This small habit lowers the moisture load on your fan and helps prevent water from sitting in grout lines, corners, and caulk seams.
Squeegee Shower Walls
Swipe down shower walls and glass doors with a squeegee right after each use. Work from top to bottom and overlap each pass so the blade pushes water toward the drain. A comfortable handle and flexible blade make the routine faster and easier to repeat.
This does not replace ventilation, but it reduces how much water remains on the surfaces. Less standing water means less condensation, fewer water spots, and less time spent scrubbing mineral buildup or mildew-prone seams.
Dry Mirrors And Tiles
Once you have cleared the shower walls, wipe mirrors, ledges, faucets, splash zones, and tile edges with a microfiber cloth. Focus on corners, grout lines, niches, and the bottom of glass doors because those spots hold water longest.
Hang towels and bath mats where air can reach both sides. Do not leave damp towels piled on the floor or closed in a hamper. Wash bath mats often, and choose quick-drying textiles if your bathroom has limited airflow.
Cut Steam With Shorter, Cooler Showers
Trim steam at the source by taking shorter, cooler showers. Hotter water increases evaporation, and longer showers keep adding moisture to the room. Aim for a comfortable warm shower instead of a very hot one, and keep the shower to about 5–10 minutes when humidity is a recurring problem.
- Start the exhaust fan before the shower begins.
- Keep the water warm, not steaming hot.
- Use a shower timer if long showers are a habit.
- Leave the shower door or curtain open afterward so surfaces dry faster.
- Watch the hygrometer to see whether your changes are working.
A low-flow showerhead can also reduce the amount of hot water entering the room while still giving useful pressure. Less hot water means less vapor for the fan to remove.
Use a Dehumidifier in Small Spaces
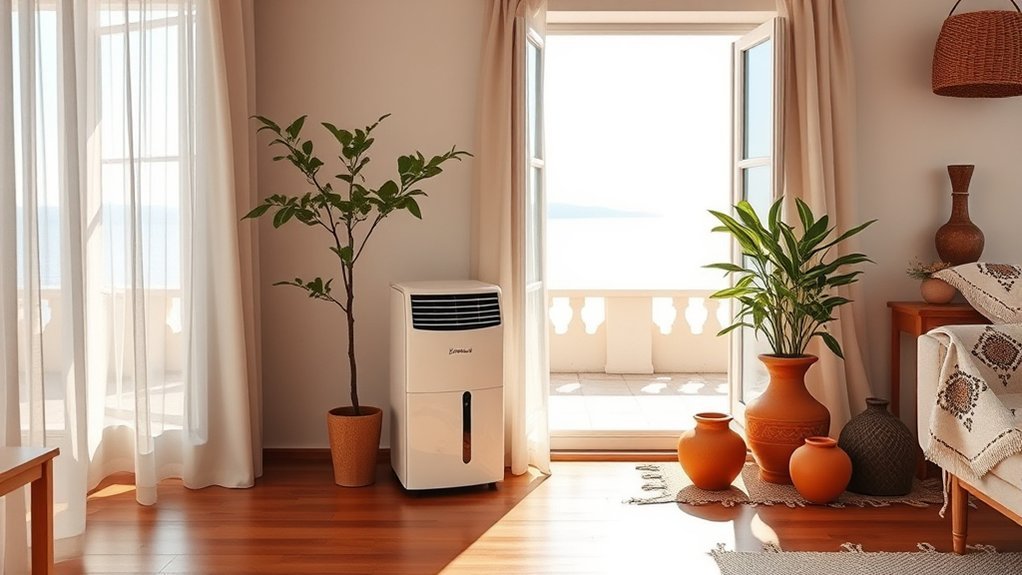
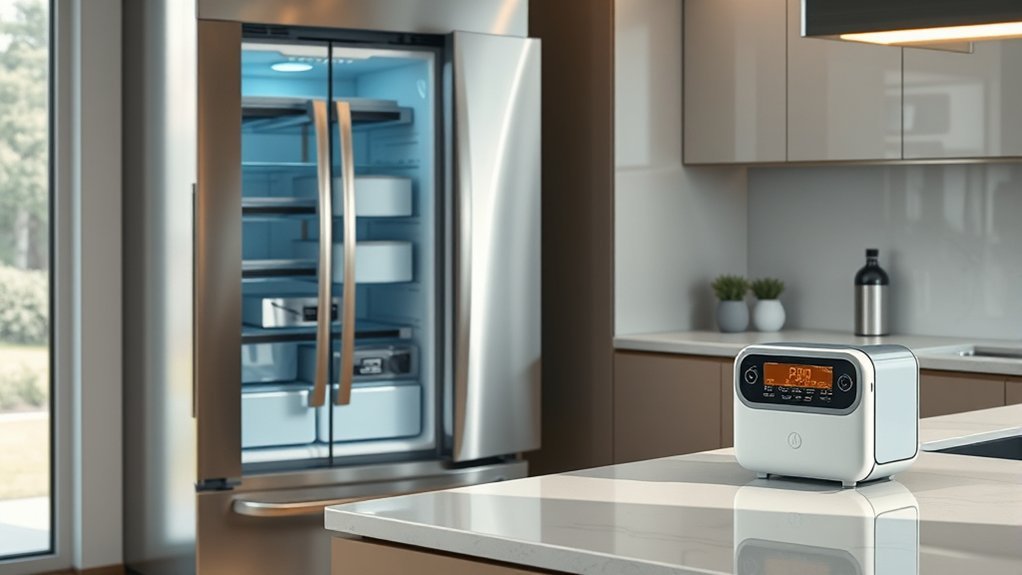
A dehumidifier can help when your bathroom stays damp even after improving fan use and airflow. It is most useful in windowless bathrooms, basement bathrooms, laundry-bath combinations, or bathrooms that share damp air with nearby rooms.
Not sure which to rely on? Compare a bathroom fan and a dehumidifier, then check what size dehumidifier a bathroom needs.
Choose the capacity based on the space and the moisture level. ENERGY STAR explains that dehumidifier capacity is measured in pints per 24 hours and depends on room size and dampness. For small-to-medium spaces, slightly damp rooms may need a smaller unit, while very damp or wet spaces may need more capacity.
Choosing Compact Dehumidifiers
For a bathroom, look for a compact unit with an adjustable humidistat, automatic shutoff, a washable filter, and a tank that is easy to empty. If you have a nearby safe drain, continuous drainage can reduce maintenance. If the bathroom is cool, check the operating temperature range because some compressor dehumidifiers work poorly in colder rooms.
- Match the capacity to measured humidity, not guesswork.
- Choose a unit with a humidistat so it does not over-dry the space.
- Keep the air intake and outlet clear.
- Empty and clean the tank regularly.
- Follow all manufacturer electrical safety instructions.
Warning: Water and electricity do not mix. Plug a dehumidifier into a properly grounded outlet, keep cords away from wet floors, and never place the unit where it can be splashed from the shower or tub.
Running Units Efficiently
Place the dehumidifier where air can circulate freely around it. Close nearby windows and doors while it runs so it is drying the bathroom, not pulling in new humid air. Set the target around 45–50% relative humidity for comfort, and avoid pushing the room too dry.
Clean the filter and tank as directed by the manufacturer. A dirty filter reduces airflow, and a neglected tank can smell musty. If the dehumidifier runs constantly but the room never dries, look for a leak, poor fan performance, or outdoor air entering through gaps.
Use Plants Carefully in Humid Bathrooms
Humidity-loving plants can make a bathroom feel fresher, but they should not be treated as dehumidifiers. A peace lily, Boston fern, Chinese evergreen, orchid, pothos, or similar plant may tolerate bathroom humidity, but it will not replace a fan, open window, or dehumidifier.
If you keep plants in the bathroom, choose pots with drainage holes, avoid overwatering, and wipe leaves so dust does not build up. The American Lung Association cautions that houseplants should not be relied on to clean indoor air and that overwatered soil can contribute to mold. Keep plants decorative and modest, not as your main moisture-control plan.
Choose Moisture-Resistant Wall Materials
Moisture-resistant materials help stop humidity and splashes from soaking into bathroom surfaces. In wet zones, use materials designed for repeated water exposure, such as properly installed tile assemblies, waterproof wall panels, acrylic panels, engineered stone, or other non-porous surfaces. The goal is to create a surface that dries quickly and does not hide water behind it.
Pay attention to seams. Silicone-sealed joints, intact caulk, and well-maintained grout are just as important as the wall material itself. Cracked grout, failed caulk, loose tiles, and swollen trim can let water enter the wall even when the visible surface looks mostly fine.
Recommended Products

【Color and Size Specifications】:1.5IN/38mm(Width), 10.5FT/3.2m(Length), 0.04IN/1mm(Thickness) Color: White caulk tape waterproof sealant caulk strip has a crease in the middle. CDFYREC caulking strip with crease design can be folded to 90 degrees for tightly sealing gaps between walls.

【Sophisticated Marble Design】:Transform your space with these peel and stick wall tiles featuring a sophisticated marble-inspired design (not real marble tiles). Perfect for enhancing washroom walls, kitchen backsplashes, or accent walls, these tiles deliver a high-end look without the high cost.(Not suitable for use on floors and in high humidity shower rooms.)

【Stylish & Modern】This wall panels showcase distinctive slat design and wood texture. As a type of fluted wall panels and 3D wall panels, they instantly add a modern and chic vibe to bedroom, living room, office and any other space, effortlessly uplifting its aesthetic appeal and making your space stand out.
Prevent Mold With Regular Maintenance
Regular maintenance keeps small moisture problems from becoming mold or structural problems. Start with a simple monthly inspection: look at caulk, grout, ceilings, trim, under the vanity, around the toilet base, and near the tub or shower valve.
Surface Drying Routine
Your surface-drying routine should be simple enough to do daily. Squeegee glass and shower walls, wipe corners and ledges, hang towels so they can dry, and leave the shower door or curtain open after use. This reduces the moisture load and helps surfaces dry before mold has time to take hold.
- Keep bath mats dry and washable.
- Use quick-drying towels and textiles.
- Wipe splash zones daily.
- Let surfaces air out before closing the room.
- Replace moldy caulk instead of repeatedly scrubbing it.
Ventilation System Care
A bathroom fan only helps if it is clean, connected, and moving air. Dust on the grille and fan blades restricts airflow. Clean the cover and accessible fan parts at least twice a year, or more often in dusty homes. If your fan has a filter or special cover, follow the manufacturer’s instructions.
Listen for changes. Grinding, rattling, or humming can signal a worn motor or blocked fan. If the fan turns on but barely pulls air, inspect for a stuck exterior flap, crushed duct, disconnected duct, or long duct run with too many bends.
Check for Hidden Leaks and Cold Surfaces
Not every damp bathroom is caused by shower steam. Hidden leaks and cold surfaces can keep a room damp even when you use the fan correctly.
- Look under the sink: check supply lines, drain joints, and the cabinet floor.
- Check around the toilet: staining, soft flooring, or a sewer smell can point to a failed wax ring or loose connection.
- Inspect shower seams: cracked caulk and missing grout can send water into walls.
- Watch the ceiling below: stains under an upstairs bathroom can mean a plumbing or waterproofing failure.
- Check cold surfaces: uninsulated pipes, exterior walls, and single-pane windows can collect condensation.
If you find soft drywall, bubbling paint, warped flooring, recurring stains, or a musty smell that returns after cleaning, treat it as a moisture-source problem, not just a cleaning problem.
When Bathroom Dampness Needs a Remodel
When persistent mold, mildew, or condensation keeps coming back despite regular ventilation, the bathroom may have a moisture problem that simple habits cannot solve. You may need a targeted remodel when humidity stays high, the exhaust fan cannot keep up, and moisture keeps soaking into surfaces.
Look for peeling paint, rotting wood, swollen baseboards, soft drywall, cracked tile, loose grout, musty smells, or mold that returns soon after cleaning. If you are re-grouting, replacing caulk, or cleaning stains again and again, the repair cycle may be hiding a deeper issue.
- Upgrade the exhaust fan for the room size and fixture load.
- Correct ducting so the fan vents outdoors.
- Add makeup air or improve airflow.
- Repair plumbing, roof, or window leaks before closing surfaces.
- Use moisture-resistant wall and floor materials in wet zones.
- Replace damaged drywall, trim, subfloor, or insulation instead of covering it.
A targeted remodel gives you control over the bathroom environment and helps break the cycle of dampness, mold, and repeated maintenance.
Recommended Products

696N-R02 Perfect upgrade 696N-R02 B unit fan motor replacement for Nutone 696N-R02 B unit,Part Number S97012026 fan for Broan-Nutone replaces motor#97008322 97012026 S97008322.
Frequently Asked Questions
How do you reduce high humidity in a bathroom quickly?
Run the exhaust fan, open a window or door if outdoor conditions allow, squeegee shower walls, wipe mirrors and tile, and keep the fan running for 20–30 minutes after bathing. If humidity stays above 60% for hours, use a hygrometer to confirm the problem and check fan airflow, ducting, leaks, and damp towels.
What humidity level should a bathroom be?
Keep bathroom humidity below 60% relative humidity, and aim for 30–50% when possible. A temporary spike after a shower is normal, but the room should dry down afterward. If it stays above 60%, improve ventilation and look for hidden moisture sources.
How long should a bathroom fan run after a shower?
Run the fan during the shower and for about 20–30 minutes afterward. If your hygrometer still reads above 60%, run it longer. A timer switch or humidity-sensing control is useful because it keeps the fan running after you leave the room.
Can I use a dehumidifier in a bathroom?
Yes. A compact unit with a humidistat can help in a windowless or basement bathroom that stays damp after you improve fan use. Keep it away from shower spray and use a grounded outlet, because it supplements a vented exhaust fan rather than replacing one.
Does opening a window help reduce bathroom humidity?
Yes, but only when the outdoor air is drier than the air inside. On humid, rainy, or very cold days, a properly vented exhaust fan is more reliable than a window alone.
How do I know if my bathroom fan is strong enough?
Compare its CFM rating with the room size: at least 50 CFM for bathrooms under 50 square feet, and about 1 CFM per square foot for 50 to 100 square feet. A hygrometer also tells you: if humidity stays above 60% for hours after a shower, the fan is weak, blocked, or not venting outdoors.
Conclusion
To keep your bathroom dry, combine steady ventilation with simple daily habits. Run a properly sized exhaust fan, make sure it vents outdoors, leave enough makeup air for the fan to work, and wipe away water after every shower. Use a hygrometer to confirm that humidity drops below 60%, and add a dehumidifier only when airflow and drying routines are not enough.
If dampness keeps coming back, do not keep treating it as a surface problem. Recurring mold, musty smells, peeling paint, soft drywall, swollen trim, or stained ceilings can point to a hidden leak, blocked duct, or failed waterproofing. Fix the moisture source first, then repair the damaged surfaces.
Sources
- U.S. Environmental Protection Agency: A Brief Guide to Mold, Moisture and Your Home — indoor humidity targets, condensation, and moisture control
- Home Ventilating Institute: Bathroom Exhaust Fans — fan sizing, CFM guidance, sones, and makeup air
- International Code Council: 2024 IRC Chapter 15 Exhaust Systems — outdoor exhaust discharge guidance
- ENERGY STAR: Dehumidifiers — dehumidifier capacity, placement, drainage, and efficiency guidance
- Centers for Disease Control and Prevention: Mold Clean Up Guidelines — mold cleanup precautions for people with allergies, asthma, COPD, or immune suppression
- American Lung Association: Actually, Houseplants Don’t Clean the Air — limitations of relying on houseplants for indoor air quality