Install a whole-house dehumidifier near your HVAC system, usually in a basement, attic, or utility room, where service access is easy. Tie a dedicated return duct into a central hallway and discharge into the supply plenum, keeping at least 24 inches of straight duct before branches. Run a sloped condensate line to a drain, connect a dedicated 120V circuit, and set the humidistat around 45-50% RH. Careful setup improves comfort, and there’s more to optimize.
How a Whole-House Dehumidifier Works
A whole-house dehumidifier pulls humid air from your home, moves it over cooled coils to condense the moisture, and drains the collected water away. You then get drier air back through the ductwork, which improves indoor air quality and helps block mold and mildew growth. Because the unit ties into your HVAC system, it can support ideal humidity levels without constant attention. When relative humidity rises above 50%, the controls activate automatically to manage moisture and keep conditions stable. During the installation process, you connect the whole-house dehumidifier to existing ductwork, verify proper drainage, and calibrate settings so it performs efficiently. The system works as a practical control layer: it removes excess water vapor before it spreads, protects materials, and reduces strain on cooling equipment. Once installed correctly, it gives you reliable, quiet moisture management and more breathable indoor spaces with less effort, so you can live freer from damp, sticky air.
Choose the Best Installation Location
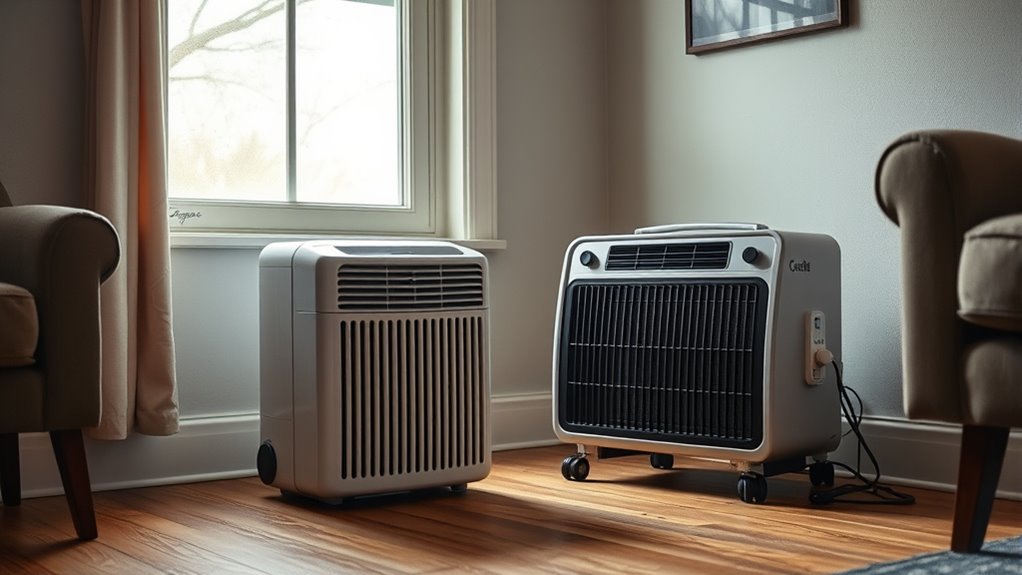
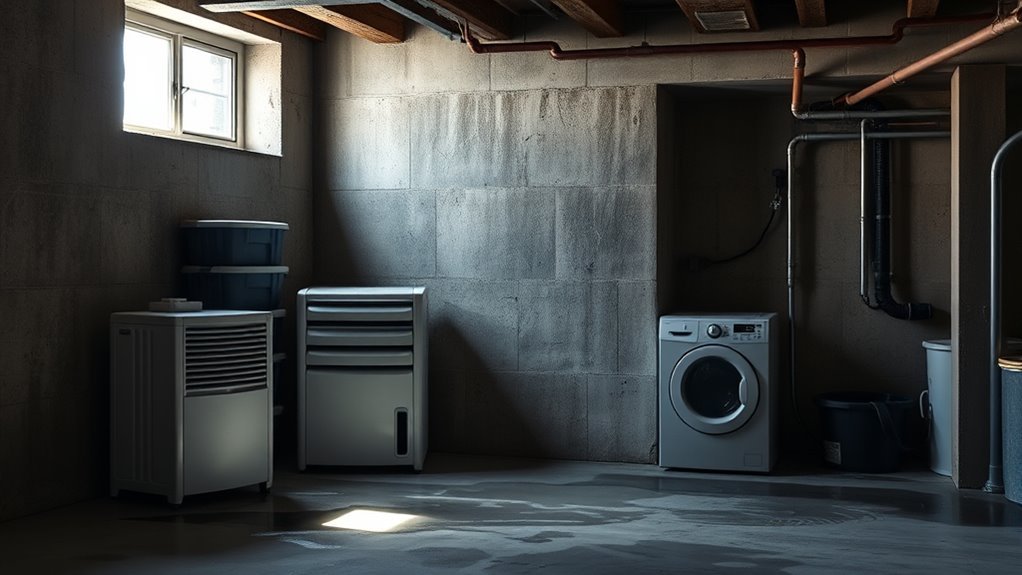
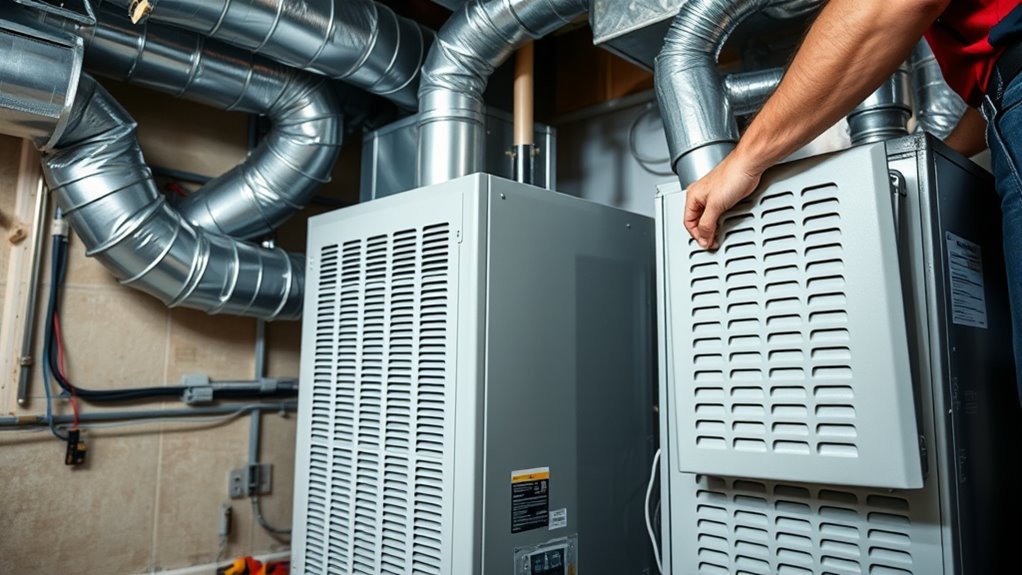
Choose the installation spot close to your existing HVAC system, ideally in a basement, utility room, or attic, so you can tie the unit into the ductwork with minimal airflow loss and easy service access. Keep the dehumidifier within 24 inches of straight ducting before any branches to preserve ideal airflow and even moisture removal. Pick an installation location away from kitchens and bathrooms, where extra steam can overload the system and reduce control. Verify drainage requirements before you commit; if you install above finished space, plan a continuous slope for the condensate line so water exits reliably. Set the unit on a solid platform or use a strapping kit so it stays securely mounted, level, and ready for maintenance. When you choose a clean, accessible spot near the existing HVAC system, you keep installation efficient, protect performance, and make future service straightforward. That’s how you claim control over indoor humidity without unnecessary restrictions.
Plan the Return and Supply Ducts
With the unit in place, map the return and supply ducts so the dehumidifier can move air efficiently and control humidity without fighting the HVAC system. Use a dedicated return duct from a central hallway, not kitchens or bathrooms, and place the wall control where you can reach it easily. Keep at least 24 inches of straight duct before the first branch so the air handler fan can mix air well and support humidity removal.
| Duct point | Requirement |
|---|---|
| Return | Central area, dedicated return duct |
| Straight run | 24 inches minimum |
| Supply | Into the supply plenum with a backdraft damper |
In a return to supply installation, route the discharge into the supply plenum to limit moisture reintroduction and preserve dew point stability. This setup lets the dehumidifier and AC operate independently, reducing static pressure while maintaining proper ventilation and stable humidity levels. Plan clean duct runs now, and you’ll free the system to work efficiently.
Install a Dedicated Return to Supply
To install a dedicated return to supply setup, you’ll add a return duct from a central area of the home and route the dehumidifier’s dry air directly into the HVAC supply plenum. When you install a dehumidifier this way, you create a dedicated return to supply path that improves airflow and helps the unit improve moisture removal without fighting the rest of the system. This arrangement can reduce static pressure, enhance efficiency, and maintain stable dew point across the house. By delivering treated air into the HVAC supply plenum, you lower indoor humidity more evenly and avoid reintroducing moisture from the AC coil. That means you get better comfort, proper ventilation, and less runtime from the dehumidifier. The result is real energy savings and a system that works with you, not against you, so you can control humidity with less waste and more freedom.
Set Up Drainage, Power, and Controls
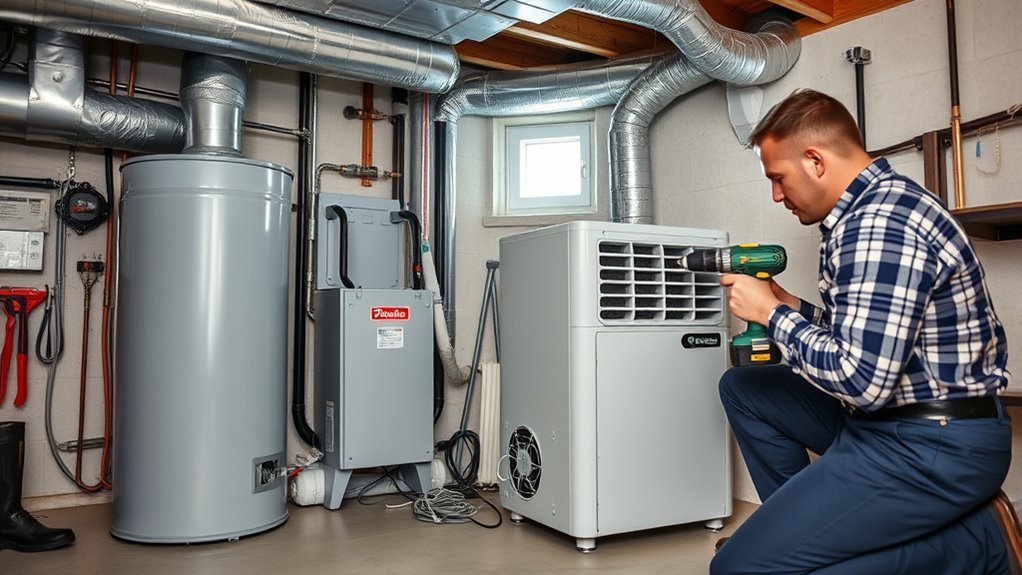
Next, set up the dehumidifier’s drainage, power, and controls so the unit can run safely and continuously. Run the drain line with at least 1/8 inch per foot of slope so condensate moves by gravity and doesn’t pool. Confirm continuous drainage to a suitable drain point. Next, check the electrical requirements: most units need a 120V outlet and draw about 6-7 amps. Connect the dehumidifier to a dedicated circuit so you don’t overload other loads and you support reliable operation. Install the humidistat in a representative area, then set it to hold humidity levels near 45-50% relative humidity for ideal comfort and air quality. Tighten all electrical connections, verify they meet local codes, and test the system. When you power it up, watch for steady drainage, responsive control humidity, and proper operation. Fine-tune settings until the equipment runs smoothly and delivers peak performance throughout the home, giving you direct control over your indoor climate.
Avoid Common Installation Mistakes
A few common mistakes can undermine a whole-house dehumidifier install, so focus on airflow, duct layout, and service access from the start. You should use a dedicated return for balanced airflow design; don’t pull air from kitchens or bathrooms, or you’ll hurt moisture removal and skew humidity control. Keep at least 24 inches of straight duct before the first branch to mix air properly and limit static pressure. Choose an installation location near the existing HVAC system, and insulate and seal every duct run in unconditioned spaces to stop energy loss. Set humidistat settings near 45–50% RH, then verify proper drainage with a slope of at least 1/8 inch per foot. Skip shortcuts that trap you later: plan for regular maintenance, inspect the drain, and schedule filter replacement every 2–3 months. Clear access keeps the unit efficient, easy to service, and ready to deliver stable, liberated indoor comfort.
Fine-Tune Humidity for Better Comfort
Set your whole-house dehumidifier to maintain indoor relative humidity around 45–50% for the best balance of comfort, air quality, and mold control. Adjust the setpoint seasonally, since you’ll typically need tighter humidity control in muggy months and a slightly higher target in cooler, drier periods. When you fine-tune humidity this way, you can often raise the thermostat a few degrees without feeling less comfortable.
Ideal Humidity Range
Comfort starts with the right moisture balance. Your ideal humidity range is 30% to 50% RH, and 45% usually delivers peak comfort. Use a whole-house dehumidifier to maintain humidity levels within this band and keep indoor humidity from climbing above 50%. When you control moisture, you improve indoor air quality, prevent mold growth, and cut dust mite and allergen activity. Monitor humidity levels with a hygrometer, then adjust the system to match your home’s load. In humid summer months, drier air also lets your HVAC run more efficiently, so you can reduce operational costs and improve energy efficiency. Set the target once, verify it regularly, and let the equipment do the work. You don’t need to tolerate sticky air when precise control is available.
Seasonal Humidity Adjustments
As seasons change, adjust your dehumidifier’s humidistat to match the weather and your home’s moisture load. Set settings near 45-50% RH in spring and fall to balance comfort and indoor air quality. In summer, monitor humidity closely; higher outdoor moisture may require more dehumidifier runtime to hold steady conditions. In winter, drop settings to 30-40% RH to reduce window condensation and mold growth. These seasonal adjustments can lower energy consumption by letting your HVAC system work less.
| Season | RH Target | Action |
|---|---|---|
| Spring/Fall | 45-50% | Fine-tune settings |
| Summer | 45-50%+ | Monitor, increase operation |
| Winter | 30-40% | Reduce humidity |
Recheck outdoor weather changes, then recalibrate. That keeps your dehumidifier efficient and your space free.
Frequently Asked Questions
Do Whole-House Dehumidifiers Need a Permit?
Yes, you usually need a permit; check permit requirements, local building codes, and zoning laws first. You’ll handle dehumidifier permits, permit application, safety inspections, homeowner responsibilities, environmental considerations, and compliance guidelines for lawful installation.
Can I Install One Without Modifying Existing Ductwork?
Yes, you can, if you choose a bypass-free unit. For DIY Installation, compare Dehumidifier Types, use a Sizing Guide, and pick smart Location Selection. Check Energy Efficiency, Cost Comparison, Performance Metrics, Maintenance Tips, and Common Issues.
How Much Does Professional Installation Typically Cost?
You’ll typically pay $1,500–$4,000 for pro setup, depending on installation factors, equipment types, and installation timelines. Your cost breakdown should weigh DIY options, energy efficiency, brand comparisons, warranty details, user reviews, and maintenance tips.
Will It Work With a Heat Pump System?
Yes—like Orpheus finding the path, you can pair it with a heat pump if you confirm heat pump compatibility, follow installation tips, and verify sizing calculations for humidity levels, system integration, air quality, energy efficiency, maintenance requirements, performance benefits, cost savings.
How Noisy Is a Whole-House Dehumidifier?
You’ll usually hear moderate dehumidifier noise, but quiet operation depends on sound levels, fan speed, unit placement, and vibration issues. Choose a smart installation location, balance indoor comfort with energy efficiency, and follow maintenance tips.
Conclusion
When you finally install your whole-house dehumidifier, comfort and control often line up in a surprisingly simple way. You’ve routed the ducts, set the drain, wired the power, and dialed in the controls—so now the system can quietly protect your air, your walls, and your HVAC equipment. Keep checking humidity levels and adjust as seasons change. If you notice musty air or condensation, you can catch it early and fine-tune the system before small issues become expensive ones.